• About
  • Nav Social Icons

  • Skip to primary navigation
  • Skip to main content
  • Skip to primary sidebar
  • Skip to footer
  • Home
  • About
  • Blog
    • Mom Life
    • Farm Life
    • Recipes
      • Breakfast
      • Dessert
      • Dinner
      • Sides
      • Snacks
  • Shop
    • Shop – Digital Books
  • Cart
  • My account
  • Mobile Menu Widgets

    Connect

    Search

The Farmstyle

The Farmstyle

by Kayla Zenner

  • Home
  • About
  • Shop
    • Shop – Meal Plans
    • Shop My Favorites
  • Blog
    • Breakfast
    • Dessert
    • Dinner
    • Snacks
    • Sides
    • All Recipes
  • Cart

Vanilla Simple Syrup | Perfect Easy Coffee Syrup

October 16, 2023 · In: Recipes

FacebookTweetPin
Jump to Recipe Jump to Video Print Recipe

This three ingredient vanilla simple syrup is made from scratch and is perfect for sweetening your coffee and tea.

vanilla simple syrup for coffee

About Vanilla Syrup

If you’re a fan of sweetening your coffee or tea but tired of buying it at the store, it’s time to try something new and exciting. Say hello to homemade Vanilla Simple Syrup! This delightful syrup adds a touch of indulgence and a burst of flavor to your favorite hot or cold beverages. Homemade coffee syrup is so easy to make at home! It includes three simple ingredients and takes just a few minutes to put together! This recipe is perfect for sweetening your coffee, tea, or even smoothies.

Vanilla Syrup Ingredients

  • Vanilla Extract: Please use the good stuff and not imitation extract. It does cost more, but the end taste is so worth it!
  • Vanilla Bean: Totally optional to add, but I love the extra flavor it adds to the recipe. Simply cut the bean in half and scrape out all the goodness to add with the vanilla extract.
  • Sugar: Regular white sugar works! If you want some added warmth you can swap out for brown sugar.
  • Water: Whatever you use to drink works here!

The Simple Syrup Making Process

Making your own simple syrup is as easy as 1-2-3! Follow these simple steps:

  1. In a saucepan, combine the sugar, water, and vanilla bean (if using). Stir gently to dissolve the sugar.
  2. Place the saucepan over medium heat and bring the mixture to a simmer. Let it simmer for about 5 minutes or until the liquid becomes clear and slightly thickened.
  3. Remove the saucepan from heat and discard the vanilla bean (if used). Stir in the vanilla extract and let the syrup cool completely.

And there you have it! Your homemade vanilla simple syrup is ready to be enjoyed.

vanilla simple syrup for coffee

Tips for Perfect Vanilla Simple Syrup

  • Remember not to cook the vanilla extract, as it can lose its flavor. Add it only after the sugar and water have dissolved and are off the heat.
  • Store your finished syrup in a sealed container in the refrigerator. It should stay fresh for up to two weeks.
  • Get creative! Vanilla simple syrup isn’t only for coffee and tea. It can also be used to sweeten smoothies, cocktails, or even poured over pancakes or waffles for a decadent twist.

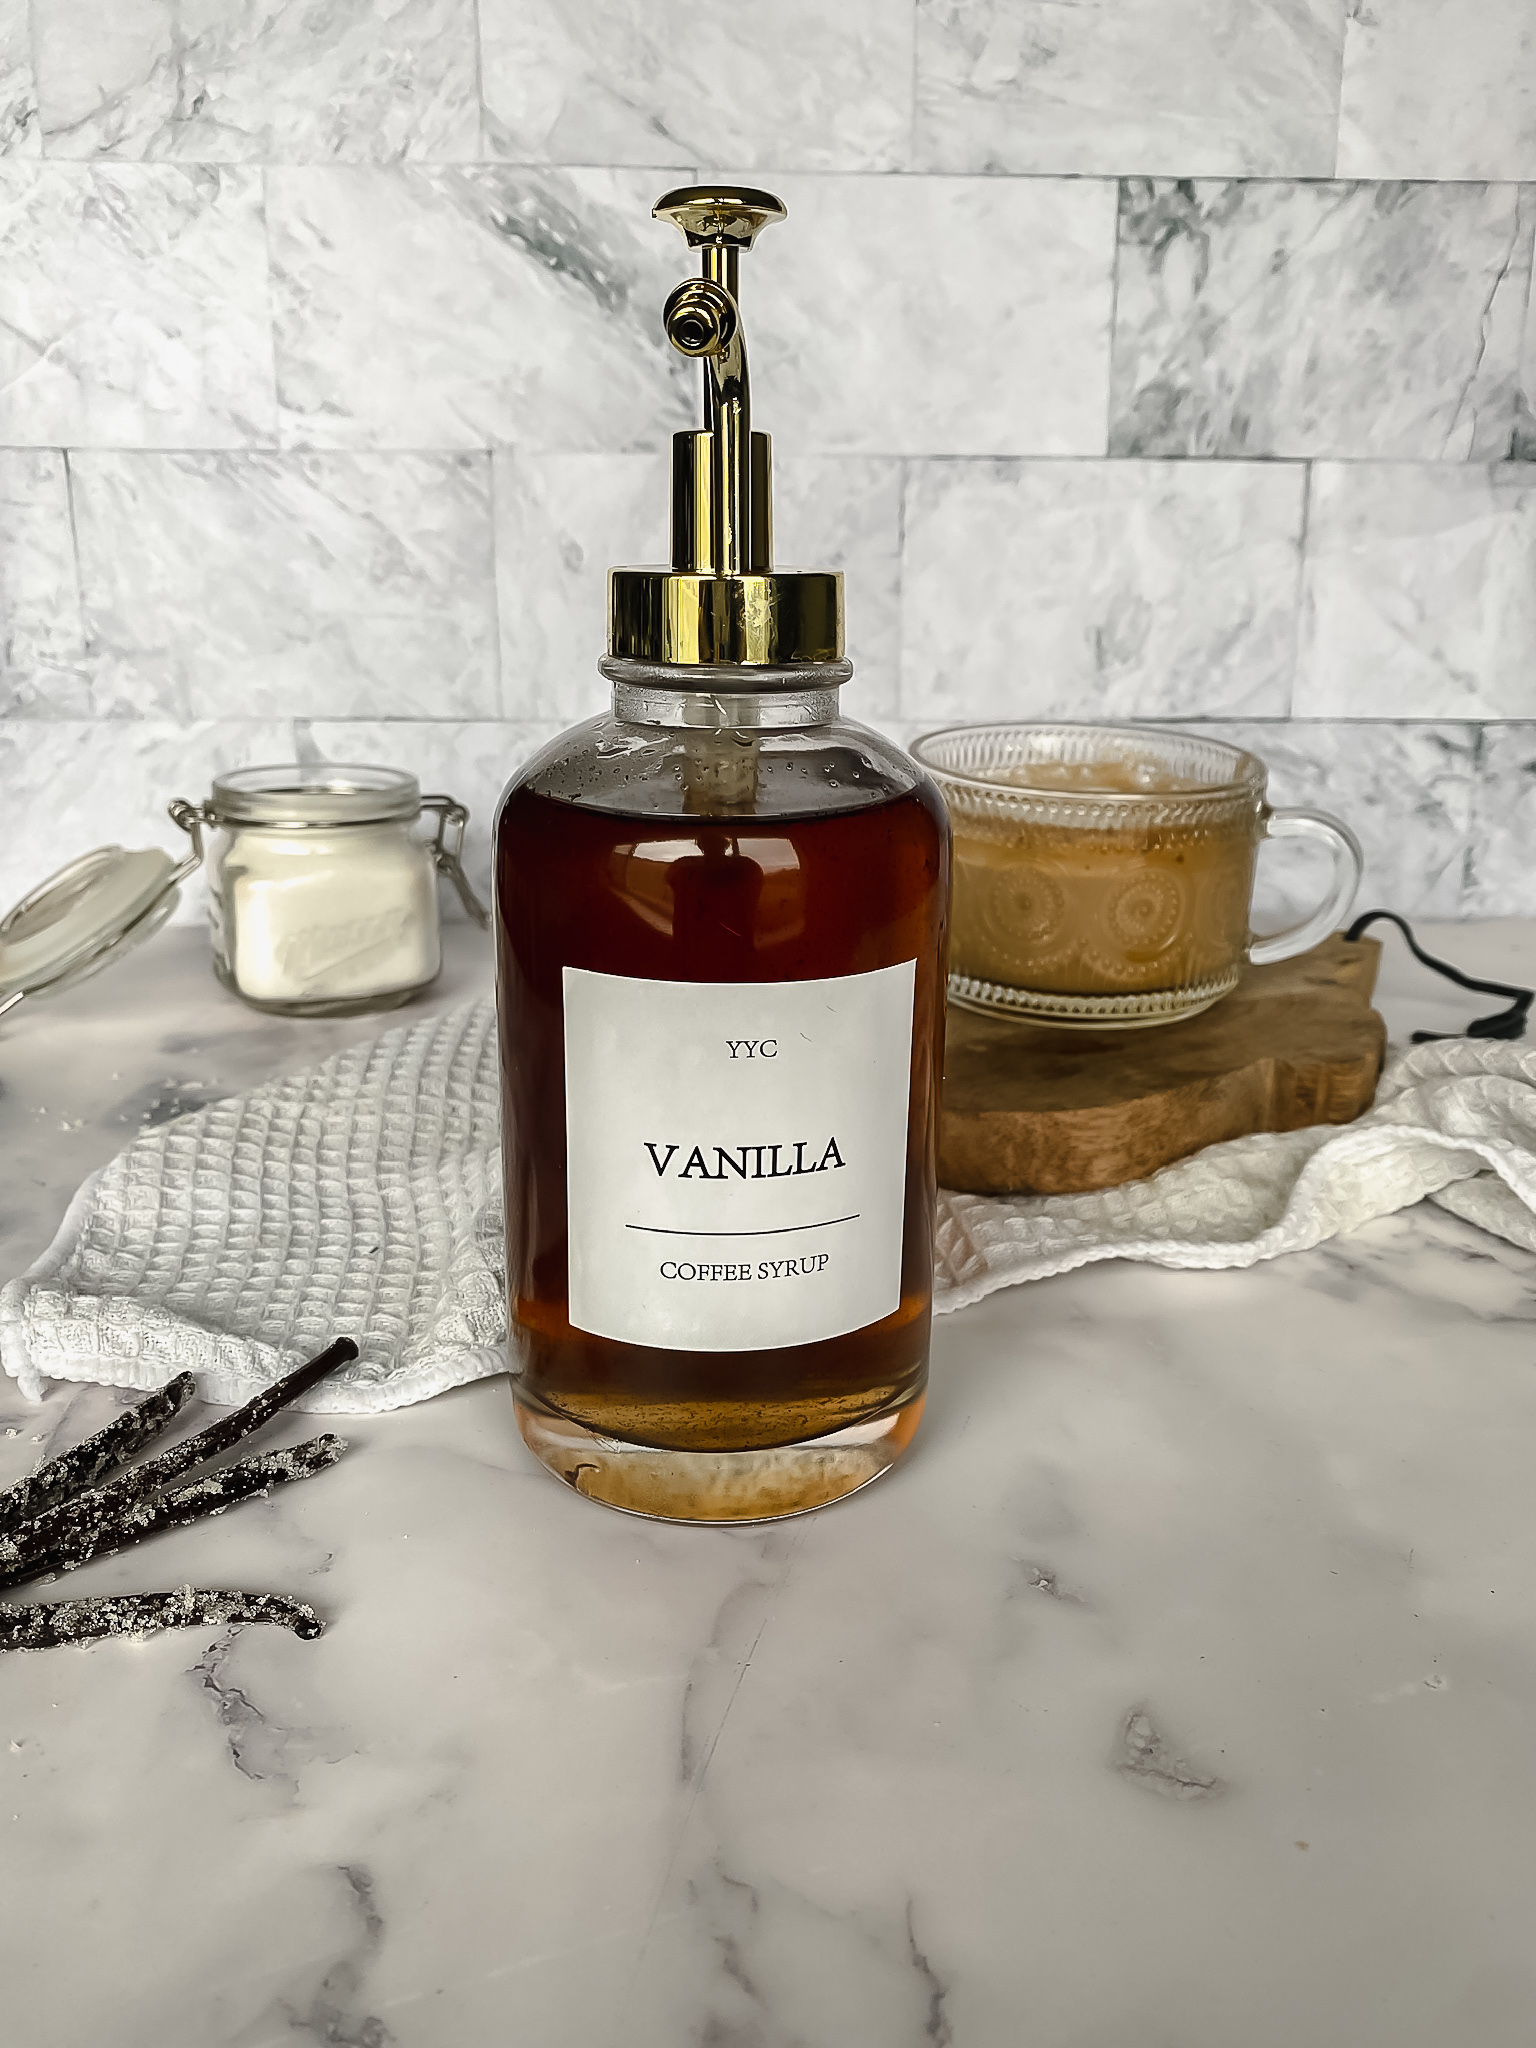
Want to fancy up your coffee bar?

Grab these cups and syrup containers for a pretty addition to your coffee bar!

Vanilla Syrup

No ratings yet
Three ingredient vanilla simple syrup from scratch recipe for coffee and tea.
Print Recipe Pin Recipe
Prep Time:5 minutes mins
Cook Time:10 minutes mins
Course: Drinks
Keyword: syrup, vanilla
Servings: 16 oz

Ingredients

  • 1 cup sugar
  • 1 cup water
  • 1 tbsp vanilla extract and/or 2 vanilla beans

Instructions

  • In a small pot add sugar and water. Cook over medium heat until all sugar has dissolved.
  • Remove from heat and add in vanilla extract. If using vanilla bean use a sharp knife to cut the mean in half and carefully scrape the interior of the bean out. Place into water and sugar.
  • Mix to combine and place into a container!

Video

View this post on Instagram

A post shared by Kayla Zenner | family friendly meals from the farm (@thefarmstyle)

Share this:

  • Click to share on X (Opens in new window) X
  • Click to share on Facebook (Opens in new window) Facebook
  • Click to share on Pinterest (Opens in new window) Pinterest

Like this:

Like Loading...
FacebookTweetPin

By: Kayla · In: Recipes

About Kayla

Hi! I'm Kayla. I'm here to help inspire busy moms to get back in the kitchen and feel beautiful along the way! I'm married to my high school sweetheart and live on a farm with our two busy boys.

you’ll also love

BBQ Whiskey Chicken
Zucchini Fritters
Homemade Italian Dressing

Reader Interactions

Leave a ReplyCancel reply

Next Post >

Apple Cobbler | Perfect Fall Skillet Dessert

Primary Sidebar

Meet Kayla

Meet Kayla
hello!

LIVING OURFARM(LIFE)STYLE WHERE WE ​JUGGLE THE CHAOS OF MOTHERHOOD ONE ​KITCHEN ADVENTURE AT A TIME!

Read More

Connect

join the list

Categories

  • Blog
  • Recipes

Follow Along

@thefarmstyle


Help me get to my big goal before 2026.


Comment RECIPE for all the details sent to your in
Comment RECIPE for all the details sent to your inbox. 

These Individual Chicken Pot Pies are the ultimate cozy comfort food with a flaky homemade pie crust, creamy chicken filling, and perfectly portioned for easy serving.

Ingredients
Chicken Pot Pie Filling
3 cups rotisserie chicken shredded
1 onion diced
1/2 cup carrots diced
4 tbsp butter
1/4 cup flour
1/4 cup heavy cream
2 cups chicken broth
1 tsp onion powder
1 tsp garlic powder
1/2 tsp rosemary
Pie Crust
2 cups butter cold
4 cups all purpose flour
2 tsp salt
1/4 cup ice cold water

Instructions
Preheat oven to 425 F.

Make the Pie Crust
In a large bowl add cubed butter, salt and flour. Using a pastry cutter or two knives cut together the flour and butte until it resembles crumbly flour.
Slowly add in the ice cold water until the dough starts to come together. Once the dough starts to come together pour onto a counter and use your hands to combine the dough.
Split the dough in 12 section and place onto a floured surface and roll out half the pie crusts to fit your pie pan. If the dough starts to stick to the rolling pin, sprinkle a little flour on top.
Transfer the rolled-out crust to your pie pan, pressing it gently to fit the bottom and sides.

Make the Pot Pie Filling
Melt butter in a cast iron pan and add in onion and carrot. Cook over medium heat until soft. 
Add in flour. Cook for 1-2 minutes.
Add in chicken stock, seasonings, chicken, and heavy cream. Simmer for 5 minutes to thicken sauce. 
Top with biscuits and bake according to biscuit instructions.

Assemble the Pot Pies
Add about 1 cup of filling to each of the prepared pie pans.
Roll out remaining pie crust and place on top of filled pie pans.
Crimp the edges and bake pies for 25-30 minutes, or until crust is golden brown.

Make Ahead Option
After assembling the pit pies, place onto a sheet pan and freeze for 1-2 hours. Wrap each in plastic wrap and freeze for later. 
Bake from frozen at 400F for 45-55 minutes. Covering with foil if the tops brown too fast.


Comment BREAKFAST for all the recipe details.

Th
Comment BREAKFAST for all the recipe details. 

These viral sausage gravy bombs are perfect for Christmas morning! Combining the classic biscuit and gravy into a portable breakfast creation, they are a family favorite!

Ingredients
1 lb ground sausage
1/3 cup flour
2 cups milk
1 Tbsp Roasted Chicken Better than Bouillon
pepper to taste
1 pkg refrigerator biscuits

Instructions
In a large skillet cook the sausage.
Add in flour, stir to coat the sausage and cook for about 2 minutes. Add in milk boulion and pepper. Simmer until thickened.
Roll the biscuits into a small circle, then fill with about 1/4 cup gravy. Pinch up to middle to seal and place seam side down on a baking sheet. Repeat with remaining biscuits.
NOTE: if making these ahead of time you can place these in the refrigerator overnight. Then bake the next morning. 
Bake according to biscuit package.

TIP: I like to double this recipe and freeze the remaining. Pull out what I want the night before to thaw in the fridge, then place in oven on broil for a few minutes to crisp the biscuit up. BECAREFUL not to forget them in the oven and watch carefully.

#christmasbreak #makeaheadbreakfast #biscuitsandgravy


Nothing beats a room full of flour-dusted hands an
Nothing beats a room full of flour-dusted hands and people excited to learn.

Our pie and sugar cookie class with Wendy @thepeacefulhomestead gave 12 students the confidence (and the recipes) to bake treats everyone will be raving about.

These classes are always so much fun and I look forward to it every year.


(ad) A little peek into my everyday life:

School
(ad) A little peek into my everyday life:

School drop-off → recipe testing → editing → errands → cow chores and somewhere in between, I grab a @drinkolipop to keep things moving.

It’s not coffee. It’s not water. It’s just that happy moment in the middle of my day that feels like a treat and supports my wellness goals.

Today’s pick: Ginger Ale

Tomorrow? Who knows — the OLIPOP drawer stays stocked. 😉

Which flavor should I try next?

#OLIPOPpartner #DITL


So excited to get started with my new @breville Ba
So excited to get started with my new @breville Barista Touch! 

Not a perfect shot because I forgot to set the grind size to the correct spot, but stay tuned for tomorrow! 

#breville #espresso


Footer

On the Blog

  • Blog
  • Recipes

Info

  • About
  • Disclosure, Privacy Policy, and Terms

Copyright © 2025 · Theme by 17th Avenue

%d

    Rate This Recipe

    Your vote:


    A rating is required
    A name is required
    An email is required
    We use cookies to ensure that we give you the best experience on our website. If you continue to use this site we will assume that you are happy with it.