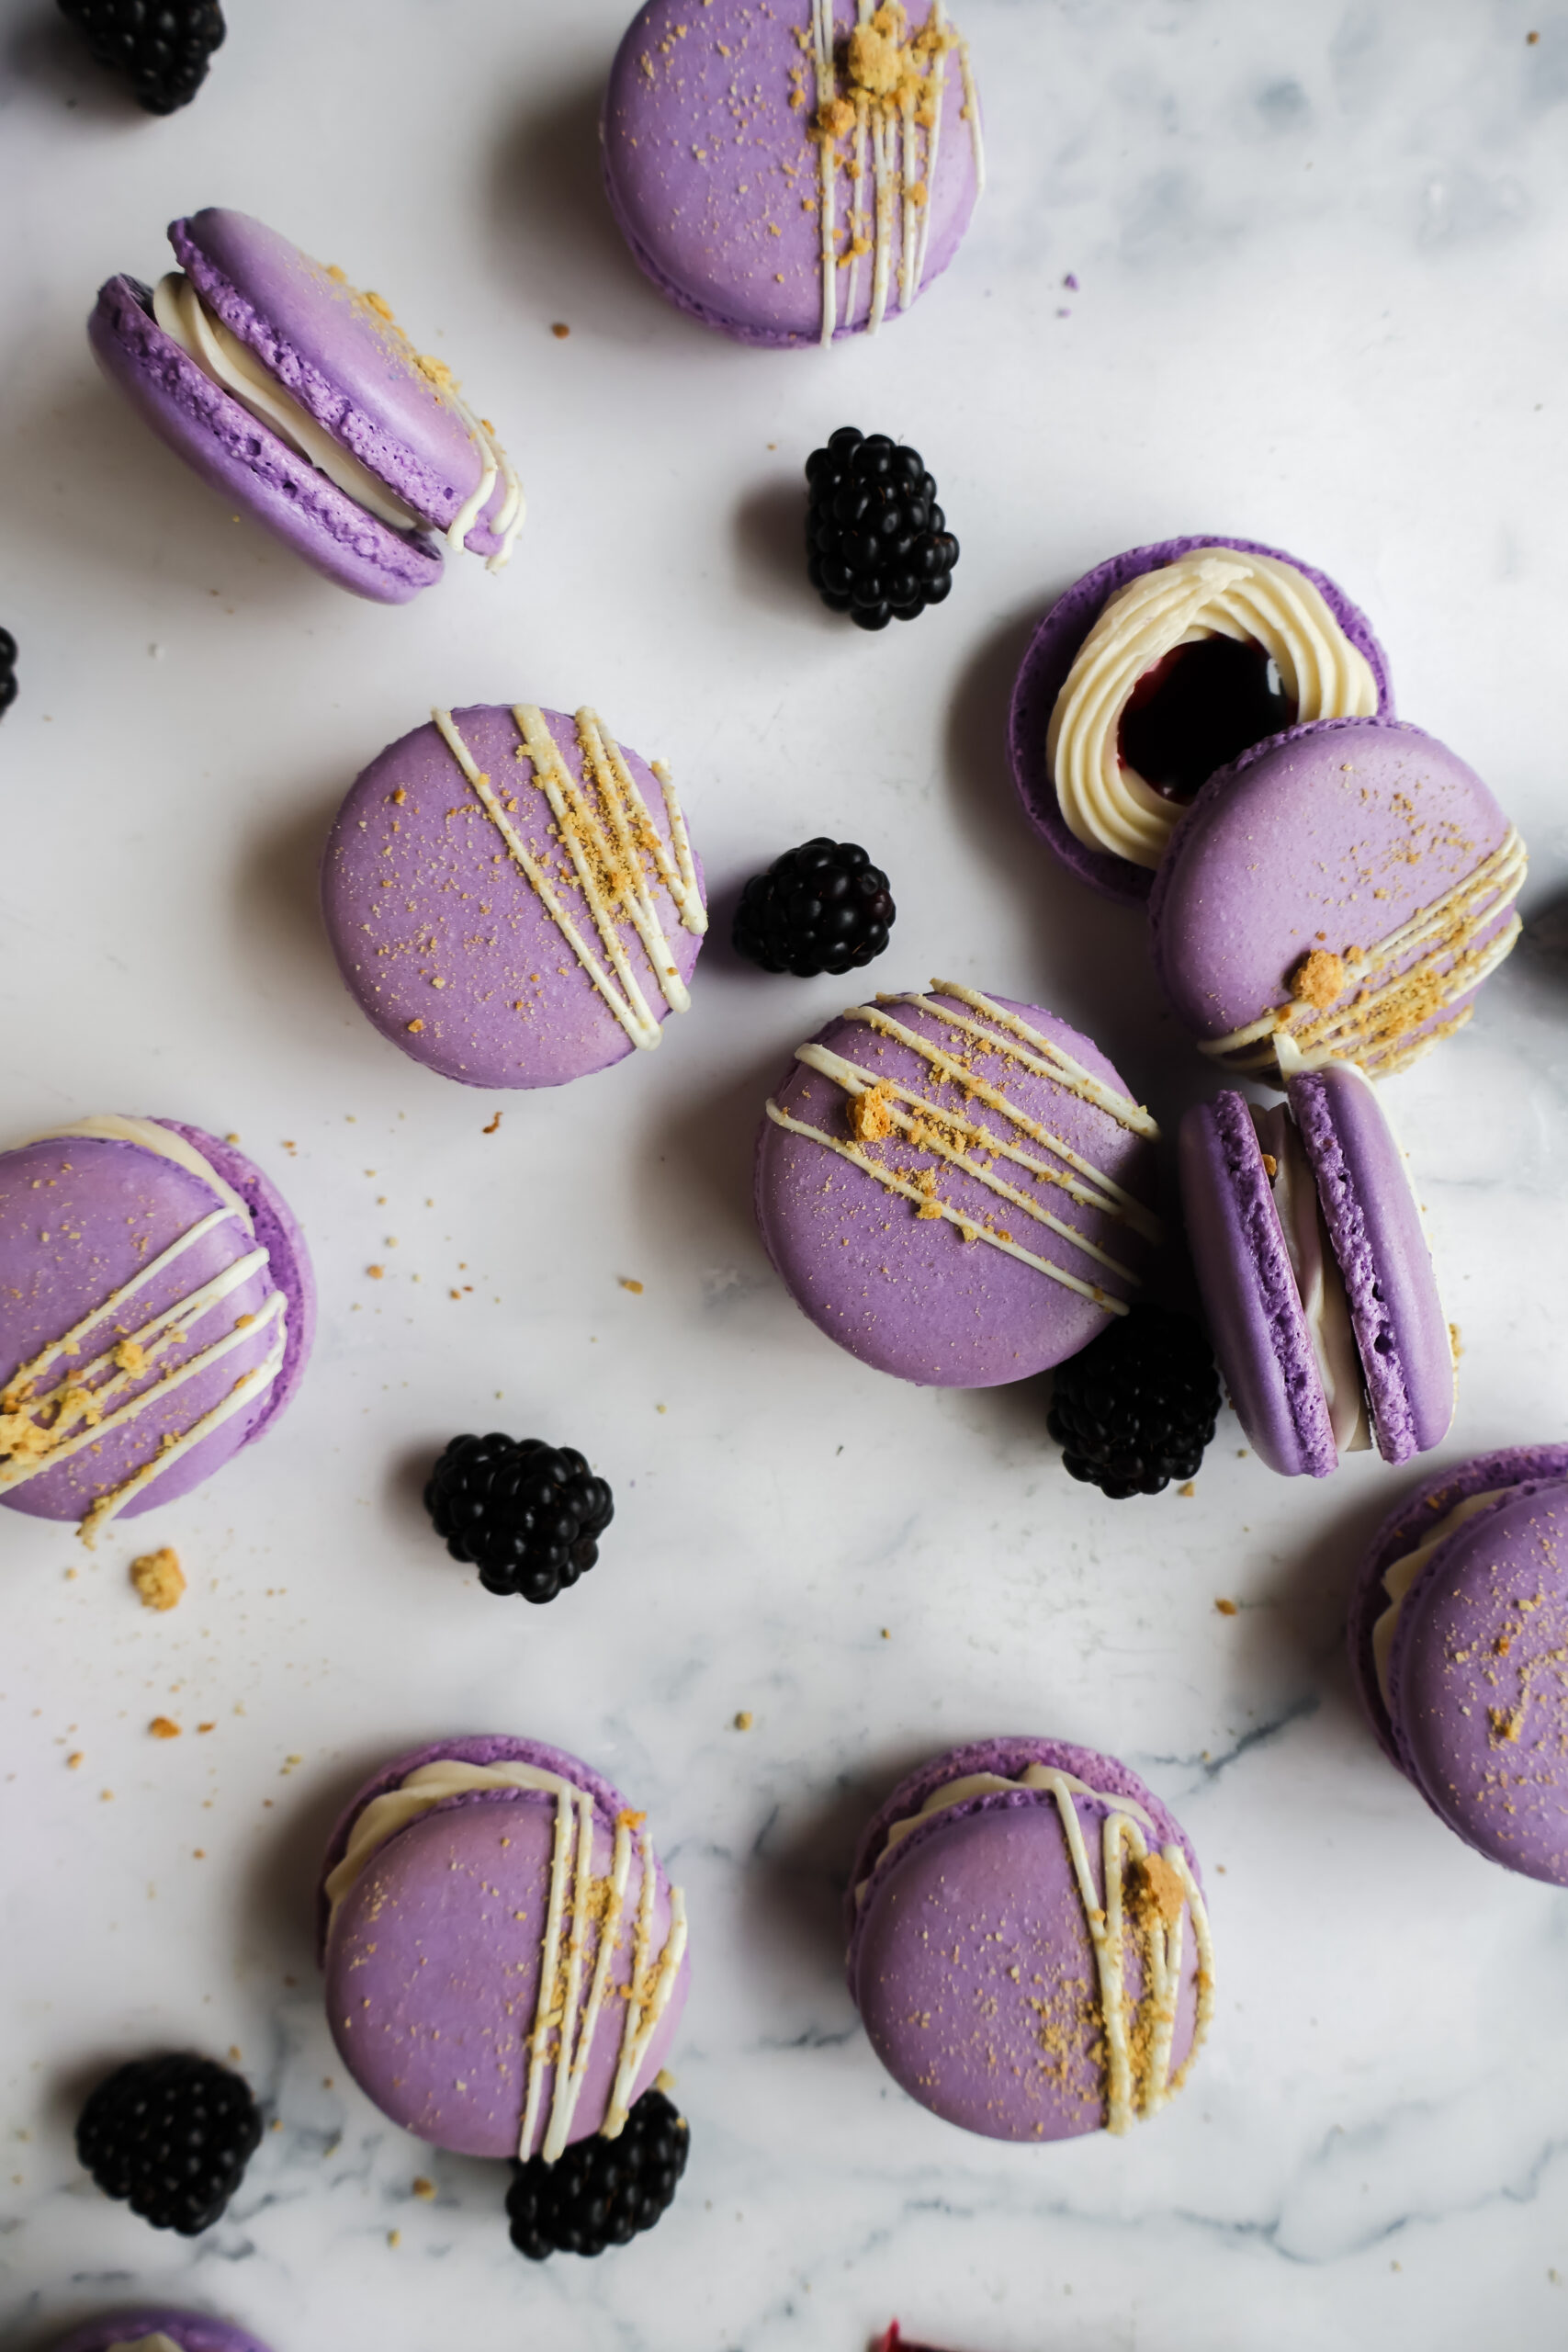
Blackberry Cheesecake Macarons
These Blackberry Cheesecake Macarons are the perfect addition to your Spring dessert list. With blackberry jam and cheesecake frosting in the center these are the macaron.

Ingredients
Macarons
- Egg Whites - I prefer to use egg whites from actual eggs, not from the carton. The meringue turns out better!
- Sugar - granulated sugar and powdered sugar
- Almond Flour - ultra fine sifted! I like Blue Diamond brand or the Kirkland brand from Costco
- Blackberries - fresh or frozen
- Lemon Juice - for the homemade jam
- Cream Cheese - for the cheesecake frosting
- Vanilla Extract - for the cheesecake frosting.
- Melted White Chocolate - for decorating (optional)
- Crushed Graham Crackers - for decorating (optional)
- Food Coloring - optional

How to Make Blackberry Cheesecake Macarons
Blackberry Jam
- Prepare blackberry jam so that it has time to cool before preparing the macarons.
- In a small sauce pan blackberries, sugar, and lemon juice. Mix to combine over medium heat while mashing the blackberries.
- Allow mixture to simmer while stirring constantly until the mixture thickens and coats the back of a wooden spoon. Remove pan and run through a fine mesh strainer to remove the seeds. Chill for at least 1 hour before using. If you prepare before making your macarons it should be ready after your macarons have cooled completely.

Macarons
- Preheat oven to 300 F. I highly recommend buying an oven thermometer to check your temperature. I have to set my oven to 285 F to have an accurate temperature. Preheat oven for at least 30 minutes. This ensures that the oven has been able to come up to temp before trying to bake.
- Weigh out all your ingredients before beginning and prepare your materials. Piping Bags: fit your piping bag with a Wilton 12 piping tip (0.25" tip). Baking Sheets: I find my macarons turn out best when I use silicone macaron mats on upside down half sheet pans. If you don't have the silicone mats, parchment paper works as well.
- With a stand mixer or electric hand mixer, whisk together your egg whites, granulated sugar, and food coloring. Taking care to not get any egg yolk in your whites (your meringue will not whip up correctly if yolks get into your whites). Whisk until the meringue is stiff and glossy. You want to have stiff peaks.
- Fold in the powdered sugar and almond flour. Press your batter against the sides of the bowl with your spatula. You can adjust your shell color at this point as well. Add more coloring if you need a more vibrant shell. You want to gently fold the mixture with your spatula, scooping up the batter from the outside of the bowl and gently twisting it into the center in a circle-like manner.
- There are several ways to know you are done mixing. Some people prefer to look for the figure-eight method. Where you want to be able to make a figure 8 with the batter without breaking. The best description that I can give when making my macarons is that I look for a batter that looks like slow moving lava when I scoop it. And holds it's shape in the bowl for about 10 seconds before melding back into the batter.
- Pour the batter into the prepared piping bag and secure the top. Holding the bag perpendicular to the baking sheet (straight up and down), pipe approximately 1.25"- 1.5" circles onto the prepared baking sheet, if using the macaron mats pipe to fill the inside circle.
- Once all circles have been piped bang the baking sheet onto the counter 2-3 times. This helps to remove any air bubbles.
- Place macarons into the oven and bake for 15-18 minutes, turning the baking sheets halfway through. You will know that your macarons are done when you can no longer wiggle the tops of the macarons. Allow macarons to cool completely on the baking sheet.

Cheesecake Filling
- In a medium sized bowl combine cream cheese, powdered sugar and vanilla extract. Mix until well combined and place into a piping bag. I used the Wilton 21 piping tip, but any medium sized tip works well. Alternatively, you could cut a hole into the tip of your piping bag.

Assemble
- Match up each of the macaron shells to similar sized shells.
- On half of the shells pipe a small border of the cheesecake filling around the edge, then fill the center with cooled blackberry jam.
- Decorate tops of macarons with melted white chocolate and crushed graham crackers if desired.
- Enjoy immediately, but macarons are best when put in an airtight container in the refrigerator to mature overnight. This allows the shell to absorb some moisture from the filling and bring all the flavors to life.

Share Your Experience
I would love to hear about your experience making and enjoying my Blackberry Cheesecake Macarons! Feel free to tag me on Instagram or leave a review below. Your feedback helps me improve our recipes and provides inspiration to fellow home cooks.
Save this recipe for later by simply using the pin button on the recipe card or any of the photos above. Happy cooking!
📖 Recipe
Blackberry Cheesecake Macarons
These Blackberry Cheesecake Macarons are the perfect addition to your Spring dessert list. With blackberry jam and cheesecake frosting in the center these are the macaron.
Ingredients
Instructions
Blackberry Jam
- Prepare blackberry jam so that it has time to cool before preparing the macarons.
- In a small sauce pan blackberries, sugar, and lemon juice. Mix to combine over medium heat while mashing the blackberries.
- Allow mixture to simmer while stirring constantly until the mixture thickens and coats the back of a wooden spoon. Remove pan and run through a fine mesh strainer to remove the seeds. Chill for at least 1 hour before using. If you prepare before making your macarons it should be ready after your macarons have cooled completely.
Macarons
- Preheat oven to 300 F. I highly recommend buying an oven thermometer to check your temperature. I have to set my oven to 285 F to have an accurate temperature. Preheat oven for at least 30 minutes. This ensures that the oven has been able to come up to temp before trying to bake.
- Weigh out all your ingredients before beginning and prepare your materials. Piping Bags: fit your piping bag with a Wilton 12 piping tip (0.25" tip). Baking Sheets: I find my macarons turn out best when I use silicone macaron mats on upside down half sheet pans. If you don't have the silicone mats, parchment paper works as well.
- With a stand mixer or electric hand mixer, whisk together your egg whites, granulated sugar, and food coloring. Taking care to not get any egg yolk in your whites (your meringue will not whip up correctly if yolks get into your whites). Whisk until the meringue is stiff and glossy. You want to have stiff peaks.
- Fold in the powdered sugar and almond flour. Press your batter against the sides of the bowl with your spatula. You can adjust your shell color at this point as well. Add more coloring if you need a more vibrant shell. You want to gently fold the mixture with your spatula, scooping up the batter from the outside of the bowl and gently twisting it into the center in a circle-like manner.
- There are several ways to know you are done mixing. Some people prefer to look for the figure-eight method. Where you want to be able to make a figure 8 with the batter without breaking. The best description that I can give when making my macarons is that I look for a batter that looks like slow moving lava when I scoop it. And holds it's shape in the bowl for about 10 seconds before melding back into the batter.
- Pour the batter into the prepared piping bag and secure the top. Holding the bag perpendicular to the baking sheet (straight up and down), pipe approximately 1.25"- 1.5" circles onto the prepared baking sheet, if using the macaron mats pipe to fill the inside circle.
- Once all circles have been piped bang the baking sheet onto the counter 2-3 times. This helps to remove any air bubbles.
- Place macarons into the oven and bake for 15-18 minutes, turning the baking sheets halfway through. You will know that your macarons are done when you can no longer wiggle the tops of the macarons. Allow macarons to cool completely on the baking sheet.
Cheesecake Filling
- In a medium sized bowl combine cream cheese, powdered sugar and vanilla extract. Mix until well combined and place into a piping bag. I used the Wilton 21 piping tip, but any medium sized tip works well. Alternatively, you could cut a hole into the tip of your piping bag.
Assemble
- Match up each of the macaron shells to similar sized shells.
- On half of the shells pipe a small border of the cheesecake filling around the edge, then fill the center with cooled blackberry jam.
- Decorate tops of macarons with melted white chocolate and crushed graham crackers if desired.
- Enjoy immediately, but macarons are best when put in an airtight container in the refrigerator to mature overnight. This allows the shell to absorb some moisture from the filling and bring all the flavors to life.


These blackberry cheesecake macarons sound divine! I love how you can customize them with optional add-ons like melted white chocolate and crushed graham crackers. I once tried making macarons and had a bit of a struggle with the consistency. Any tips on getting that perfect smooth shell? Also, how do you think store-bought egg whites would fare in this recipe?
You want to make sure you are using very finely ground almond flour. Sift it if you are in doubt that it is fine enough. You also want to make sure that you are folding everything together until you reach a lava like consistency. This will really help with that smooth shell. Also I do not recommend store bought egg whites. They work, but I find that they are harder to work with than fresh egg whites.