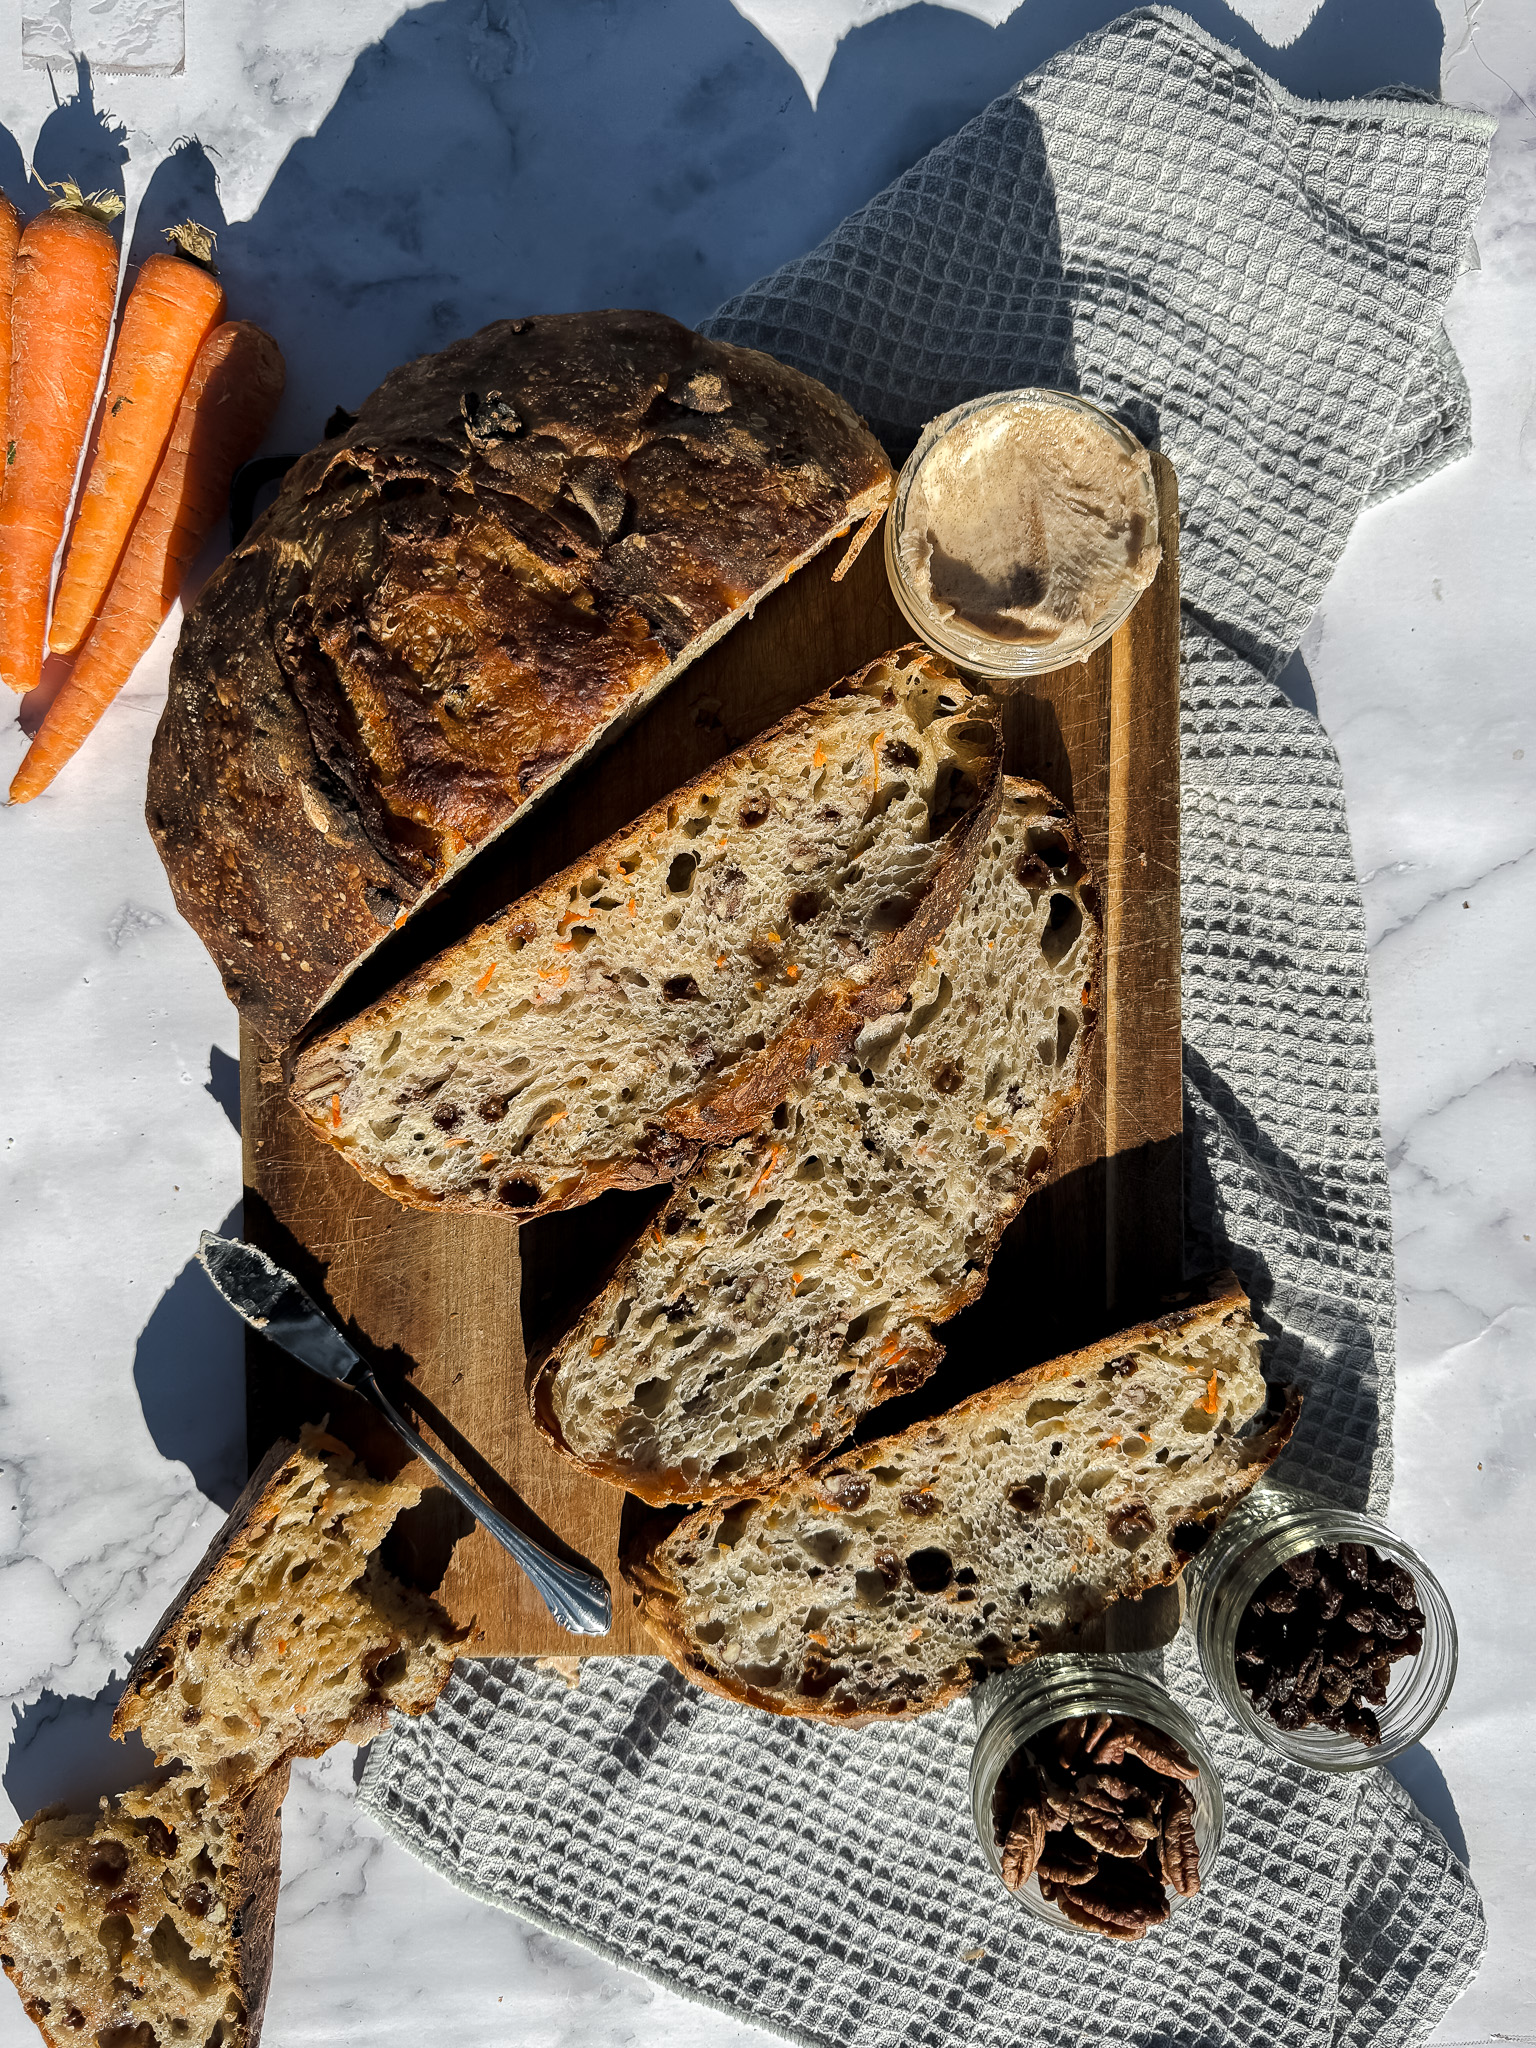
Carrot Cake Sourdough Bread
This carrot cake sourdough bread takes all the flavors of carrot cake in a delicious slice of sourdough bread.

Sample Baking Schedule
- 7:00 PM: Feed your sourdough starter 75 g flour, 75 g water, 15 g starter.
- 7:00 AM: Mix the dough, cover, and let rest for one hour. Soak raisins in warm water.
- 8:00 AM: Drain raisins. Add salt, syrup, raisins, carrots, and walnuts to dough. Mix to combine.
- 9:00 AM: Complete stretch and fold.
- 10:00 AM: Complete stretch and fold. Cover and let sit until dough has doubled in size.
- 2:00 PM: Stretch dough into rectangle, sprinkle sugar mixture, shape, and let rise in the banneton. (Let rise at room temperature and bake the same day OR cold ferment in the fridge and bake the next day.)
- 7:00 AM: Bake.
This recipe was tested in a kitchen with an ambient temperature of 70°F . Cooler kitchens will need more time and warmer kitchens will need less time.

How to Make Sourdough Bread
Step 1:
Feed your sourdough starter. I like to feed 1:5:5 ratio the night before (15g starter, 75g flour, 75g water) so that the starter is ready in about 12 hours. I will also feed a 1:1:1 ratio the morning of (50g starter, 50g flour, 50g water) so that the starter is ready in about 4 hours.
Step 2:
NOTE: I prefer to use a kitchen scale to measure out my ingredients. I feel like it helps minimize any variations, but you can use measuring cups.
In a large bowl combine Active Sourdough Starter, Water, and Bread Flour. Mix well so that all of the flour has been absorbed.
While the dough is resting add the raisins to a small bowl and cover with water. Soaking the raisins will help the control how much liquid the raisins absorb. Drain liquid from the raisins before adding to the dough.
Step 3:
Add in salt, maple syrup, pecans, raisins and carrots. Mix until everything is mostly combined. Cover and let sit for 30-60 minutes. Then complete 2 rounds of stretch and folds 30-60 minutes apart.
Step 4:
Cover and let ferment for 4-8 hours. With the addition of maple syrup the dough will ferment faster than a regular loaf of sourdough. I like to mix this up in the morning and let it sit during the day so I can keep an eye on the dough.
Step 5:
In a small bowl combine sugar, cinnamon, and nutmeg.
After the dough has doubled in size pour onto the counter and gently stretch into a rectangle. Sprinkle the sugar mixture over the dough and fold the dough to shape. I fold into thirds, and then thirds again. Flip the dough over and shape using a push and pull motion. Do this gently, you do not want the surface to tear, but want the folds no longer visible. The dough will be more prone to ripping with the inclusions.
Alternatively, you can place the dough into a standard loaf pan if shaping is intimidating or your dough rips.
Step 6:
Sprinkle the loaf with brown rice flour and place into a small bowl (or banneton basket). Sprinkle a little more brown rice flour, cover and let proof for 30-90 minutes on the counter. While the dough is on its final proof preheat a dutch oven inside your oven at 450. You want the Dutch oven nice and hot!
Step 7:
After your dough has proofed, flip onto a piece of parchment paper and score the loaf.
Gently place your parchment lined loaf into your dutch oven. Bake covered at 450 for 20 minutes, then uncovered at 425 for 20 minutes. Your crust should be nice and golden brown when it is done. If you aren't sure if your loaf is completely cooked, use a thermometer to see if the internal temperature reaches 190 F.

How to store and freeze
Store the bread in a plastic bag or bread bag at room temperature for up to 2 days. I also love to store by bread in a domed cake stand.
I love to store slices of sourdough bread in the freezer. Place small sheets of parchment paper between each slice so that they do not freeze together. Store in a freezer-safe bag in the freezer for up to a month.
When you are ready to eat, simply take whatever portion you need out of the freezer and allow it to thaw to room temperature.
Share Your Experience
I would love to hear about your experience making and enjoying this Carrot Cake Sourdough Bread! Feel free to tag me on Instagram or leave a review below. Your feedback helps me improve our recipes and provides inspiration to fellow home bakers.
Save this recipe for later by simply using the pin button on the recipe card or any of the photos above. Happy baking!
📖 Recipe
Ingredients
Instructions
- In a large bowl combine water, starter, and flour. Mix until most of the flour has been combined. Cover and let sit for 30 minutes.
- While the dough is resting add the raisins to a small bowl and cover with water. Soaking the raisins will help the control how much liquid the raisins absorb. Drain liquid from the raisins before adding to the dough.
- Add in salt, maple syrup, pecans, raisins and carrots. Mix until everything is mostly combined. Cover and let sit for 30-60 minutes.
- Perform 2 sets of stretch and folds 30-60 minutes apart.
- Cover and let ferment for 4-8 hours. With the addition of maple syrup the dough will ferment faster than a regular loaf of sourdough. I like to mix this up in the morning and let it sit during the day so I can keep an eye on the dough.
- In a small bowl combine sugar, cinnamon, and nutmeg.
- After the dough has doubled in size pour onto the counter and gently stretch into a rectangle. Sprinkle the sugar mixture over the dough and fold the dough to shape. I fold into thirds, and then thirds again. Flip the dough over and shape using a push and pull motion. Do this gently, you do not want the surface to tear, but want the folds no longer visible. The dough will be more prone to ripping with the inclusions.
- Alternatively, you can place the dough into a standard loaf pan if shaping is intimidating or your dough rips.
- Sprinkle the loaf with brown rice flour and place into a small bowl (or banneton basket). Sprinkle a little more brown rice flour, cover and let proof for 30-90 minutes on the counter. While the dough is on its final proof preheat a dutch oven inside your oven at 450. You want the Dutch oven nice and hot!
- After your dough has proofed, flip onto a piece of parchment paper and score the loaf.
- Gently place your parchment lined loaf into your dutch oven. Bake covered at 450 for 20 minutes, then uncovered at 425 for 20 minutes. Your crust should be nice and golden brown when it is done. If you aren't sure if your loaf is completely cooked, use a thermometer to see if the internal temperature reaches 190 F.


Just baked this loaf this morning and it's incredible! I did substitute nuts for chocolate chips as a sweet loaf, and covered for the entire 40 minutes - I don't like my bread too crusty. Bread turned out incredibly fluffy and crispy on the outside.
Will definitely save this recipe. Hoping this will work without all the inclusions as well.