How to Make Cowboy Casserole
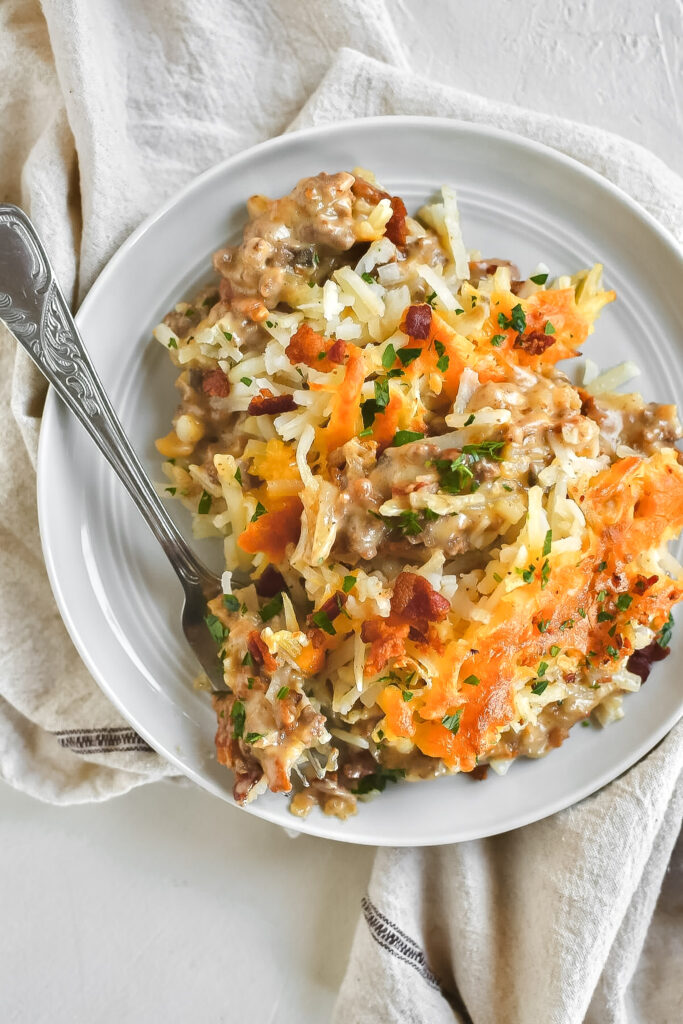
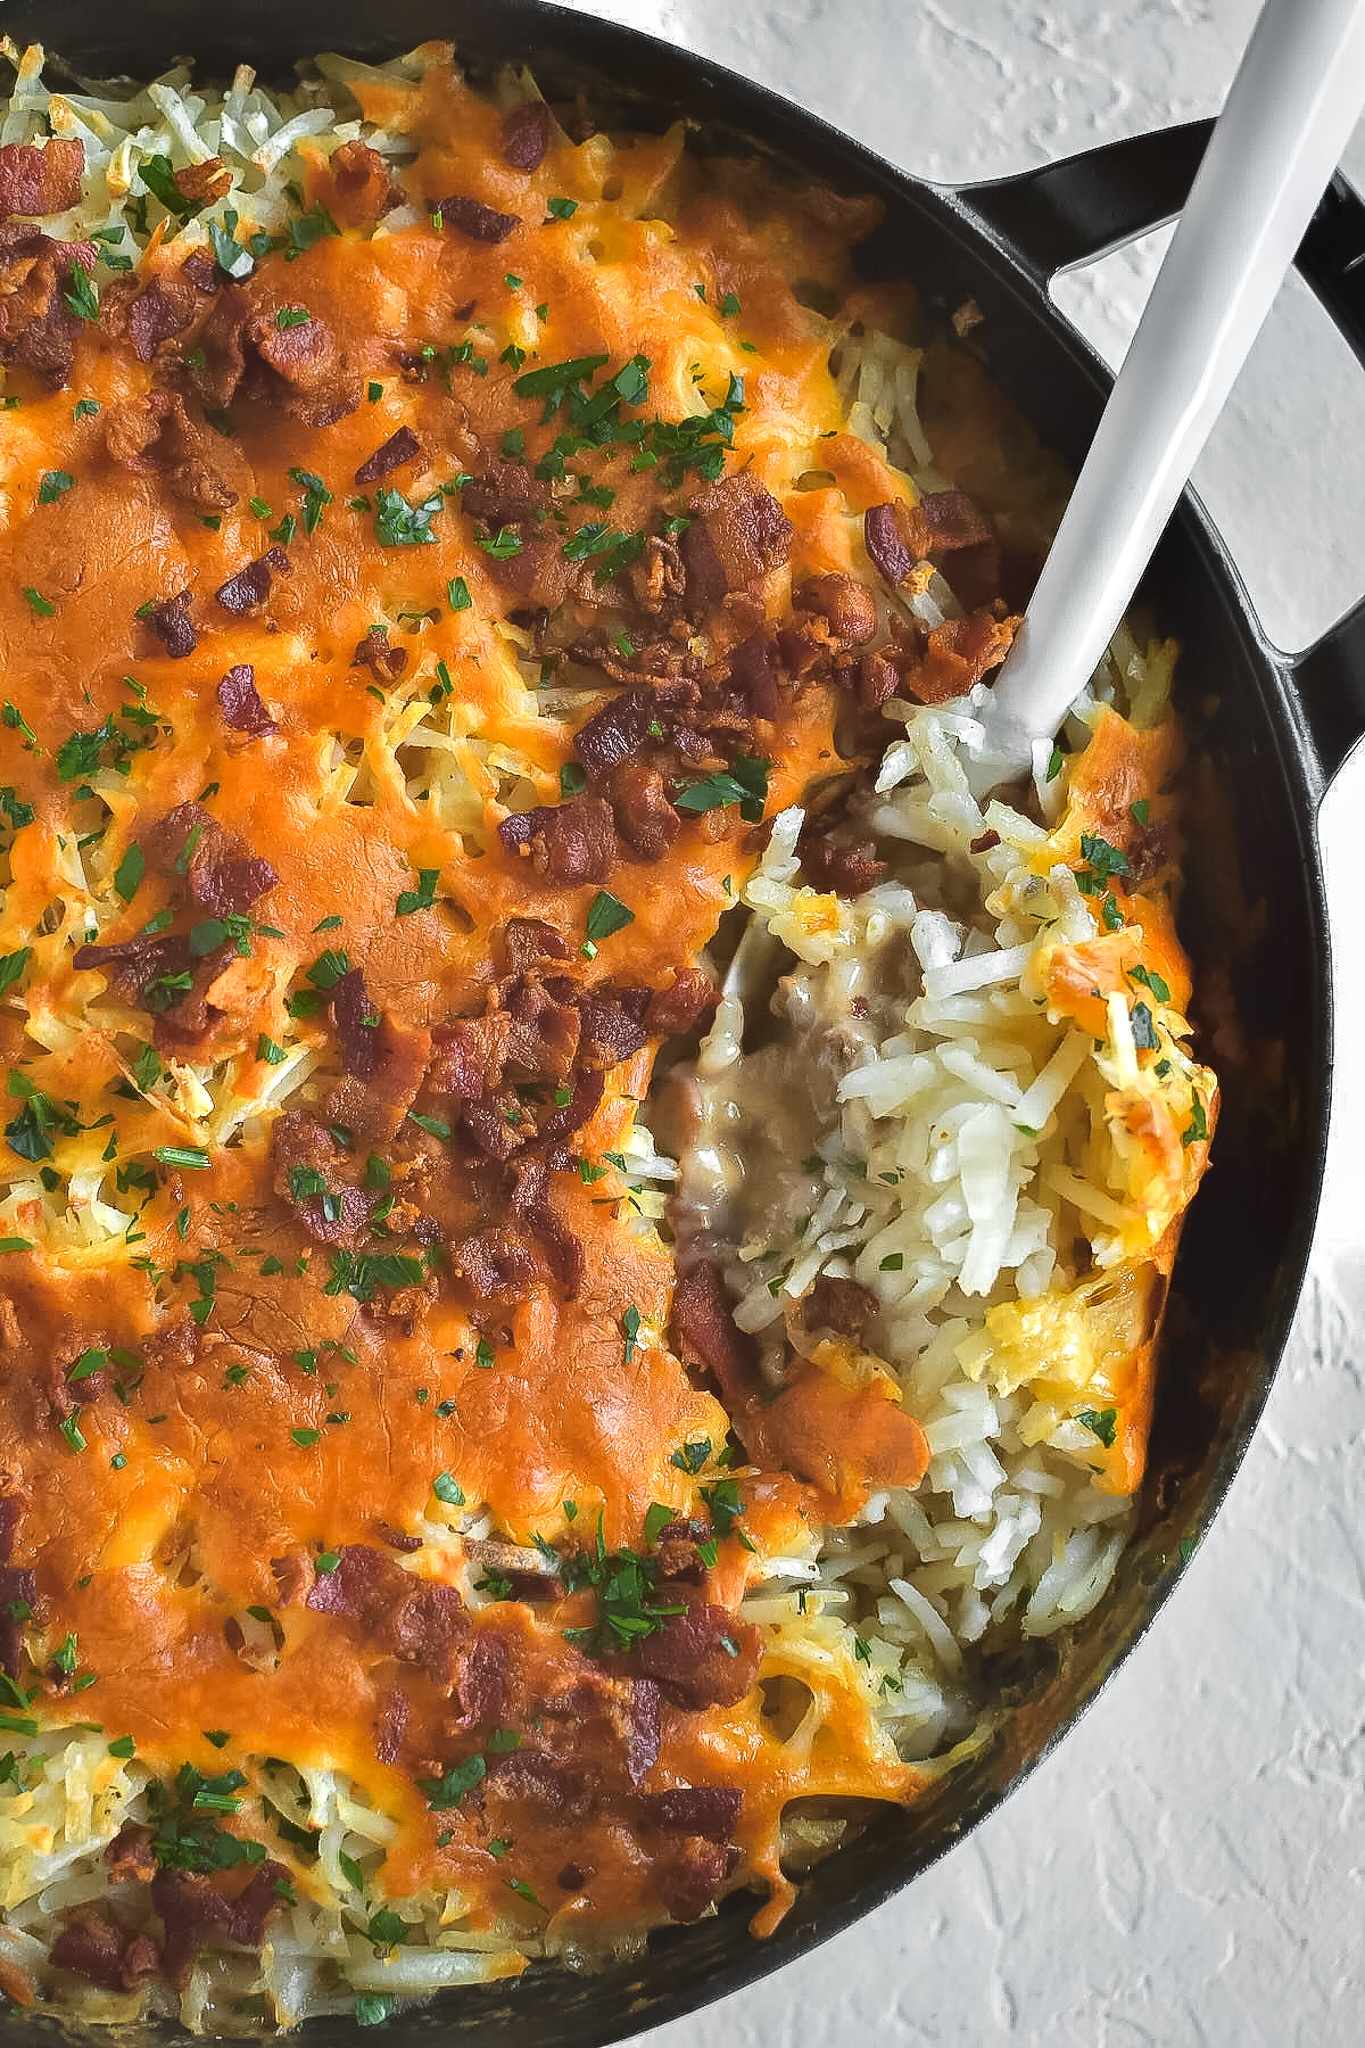
Cowboy casserole is a fun twist on tater tot casserole. Its creamy filling has smokey bacon, shredded hash browns, and ground beef.
This post was updated August 2022 to add in bacon and an even easier way to make the casserole.
This post may contain affiliate links where I earn a small commission.

Cowboy casserole is one my go to quick and easy dinner meals. It may not be the healthiest meal, but my husband and sons love it. The casserole is so easy to make and is a great for a make ahead freezer meal. I love to take this recipe and double it whenever I make it. One is for us to eat, and the other heads to the freezer for another day when cooking dinner is just not going to happen.
This recipe calls for condensed cream of mushroom soup but if you really want to upgrade this family comfort dinner, try my easy Homemade Cream of Mushroom Soup to make your own. It includes a few simple ingredients, and I will often make a double batch and store in my 1 cup Souper Cubes to sub in cream of mushroom soup when needed.
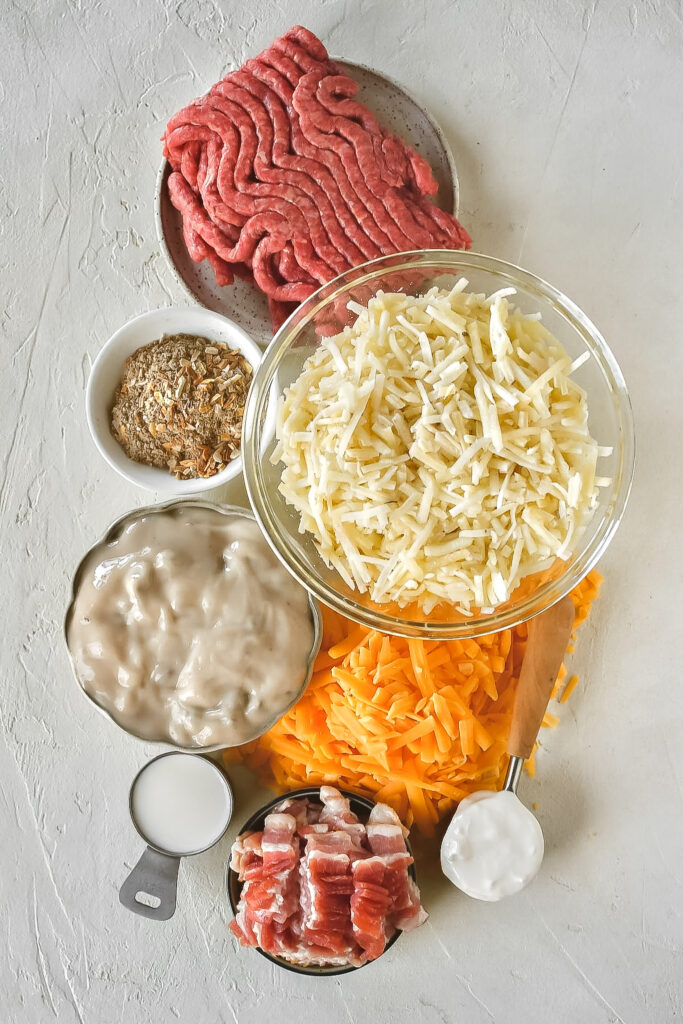
So what's in cowboy casserole?
Ground Beef - you could swap for another ground meat, but beef is our favorite.
Cream of Mushroom Soup - this gives the filling a nice creamy texture. Make sure to give my homemade cream of mushroom soup a try with this!
Onion Soup Mix - alternatively you could make your own with my DIY onion soup mix recipe. It includes dried minced onion, onion powder, powdered bouillon, and celery seed, but the packet is so convent.
Bacon - need I say more? Tip: take some of the bacon grease and mix it into the hashbrowns prior to layering!
Hash Browns - I almost always have frozen has browns on hand, but have used tatortots as well.
Milk + Sour Cream - just to up the creaminess factor.
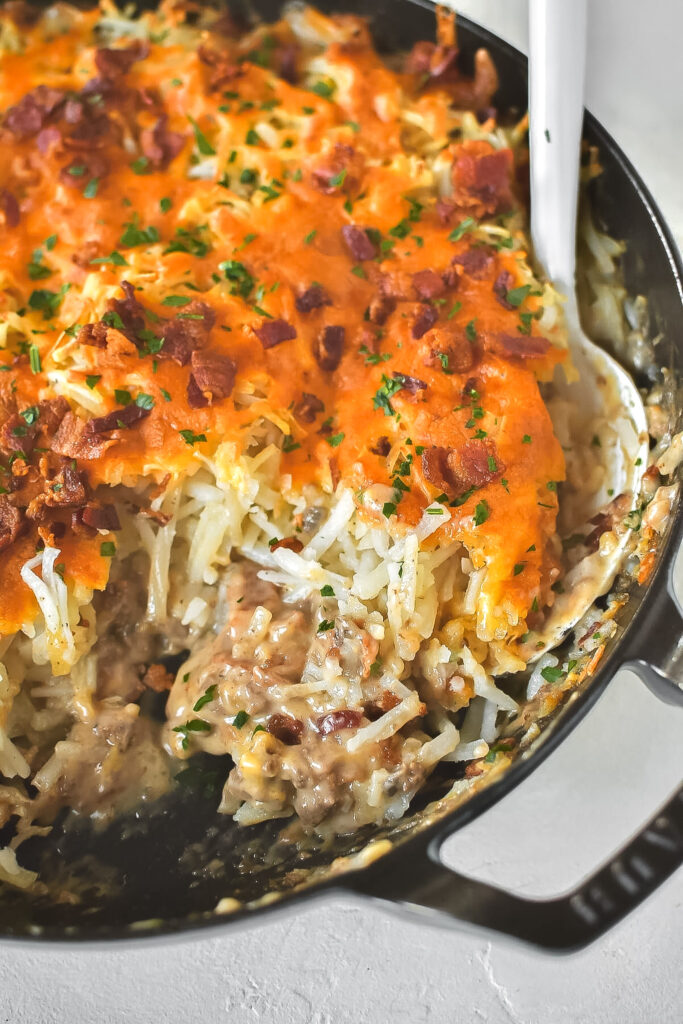
Recently I have been making this cowboy casserole even easier by cooking the beef filling in a cast-iron pan or enamel coated casserole pan. I use to make a sandwich of hash browns, with half the hash browns, then the meat mixture, and then top with the remaining hash browns. However, have since started cooking everything in one pan. Less dishes = happier mom. If you don't have a cast iron pan, you can always cook everything in whatever skillet you have and then transfer to a baking dish before topping with hash browns.
How to make Cowboy Casserole
- Preheat oven to 400.
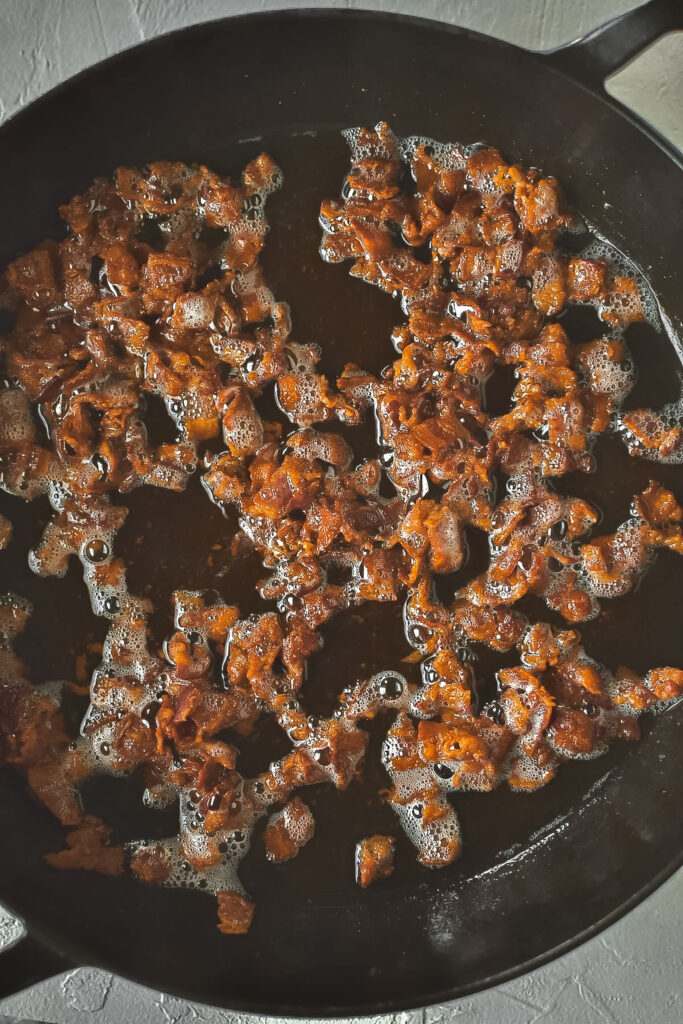
- Cut bacon into small pieces and cook in a large cast iron skillet. Remove bacon from the pan and remove most of the bacon grease.
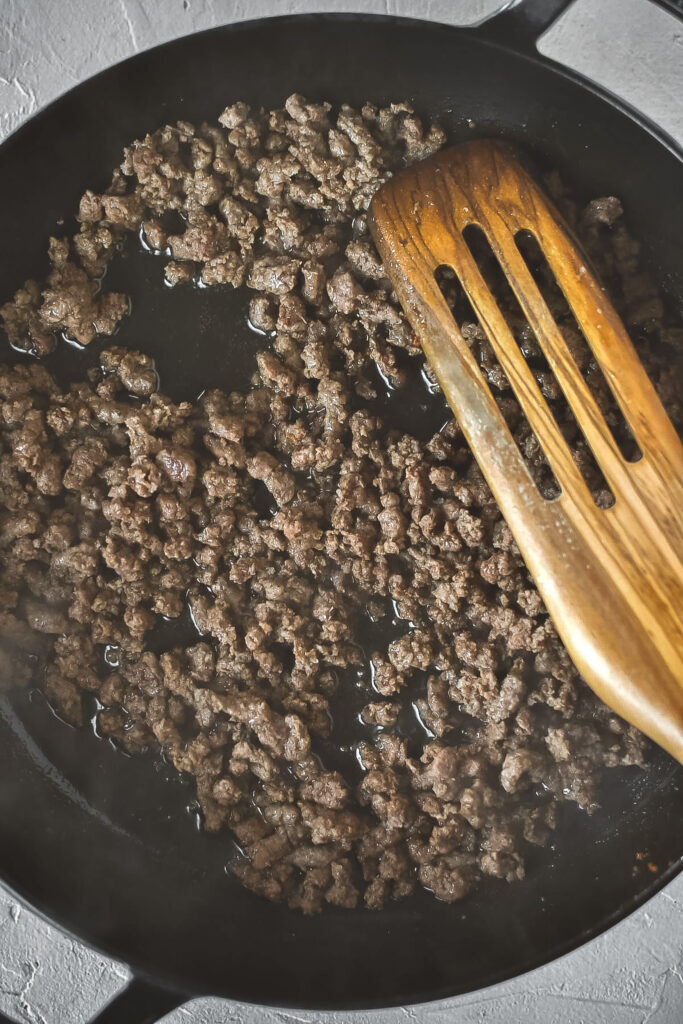
- Add ground beef to the skillet and cook until brown.
- Add Lipton onion, cream of mushroom soup, milk, sour cream, ½ cup cheese, and cooked bacon. Stir until combined.

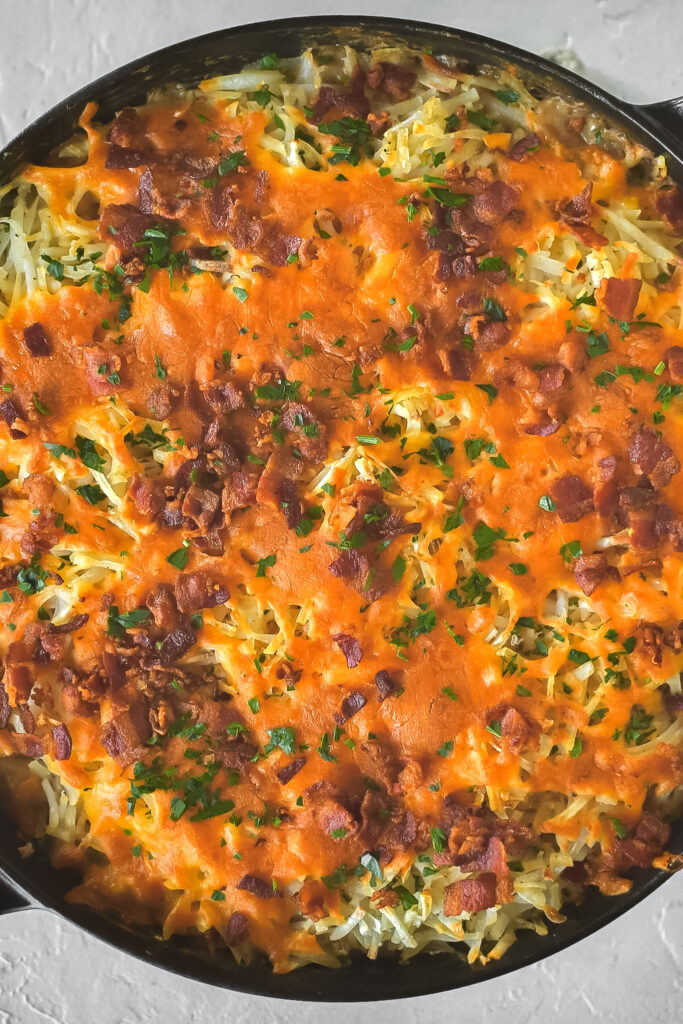
- Pour hasbrowns on top of cooked meat mixture and top with remaining cheese. (Tip: you can toss the hashbrowns in the bacon grease prior to topping the meat mixture for extra flavor).

- Bake for 25-30 minutes. Enjoy!
Want more like this?
Struggle with planning out your meals for the week? Check out my meal plan guides! You can use code FARMSTYLEMEALS to get 50% off any of my meal plans!
-
 Product on saleField MealsOriginal price was: $10.00.$7.00Current price is: $7.00.
📖 Recipe
Cowboy Casserole
Ingredients
Equipment
Instructions
- Preheat oven to 400.
- Cut bacon into small pieces and cook in a large cast iron skillet. Remove bacon from the pan and remove most of the bacon grease.

- Add ground beef to the skillet and cook until brown.

- Add Lipton onion, cream of mushroom soup, milk, sour cream, ½ cup cheese, and cooked bacon. Stir until combined.

- Pour hasbrowns on top of cooked meat mixture and top with remaining cheese. (Tip: you can toss the hashbrowns in the bacon grease prior to topping the meat mixture for extra flavor).

- Bake for 25-30 minutes. Enjoy!


Are the hash browns frozen, thawed, or cooked?
I use frozen, straight from the bag.
Thank you!
Are you baking till the hash browns are toasted on top.
Yes, I’m baking until they are no longer frozen and the cheese is a little crispy.
Hi! It says you add bacon, but that’s not in the recipe… I assume you just add it crumbled with the ground beef mixture?
Oh yes! I'm going to update that now! Yes, if it is cooked I just add it in after I cook the ground beef. If I don't have some already cooked I will chop it up into little pieces and cook it most of the way then add in the ground beef to cook it.
How much "home made" cream of mushroom soup?
About 2.5 cups!
What is the nutritional information on this recipe?
Sorry for the delay! I entered the information into myfitnesspal and got the following information if you split the recipe into 8 servings:
calories: 464, fat: 35.8g, carbs: 13.2 g, protein: 22.8 g.
I first found this recipe on your TikTok. It's slightly different -- oven temp is 350, 1 can of soup, 1/2 cup each milk & sour cream, 2 cups shredded cheese. Which is right? 🙁
Hi! I'm honestly really bad at following my own recipes. Either one will give you a delicious result. Add the extra can of soup for more sauce if you want. The great thing about cooking vs baking is minor adjustments don't typically make a huge difference int he final result. Cooking at 400 just shortens your total bake time and may give you a crispier top.
Can you freeze it raw and then defrost and bake or do you have to bake and then freeze?
I freeze it unbaked ?
Can this be made the day before and cook it the next day
Yes!
I only have cream of chicken soup. Can I use that instead?
Absolutely
Super easy, yummy, and comforting weeknight meal!
Super delicious thank you! As I read through the recipe it doesn’t mention draining the grease. I did just because that’s what I always do, but do you leave the grease?
Hi! My ground beef is usually very lean, so I don't feel the need to drain the grease. If you prefer to that is great!