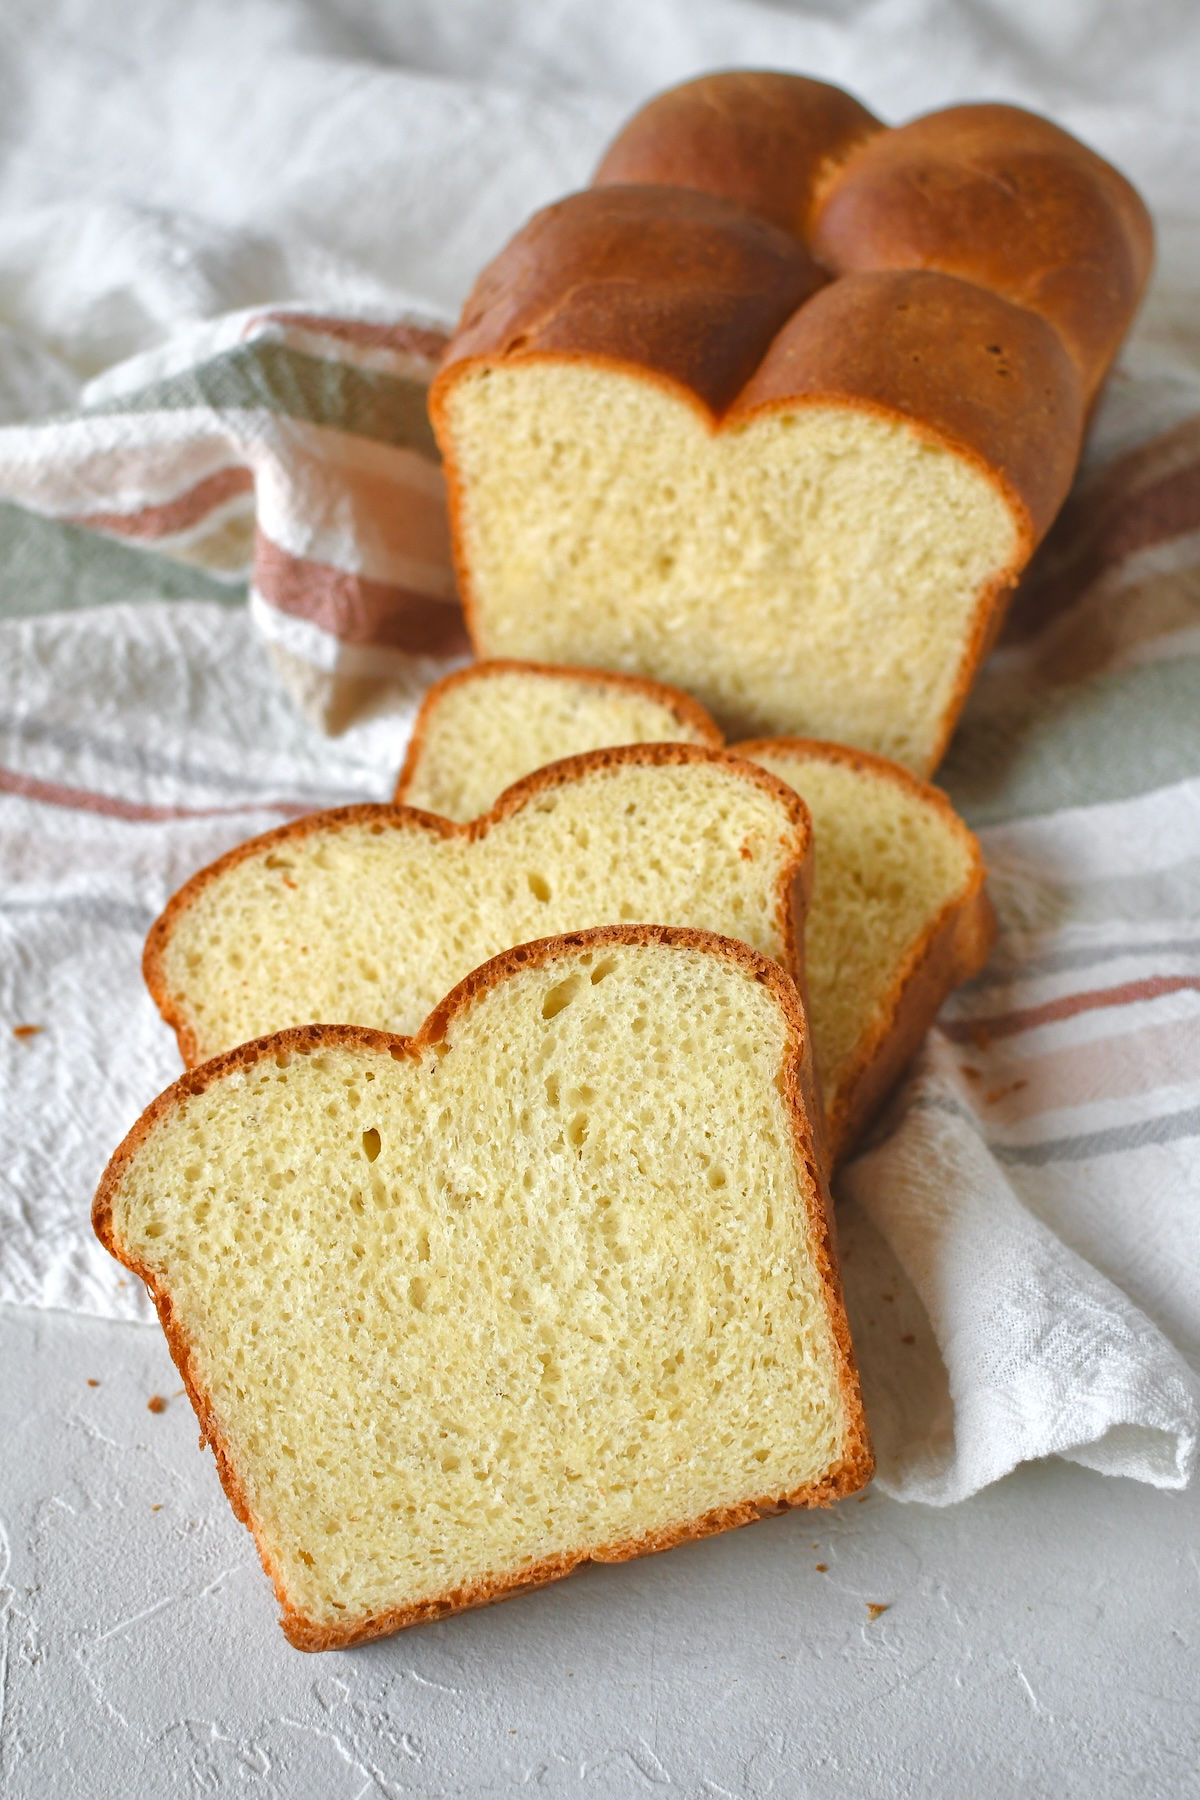
The Best Homemade Brioche Bread
If you've always wanted to make homemade brioche bread but thought it was too complicated, this recipe is for you. Made with just seven pantry staples, this easy overnight brioche dough requires minimal hands-on time while the refrigerator does the hard work.
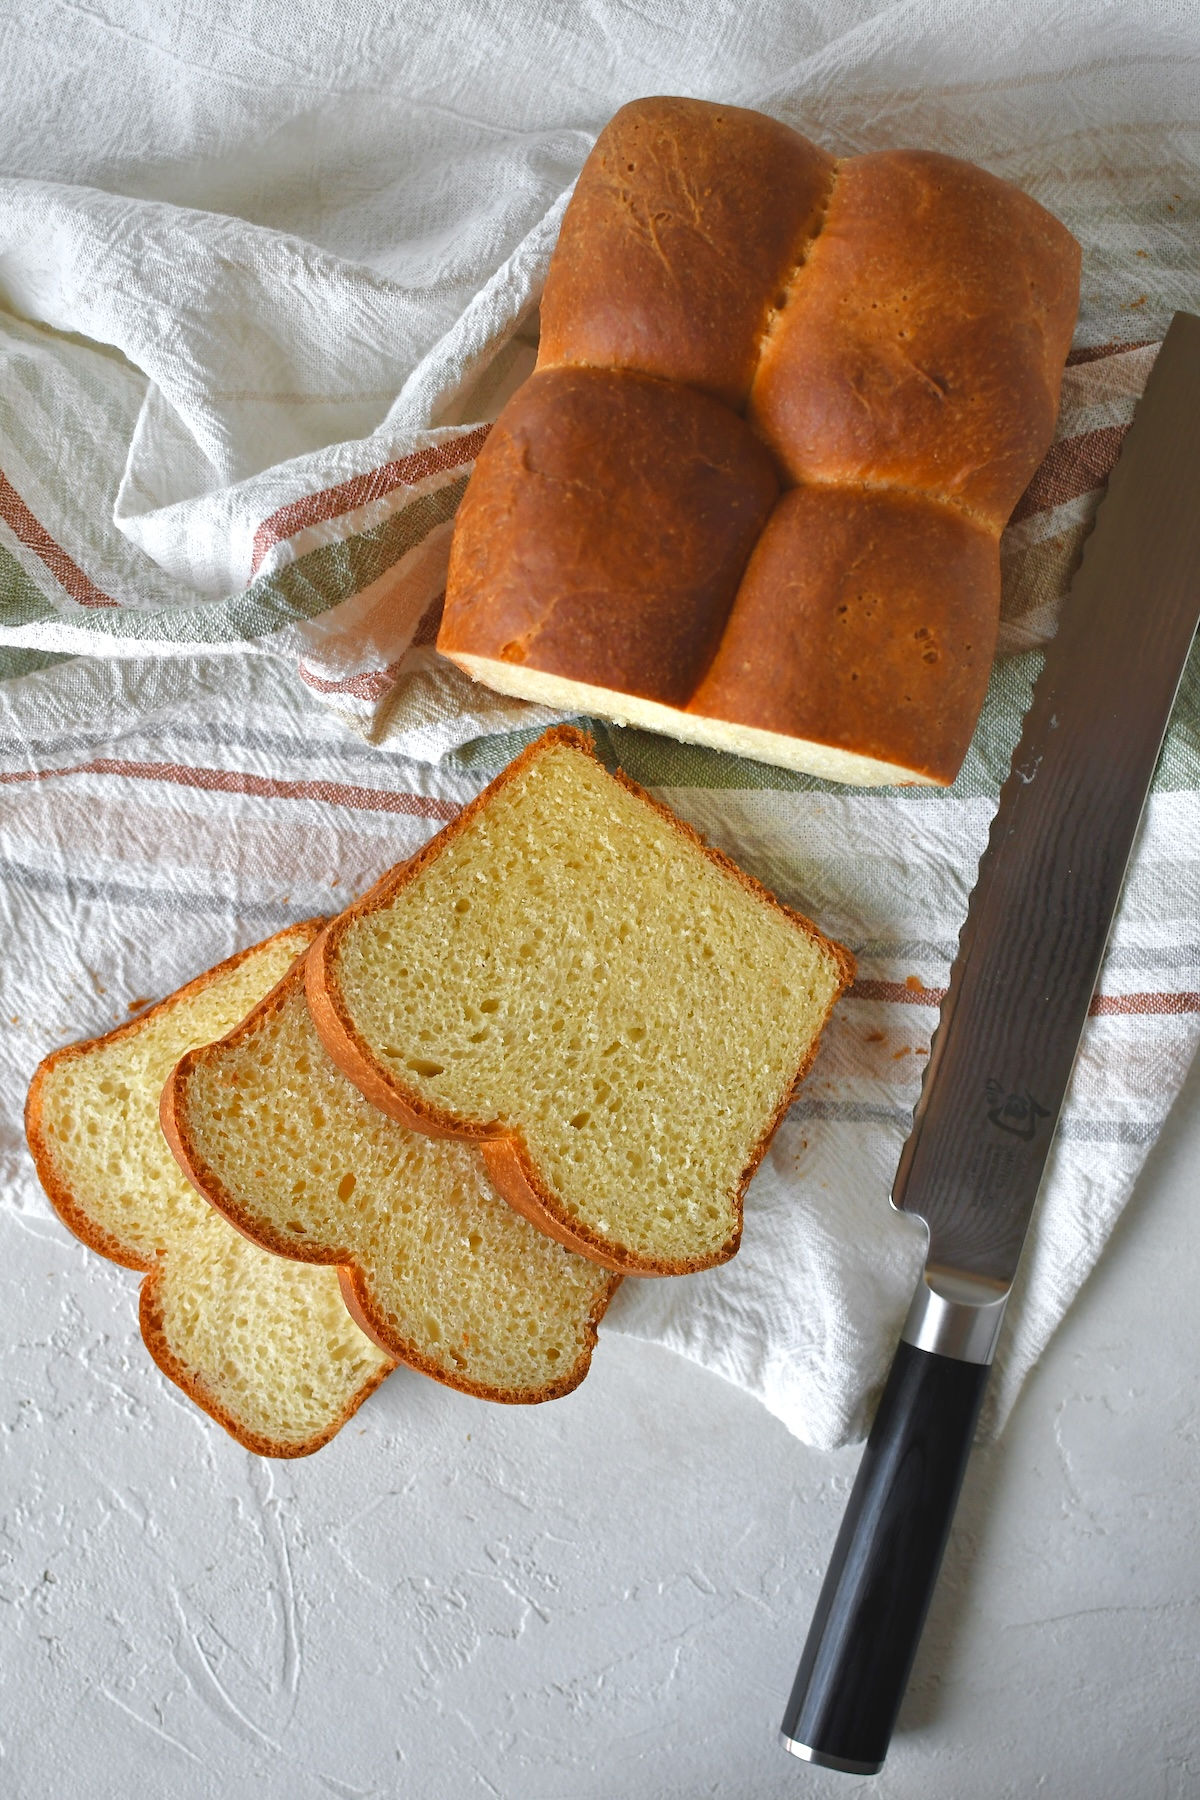
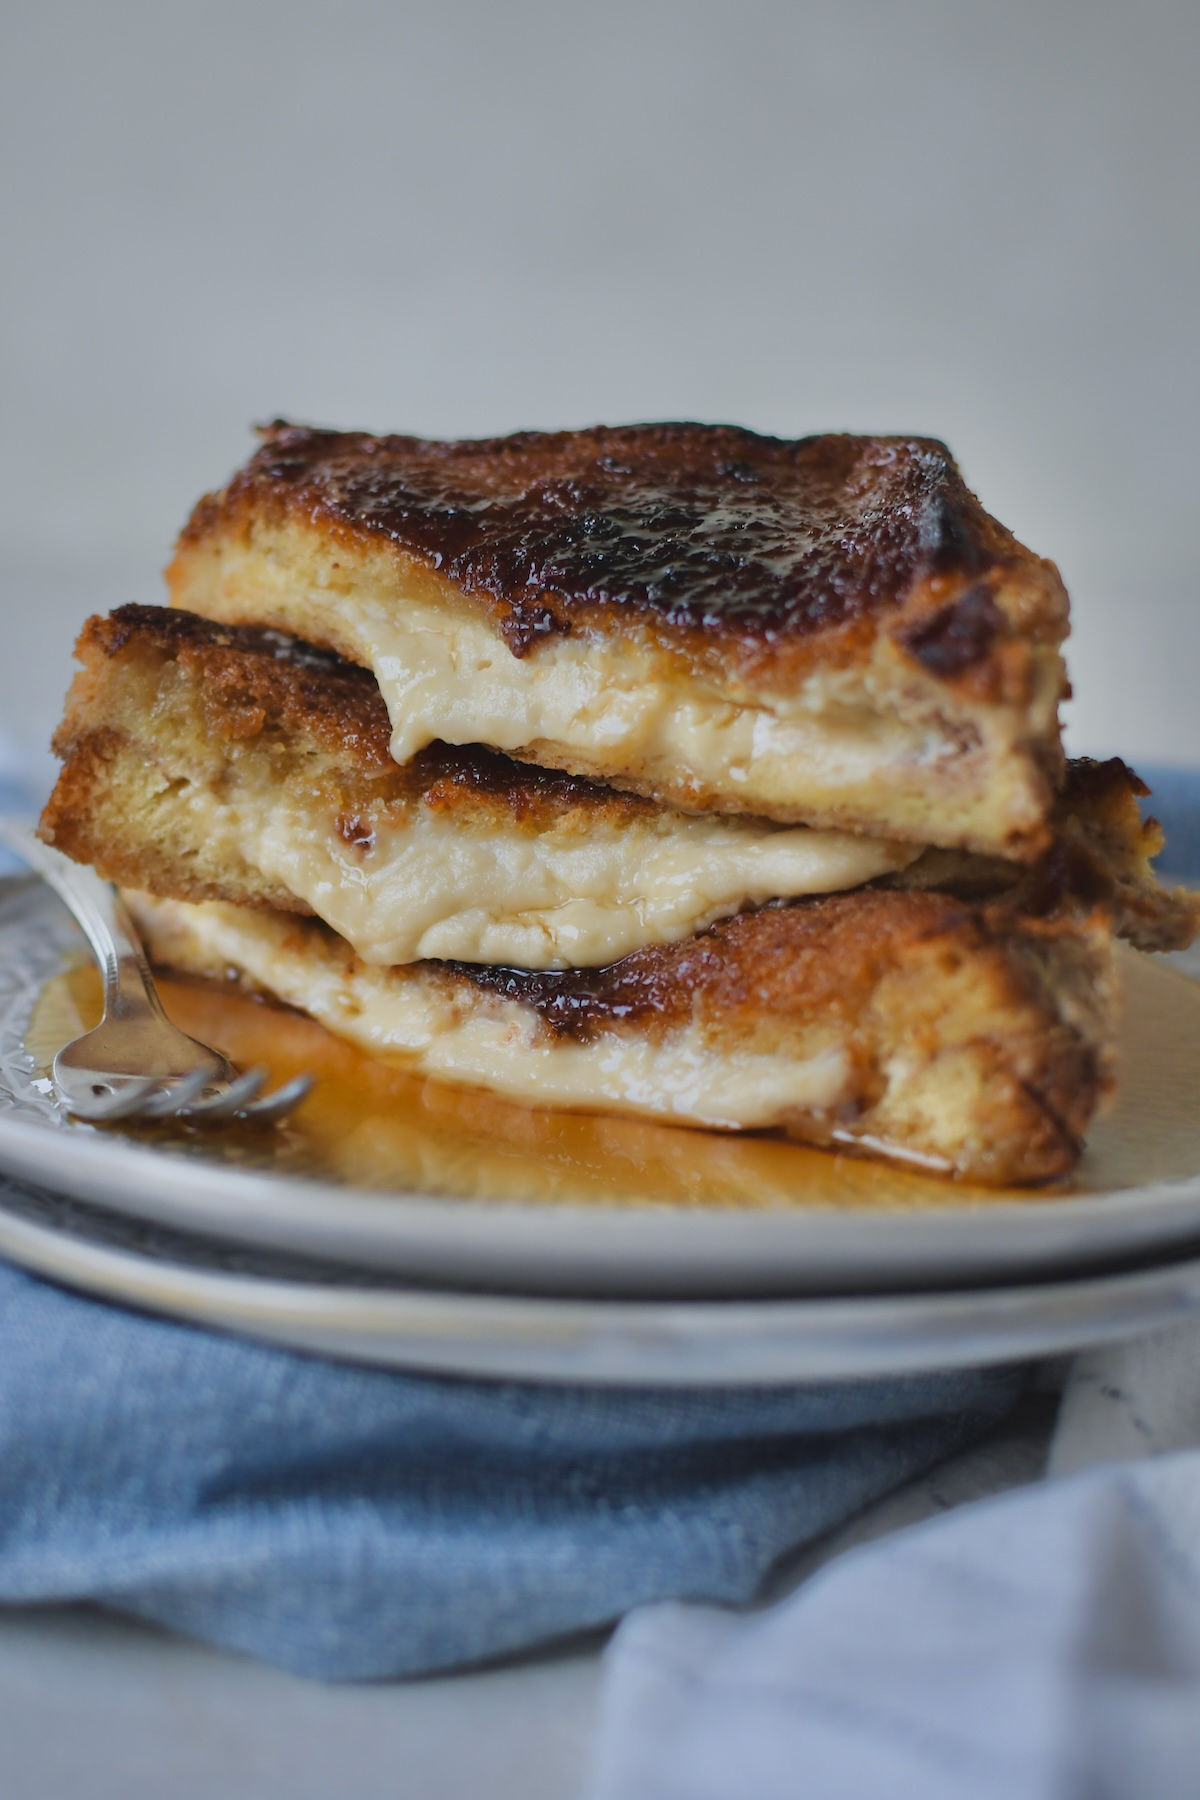
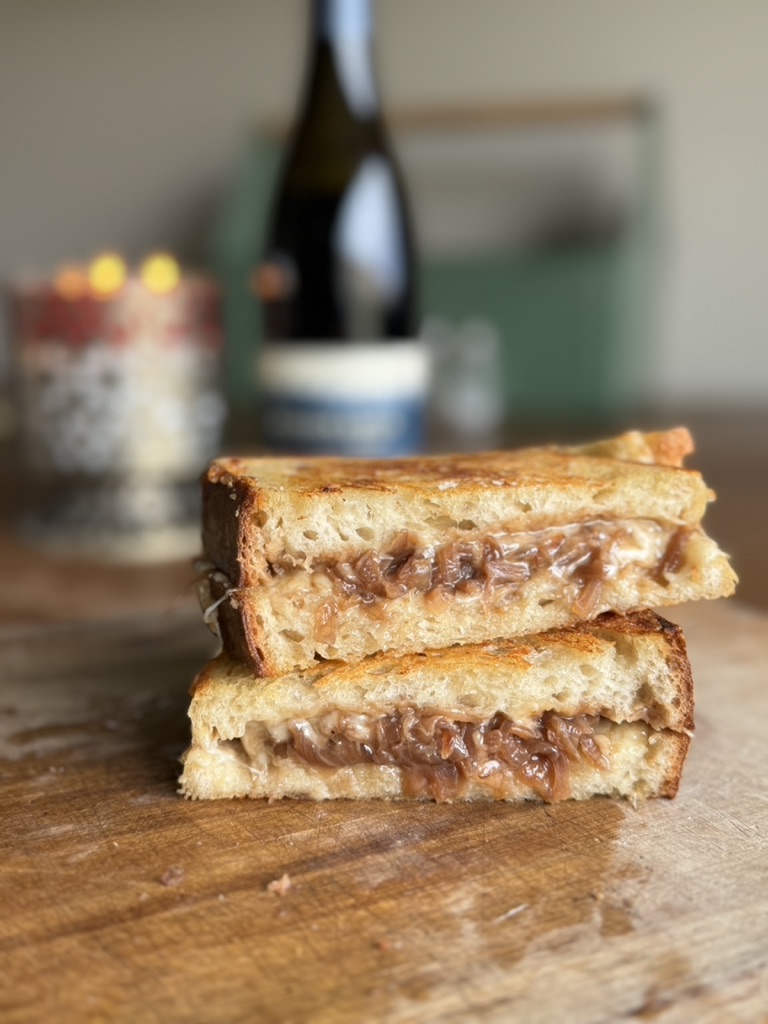
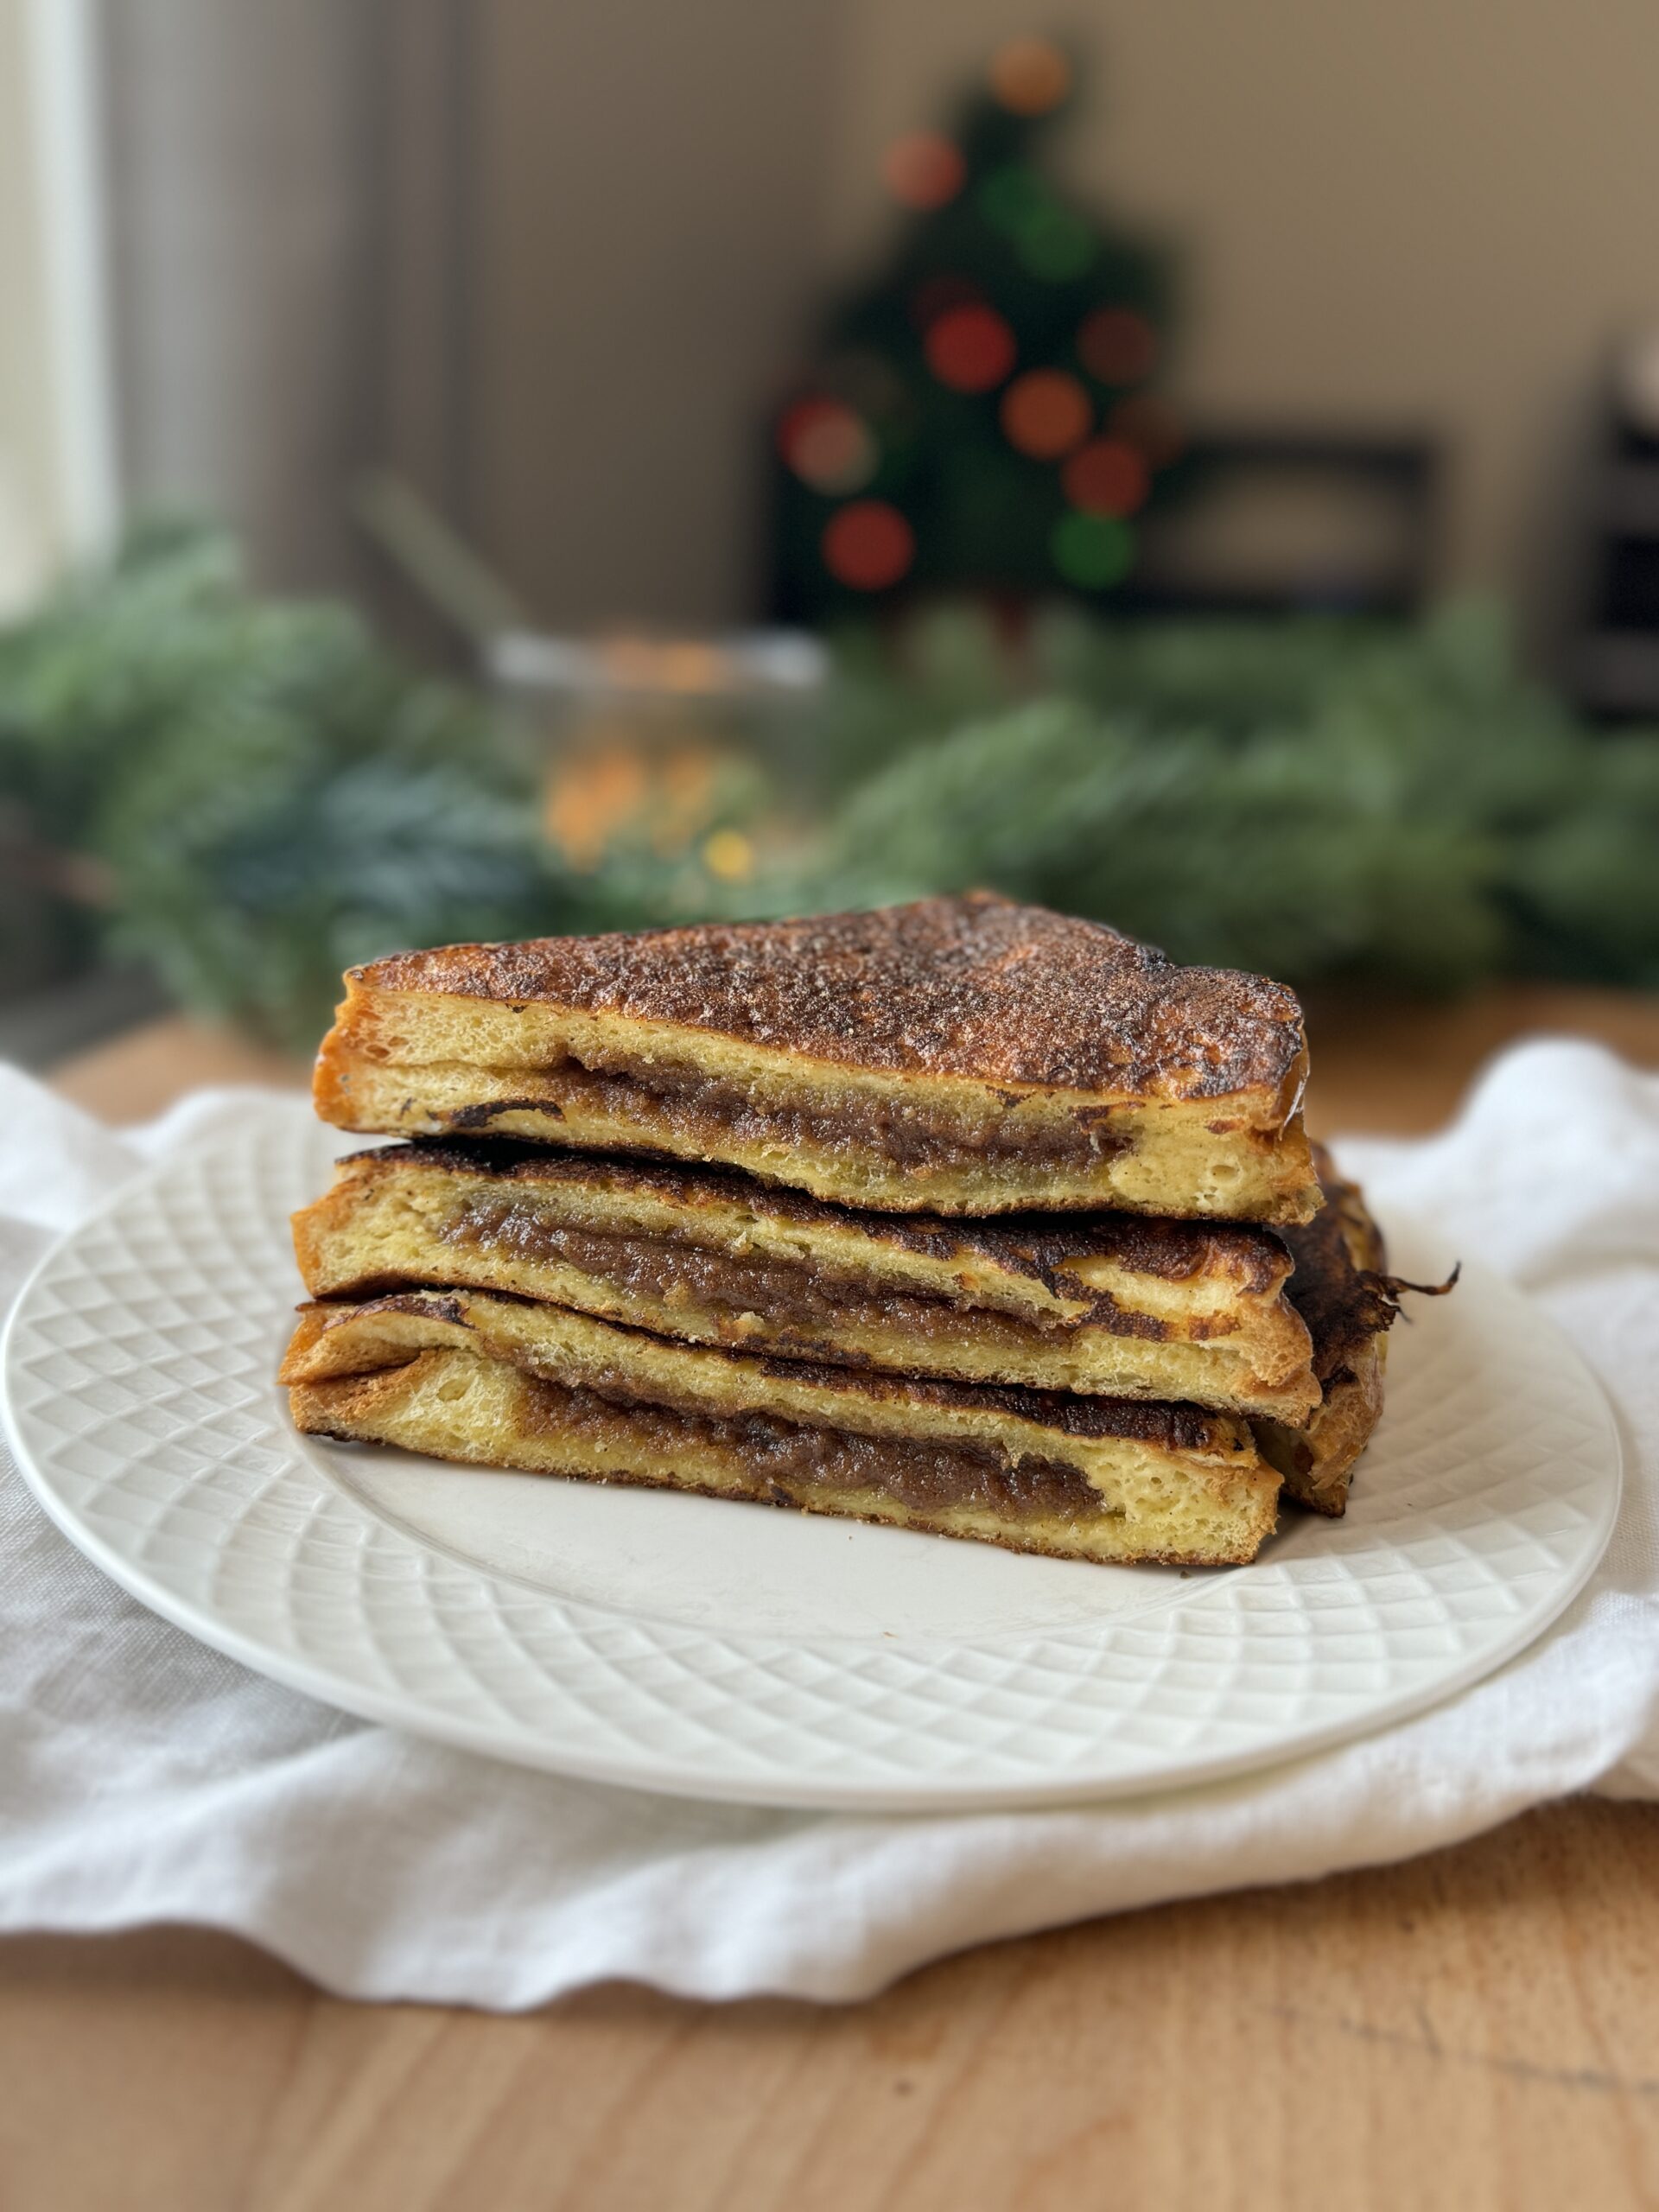
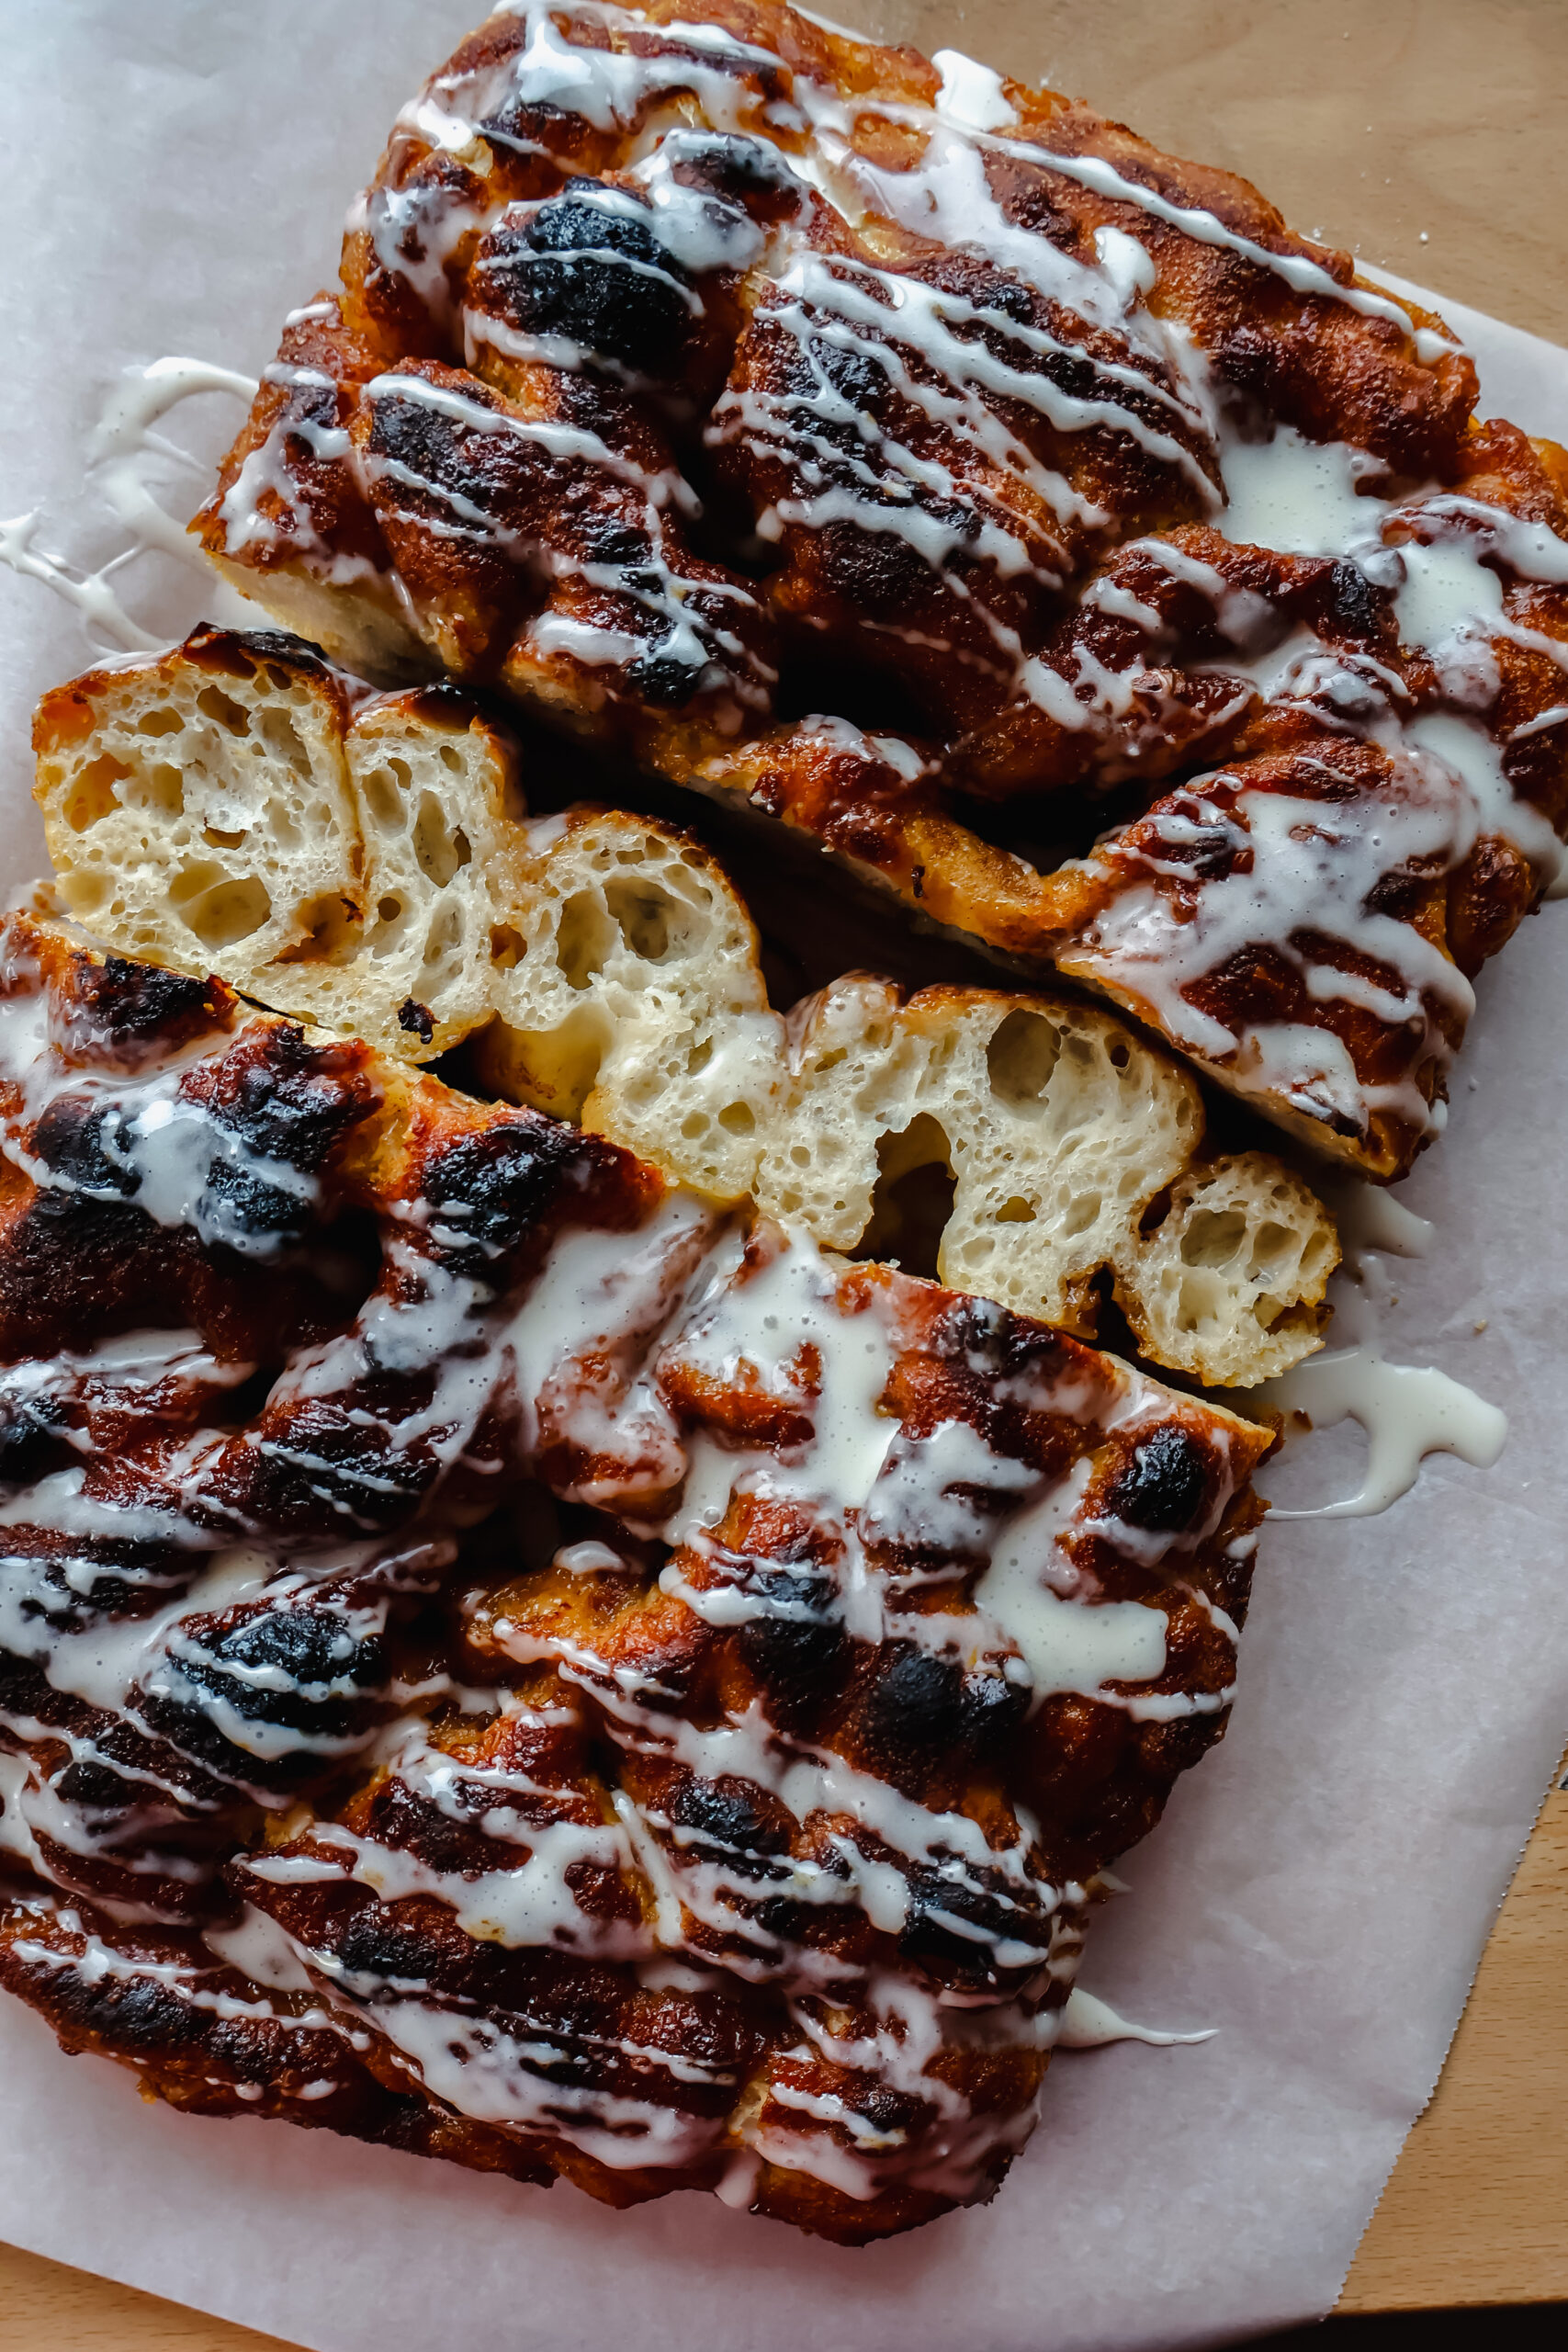
The result is a soft, rich, buttery loaf that's perfect for toast, sandwiches, stuffed French toast, or simply enjoying warm with a pat of butter.
Recipe Overview: Homemade Brioche Bread
⏱ Prep Time: 30 minutes
⏳ Total Time: 12-14 hours (including overnight rise)
👥 Serving: 12 slices (1 loaf)
🔥 Calories: ~386 kcal per serving
🥣 Main Ingredients: Flour, eggs, butter, milk, sugar, yeast, salt
👌 Difficulty: Easy - mix, refrigerate overnight, and bake fresh in the morning
⭐ Why You'll Love It: Rich, buttery, bakery-style bread with a soft, fluffy crumb and golden crust. The overnight rise does all the heavy lifting, making it perfect for fresh homemade bread without spending all day in the kitchen. Delicious for sandwiches, French toast, or simply warm with a pat of butter.
Summarize and Save this Content On
Table of Contents
Homemade brioche bread is one of those recipes I spent a long time getting just right, and I am so glad I did. The key to that soft, pillowy crumb is actually the cold ferment in the fridge overnight - it builds flavor and makes the dough so much easier to shape. Once you know that little trick, this bread is totally doable even if you have never made enriched dough before.
I have made this loaf more times than I can count, and every single time it comes out golden and beautiful. My husband's face when he comes inside and smells this baking in the oven is enough reason alone to keep making it. This is one of those recipes that looks impressive but is way more approachable than it seems.
If you are just getting started with homemade bread, check out my no knead artisan bread, it is a great starting point with only 4 ingredients or try my simple homemade sandwich bread for a fan favorite recipe that doesn't require a stand mixer.
Key Ingredients
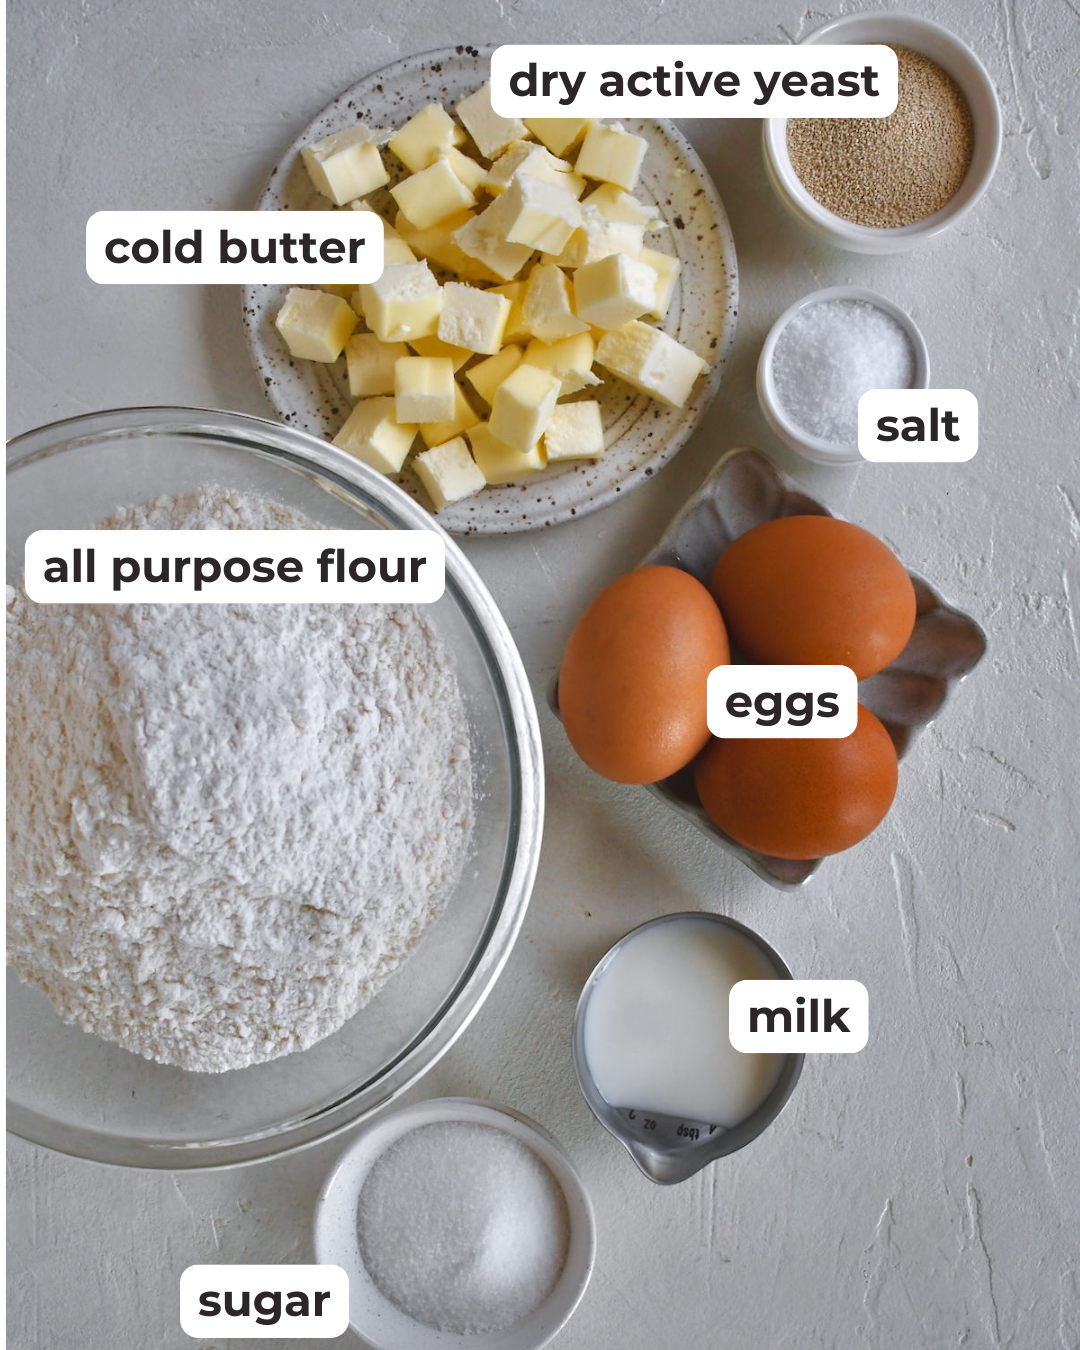
Here are a few notes on the key ingredients before you get started:
- Active dry yeast - Make sure your yeast is fresh! If it does not foam up after sitting in the warm milk for 5 minutes, it may be old and your dough will not rise properly. Grab a fresh packet and start again.
- Milk - You want this lukewarm, not hot. Hot liquid will kill your yeast. Aim for about 100-110°F - it should feel warm but comfortable on your wrist.
- Butter - Use chilled butter cut into small cubes. This is important! Cold butter gets worked into the dough slowly, which is what gives brioche its signature rich and tender crumb. Do not soften it first.
- Want to up your homemade game? Try making your own homemade butter for this brioche bread.
- Eggs - Three whole eggs go into this dough. They add richness and help give the bread that beautiful golden color.
See recipe card below for a full list of ingredients and measurements.
How to Make Homemade Brioche Bread
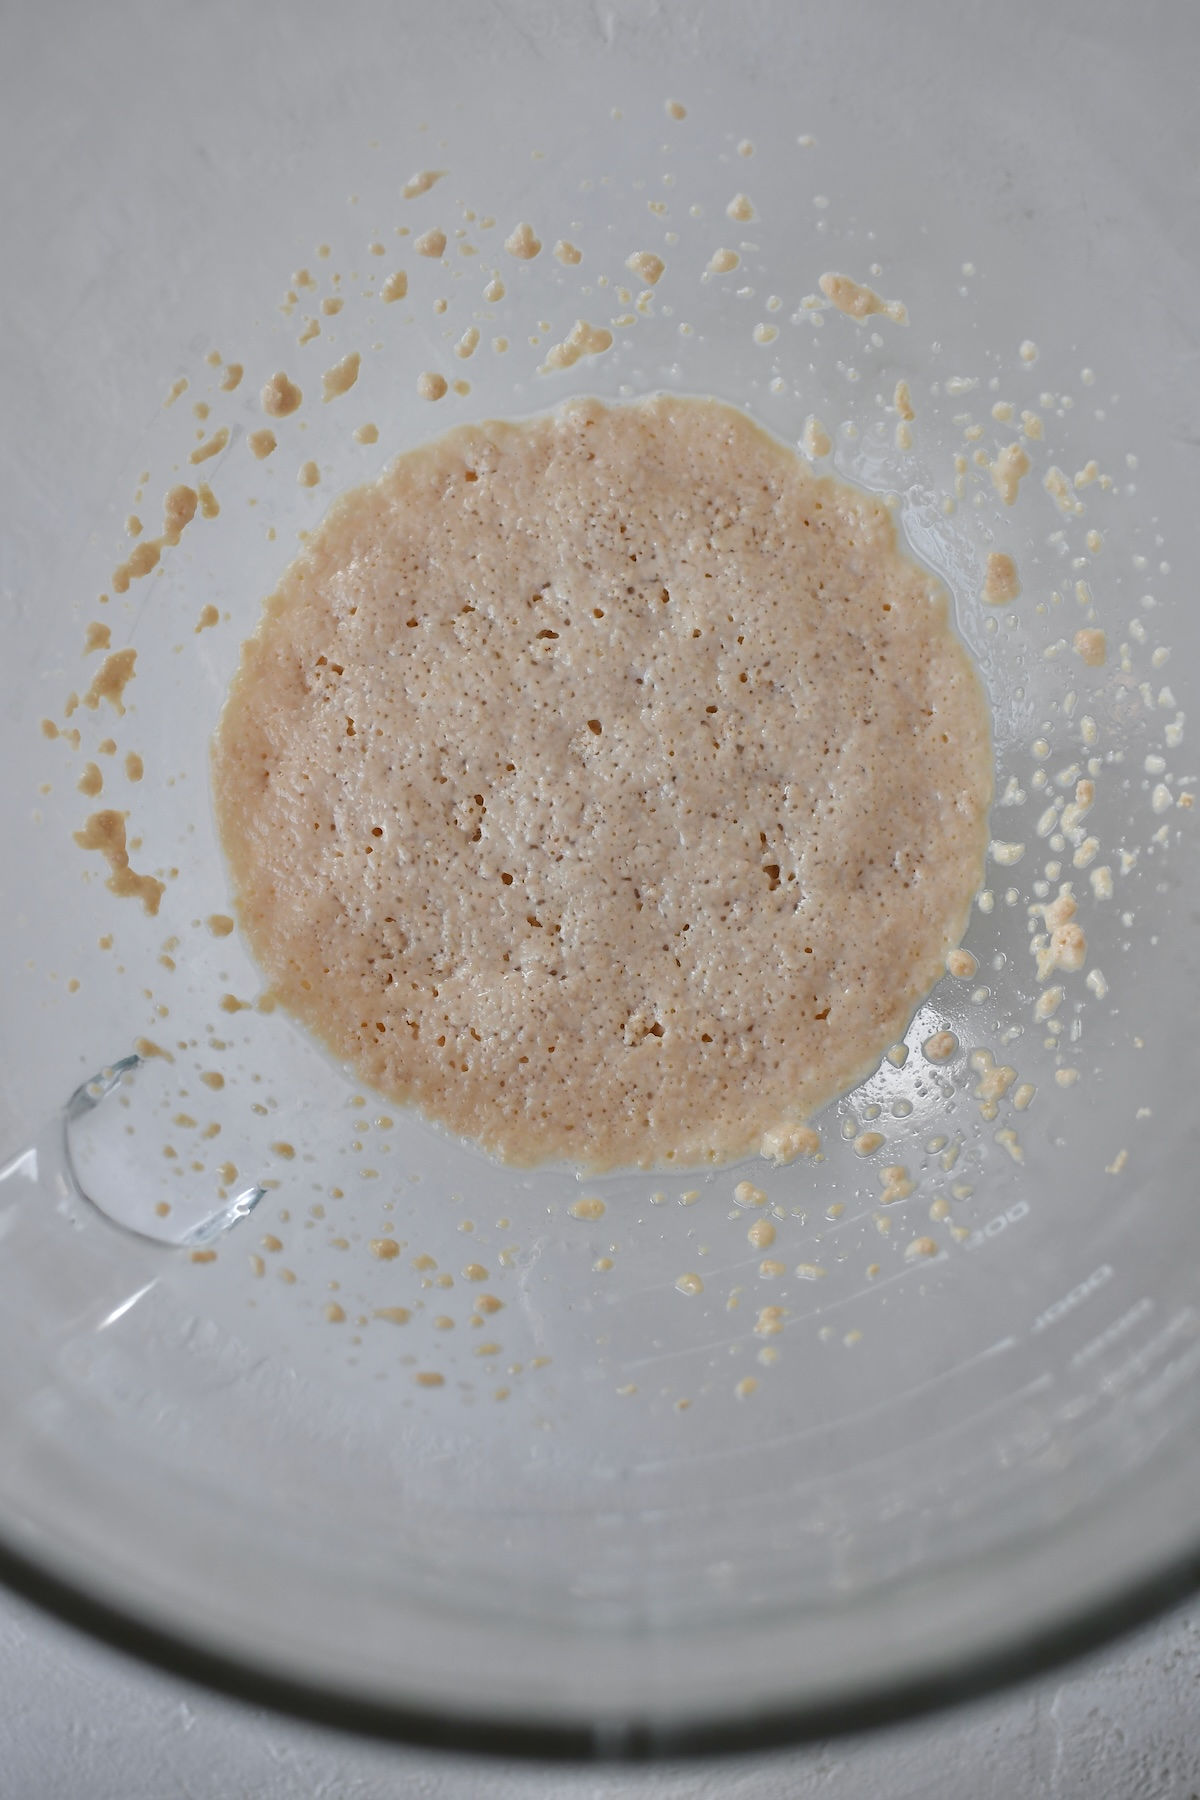
- Step 1: Mix the yeast, lukewarm milk, and sugar together in a small bowl. Let it sit for about 5 minutes until it is foamy and bubbly.

- Step 2: Add flour, salt, and eggs to the bowl of your stand mixer. Pour in the foamy yeast mixture. Use the dough hook to mix everything together until combined.

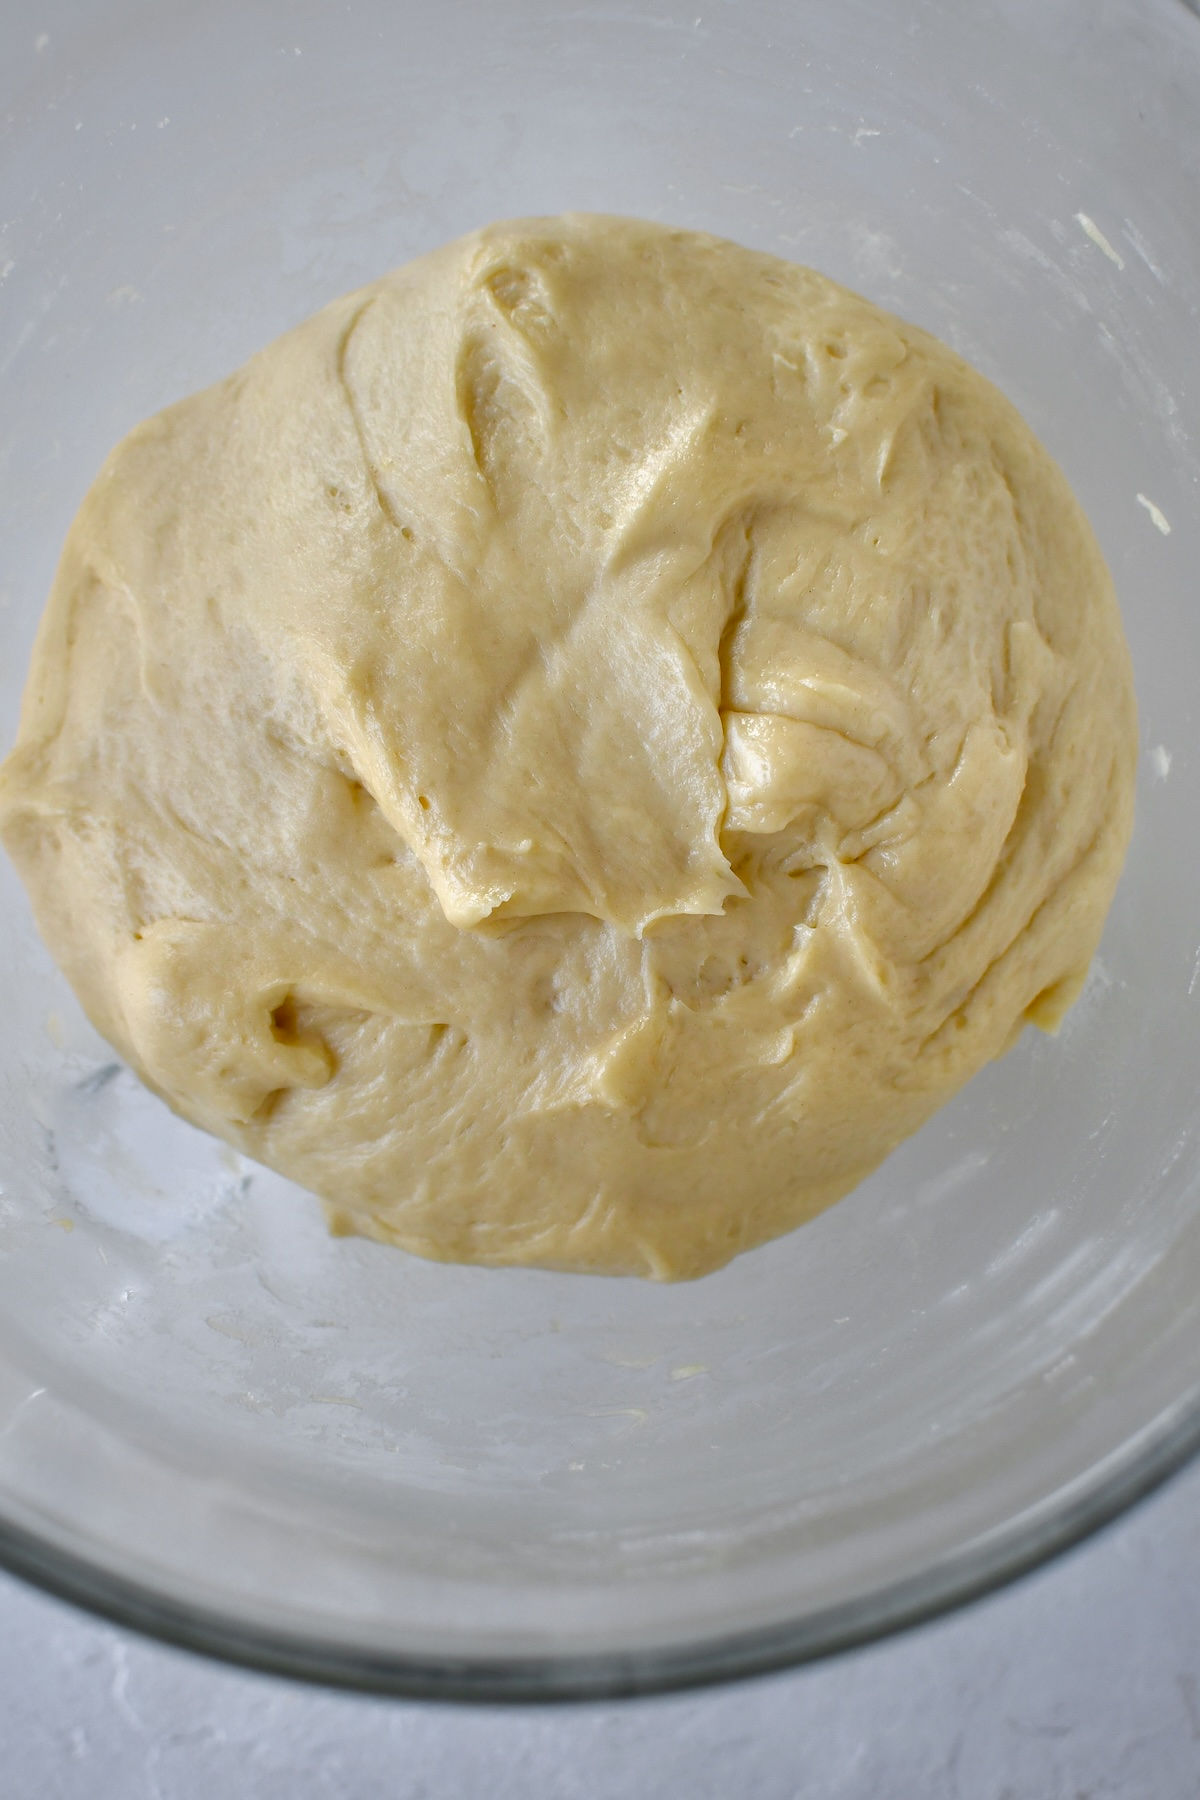
- Step 3: Add the chilled butter one piece at a time while the mixer is running. Knead on speed level 2 for about 15 minutes. The dough will be sticky but should pull away from the sides of the bowl. Use a silicone spatula to check it.
- Step 4: Place the dough in a lightly greased bowl and cover it with a damp tea towel. Let it rise at room temperature for one hour, then move it to the fridge for 4 to 16 hours. This cold rise is what makes your brioche so soft and airy - do not skip it!
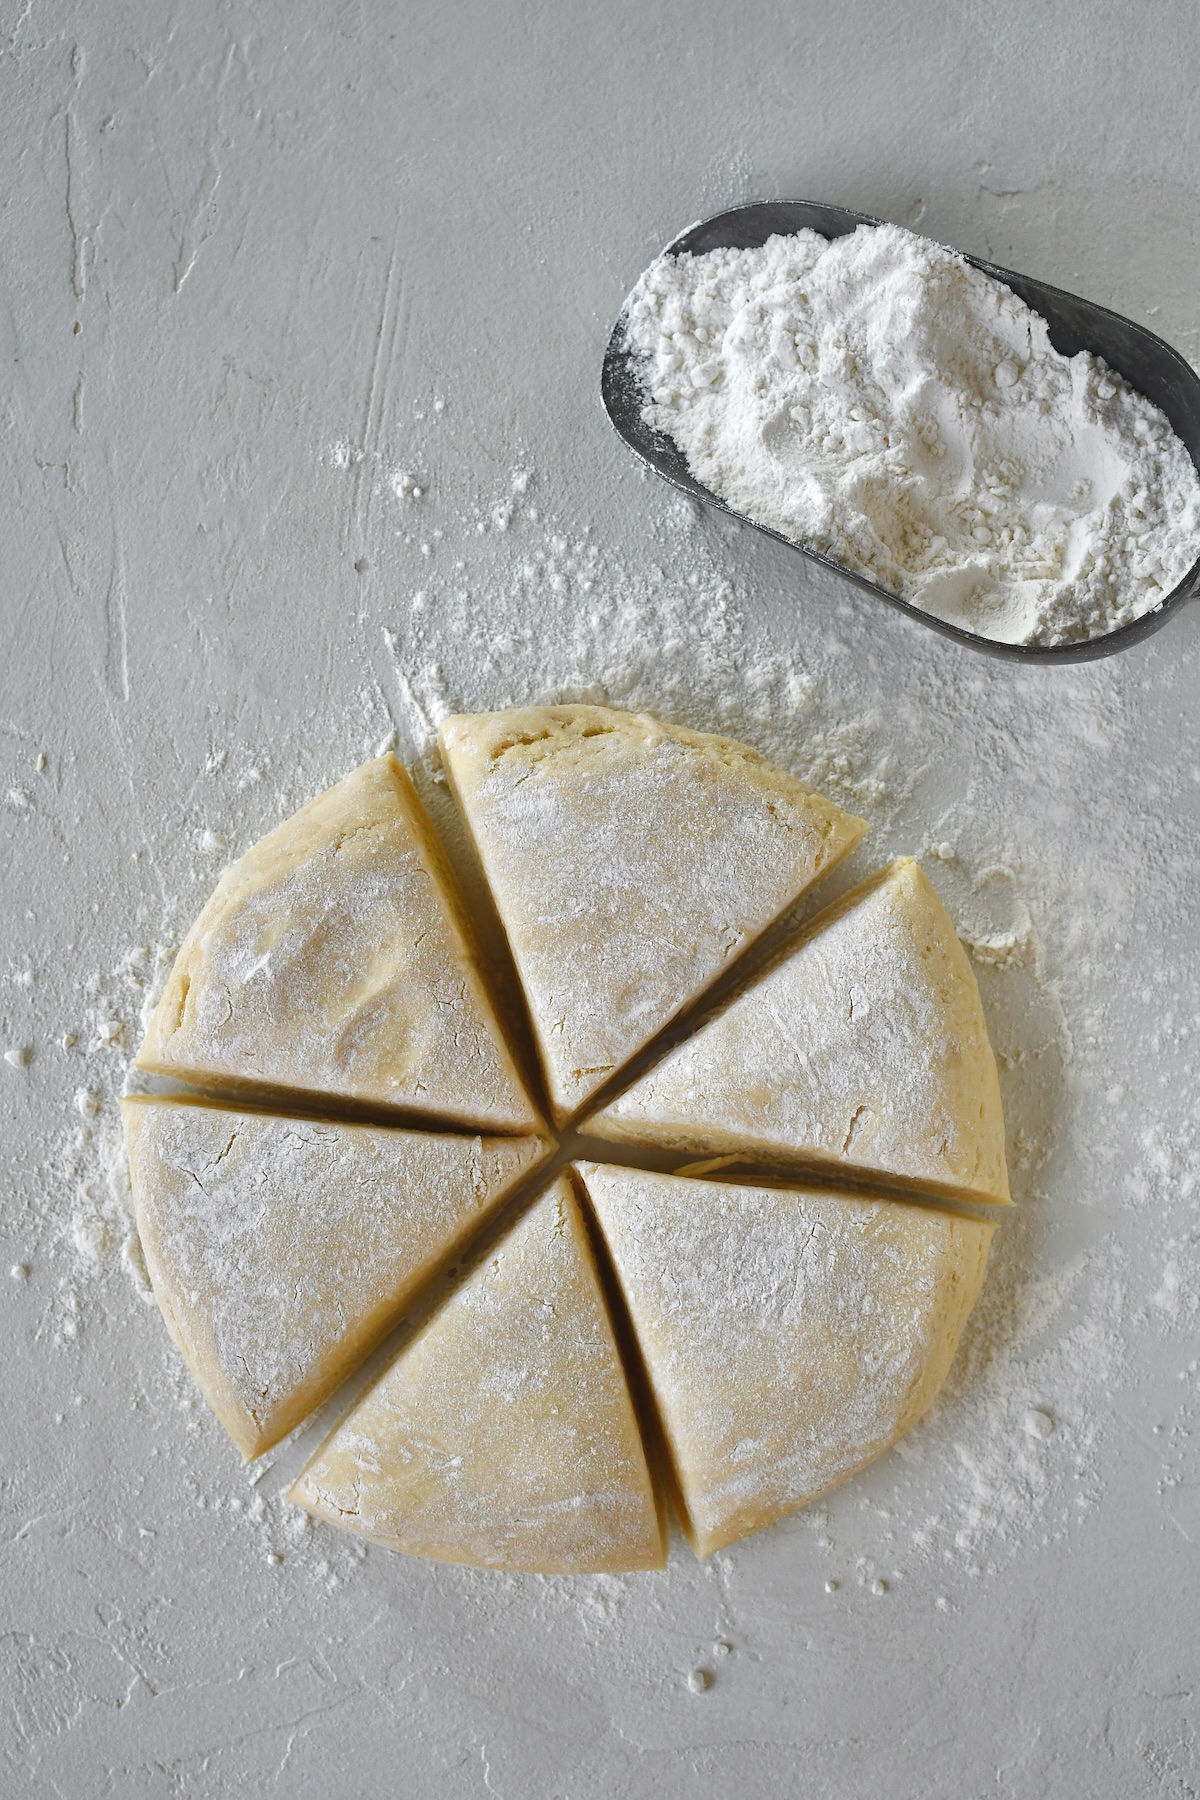
- Step 5: Take the dough out of the fridge and place it on a lightly floured surface. Divide into six equal pieces.
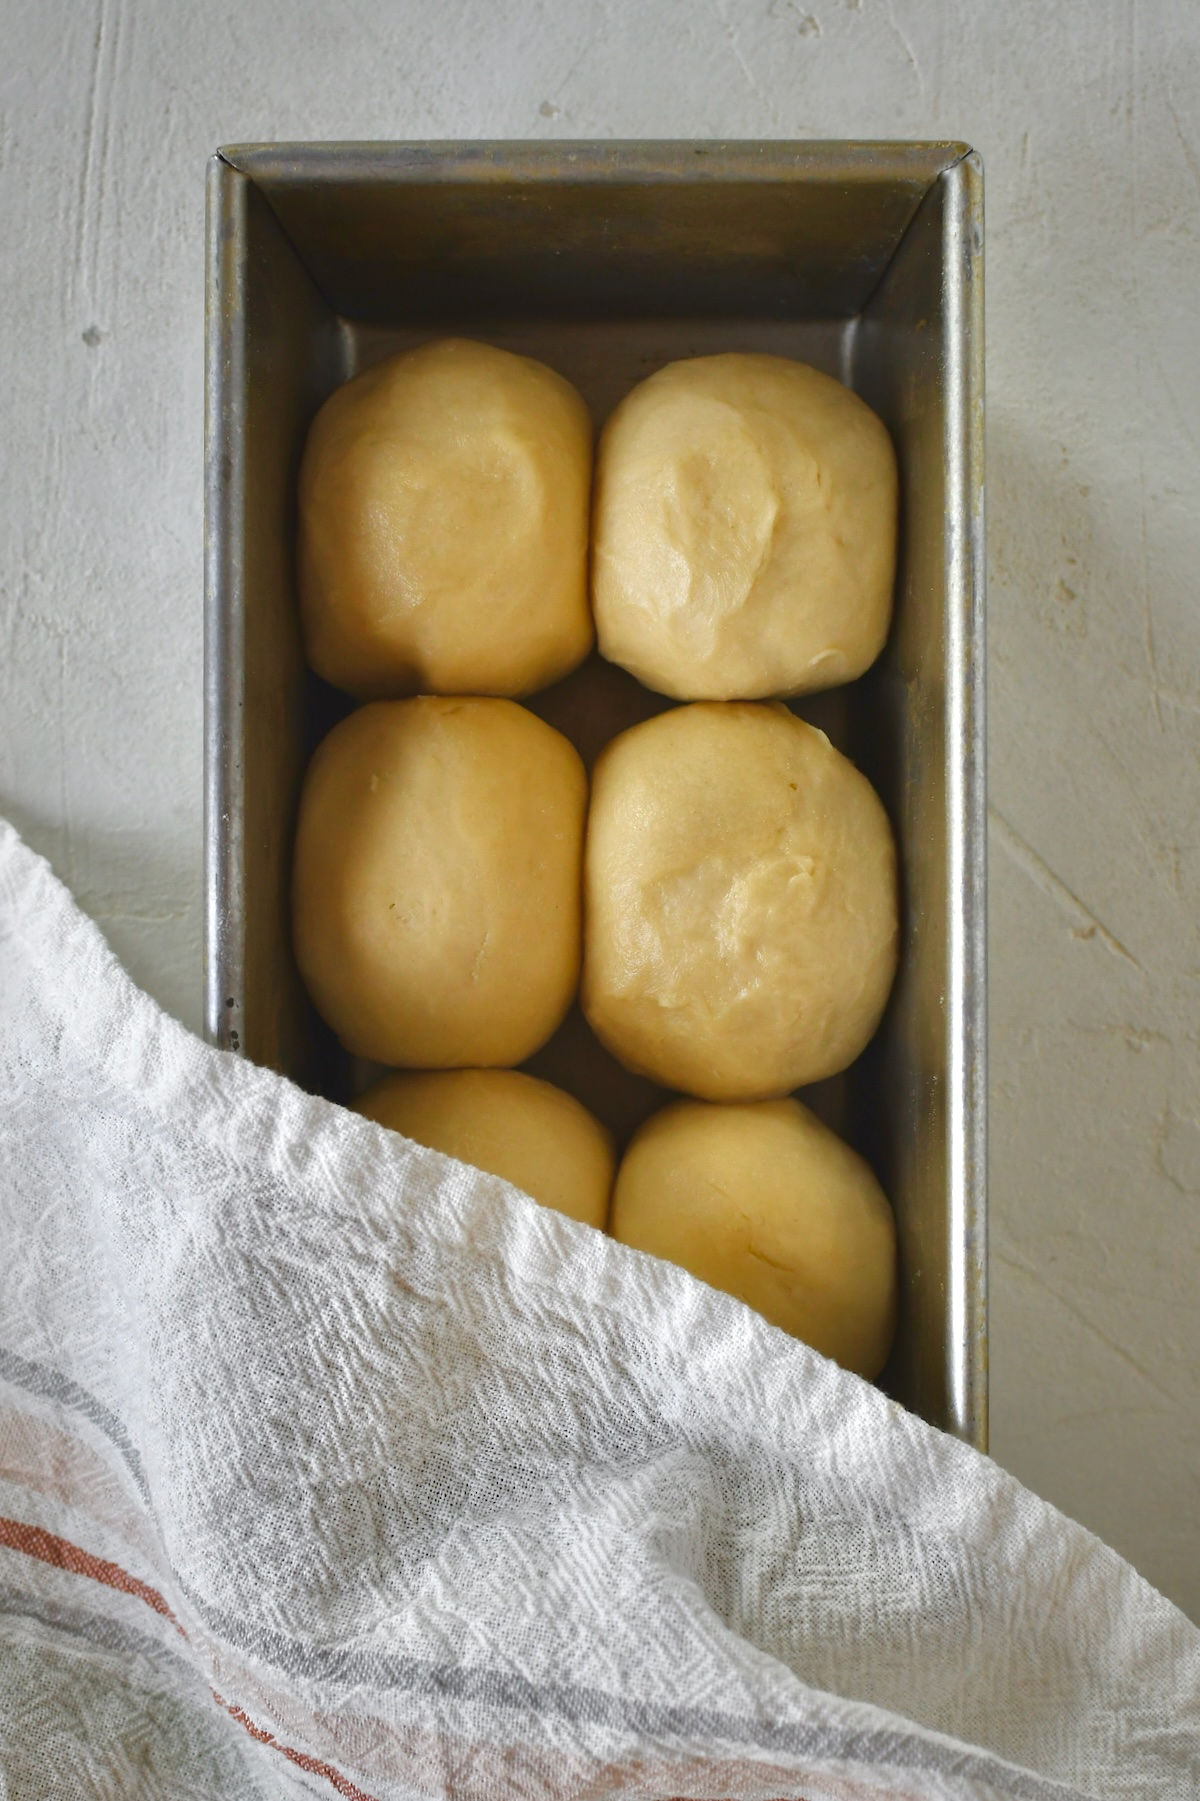
- Step 6: Gently shape each piece into a small roll and place them into a 9x5 loaf pan. Let them rise at room temperature for another 1.5 to 2 hours.

- Step 7: Once the dough has doubled in size preheat the oven to 400°F.
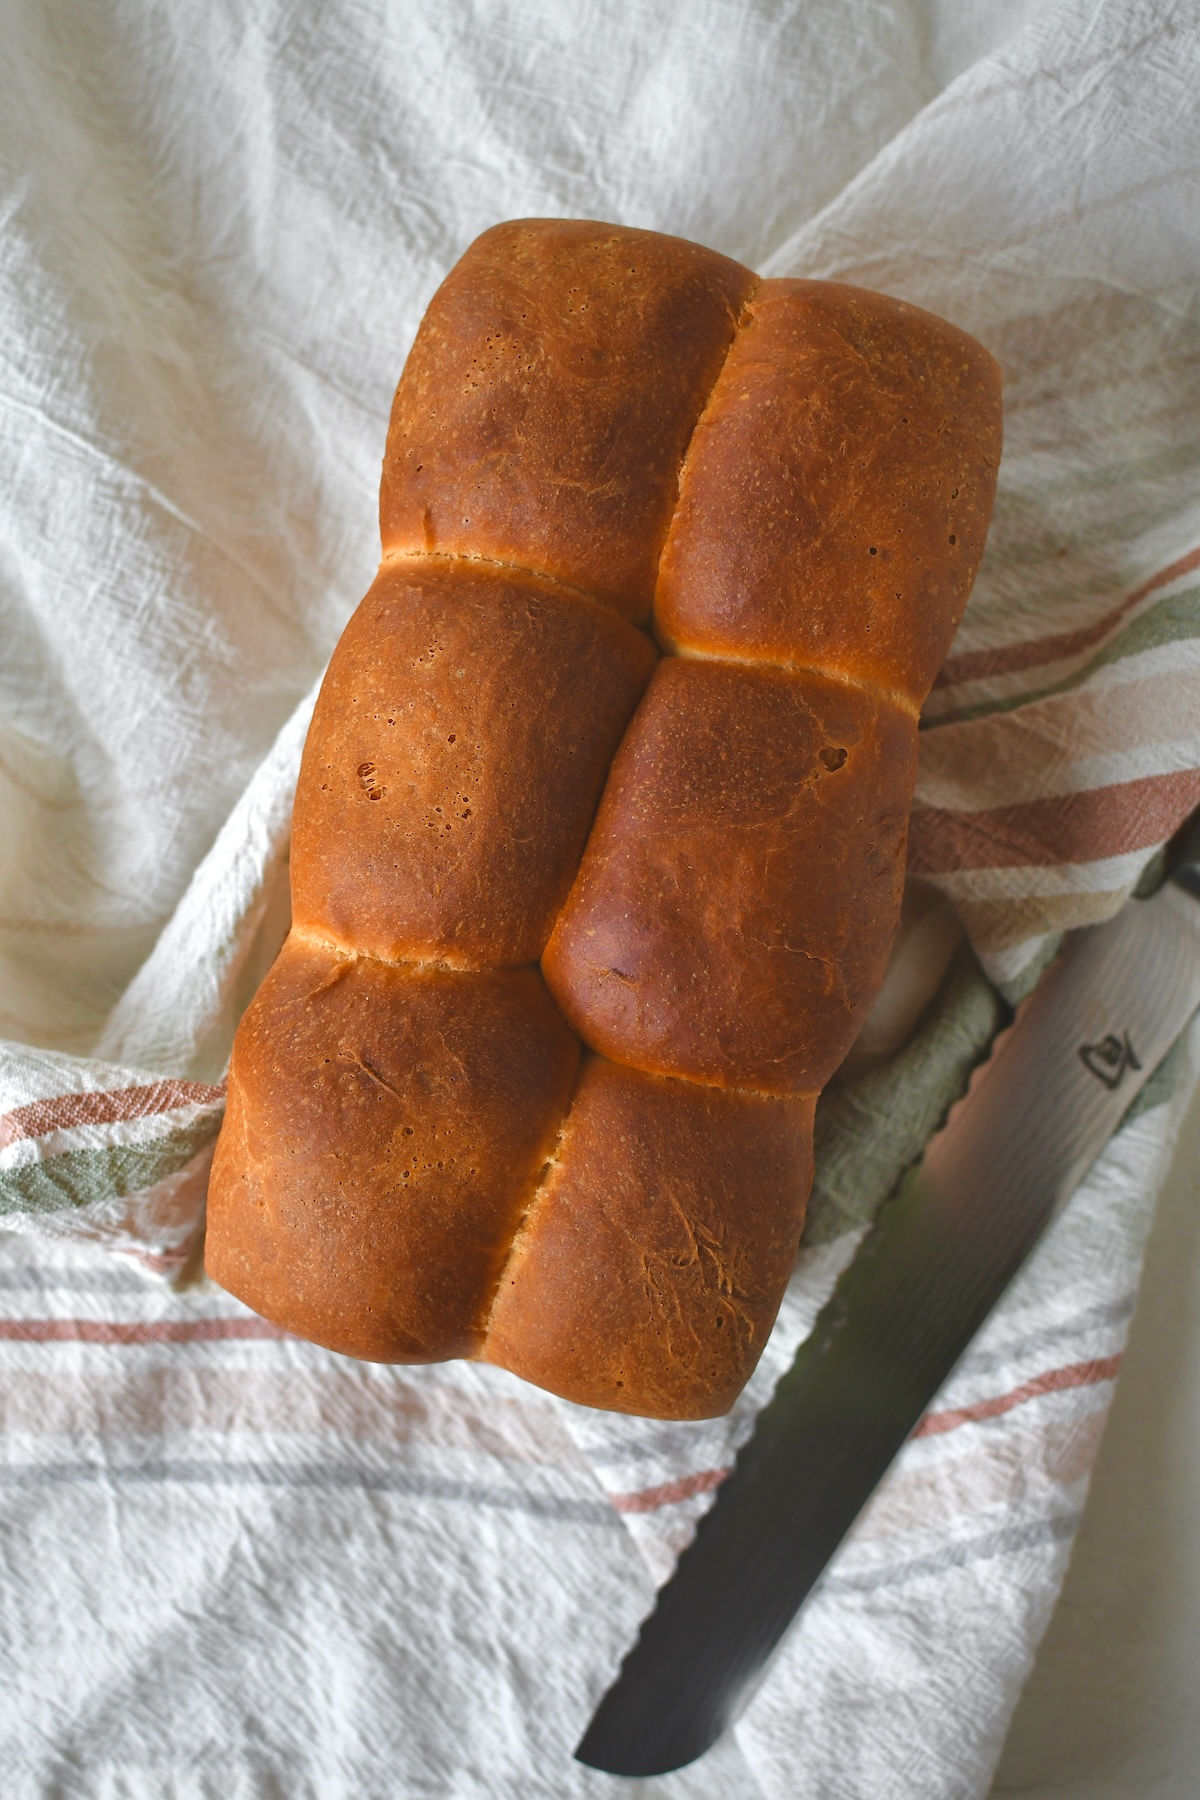
- Step 8: Bake for 30 to 35 minutes until the top is deep golden brown. Let the loaf cool on a wire rack before slicing.
Tips for the Best Brioche
Do not rush the cold rise. I know it is tempting to skip it, but that overnight rest in the fridge is what builds the flavor and creates that soft, pillowy texture. Even just 4 hours makes a big difference. If you can go the full 12-16 hours, do it!
Knead longer than you think. That 15-minute knead is not optional. Brioche needs that long mixing time to develop the gluten that holds all that butter without falling apart. Set a timer and let the mixer do its thing.
Check your yeast first. If your yeast mixture does not foam up after 5 minutes, stop right there. Your yeast is likely dead. Starting over at this point saves you a whole lot of time compared to going through the entire process and ending up with a flat loaf.
Cool completely before slicing. I know - it smells SO good fresh out of the oven. But brioche needs time to finish setting up on the inside. Slice it too soon and it will be a little gummy in the middle.
Homemade Brioche Bread FAQs
A stand mixer with a dough hook is really the best tool for brioche because of the long knead time and how sticky the dough is. You can try kneading by hand, but it will take a long time and get messy. A stand mixer makes this recipe so much more manageable. Kneading by hand also tends to melt the butter making you add more flour than needed resulting in a dense loaf.
If you don't have a stand mixer try my soft sandwich bread recipe for a similar recipe that can be made without a stand mixer.
While homemade brioche does take some patience, it is SO worth the wait! You will be tempted to skip the overnight rise in the fridge, but don't! Ok if you must then you can, I have before and it still turns out, but the beauty of this soft and airy bread comes from the overnight cold rise.
The most common reason is under-kneading or yeast that did not activate properly. Make sure your yeast is foamy before you mix it in, and do not cut the knead time short. That 15 minutes really matters.
Another factor is that you added too much flour in the kneading process. This is why I highly recommend using a stand mixer.
Yes! If you use instant yeast, you can skip the blooming step (step 1) and just add it directly to the flour. The rise time may be slightly shorter, so keep an eye on your dough.
Yes! Brioche dough is supposed to be sticky. Do not add extra flour to fix it. The dough should pull away from the sides of the bowl but still feel tacky. A silicone spatula is your best friend for working with it.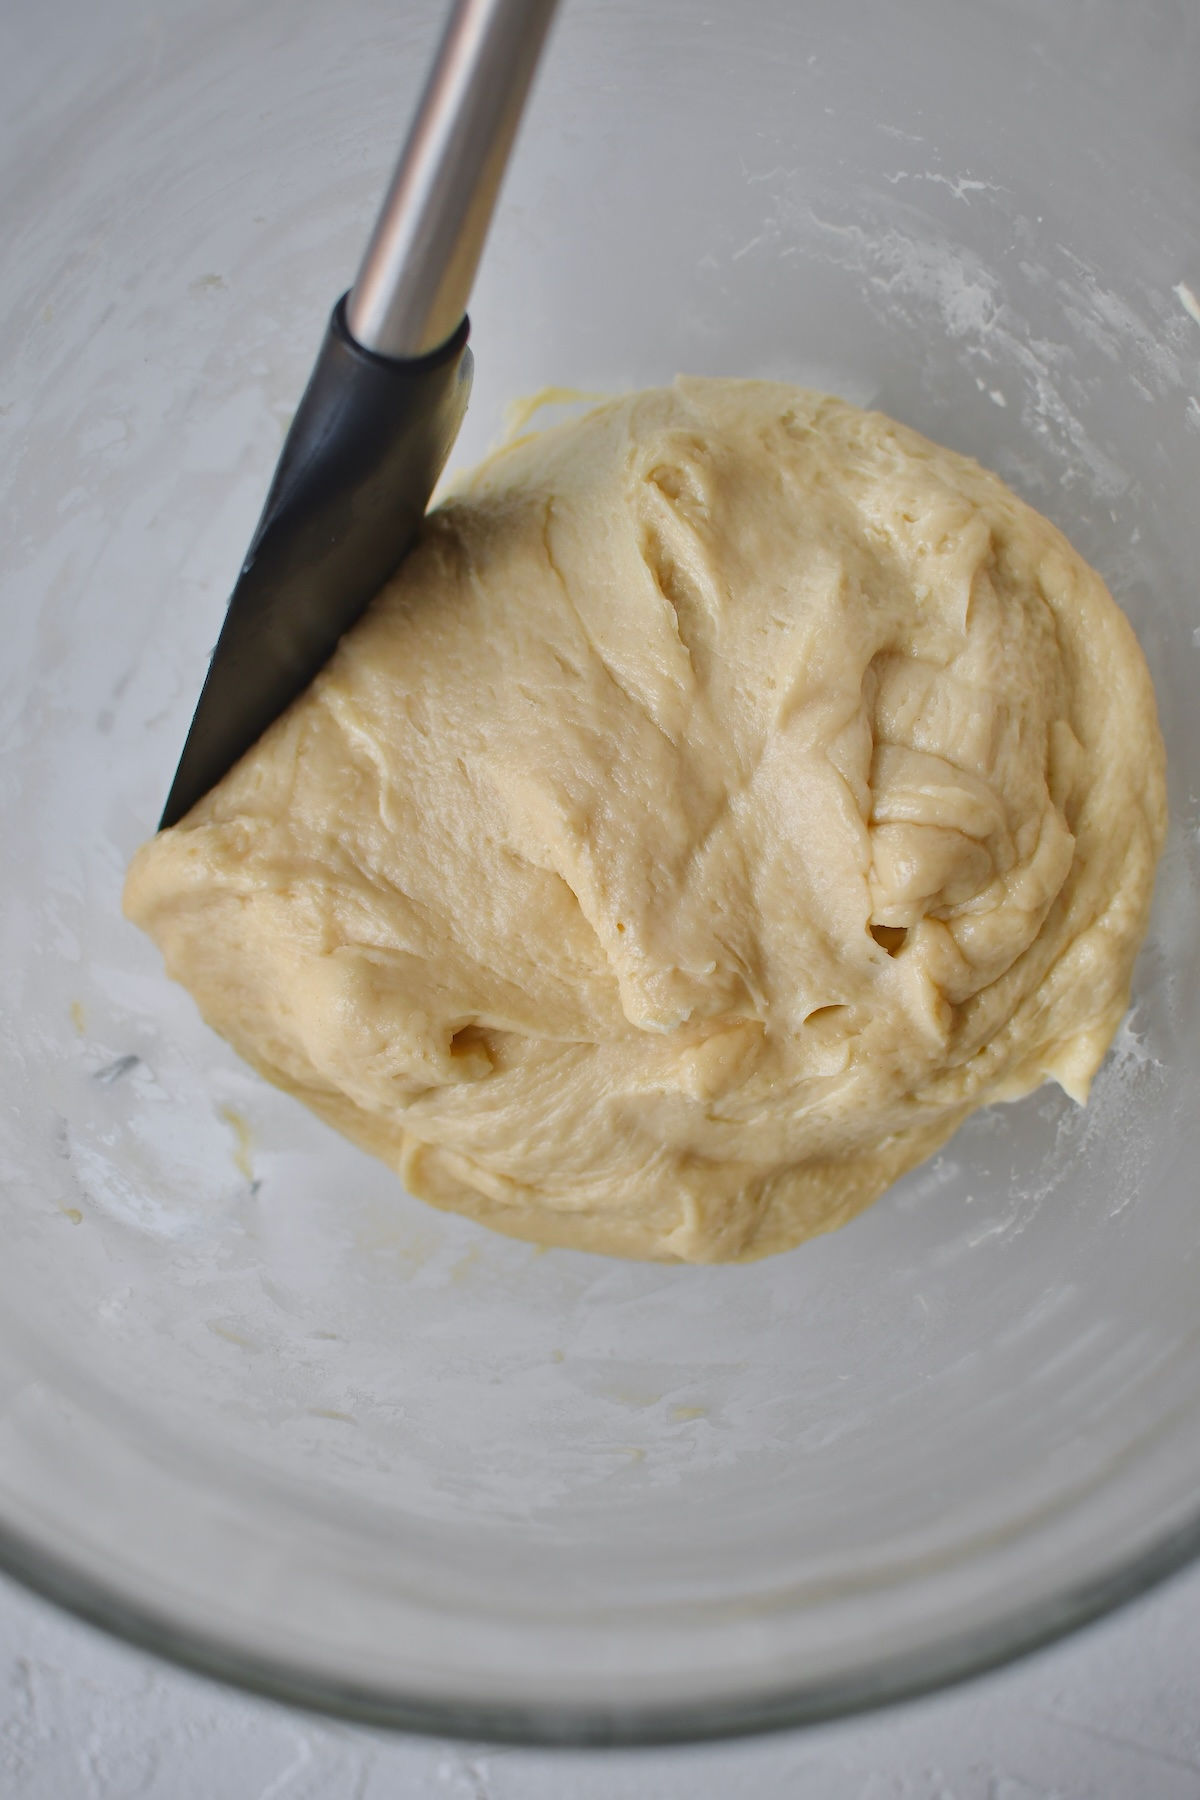
How to Store Homemade Brioche
Room temperature: Wrap the cooled loaf tightly in plastic wrap or store in an airtight bag. It stays fresh for up to 3 days at room temperature.
Freezer: Brioche freezes really well! Slice the loaf first, then freeze the slices in a zip bag for up to 2 months. Pull out a slice whenever you need it and toast it straight from frozen. My cinnamon roll stuffed French toast would be amazing with frozen brioche slices - just saying!
Tip: Brioche goes stale a little faster than regular sandwich bread because of all the butter and eggs. Storing it well makes a big difference!

If you tried this Homemade Brioche Bread or any other recipe on my blog, please leave a 🌟 star rating and let me know how it went in the comments below. I love hearing from you!
📖 Recipe
The Best Homemade Brioche
Ingredients
Instructions
- Mix the yeast, lukewarm milk, and sugar, and let it sit for 5 minutes until foaming.
- In the bowl of a stand mixer add flour, salt, and eggs. Once the yeast mixture is foamy add to the flour mixture as well. Mix to combine using the dough hook on the stand mixer.
- Add the butter in pieces and knead for another 15 minutes at speed level 2 (your dough should be sticky but comes easily from the bowl using a silicone spatula).
- Place the dough in a greased bowl, cover with a damp tea towel, and let it rise at room temperature for one hour. Refrigerate for 4-16 hours. This is what makes your brioche soft & airy.
- Take the dough out of the fridge, place on a lightly floured surface, divide into six pieces. Gently form each piece into a small roll and place to fill a 9x5 loaf pan. Let rise at room temperature for another 1.5-2 hours
- Preheat the oven to 400 F. Bake for 30-35 minutes until brown. Allow the brioche to cool down on a cooling rack before slicing.
Nutrition
Notes
- Don't skip the cold rise. The overnight refrigeration is what gives brioche its soft, rich texture and helps develop flavor. While the dough can be baked sooner, the final loaf won't be quite as light and airy.
- The dough should be sticky. Brioche dough is much softer than traditional bread dough because of the high butter and egg content. Avoid adding extra flour unless absolutely necessary, or your loaf may turn out dense.
- A stand mixer is highly recommended. The long kneading time helps develop gluten while incorporating the butter. Mixing by hand is possible but much more difficult due to the sticky dough.
- Rise times are only a guide. Your kitchen temperature will affect how quickly the dough rises. The dough should roughly double in size before moving on to the next step.
- You can refrigerate the dough longer. The dough can stay in the refrigerator for up to 24 hours if needed, making it easy to fit baking into your schedule.
- Check for doneness. The loaf should be deep golden brown on top and sound hollow when tapped. If it begins browning too quickly, loosely tent with foil during the last 10-15 minutes of baking.
- Storage: Store at room temperature in an airtight container for up to 3 days. For longer storage, slice and freeze for up to 3 months.


I used dough hooks on my hand mixer, to mix yeast mixture, flour and eggs. I blended this mixture. Transferred to my food processor using the dough blade, added the butter and let the food processor on dough setting do its thing until butter was blend3d in and the dough became sticky, but solid, then transferred to oiled bowl and continued to follow the balance of your recipe.
So glad that worked for you!
I have made the dough and it is in the refrigerator. Can I leave it in there longer than 16 hrs.? I don't want to have to get up at 6 am to make bread, lol!
Yes!
Your instructions didn't say to , but after the 1 hour room temp rise I felt it should be punched down before going in the fridge .
Nope. It will continue to rise in the fridge. No need to punch it down.
What if I have only half an hour to rise before putting in the fridge? Is there any trick to make that work?
It should be fine with just a 30 minute rise. It will slowly rise in the fridge.
Hi there!
you have the best home made brioche dread out there and thank you for sharing.
I was wondering if you have a recipe for if I want to double the size so can make two pan of brioche breads at once.
thank you and keep up the good work.
Lamine
This makes me so happy to hear! You can double all the ingredients, and then just divide the dough into 12 sections instead of 6, putting 6 balls into each loaf pan. All the timelines should be the same.
Hey! If I use instant yeast do I still do step 1 and 2 and 3 normal, then let it rise? How long should I let it rise? When I make sour dough bread I let rise for 2 hours.
If using instant yeast, skip the activation in 1 step and instead mix your yeast with the flour.
Rise time should be the same.