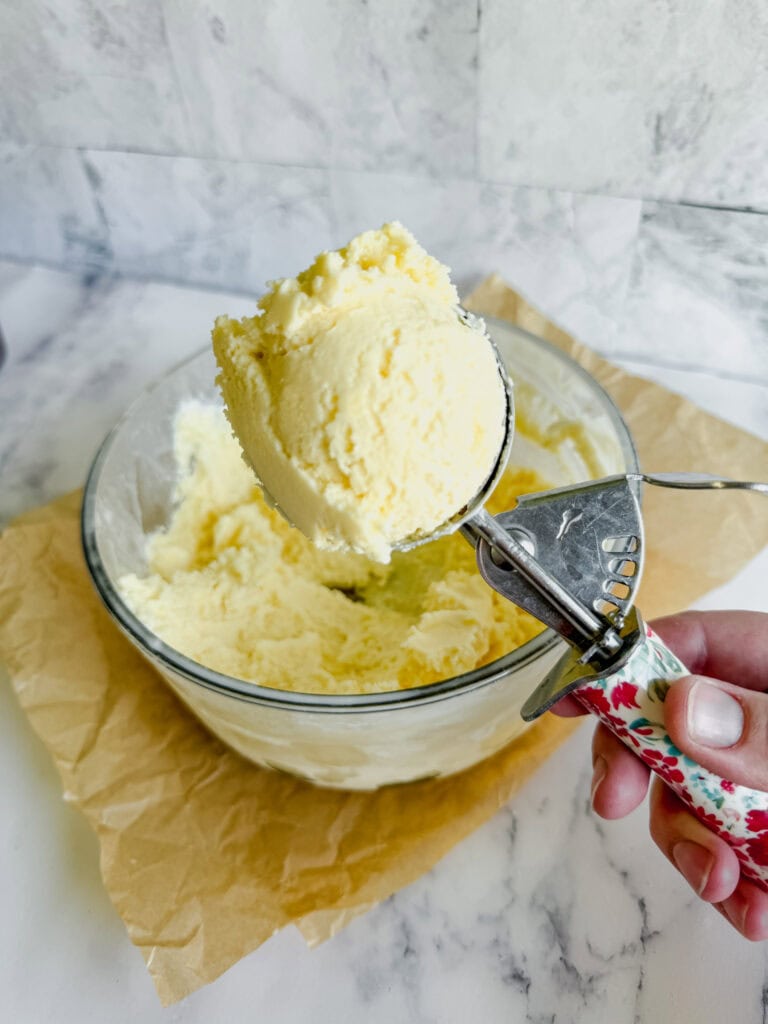
The Best Old Fashioned Vanilla Ice Cream
An old fashioned vanilla ice cream with a creamy custard base is made with just five ingredients. It will have everyone in your house saying I scream for ice cream.

What makes this the best vanilla ice cream?
The custard base. Plain and simple. Anyone who tries to tell you that their ice cream without a custard base is just as good as one with out is lying to you. Does creating the custard add additional time? Yes, but it is time that is 100% worth it in the end! Also, there is no need to temper the eggs! Let's keep this as simple as possible!
Ingredients for Old Fashioned Vanilla Ice Cream
- Milk: whole milk is preferred as the extra fat helps to create a creamy texture
- Heavy Cream: helps to create a luxurious richness to the ice cream
- Egg Yolks: creates a custard base that makes this ice cream the best
- Sugar: for a slight sweetness, I don't love a super sweet ice cream so I pull back the sugar in this recipe
- Vanilla Extract: for that classic vanilla flavor. If you have vanilla bean paste swap this in for those pretty vanilla bean flecks
How to Make Homemade Ice Cream
- At least 12 hours prior to starting the recipe, make sure you freeze your ice cream maker bowl. You will not get the correct final texture without this.
- In a large sauce pan add egg yolks and sugar. Whisk until eggs are light and fluffy.
- Add milk to the egg and sugar mixture. Heat over medium heat to 165 stirring constantly.
- Transfer to container, add in heavy cream and vanilla extract. Allow to cool in the fridge for at least 2 hours.
- Add the cooled mixture to the ice cream churner and mix according to the ice cream maker's instructions.
- Enjoy immediately as soft serve ice cream or transfer to a freezer container and allow to harden in the freezer for several more hours.
Ice Cream Variations
I use this Old Fashioned Vanilla Ice Cream as the base to almost all of my ice cream recipes. It is so simple to switch this recipe up by adding in different mix-ins. Check out some of my favorites below.
- Cake Batter - swap out the vanilla extract for cake batter extract and fold ½ cup of sprinkles in after churning.
- Cookies + Cream - fold in 1 cups of crushed Oreos after churning.
- Berry Fruity - fold in 1 ½ cups of cut fruit after churning.
Do I have to temper the eggs?
With this recipe I have never tempered the eggs. I like to keep things simple and I just heat the eggs with the milk. Make sure that you are whisking constantly and you won't have any issues.

Share Your Experience
I would love to hear about your experience making and enjoying my Old Fashioned Vanilla Ice Cream! Feel free to tag me on Instagram or leave a review below. Your feedback helps me improve our recipes and provides inspiration to fellow home cooks.
Save this recipe for later by simply using the pin button on the recipe card or any of the photos above. Happy cooking!
📖 Recipe

Ingredients
Equipment
Instructions
- At least 12 hours prior to starting the recipe, make sure you freeze your ice cream maker bowl. You will not get the correct final texture without this.
- In a large sauce pan add egg yolks and sugar. Whisk until eggs are light and fluffy.
- Add milk to the egg and sugar mixture. Heat over medium heat to 165 stirring constantly.
- Transfer to container, add in heavy cream and vanilla extract. Allow to cool in the fridge for at least 2 hours.
- Add the cooled mixture to the ice cream churner and mix according to the ice cream maker's instructions.
- Enjoy immediately as soft serve ice cream or transfer to a freezer container and allow to harden in the freezer for several more hours.


What do you mean by "Ice cream maker BOWL?" The bowl I transfer the heated liquid to in the fridge or the container in the ice cream maker?
The container in the ice cream maker. Mine is a bowl that hooks into the kitchen aid.