French Onion Bagels
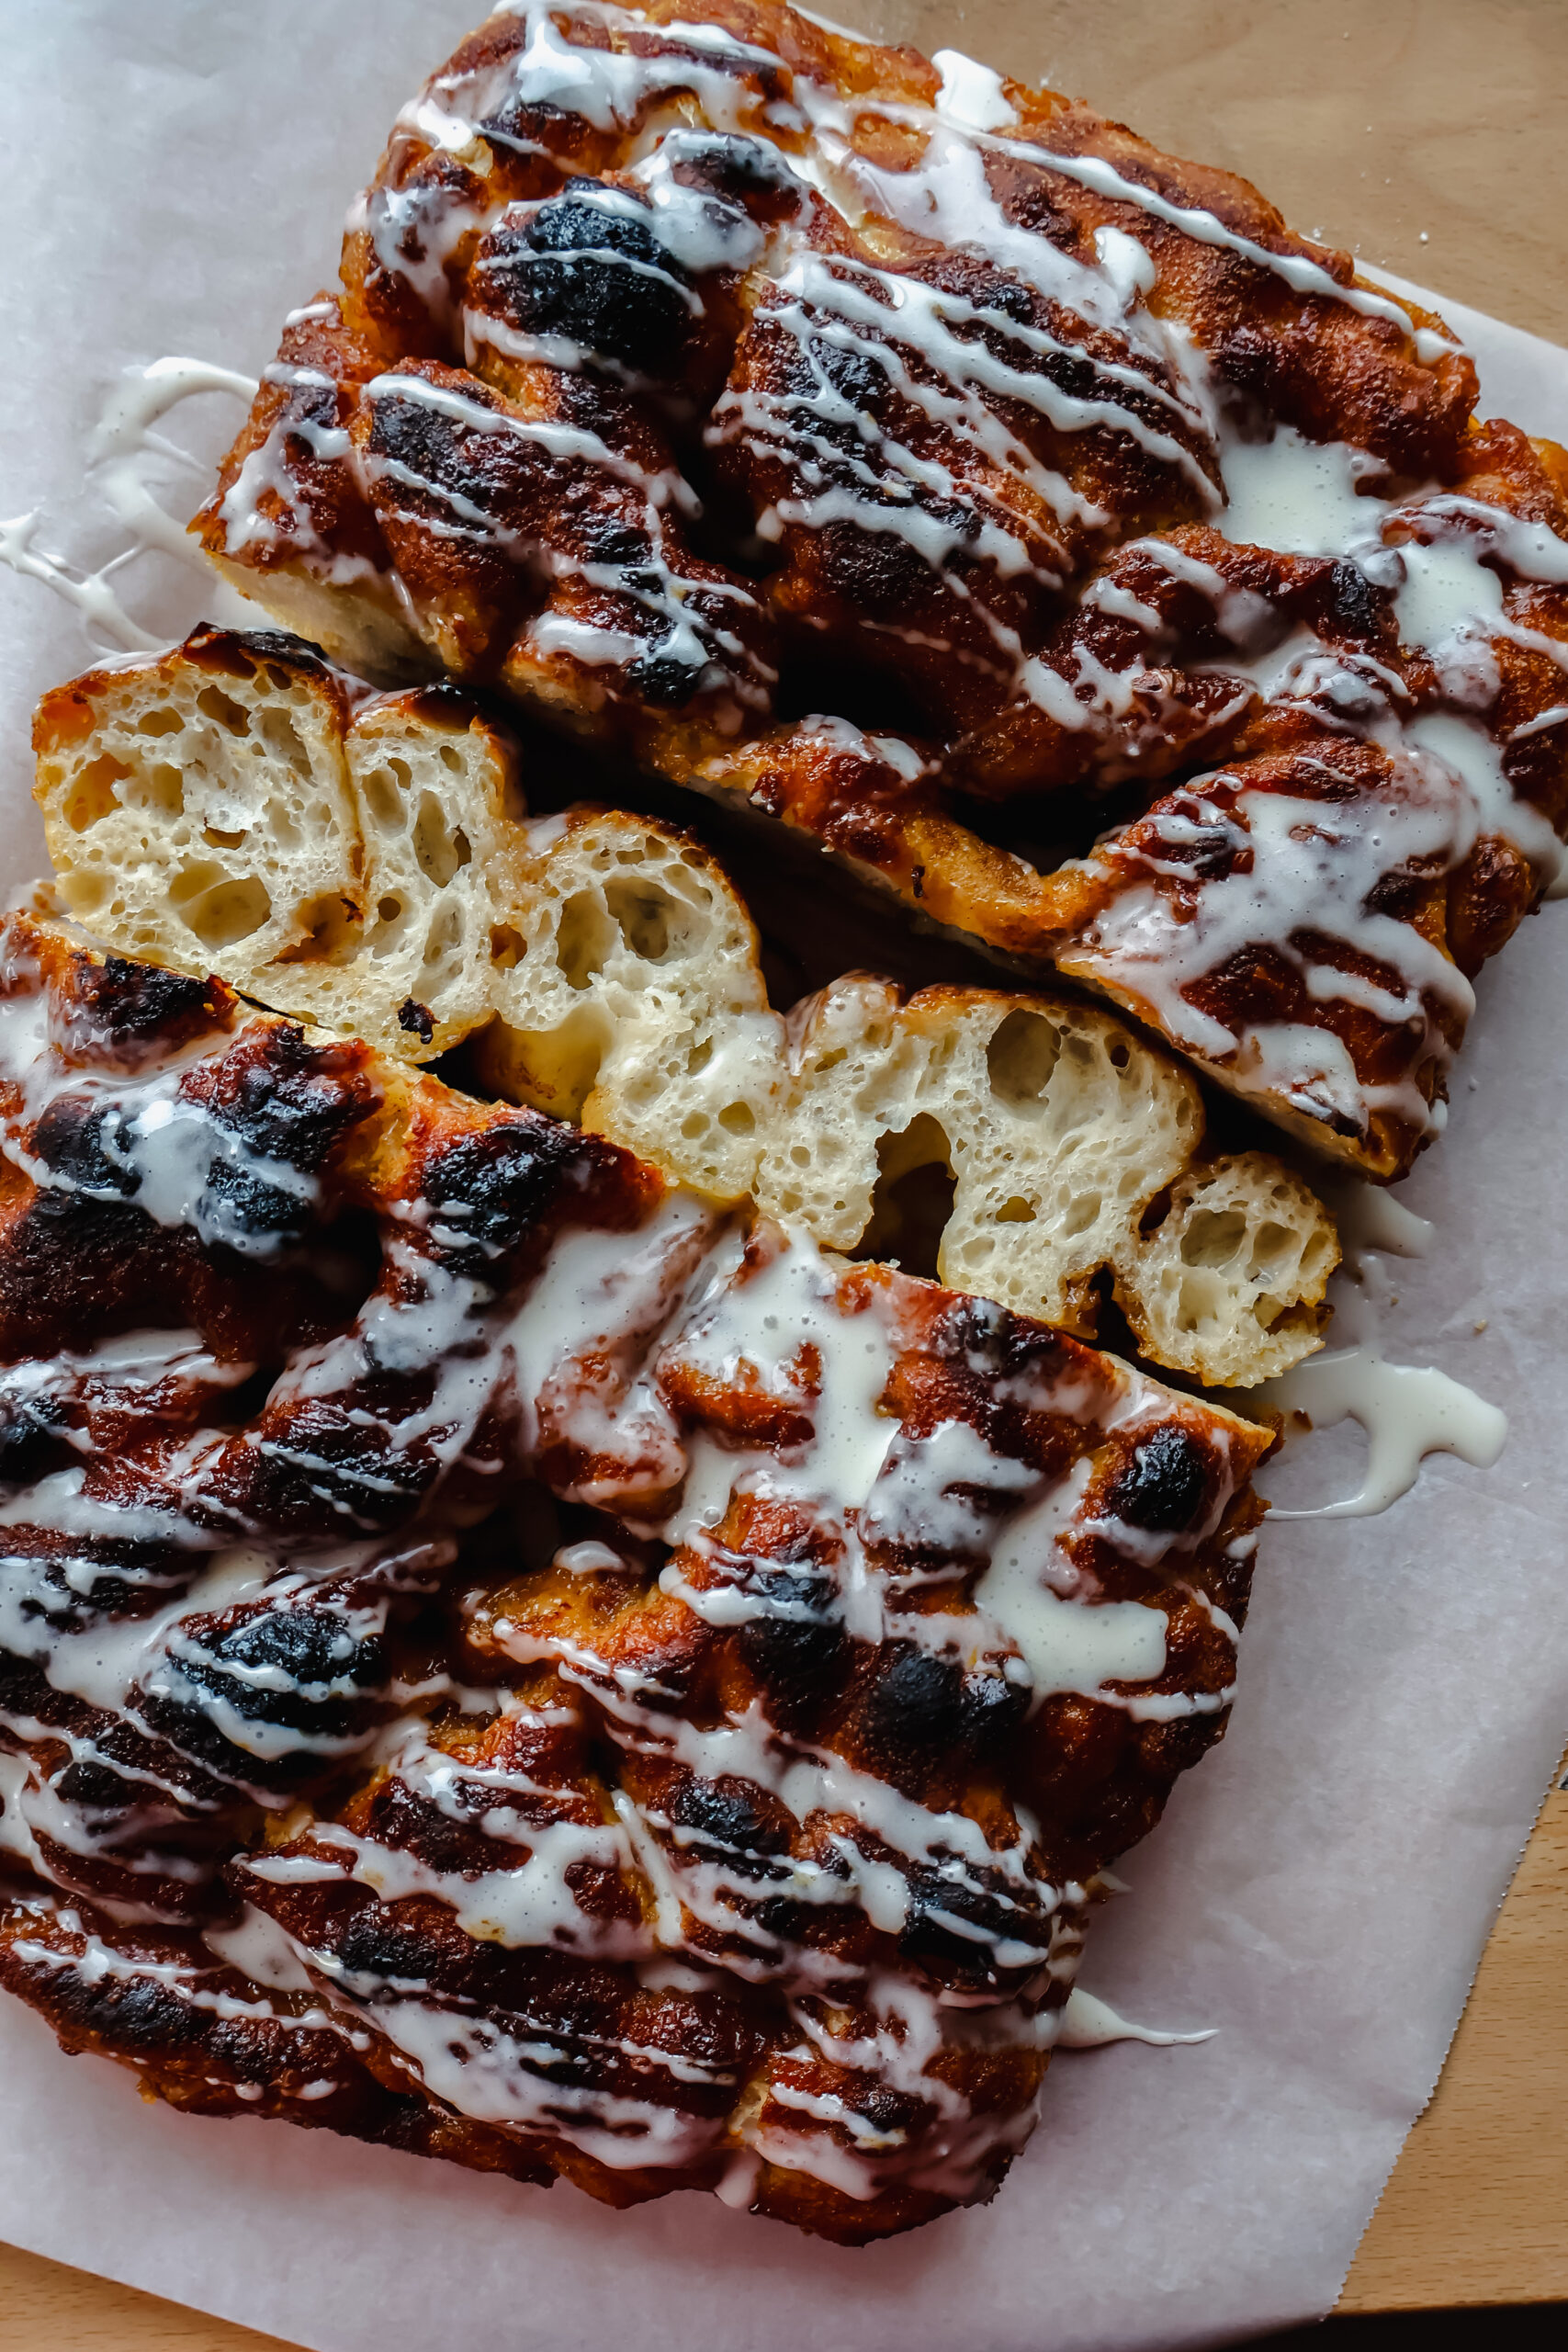
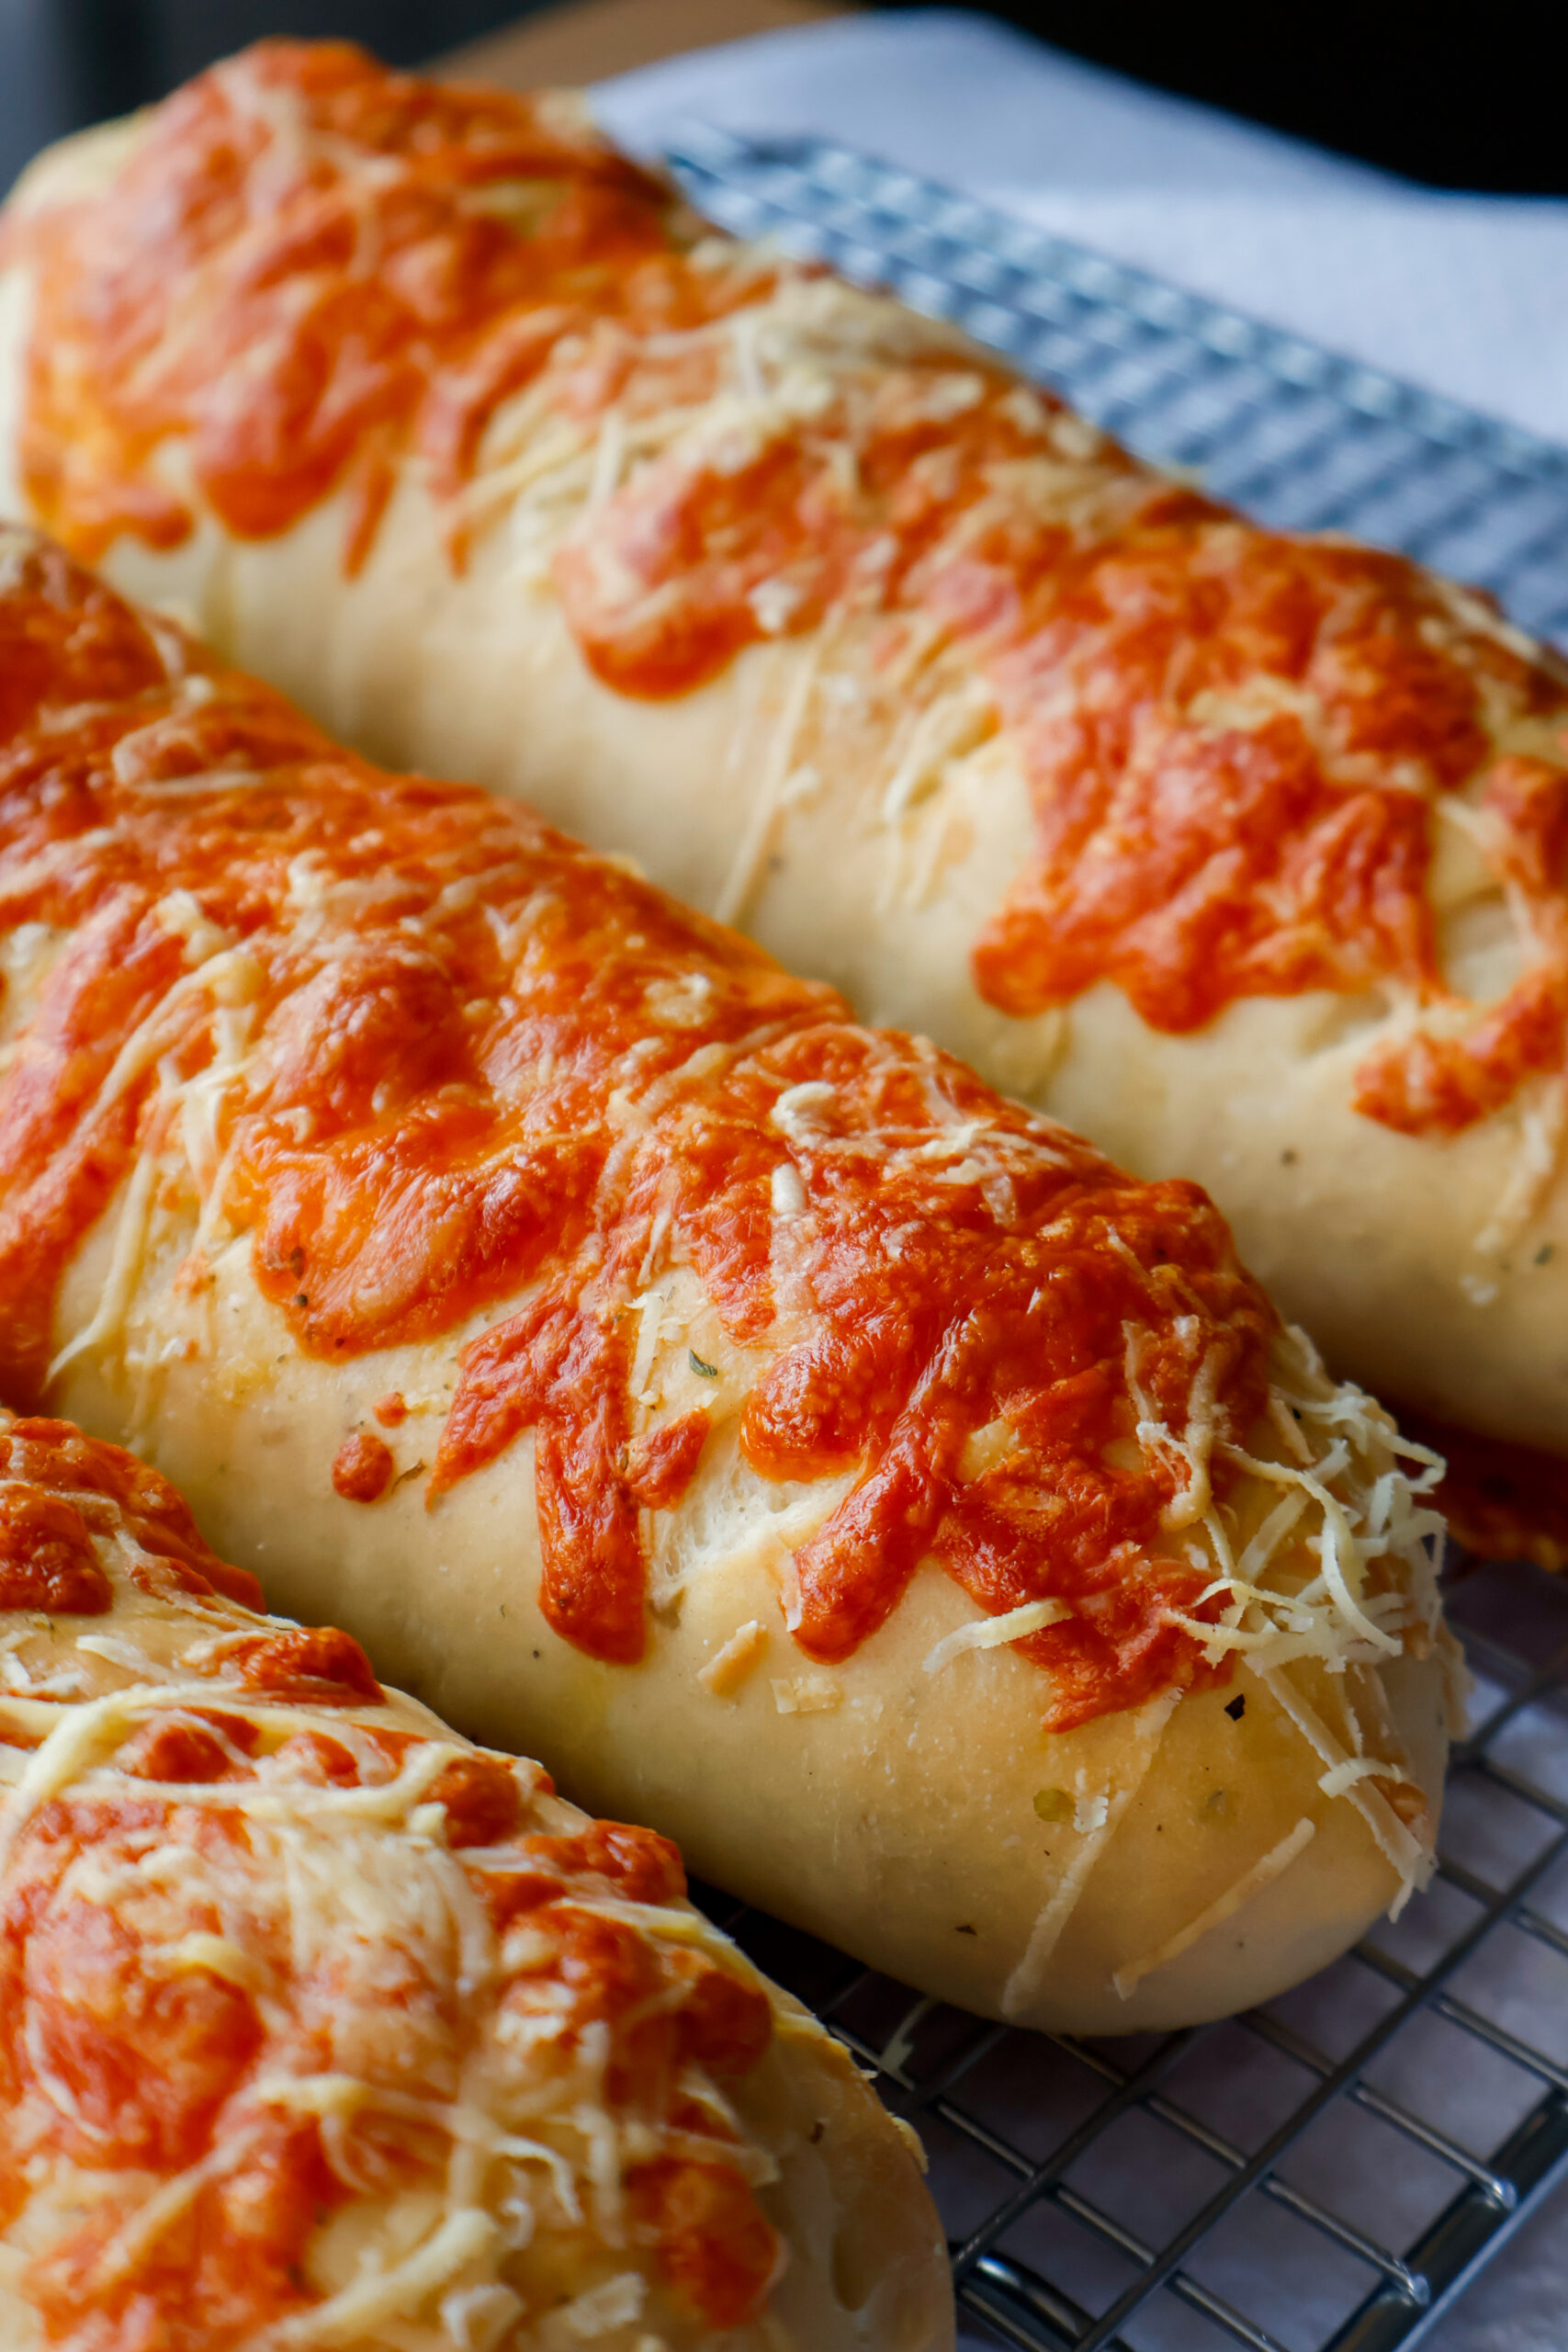
These French Onion Bagels are made with caramelized onions baked into chewy homemade bagels and topped with melted Gruyère cheese. A savory, bakery-style bagel recipe perfect for breakfast or brunch.
When you make them double the caramelized onions and make my family favorite French Onion Pot Roast.

If you love the deep, savory flavor of French onion soup and the chewy bite of a bakery-style bagel, these French Onion Bagels with Gruyère are about to become your new favorite homemade bake. Loaded with deeply caramelized onions, hints of thyme and garlic, and topped with melty Gruyère cheese, these bagels are rich, savory, and perfect for breakfast or brunch.
This recipe combines homemade yeast bagels with sweet, jammy onions that are slow-cooked until golden and intensely flavorful. After a quick honey water bath for that signature chewy crust, the bagels are finished with shredded Gruyère and baked until golden brown.
They're hearty, cozy, and feel just a little elevated - ideal for weekend baking.

Why You'll Love These French Onion Bagels
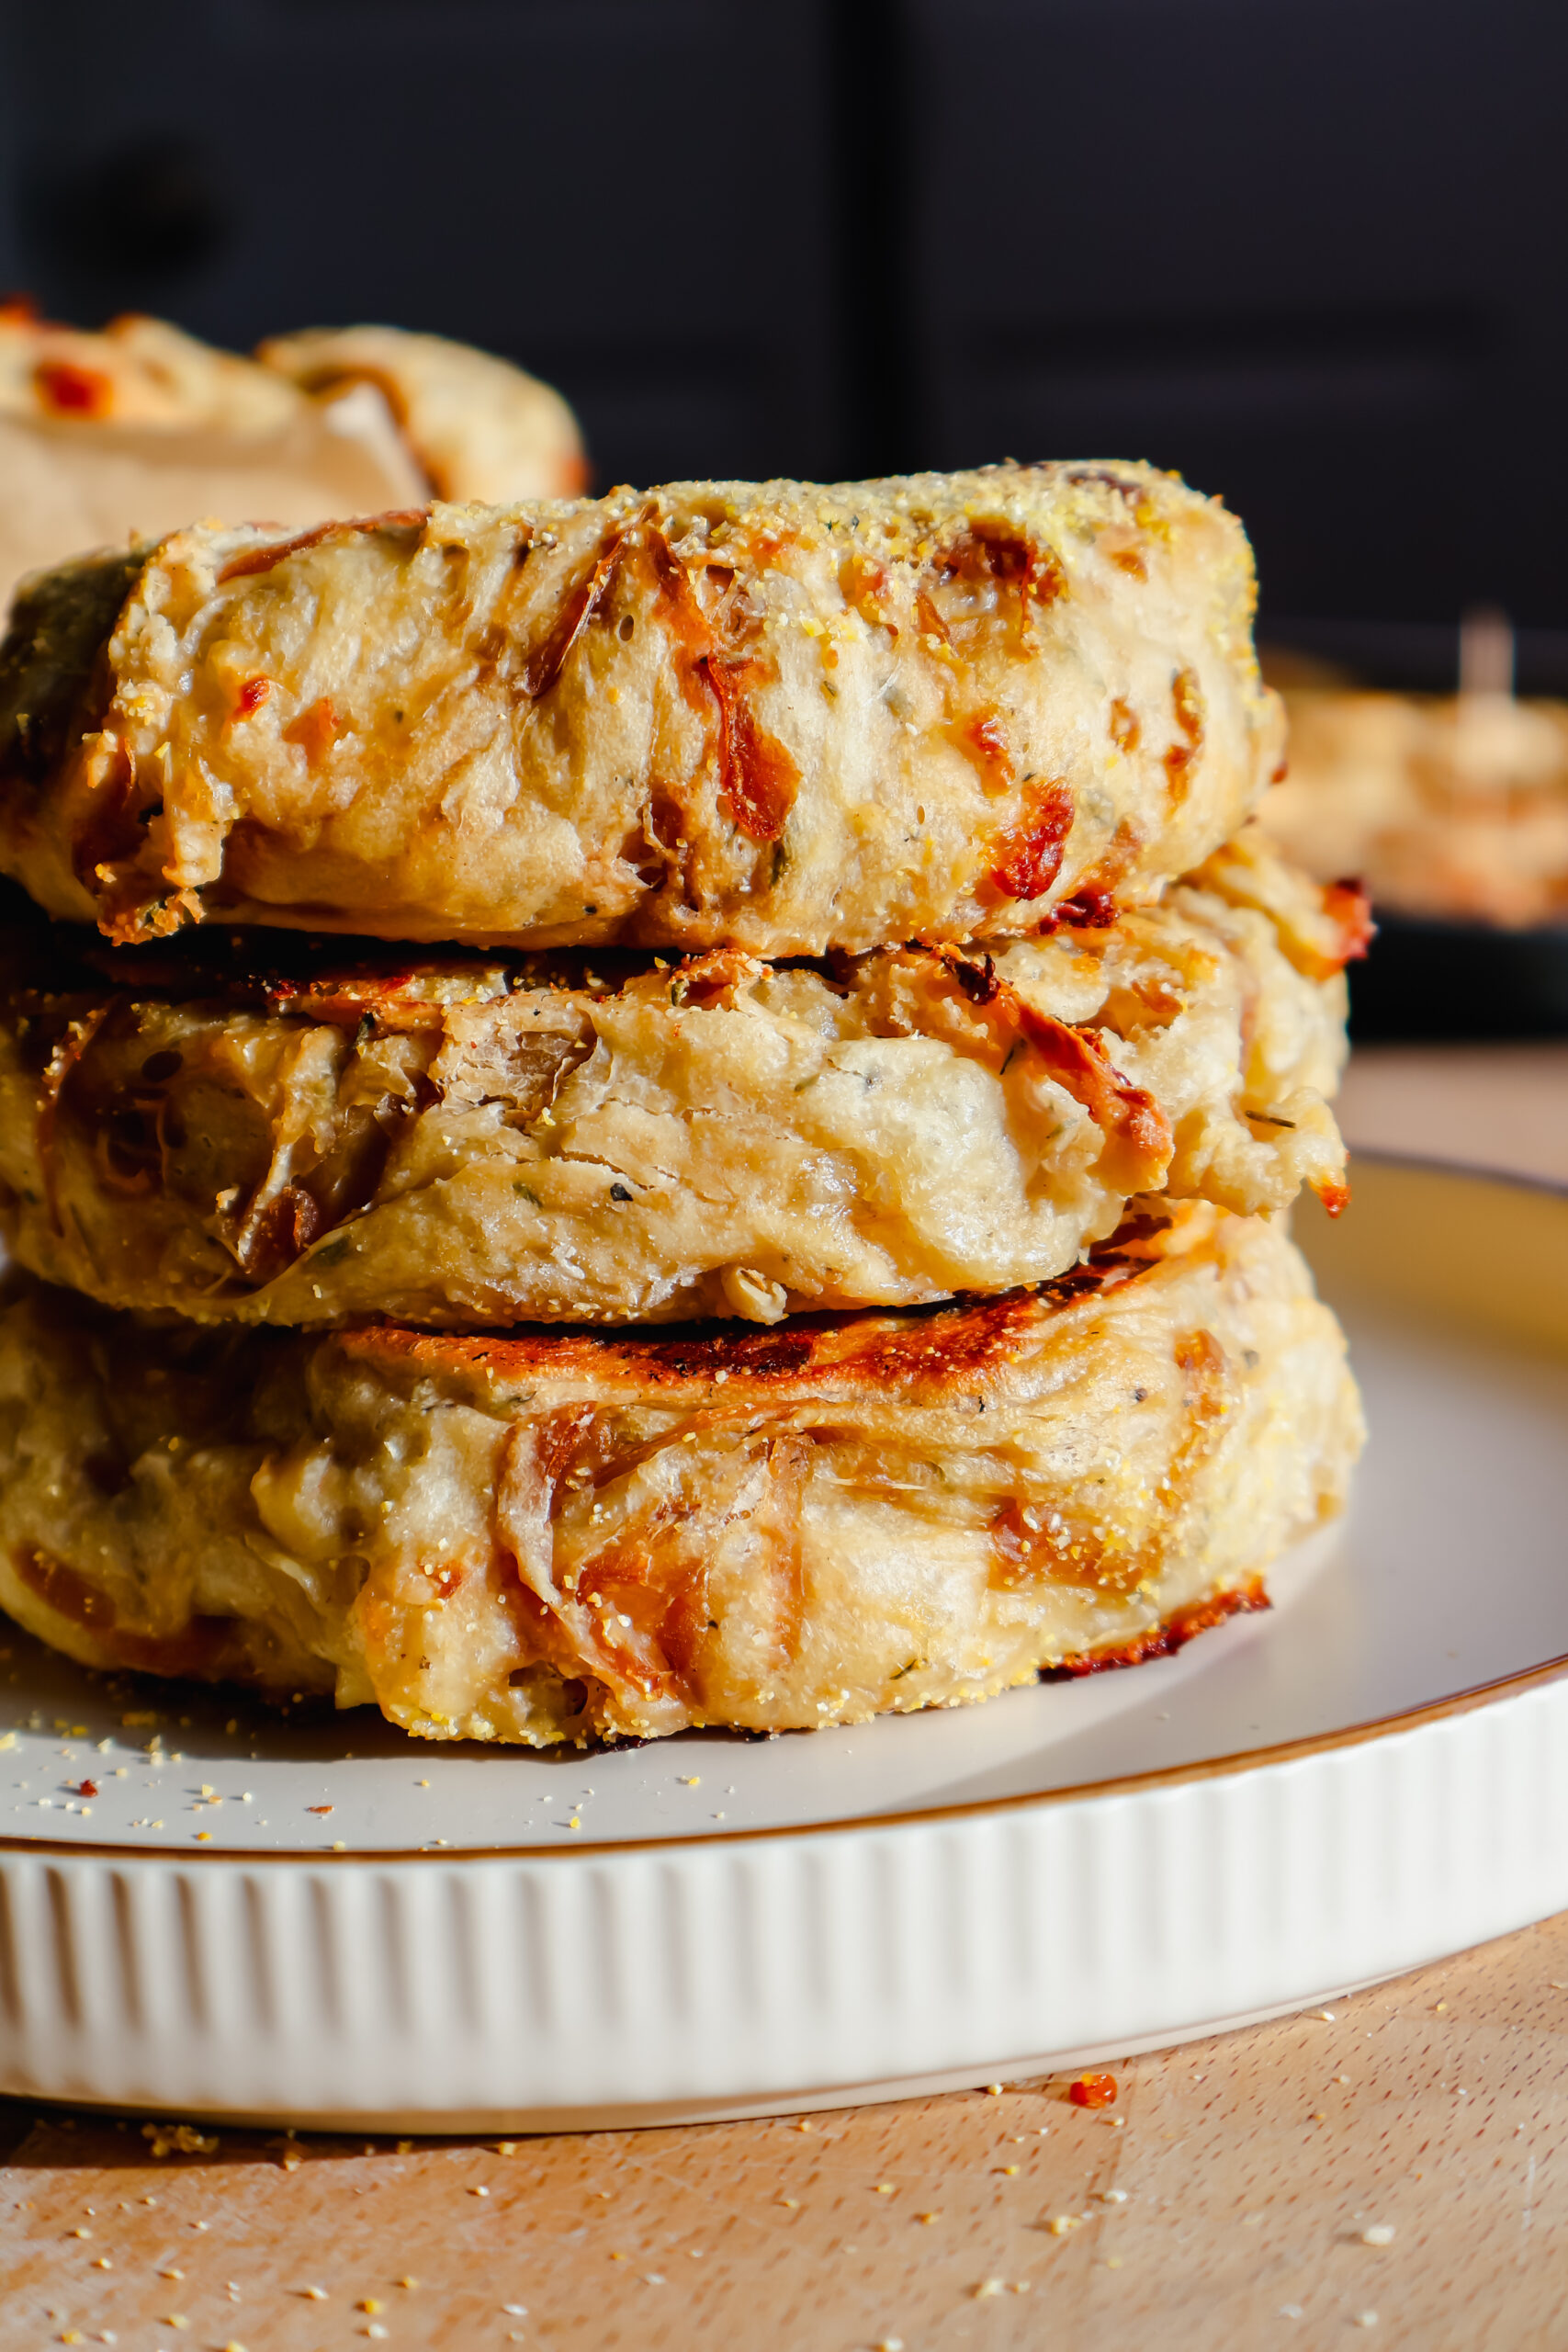
- Soft, chewy homemade bagels
- Deep caramelized onion flavor baked into the dough
- Topped with nutty, melty Gruyère cheese
- Perfect for savory breakfasts or sandwiches
- Bakery-quality results at home
Ingredient Highlights
French Onions
Onions - Slowly caramelized to bring out their natural sweetness and deep flavor.
Butter - Adds richness and helps onions cook down evenly.
Thyme & Garlic - Classic French onion flavor base.
Worcestershire Sauce - Adds savory depth and umami.
Balsamic Vinegar - Balances sweetness with subtle acidity.
Bagels
Bread Flour - Essential for chewy, structured bagels thanks to higher protein content.
Brown Sugar - Slight sweetness to balance the savory onions.
Active Dry Yeast - Gives the bagels their rise.
Honey (for boiling) - Creates that glossy, chewy crust.
Gruyère Cheese - Nutty, slightly sweet cheese that melts beautifully on top.

How to Make French Onion Bagels
Step 1: Caramelize the Onions
In a skillet over medium heat, melt butter and add sliced onions, salt, and thyme. Cook for 20-25 minutes, stirring frequently, until onions are deeply golden, soft, and jammy.
Add minced garlic, Worcestershire sauce, and balsamic vinegar. Let the mixture bubble and reduce briefly, then remove from heat and cool completely before adding to dough.
Step 2: Prepare the Bagel Dough
In a bowl, combine warm water, yeast, and brown sugar. Let sit for 5 minutes until foamy.
In a large bowl, mix bread flour, salt, and cooled French onions. Add the yeast mixture and mix until dough forms. Add additional flour if needed. Knead for 10-15 minutes until smooth and elastic.
Cover and let rise in a warm place for about 1 hour, or until doubled in size.
Step 3: Shape and Boil
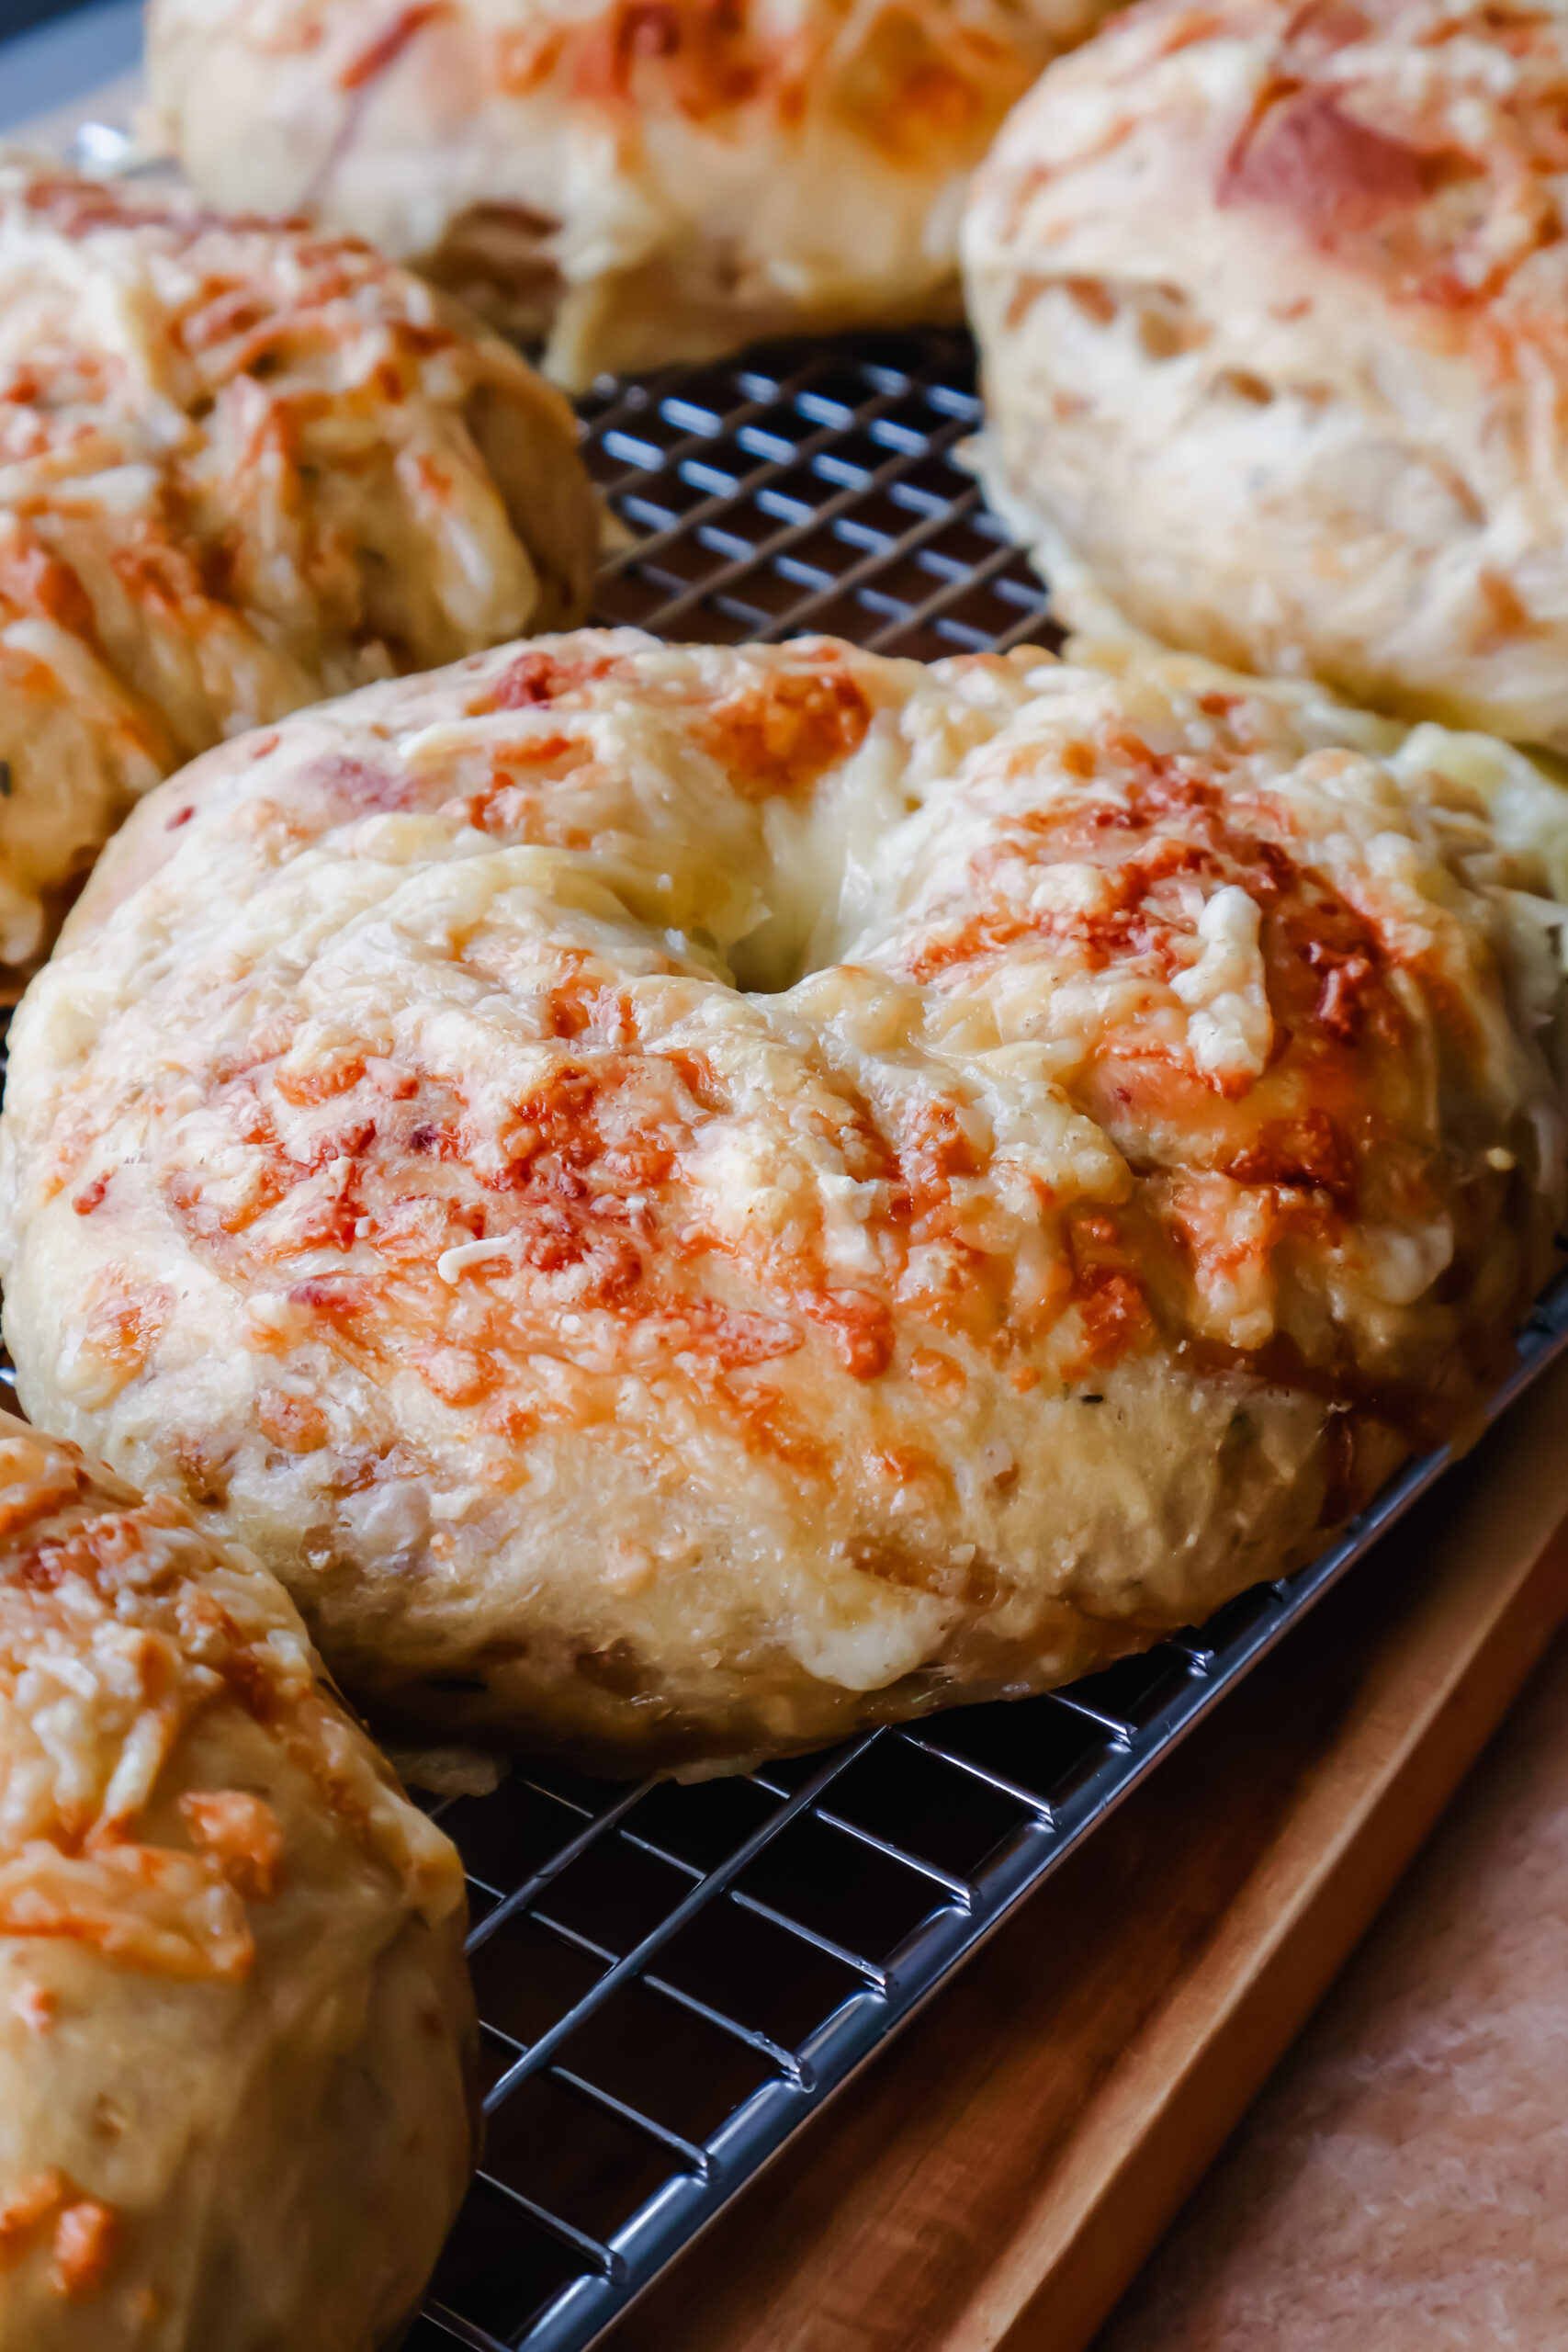
Divide dough into 6 equal pieces. Roll each into a ball, poke a hole through the center, and gently stretch into a bagel shape.
Bring a large pot of water to a boil and add honey. Boil each bagel for 1 minute per side. This step creates the classic chewy crust.
Step 4: Top and Bake
Place boiled bagels on a baking sheet and sprinkle generously with shredded Gruyère cheese.
Bake at 425°F for 10-15 minutes, rotating halfway through, until golden brown and the cheese is melted and bubbly.
Cool before slicing and serving.

Tips for Perfect Homemade Bagels
- Fully cool caramelized onions before adding to dough
- Don't skip the boiling step - it's essential for texture
- Knead thoroughly for that classic chew
- Use freshly shredded Gruyère for best melting
Serving Ideas
These savory bagels are incredible:
- Toasted with whipped cream cheese
- As a breakfast sandwich with egg and bacon
- With roast beef and arugula
- Alongside soup or a simple green salad
Storage & Reheating
Store in an airtight container at room temperature for up to 2 days or freeze for longer storage. Toast before serving for the best texture
These French Onion Bagels with Gruyère Cheese bring bold, savory flavor to homemade baking. If you try them, leave a comment and share how you served yours!
📖 Recipe
French Onion Bagels
Ingredients
Instructions
- Add butter to skillet. Once hot and melted, add the onions, salt and pepper, and allow them to cook down and deeply caramelize for about 20 to 25 minutes, stirring frequently, until the onions become very dark, soft and jammy.
- Add in the garlic, Worcestershire, and balsamic vinegar, and allow it to bubble up and reduce for about 30 seconds. Allow mixture to simmer until reduced.
- Set aside to cool.
- Combine warm water with yeast and brown sugar. Mix and set aside for 5 minutes.
- Add flour, salt, and french onions to a large bowl. Add in yeast mixture and up to an additional ½ cup of flour to make the dough come together. Knead the dough for 10-15 minutes.
- Return the dough to the bowl, cover, and allow the dough to rise in a warm spot until doubled in size (about 1 hour).
- Divide the dough into 6 equal pieces. Shape each portion into a round ball with your hands, take your thumb and make a hole in the center of each ball, gently spread the hole out to shape the dough into bagel shapes.
- Place on your prepared baking sheets. Cover the pans with cling wrap or a dish towel while your prepare the water bath.
- Fill a large wide pot about ⅔ of the way with water and bring to a boil. Once the water starts simmering, add in about ¼ cup of honey.
- Once the water is boiling, use a spatula to gently drop the bagels into the boiling water one at a time.
- Boil for about 1 minute before flipping over to the other side and boiling for another minute.
- After they have boiled, place them on the second baking sheet.
- Sprinkle each bagel with ¼ cup shredded gruyere cheese
- Cook the bagels at 425 for 10 to 12 minutes, rotating the pans halfway through.
- Allow the bagels to cool before slicing and serving with your desired spreads!