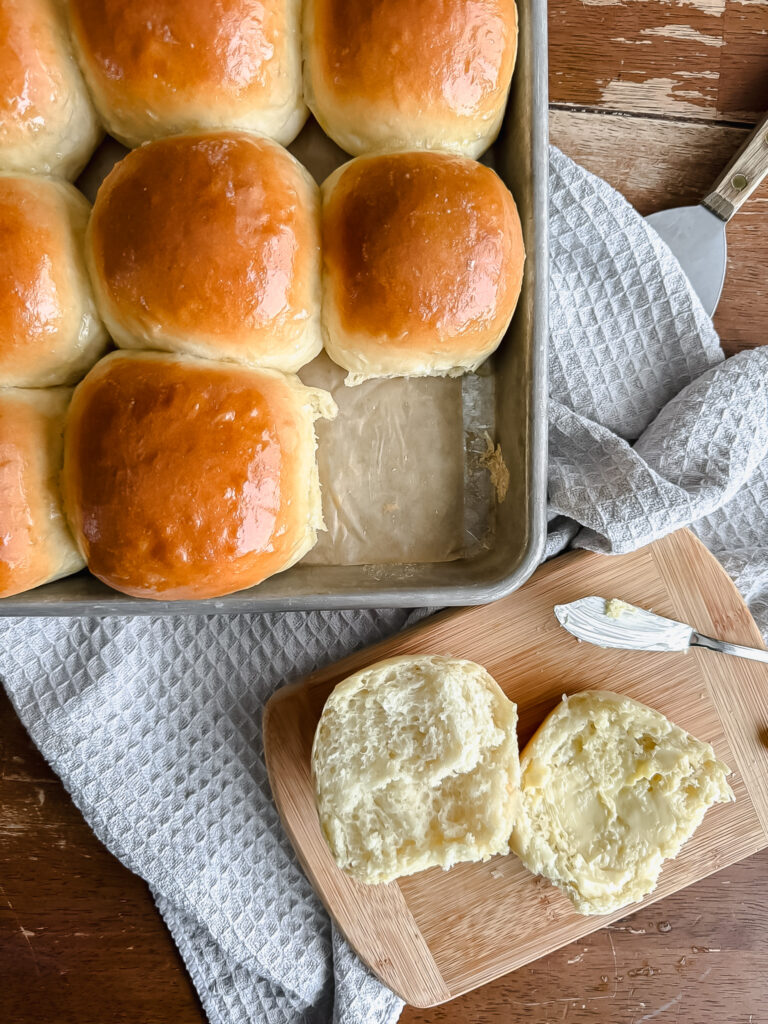
Sweet Hawaiian Rolls
These sweet Hawaiian dinner rolls are the perfect amount of sweetness and sure to be a hit at your next dinner!
Note: This recipe was updated December 9, 2024 to add more details and helpful tips for new bakers. Thank you for your support!
Hawaiian dinner rolls are one of those breads that everyone loves! However, I am always on the hunt to simplify my ingredients, so making these from scratch is an easy way to make sure my ingredient list is minimal. Plus, every time I make these rolls everyone is in love and begging for more, so it's a good thing that it makes a lot!
Ingredients
- Yeast - I use active dry yeast in this recipe. If you want to swap for instant yeast, mix the yeast in with the flour mixture instead of proofing the yeast with the juice mixture in step one.
- Sugar - regular granulated sugar. 1 tablespoon is used to help activate the yeast, and the rest to sweeten the rolls. We prefer our rolls to not be as sweet as the store bought rolls, however if you want sweet sweet rolls add in the full amount of sugar. I have made this recipe both way with no changes.
- Pineapple Juice - this adds the pineapple flavor that we love from the Hawaiian rolls and a touch of sweetness.
- Salt - adds flavor and structure to your dough.
- Butter - this helps to provide a more tender dough that is softer than recipes that don't include butter.
- Egg - helps to add structure to the dough. I have made this recipe without the egg and it still turns out great. Just add 2 extra tablespoons of liquid to compensate.
- Flour - regular all purpose flour is great here, I have also used bread flour but the rolls turn out a bit more dense when I do.
How to Make Sweet Hawaiian Rolls
- Combine ¼ cup warmed water with yeast and 1 tablespoon of sugar. Set aside until foamy. If your mixture does not foam up, your yeast may no longer be good or you need to find a warmer spot for it. Do not move on if your mixture does not foam.
- In a large bowl add 3 cups of flour, sugar, salt, butter, egg, yeast mixture, and pineapple juice. Mix together until well combined. Add in additional flour until the dough starts to pull away from the sides of the bowl.
- Knead mixture by hand for 7-10 minutes, or in a stand mixer for 3-5 minutes. When kneading you are looking for a dough that is smooth on the surface, if your dough is too sticky and sticking to your hands or the counter add in additional flour.
- One the dough is smooth, shape into a ball, place back into bowl, and let rise for an hour, or until doubled in size.
- Place dough onto counter and divide into 12 sections (roughly 2.5 oz each). Shape into a ball and place on a baking sheet to rise four about another hour or until doubled in size.
- Bake at 350 for 25-30 minutes. Top with a little more butter if desired when they are fresh from the oven.
Can this be made by hand or with a stand mixer?
Yes to both! I have made this mixture by hand and with my Kitchen Aid Stand mixer. If using a stand mixer, make sure to mix using the dough hook.
What happens if my dough didn't rise?
A few things could have gone wrong, so let's do our best to troubleshoot.
- Did your yeast mixture foam up in step 1? If yes, then move on. If no, then this is likely your issue. You want to make sure that your yeast is still active.
- Is your house cool? Less than 70F? If yes, then try and find a warm spot in your house for your dough and give it more time to rise. Yeast is sometimes on it's own schedule and it isn't something you can rush. Give it more time.
Share Your Experience
I would love to hear about your experience making and enjoying my Homemade Sweet Hawaiian Rolls! Feel free to tag me on Instagram or leave a review below. Your feedback helps me improve our recipes and provides inspiration to fellow bakers.
Save this recipe for later by simply using the pin button on the recipe card or any of the photos above. Happy cooking!
📖 Recipe

Sweet Hawaiian Rolls
Ingredients
Instructions
- Combine ¼ cup warmed water with yeast and 1 tablespoon of sugar. Set aside until foamy. If your mixture does not foam up, your yeast may no longer be good or you need to find a warmer spot for it. Do not move on if your mixture does not foam.
- In a large bowl add 3 cups of flour, sugar, salt, butter, egg, yeast mixture, and pineapple juice. Mix together until well combined. Add in additional flour until the dough starts to pull away from the sides of the bowl.
- Knead mixture by hand for 7-10 minutes, or in a stand mixer for 3-5 minutes. Shape into a ball, place back into bowl, and let rise for an hour, or until doubled in size.
- Place dough onto counter and divide into 12 sections (roughly 2.5 oz each). Shape into a ball and place on a baking sheet to rise four about another hour or until doubled in size.
- Bake at 350 for 25-30 minutes. Top with a little more butter if desired when they are fresh from the oven.


This recipe needs a lot more explanation and better instructions. Sugar optional? That’s all that is said about that. Why is it optional, if I use it what other changes do I need to make to offset adding it? Juice as needed? What does that mean? If I make a dough then try to add liquid after the fact, it’s pretty messy and hard to incorporate. I’ve never used a recipe that called for more liquid as needed, especially after adding everything else, it usually start with less flour and add more of that if needed. Sorry, but as a seasoned bread and roll maker, this recipe needs a lot of explanation, especially since the post itself and the directions were almost exactly the same. I hoped if I read the post I’d get more of that needed info, but I didn’t. I would also hope there would be a side note about using mixers like a Bosch. A lot of people use these and this post did not fit a larger demographic unfortunately. I’m really hoping these turn out. I had to make a lot of adjustments.
Thank you for your feedback! This was one of my older recipes when I first started recipe development. I have definitely learned a lot since then. I have updated the recipe for now, and will work on getting more detailed steps and directions as time permits. I would love to know if the recipe did end up working out for you or not!
Our family love this recipe!
Great recipe! Easy directions!
The dough was super wet. I use more than 4 cups of flour. Is 1 cup of pineapple juice correct?
Are you positive that you measured everything correctly? The ration of 1 cup pineapple juice to 4 cups of flour is correct. It is actually a very low hydration ratio and you should not have had a super wet dough. I would double check your measurements.
Delicious! family loved these rolls.