Carrot Cake Latte
This Carrot Cake Latte with Maple Cold Foam is a fun spring inspired coffee recipe that is full of flavor but so easy to make!

Ingredients
- Carrots - for the carrot cake syrup
- Brown Sugar - for the carrot cake syrup
- Water - for our carrot cake syrup
- Spices - cinnamon, nutmeg, cloves, ginger
- Milks - ½ and ½ and heavy cream for the cold foam and milk for the latte base
- Maple Syrup - for the cold foam, this can be swapped for more of the carrot cake syrup
- Espresso - I love the convince of using my Nespresso machine
How to Make Carrot Cake Latte
Carrot Cake Syrup:
- Chop the carrots into small pieces, then add to a saucepan with the water, brown sugar, and spices. Bring the water to a boil over medium high heat. Stir until sugar is dissolved and carrots are mostly fork tender, about 5-10 minutes.
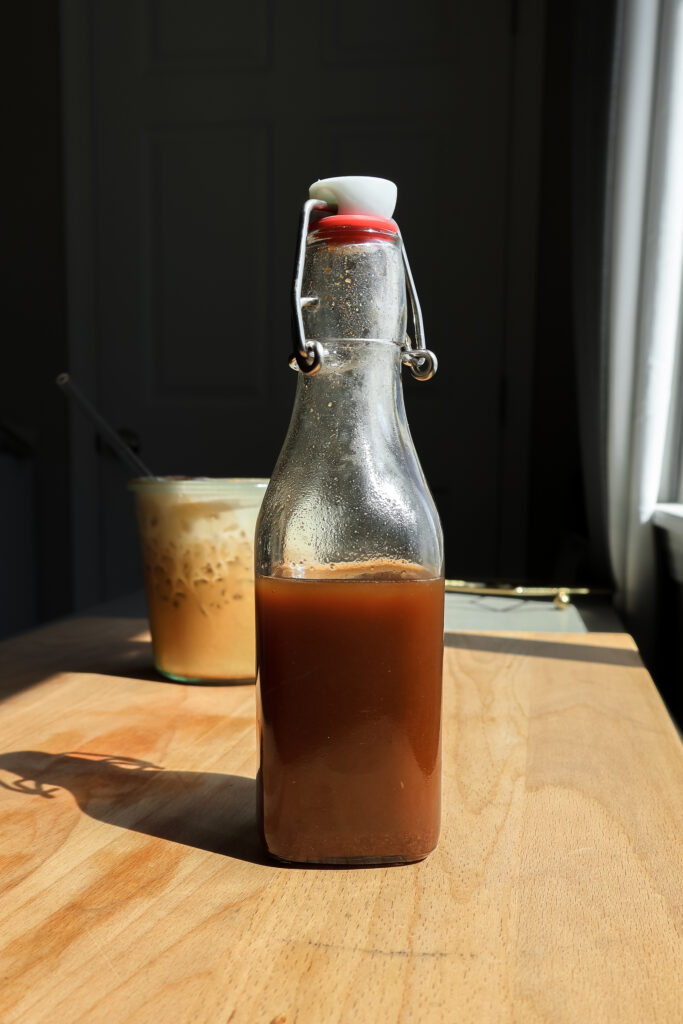
- Strain the mixture and store in a glass container in the fridge up to 4-5 days.
Maple Cold Foam:
- Add all ingredients in a small bowl. Use a hand held milk frother to whisk until thick and foamy.
Latte:
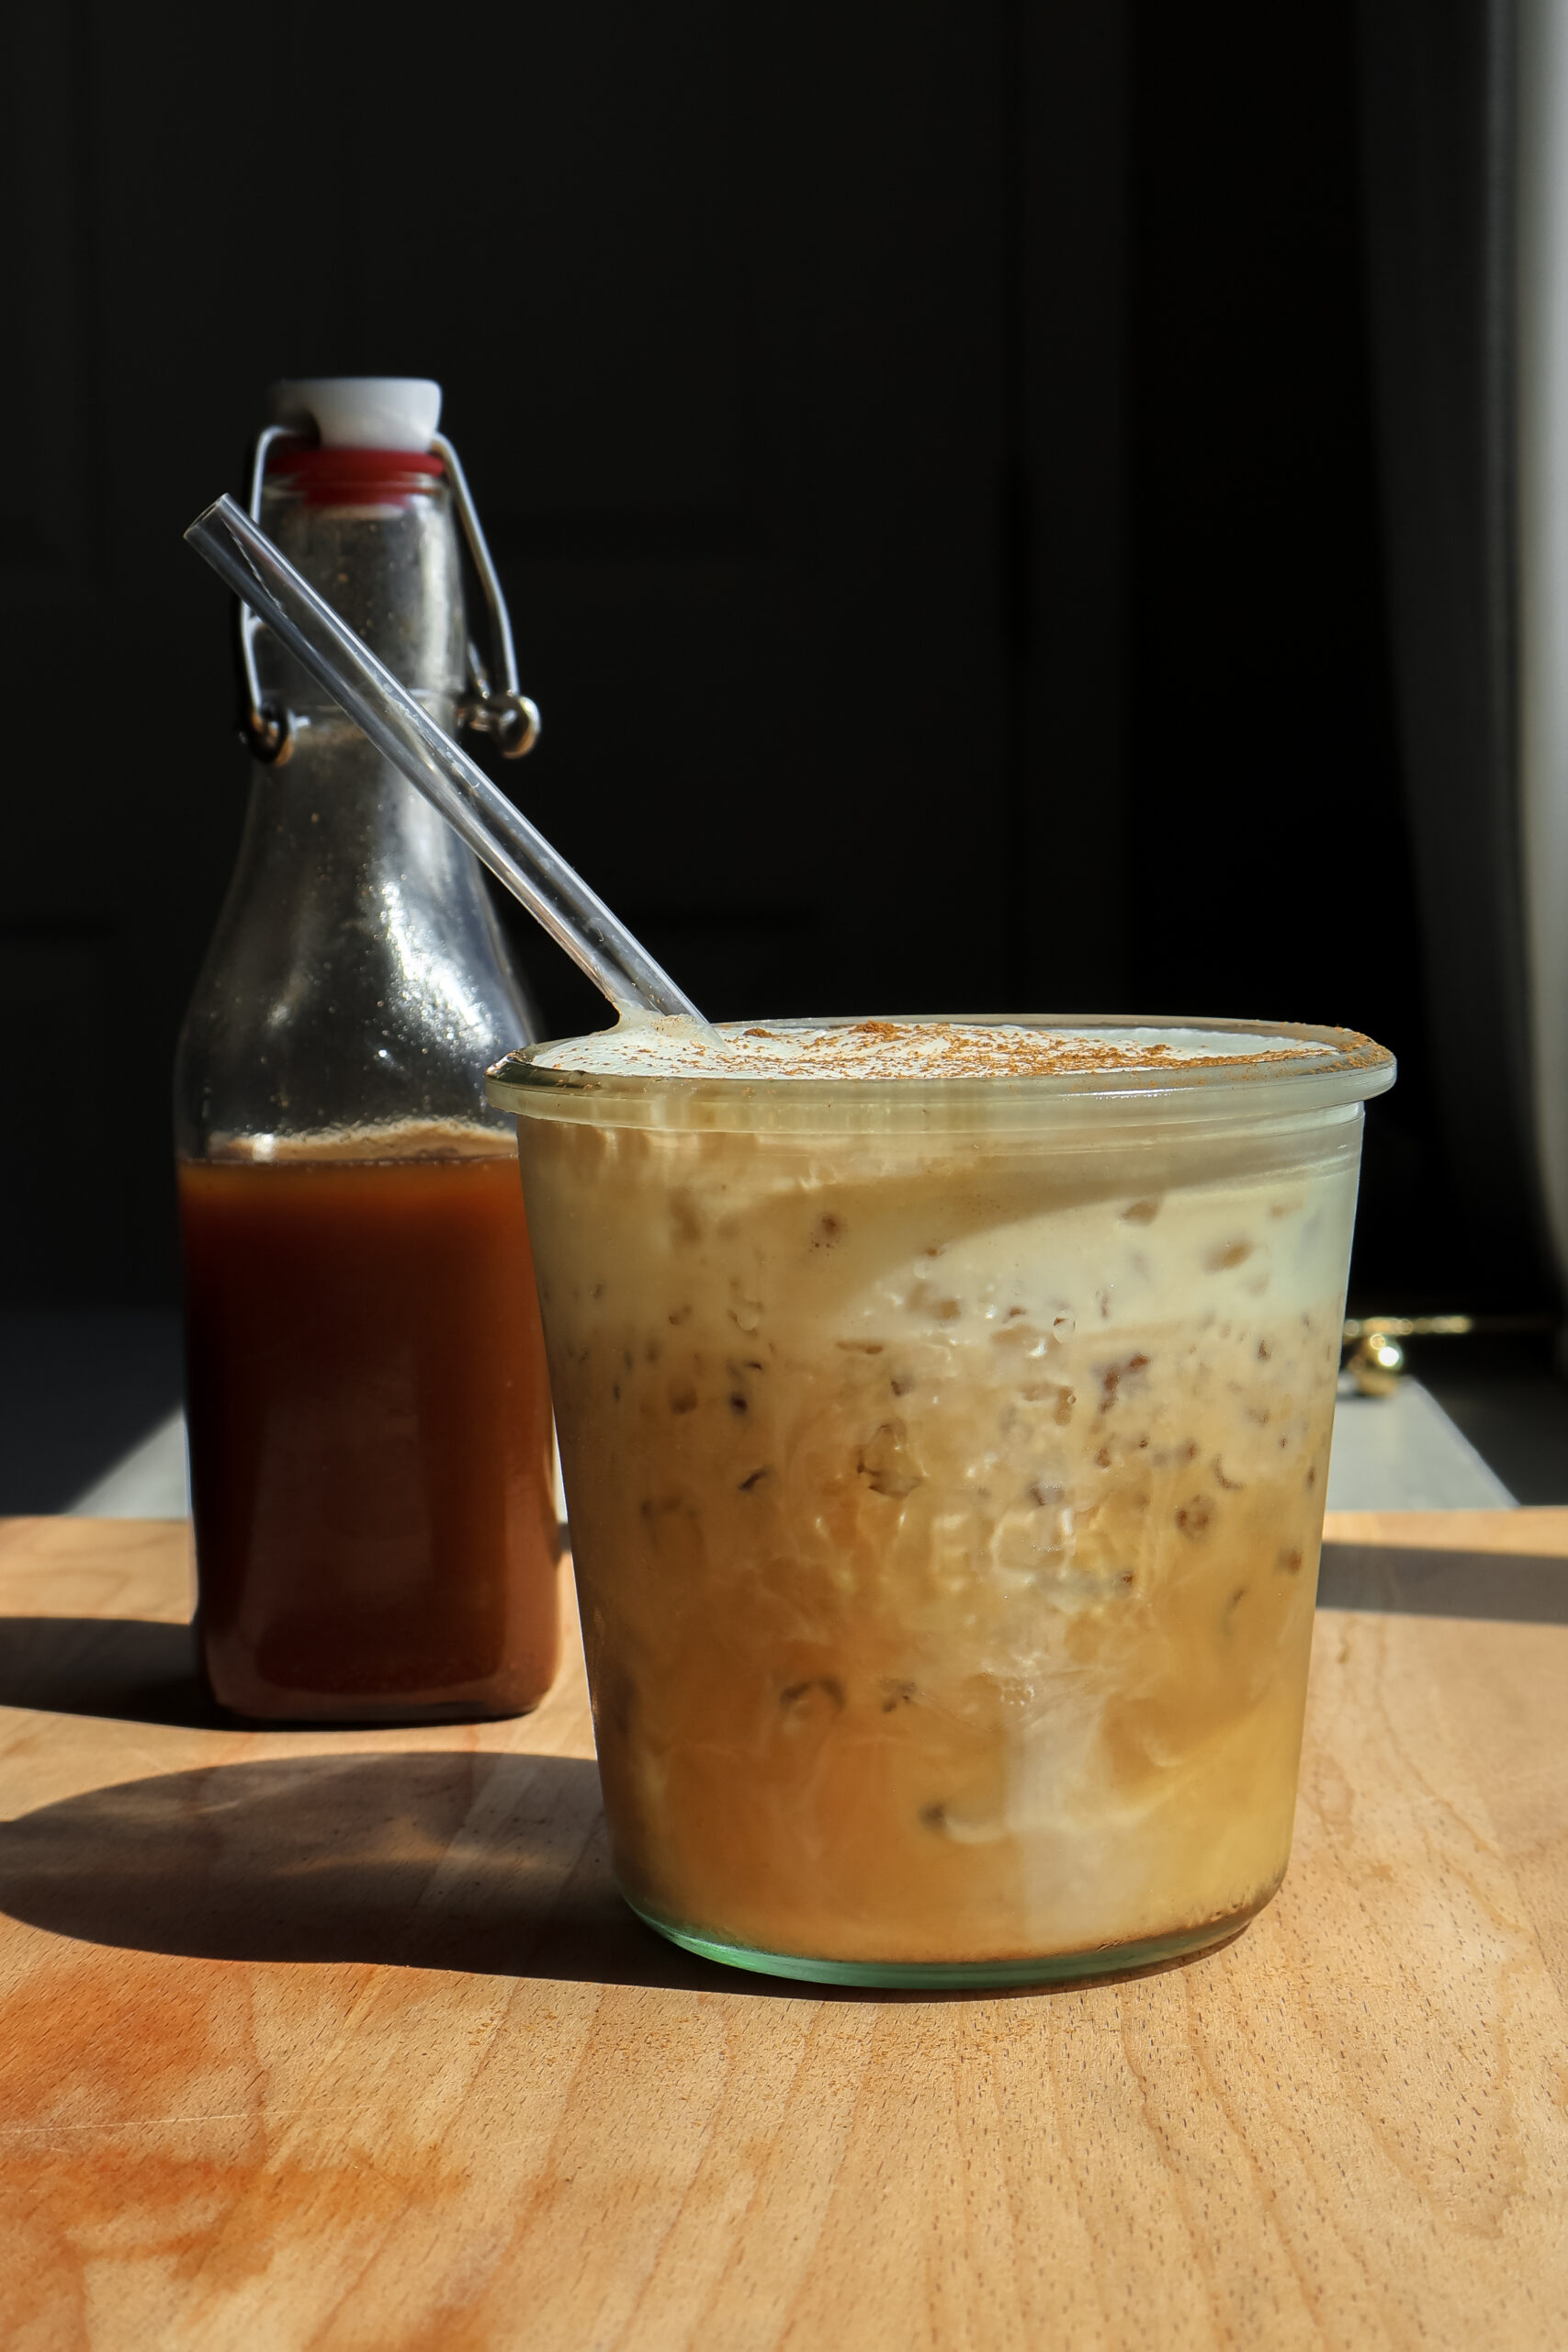
- Fill a glass with ice. Add 1-2 tablespoons of Carrot Cake Syrup, then the milk, espresso, and top with the cold foam.
- Dust with ground cinnamon to enjoy!

How to Store Homemade Coffee Syrups?
Store homemade coffee syrups in a glass jar in the fridge up to 4-5 days.
📖 Recipe
Carrot Cake Latte
This Carrot Cake Latte with Maple Cold Foam is a fun spring inspired coffee recipe that is full of flavor but so easy to make!
Ingredients
Instructions
Carrot Cake Syrup:
- Chop the carrots into small pieces, then add to a saucepan with the water, brown sugar, and spices. Bring the water to a boil over medium high heat. Stir until sugar is dissolved and carrots are mostly fork tender, about 5-10 minutes.
- Strain the mixture and store in a glass container in the fridge up to 4-5 days.
Maple Cold Foam:
- Add all ingredients in a small bowl. Use a hand held milk frother to whisk until thick and foamy.
Latte:
- Fill a glass with ice. Add 1-2 tablespoons of Carrot Cake Syrup, then the milk, espresso, and top with the cold foam.
- Dust with ground cinnamon to enjoy!


