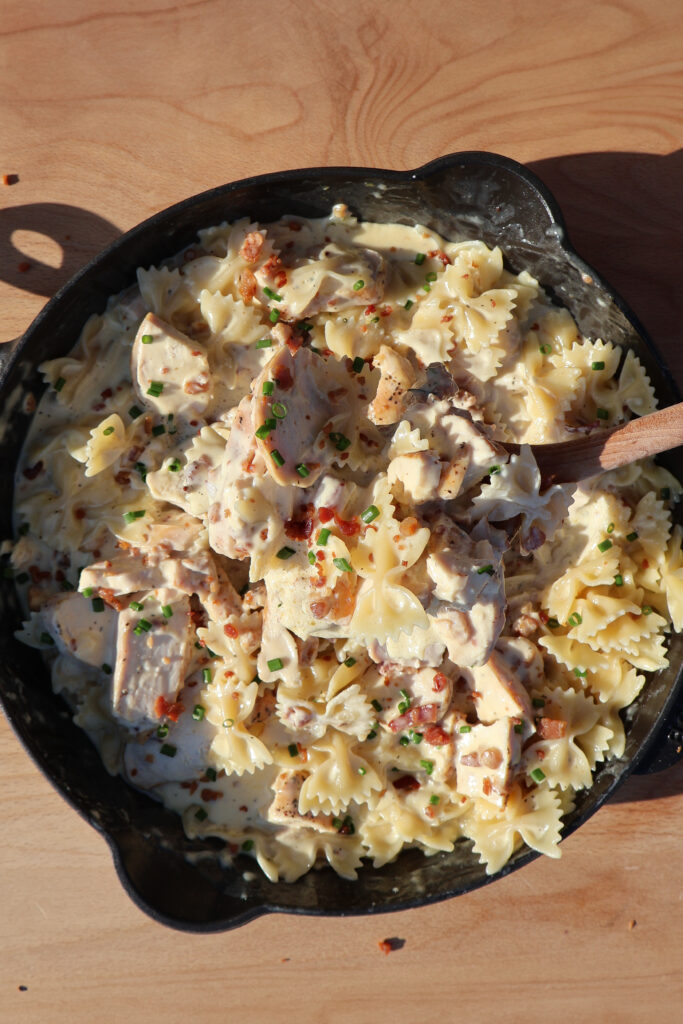
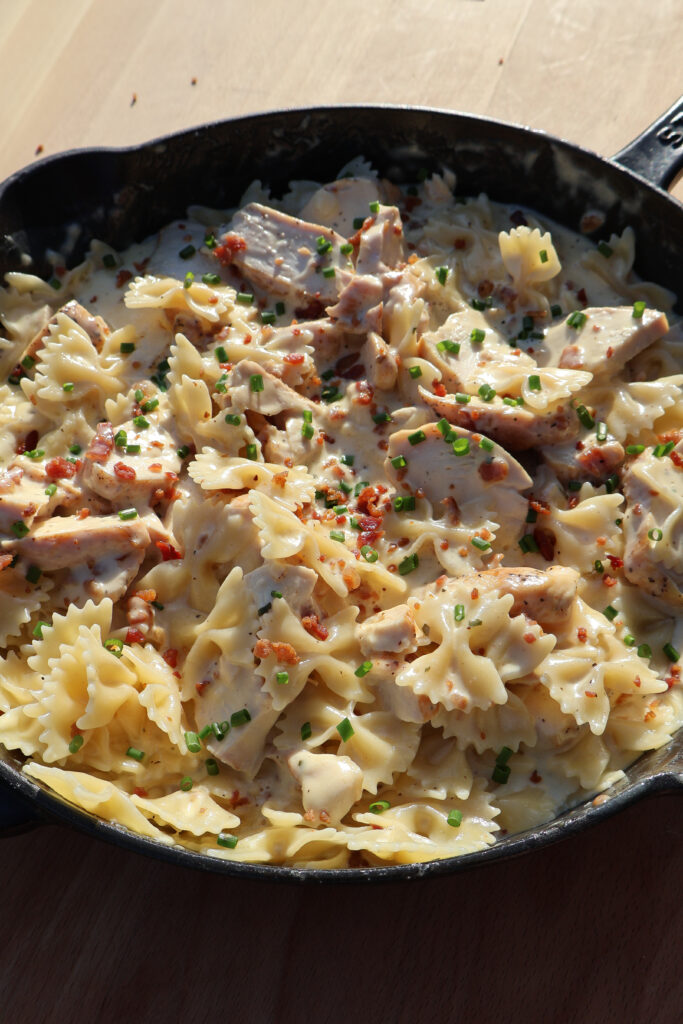
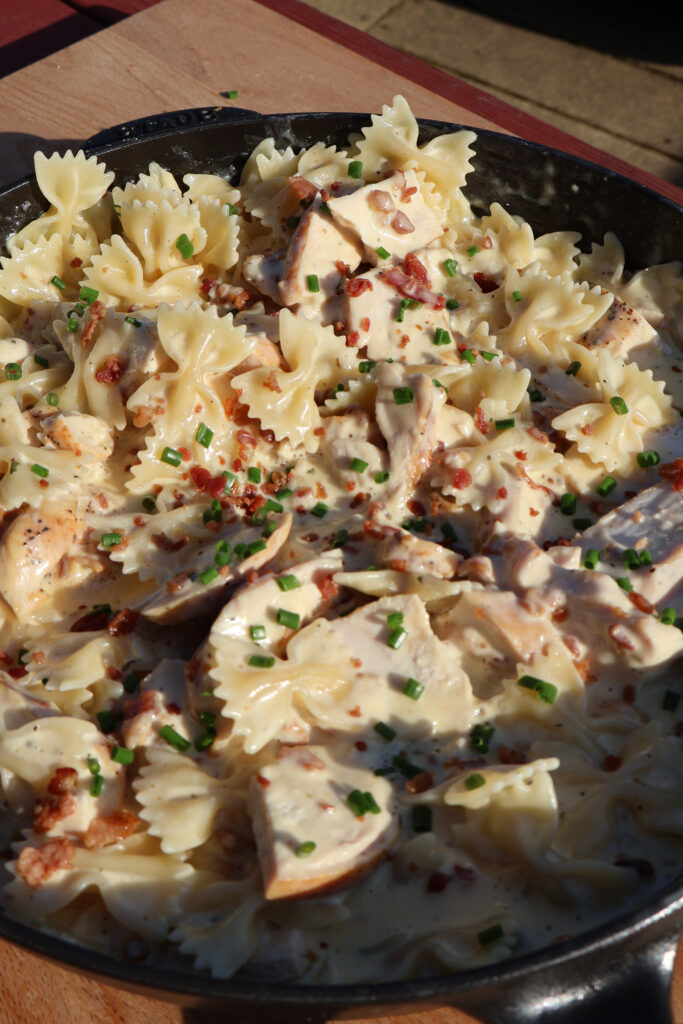
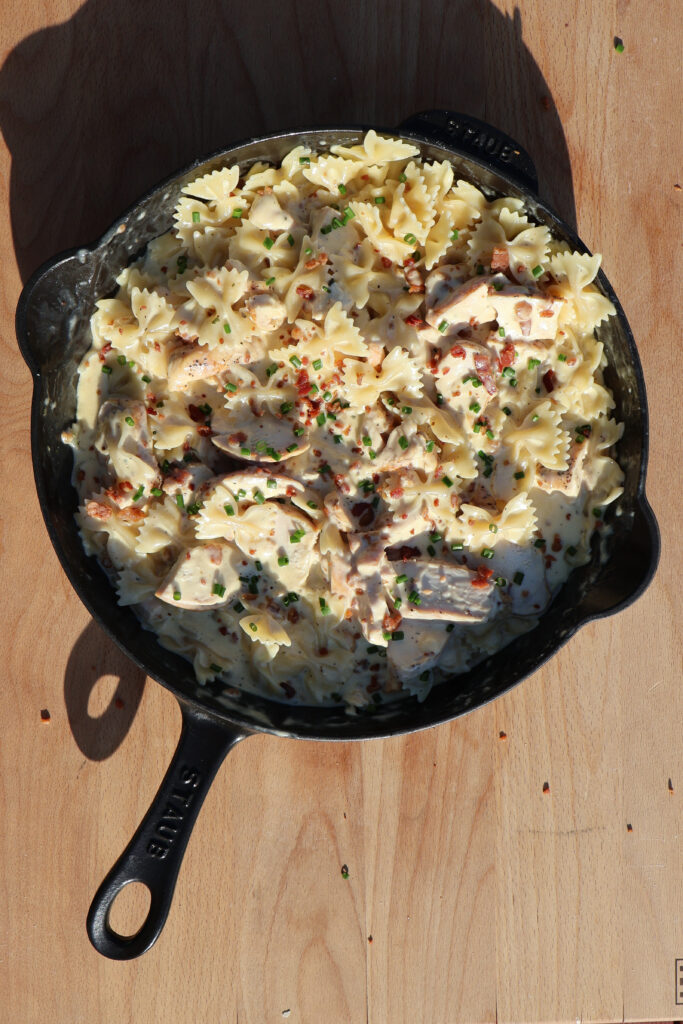
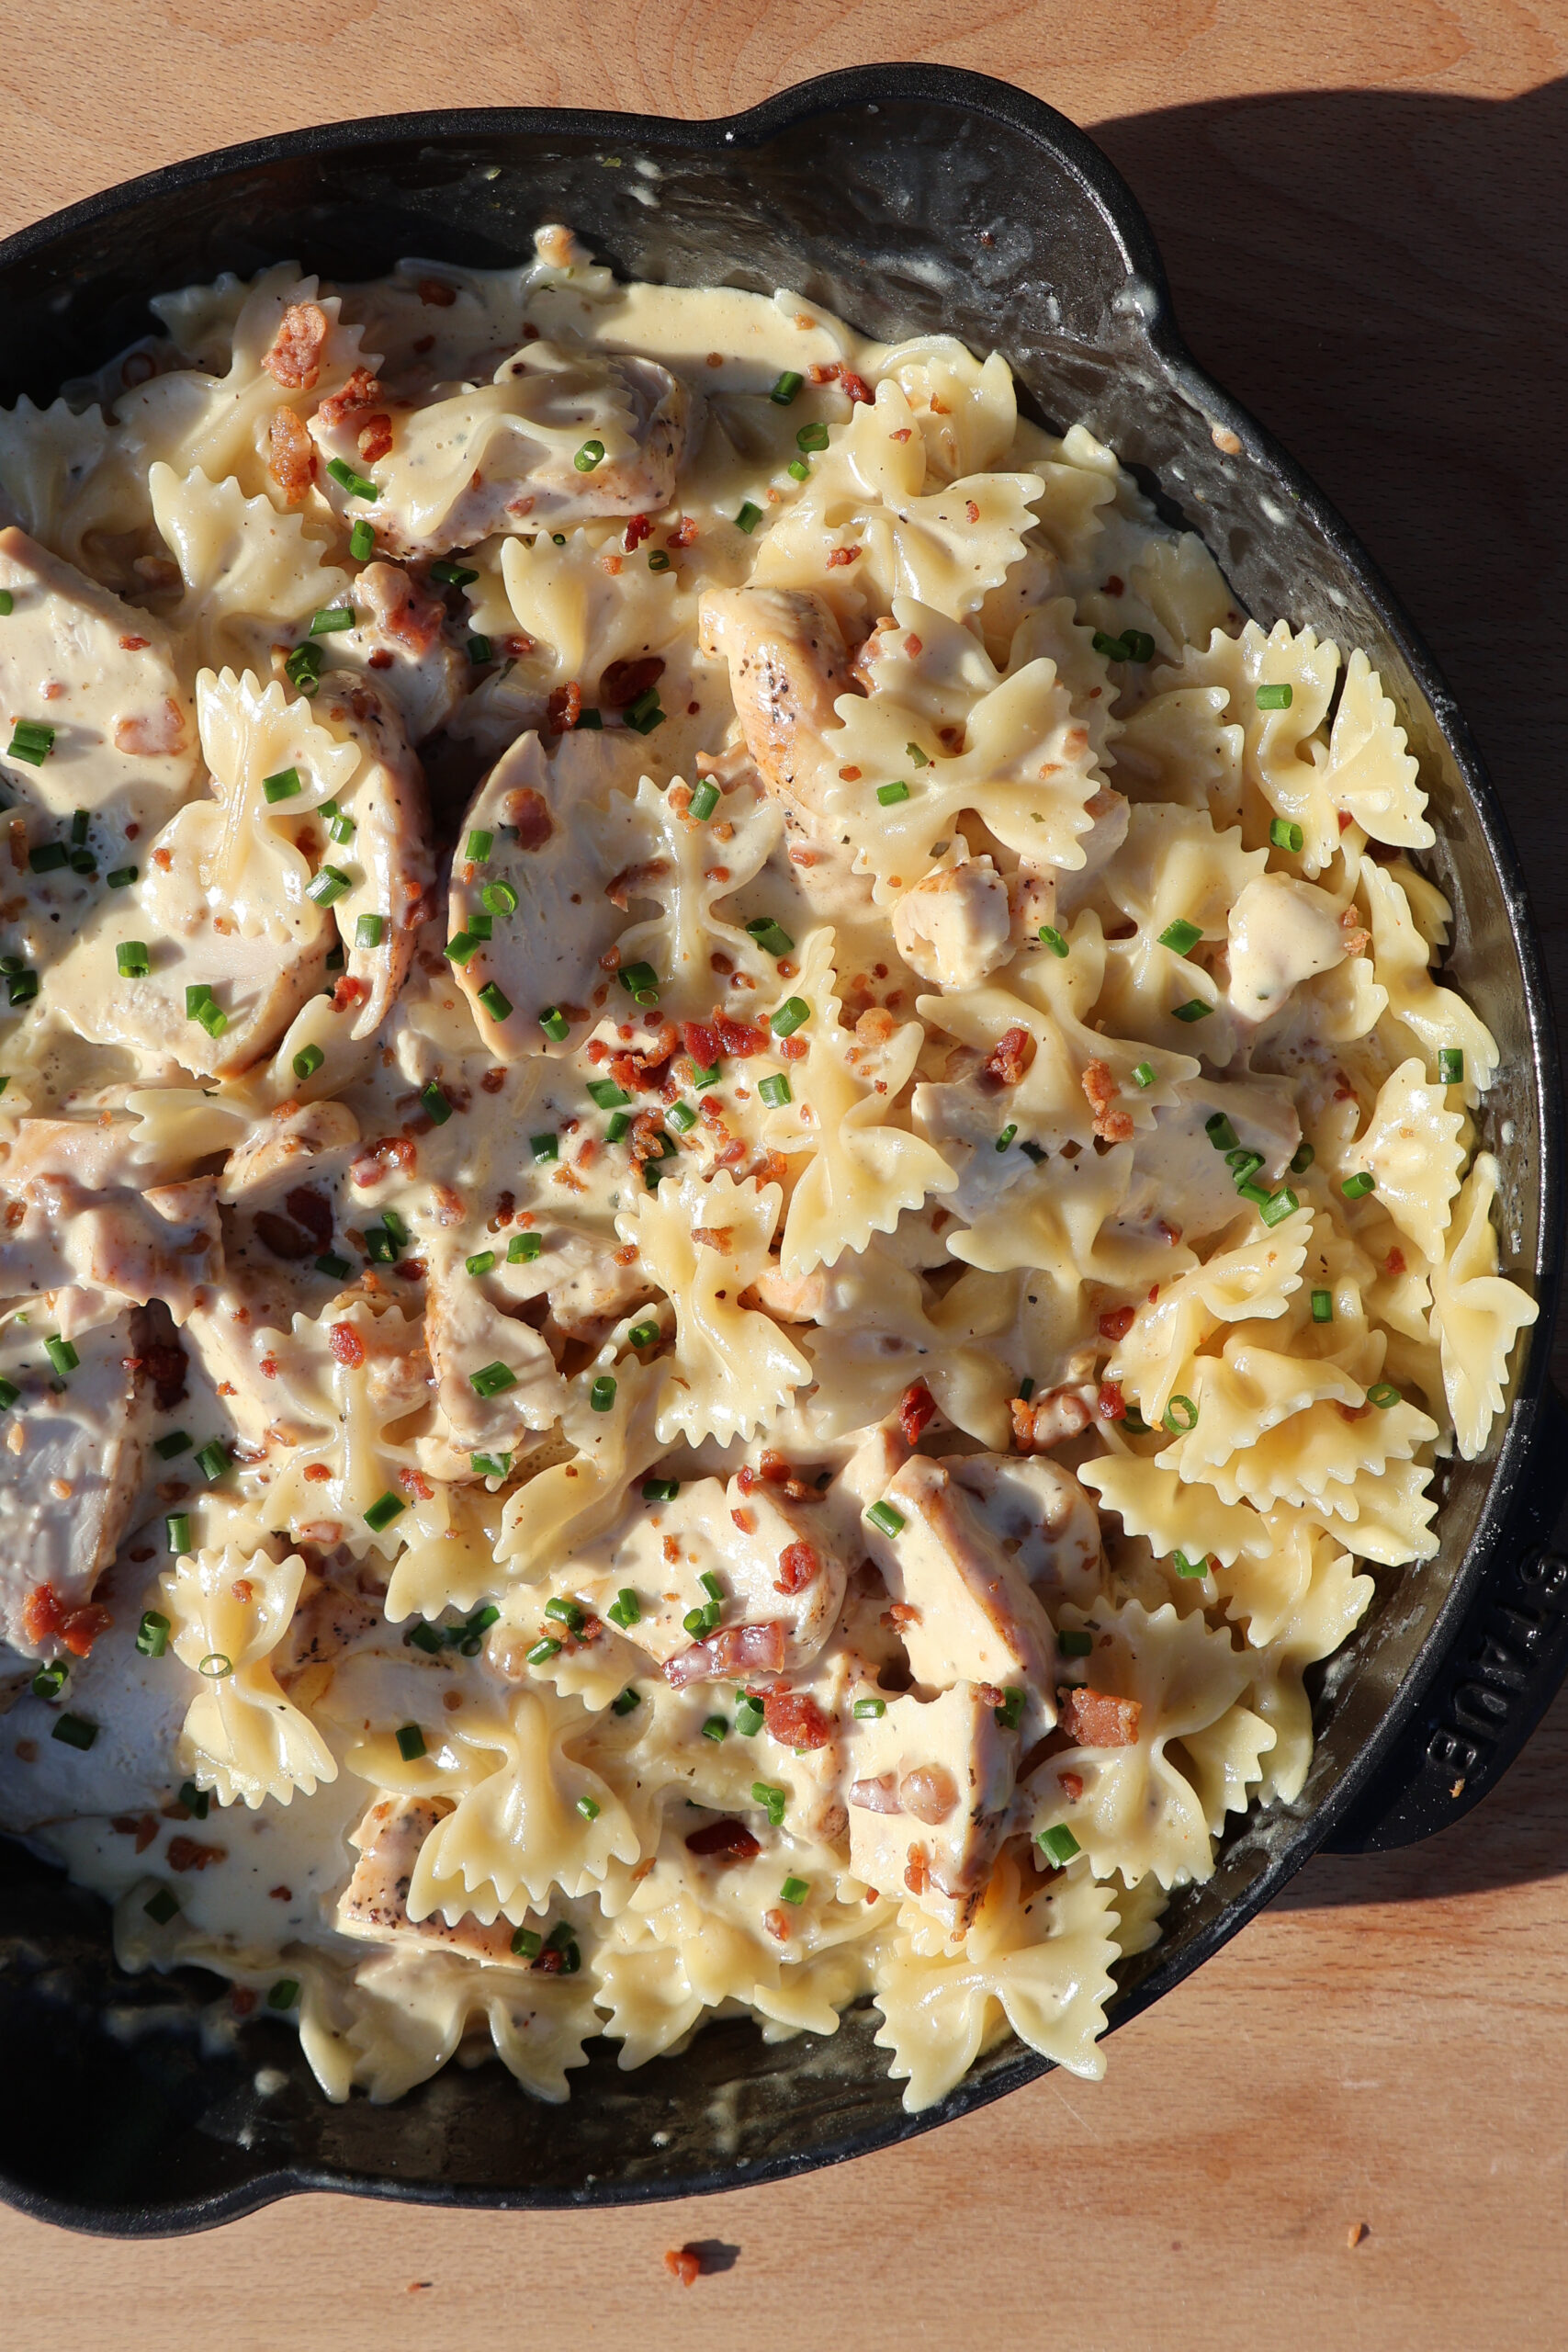
Chicken Bacon Ranch Pasta
This chicken bacon ranch pasta is the ultimate comfort food with a homemade alfredo seasoned with ranch seasoning and topped off with crispy bacon, you cannot get any better.

Looking for a quick, crowd-pleasing weeknight dinner that's loaded with flavor and minimal on effort? This easy Chicken Bacon Ranch Pasta is your go-to recipe! Creamy, cheesy, and packed with savory goodness from juicy chicken and crispy bacon, it's the kind of meal that brings everyone to the table fast.
Whether you're a busy parent, a student, or just someone who wants dinner on the table in under 30 minutes, this chicken bacon ranch pasta checks every box.
Why You'll Love This Chicken Bacon Ranch Pasta
- Quick and easy - Ready in about 30 minutes
- Family-friendly - Even picky eaters ask for seconds
- Perfect for leftovers - Tastes even better the next day
Ingredients
- Chicken Breasts - want to speed up the process, use leftover grilled chicken or rotisserie chicken!
- Bacon - thick cut bacon makes this even better
- Seasoning - salt, garlic powder, onion powder, paprika, dry ranch seasoning
- Butter - a good quality butter makes everything better
- Heavy Cream - you can lighten this up some by swapping the heavy cream for half and half
- Garlic - fresh minced is best
- Parmesan Cheese - again freshly grated makes this so much better
- Pasta - use your favorite pasta here! Our family loves farfalle (bow tie)
How to Make Chicken Bacon Ranch Pasta
- In a large pot boil salted water and cook pasta according to package. Drain and set aside for later, reserving ½ cup of pasta water for later.
- In a large skillet over medium heat cook bacon until crispy. Remove from pan and drain grease. Chop bacon into smaller pieces.
- Slice chicken or cube chicken into small pieces and season with salt, garlic powder, onion powder, and paprika. Add to pan that you cooked the bacon in. Cooking until the chicken has reached an internal temperature of at least 165.
- Remove chicken from the pan and add butter and heavy cream. Simmer over low for 2-3 minutes.
- Whisk in garlic and ranch seasoning. Then add in shredded parmesan cheese. Whisking until fully melted. Add in pasta water a few tablespoons at a time if the sauce seems too thick.
- Add in cooked pasta, chicken, and bacon. Serve immediately.
Tips for the Best Chicken Bacon Ranch Pasta
- 🧀 Use fresh cheese - Freshly grated cheese melts better and gives a richer flavor.
- 🥓 Don't skip the bacon - It adds crunch and smoky flavor that elevates the dish.
- 🐔 Use rotisserie chicken - A quick way to save time on busy weeknights.
- 🥄 Add veggies - Try broccoli, spinach, or cherry tomatoes for extra nutrition.
Make-Ahead & Storage
This chicken bacon ranch pasta stores well in the fridge for up to 4 days. Reheat with a splash of milk or cream to keep it saucy. You can also freeze it for up to 2 months-perfect for meal prepping your weeknight dinners.
Final Thoughts
When it comes to easy weeknight dinners, this chicken bacon ranch pasta is a surefire hit. It's creamy, savory, and satisfying-everything you want at the end of a long day. Add it to your weekly rotation and watch it become a family favorite!
Share Your Experience
I would love to hear about your experience making and enjoying my Chicken Bacon Ranch Pasta! Feel free to tag me on Instagram or leave a review below. Your feedback helps me improve our recipes and provides inspiration to fellow home cooks.
Save this recipe for later by simply using the pin button on the recipe card or any of the photos above. Happy cooking!
📖 Recipe
Chicken Bacon Ranch Pasta
Ingredients
Instructions
- In a large pot boil salted water and cook pasta according to package. Drain and set aside for later, reserving ½ cup of pasta water for later.
- In a large skillet over medium heat cook bacon until crispy. Remove from pan and drain grease. Chop bacon into smaller pieces.
- Slice chicken or cube chicken into small pieces and season with salt, garlic powder, onion powder, and paprika. Add to pan that you cooked the bacon in. Cooking until the chicken has reached an internal temperature of at least 165.
- Remove chicken from the pan and add butter and heavy cream. Simmer over low for 2-3 minutes.
- Whisk in garlic and ranch seasoning. Then add in shredded parmesan cheese. Whisking until fully melted. Add in pasta water a few tablespoons at a time if the sauce seems too thick.
- Add in cooked pasta, chicken, and bacon. Serve immediately.


