• About
  • Nav Social Icons

  • Skip to primary navigation
  • Skip to main content
  • Skip to primary sidebar
  • Skip to footer
  • Home
  • About
  • Blog
    • Mom Life
    • Farm Life
    • Recipes
      • Breakfast
      • Dessert
      • Dinner
      • Sides
      • Snacks
  • Shop
    • Shop – Digital Books
  • Cart
  • My account
  • Mobile Menu Widgets

    Connect

    Search

The Farmstyle

The Farmstyle

by Kayla Zenner

  • Home
  • About
  • Shop
    • Shop – Meal Plans
    • Shop My Favorites
  • Blog
    • Breakfast
    • Dessert
    • Dinner
    • Snacks
    • Sides
    • All Recipes
  • Cart

Homemade Brownie Mix

January 8, 2024 · In: Dessert, Recipes

FacebookTweetPin
Jump to Recipe Jump to Video Print Recipe

I love a good easy boxed brownie, however with this homemade brownie mix I no longer have to have boxes on hand!

cakey brownies made with homemade brownie mix

Why I love Homemade Brownie Mix!

Brownie mix is created with a few basic baking staples! Making it a super easy (and cost effective) homemade baking item! I love that I can customize the mix to whatever I want, have cleaner ingredients, and you know exactly what’s in your brownies.

What’s in Brownie Mix?

  • Flour – regular all purpose flour is best. Bread flour will result in a much chewier brownie.
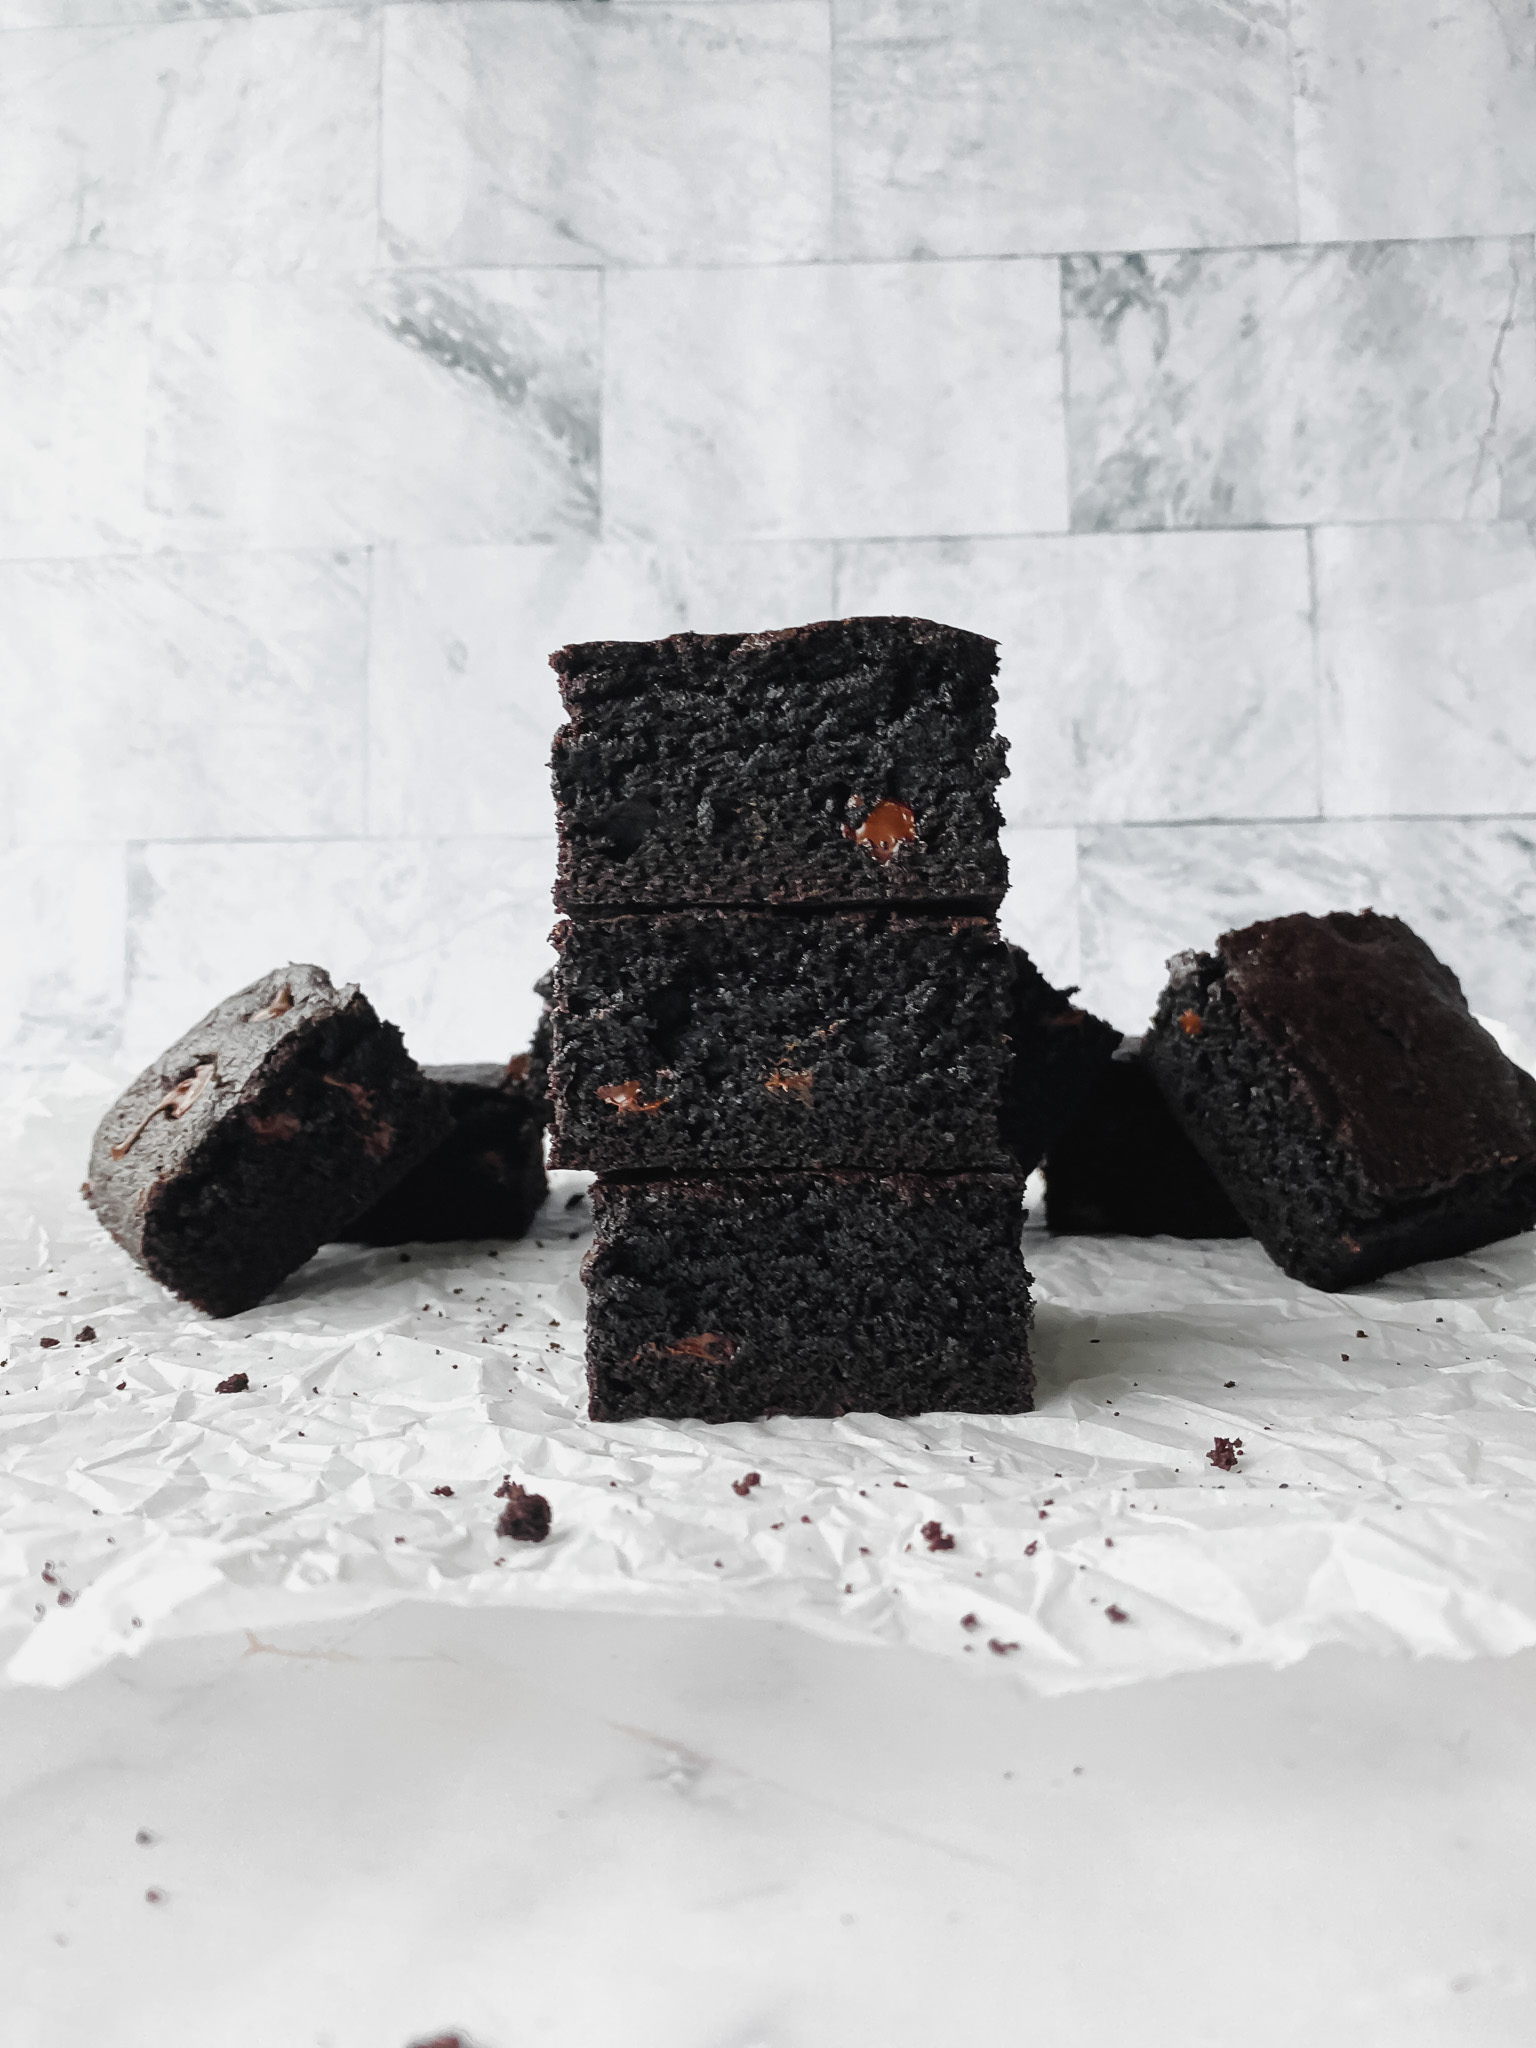
  • Cocoa Powder – this is one of my favorite ingredients to switch up! You can really change up the flavor of your brownies depending on what kind of cocoa powder you add here. One of my favorites to add is black cocoa powder (which is what I included in mine). It adds in a rich Oreo flavor to your brownies!
  • Sugar – we are using a combination of powdered and granulated sugar. You can swap for all granulated sugar if you prefer.
  • Chocolate Chips – again! This is another great spot to customize your brownies. Milk, dark, white, whatever you favorite chocolate chips are add them in!
  • Salt – don’t skill out on the salt. It helps to balance out the sweetness in the brownies and really helps you be able to taste the chocolatey goodness.
  • Baking Soda – many brownie recipes don’t include baking soda, however I’ve found even for a fudgy brownie I like to add in a touch of baking soda. If you like a fudgy brownie add in just 1 teaspoon of baking soda, if you are like me and like a cakey brownie then add in 3 teaspoons.
cakey brownies made with homemade brownie mix

How to Store Brownie Mix

Grab yourself an airtight container and plop in the mix. I have a canister that I store my brownie mix in. HOWEVER, I also love to portion out 2 1/2 cups of brownie mix into zippered baggies so that I have a true boxed brownie experience when I want it!

TIP: print out this recipe card to keep with your brownie mix!

Share Your Experience

I would love to hear about your experience making and enjoying my No Knead Artisan Style Bread! Feel free to tag me on Instagram or leave a review below. Your feedback helps me improve our recipes and provides inspiration to fellow home bakers.

Save this recipe for later by simply using the pin button on the recipe card or any of the photos above. Happy cooking!

Homemade Brownie Mix

No ratings yet
I love a good easy boxed brownie, however with this homemade brownie mix I no longer have to have boxes on hand! I can mix up a big batch, store in an airtight container, and have brownies ready to go with any customizations I want!
Print Recipe Pin Recipe
Prep Time:10 minutes mins
Cook Time:25 minutes mins
Course: Dessert
Keyword: brownie
Servings: 4 batches

Ingredients

Brownie Mix

  • 3 cups flour
  • 2 1/2 cups cocoa powder I love using black cocoa for an Oreo flavor
  • 1 cup chocolate chips
  • 1 cup powdered sugar
  • 3 cups sugar
  • 1 tbsp salt
  • 1-3 tsp baking soda

Brownies

  • 2 1/2 cups brownie mix
  • 1 tsp vanilla extract
  • 1/2 cup melted butter
  • 2 eggs
  • 2 tbsp water

Instructions

For the Brownie Mix

  • Combine all brownie mix ingredients together and mix well to combine. Add in 1 tsp of baking soda for a fudgey brownie and up to 3 tsp of baking soda for a cakey brownie.

For the Brownies

  • Preheat oven to 350.
  • Add all brownie ingredients together and mix well to combine.
  • Line an 8×8 pan with parchment paper and pour brownie mixture into the pan.
  • Bake for 25-28 minutes or until.

Video

View this post on Instagram

A post shared by Kayla Zenner | family friendly meals from the farm (@thefarmstyle)

Notes

I used black cocoa in my mixture! It creates an Oreo type flavor to your brownies that is so yummy to eat! I also like to swap out the regular chocolate chips with white chocolate chips when I use the black cocoa!

Share this:

  • Click to share on X (Opens in new window) X
  • Click to share on Facebook (Opens in new window) Facebook
  • Click to share on Pinterest (Opens in new window) Pinterest

Like this:

Like Loading...
FacebookTweetPin

By: Kayla · In: Dessert, Recipes

About Kayla

Hi! I'm Kayla. I'm here to help inspire busy moms to get back in the kitchen and feel beautiful along the way! I'm married to my high school sweetheart and live on a farm with our two busy boys.

you’ll also love

Cowboy Pasta
How to Make Homemade Lipton Onion Soup Mix
Crispy Hot Honey Baked Chicken Two Ways

Reader Interactions

Leave a ReplyCancel reply

Next Post >

No Knead Artisan Bread | Only 4 Ingredients

Primary Sidebar

Meet Kayla

Meet Kayla
hello!

LIVING OURFARM(LIFE)STYLE WHERE WE ​JUGGLE THE CHAOS OF MOTHERHOOD ONE ​KITCHEN ADVENTURE AT A TIME!

Read More

Connect

join the list

Categories

  • Blog
  • Recipes

Follow Along

@thefarmstyle


Help me get to my big goal before 2026.


Comment RECIPE for all the details sent to your in
Comment RECIPE for all the details sent to your inbox. 

These Individual Chicken Pot Pies are the ultimate cozy comfort food with a flaky homemade pie crust, creamy chicken filling, and perfectly portioned for easy serving.

Ingredients
Chicken Pot Pie Filling
3 cups rotisserie chicken shredded
1 onion diced
1/2 cup carrots diced
4 tbsp butter
1/4 cup flour
1/4 cup heavy cream
2 cups chicken broth
1 tsp onion powder
1 tsp garlic powder
1/2 tsp rosemary
Pie Crust
2 cups butter cold
4 cups all purpose flour
2 tsp salt
1/4 cup ice cold water

Instructions
Preheat oven to 425 F.

Make the Pie Crust
In a large bowl add cubed butter, salt and flour. Using a pastry cutter or two knives cut together the flour and butte until it resembles crumbly flour.
Slowly add in the ice cold water until the dough starts to come together. Once the dough starts to come together pour onto a counter and use your hands to combine the dough.
Split the dough in 12 section and place onto a floured surface and roll out half the pie crusts to fit your pie pan. If the dough starts to stick to the rolling pin, sprinkle a little flour on top.
Transfer the rolled-out crust to your pie pan, pressing it gently to fit the bottom and sides.

Make the Pot Pie Filling
Melt butter in a cast iron pan and add in onion and carrot. Cook over medium heat until soft. 
Add in flour. Cook for 1-2 minutes.
Add in chicken stock, seasonings, chicken, and heavy cream. Simmer for 5 minutes to thicken sauce. 
Top with biscuits and bake according to biscuit instructions.

Assemble the Pot Pies
Add about 1 cup of filling to each of the prepared pie pans.
Roll out remaining pie crust and place on top of filled pie pans.
Crimp the edges and bake pies for 25-30 minutes, or until crust is golden brown.

Make Ahead Option
After assembling the pit pies, place onto a sheet pan and freeze for 1-2 hours. Wrap each in plastic wrap and freeze for later. 
Bake from frozen at 400F for 45-55 minutes. Covering with foil if the tops brown too fast.


Comment BREAKFAST for all the recipe details.

Th
Comment BREAKFAST for all the recipe details. 

These viral sausage gravy bombs are perfect for Christmas morning! Combining the classic biscuit and gravy into a portable breakfast creation, they are a family favorite!

Ingredients
1 lb ground sausage
1/3 cup flour
2 cups milk
1 Tbsp Roasted Chicken Better than Bouillon
pepper to taste
1 pkg refrigerator biscuits

Instructions
In a large skillet cook the sausage.
Add in flour, stir to coat the sausage and cook for about 2 minutes. Add in milk boulion and pepper. Simmer until thickened.
Roll the biscuits into a small circle, then fill with about 1/4 cup gravy. Pinch up to middle to seal and place seam side down on a baking sheet. Repeat with remaining biscuits.
NOTE: if making these ahead of time you can place these in the refrigerator overnight. Then bake the next morning. 
Bake according to biscuit package.

TIP: I like to double this recipe and freeze the remaining. Pull out what I want the night before to thaw in the fridge, then place in oven on broil for a few minutes to crisp the biscuit up. BECAREFUL not to forget them in the oven and watch carefully.

#christmasbreak #makeaheadbreakfast #biscuitsandgravy


Nothing beats a room full of flour-dusted hands an
Nothing beats a room full of flour-dusted hands and people excited to learn.

Our pie and sugar cookie class with Wendy @thepeacefulhomestead gave 12 students the confidence (and the recipes) to bake treats everyone will be raving about.

These classes are always so much fun and I look forward to it every year.


(ad) A little peek into my everyday life:

School
(ad) A little peek into my everyday life:

School drop-off → recipe testing → editing → errands → cow chores and somewhere in between, I grab a @drinkolipop to keep things moving.

It’s not coffee. It’s not water. It’s just that happy moment in the middle of my day that feels like a treat and supports my wellness goals.

Today’s pick: Ginger Ale

Tomorrow? Who knows — the OLIPOP drawer stays stocked. 😉

Which flavor should I try next?

#OLIPOPpartner #DITL


So excited to get started with my new @breville Ba
So excited to get started with my new @breville Barista Touch! 

Not a perfect shot because I forgot to set the grind size to the correct spot, but stay tuned for tomorrow! 

#breville #espresso


Footer

On the Blog

  • Blog
  • Recipes

Info

  • About
  • Disclosure, Privacy Policy, and Terms

Copyright © 2025 · Theme by 17th Avenue

%d

    Rate This Recipe

    Your vote:


    A rating is required
    A name is required
    An email is required
    We use cookies to ensure that we give you the best experience on our website. If you continue to use this site we will assume that you are happy with it.