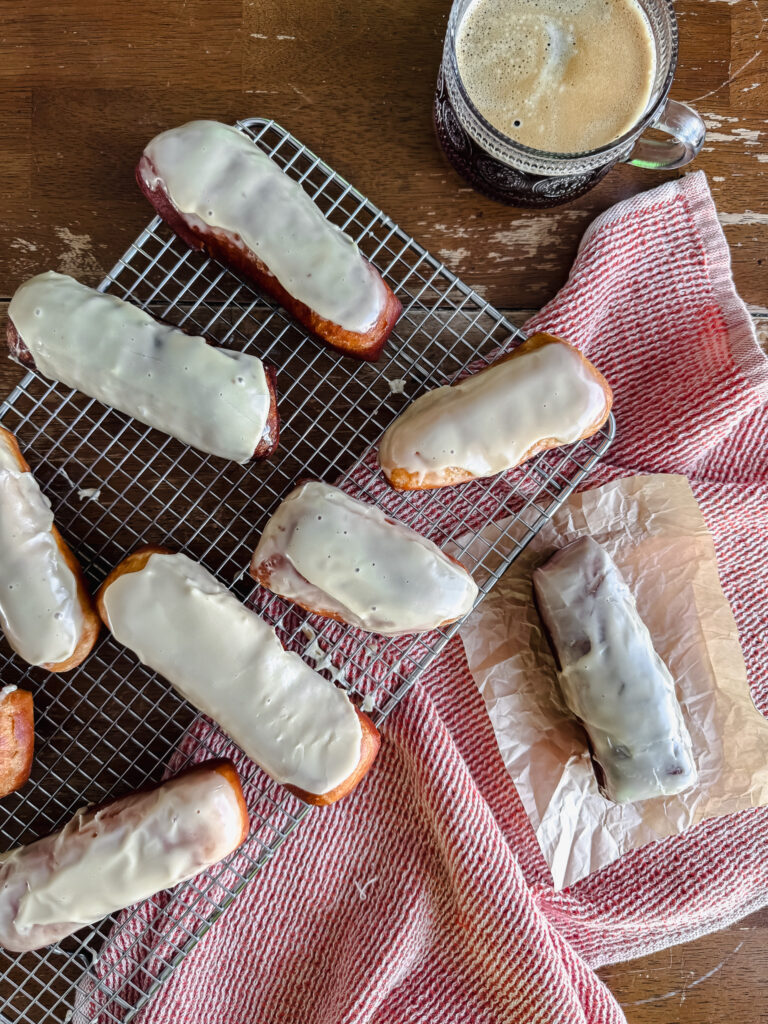
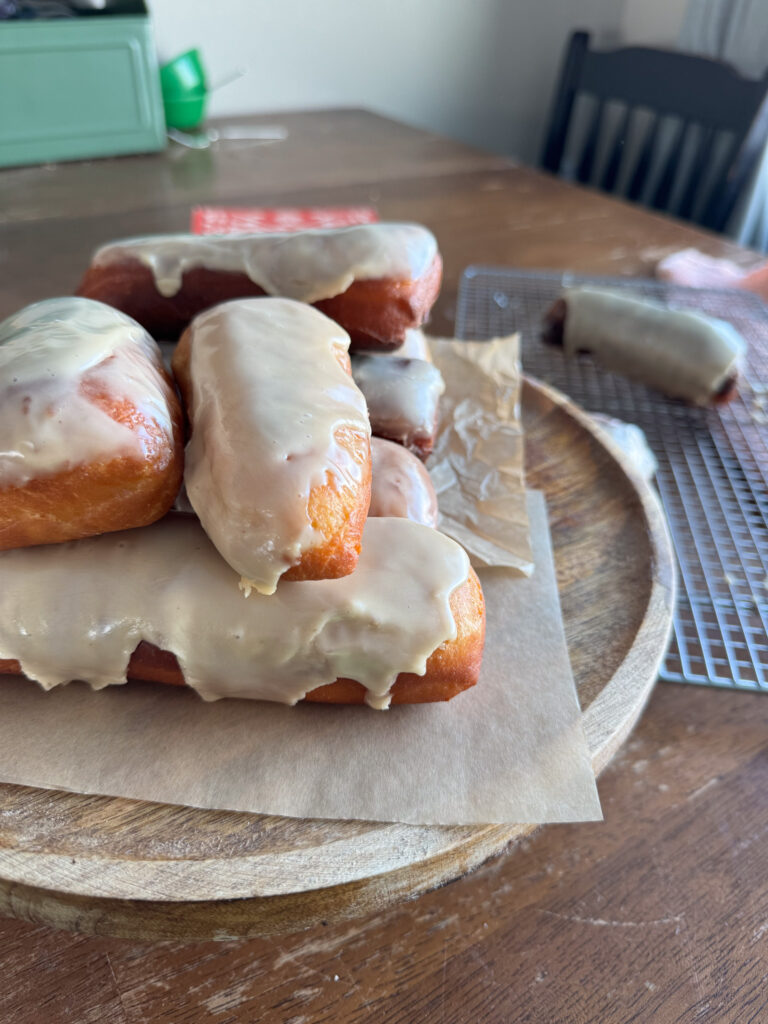
Homemade Maple Bar Donuts
These Homemade Maple Bar Donuts are soft, fluffy, and buttery. They are easy to make from Scratch and just as good as your favorite bakery.
Homemade Donuts
These cinnamon rolls have been the quintessential morning treat whenever we have a crew together for branding or preg-checking our cattle. If it were up to my husband (and father-in-law) I would make these cinnamon rolls every week, and really they are simple enough that I could!
There is nothing better than waking up in the morning with warm fresh from the oven cinnamon rolls, so I love using the overnight option for those early mornings. I can sleep in, but make it seem like I've been up for hours making homemade cinnamon rolls.
Maple Bar Ingredients
Maple Bars have a few simple ingredients that I typically have on hand.
- All Purpose Flour: I like the lightness that all purpose flour gives my donuts. You can also use bread flour for a chewier donut.
- Milk: I use whole milk, but any milk can be swapped out in this recipe. I like the richness that whole milk adds.
- Egg: The egg really helps to give a softness and richness to your dough.
- Butter: In the donut or a buttery flavor
- Sugar: We are going for a sweet dough so sugar is a must.
- Powdered Sugar; for the maple glaze
- Maple Syrup: Real maple syrup is superior!
- Oil: for frying. I used avocado oil. You want something that has a high smoke point. So olive oil will not work.

Tools for Making Maple Bars
- Stand Mixer: I really love using my kitchen aid stand mixer for kneading the dough. It takes some of the hard work out of knead. However, you don't NEED one to make donuts. You can totally knead by hand.
- Large Mixing Bowl: I love my large Mason Cash bowl for mixing my bowl and letting the dough rise if I'm not using my stand mixer. Plus it is so pretty.
- Rolling Pin: I love my marble rolling pin.
How to Make Donuts
Donuts can be a little daunting if you have never made them before. However, don't let the process scare you! Once you do it once, then twice, then you become addicted and just can't stop!
- In a small bowl combine warm water, yeast, and 1 tablespoon of the sugar. Let sit for 5 minutes or until the top is foamy.
- In a large bowl add in 3 cups of flour, milk, remaining sugar, butter, salt, and eggs. Add in yeast mixture and mix to combine. Adding in remaining flour until the dough starts to pull away from the sides of the bowl.
- Pour the dough onto a lightly floured surface and knead for 5-10 minutes. Adding in additional flour as needed to keep the dough from sticking to the counter or hands.
- Place the kneaded dough back into the bowl and cover with plastic wrap. Allow to rise for at least 1 hour, if it is cold you may need to allow it to rise for longer.
- Once the dough has doubled in size punch the dough down and roll out onto a counter until dough is about ½" thick.
- Cut the dough into 12 rectangles, place onto a piece of parchment and allow to rise for another 30 minutes.
- While the dough is rising, heat your oil to 375 degrees F. Using a candy thermometer really really helps when frying donuts.
- Gently drop 2-3 donuts into the pot at a time and cook for 1-2 minutes, flip and cook an additional 1-2 minutes. Remove from pot and allow to cool on a metal cooling rack or a paper towel lined plate. Repeat with remaining donuts.
- While the donuts are cooling, combine all the maple glaze ingredients. Once the the donuts are cool enough to handle dip the tops of the donuts into the glaze and enjoy!

Share Your Experience
I would love to hear about your experience making and enjoying my Homemade Maple Bars! Feel free to tag me on Instagram or leave a review below. Your feedback helps me improve our recipes and provides inspiration to fellow bakers.
Save this recipe for later by simply using the pin button on the recipe card or any of the photos above. Happy cooking!
📖 Recipe

Ingredients
Instructions
- In a small bowl combine warm water, yeast, and 1 tablespoon of the sugar. Let sit for 5 minutes or until the top is foamy.
- In a large bowl add in 3 cups of flour, milk, remaining sugar, butter, salt, and eggs. Add in yeast mixture and mix to combine. Adding in remaining flour until the dough starts to pull away from the sides of the bowl.
- Pour the dough onto a lightly floured surface and knead for 5-10 minutes. Adding in additional flour as needed to keep the dough from sticking to the counter or hands.
- Place the kneaded dough back into the bowl and cover with plastic wrap. Allow to rise for at least 1 hour, if it is cold you may need to allow it to rise for longer.
- Once the dough has doubled in size punch the dough down and roll out onto a counter until dough is about ½" thick.
- Cut the dough into 12 rectangles, place onto a piece of parchment and allow to rise for another 30 minutes.
- While the dough is rising, heat your oil to 375 degrees F. Using a candy thermometer really really helps when frying donuts.
- Gently drop 2-3 donuts into the pot at a time and cook for 1-2 minutes, flip and cook an additional 1-2 minutes. Remove from pot and allow to cool on a metal cooling rack or a paper towel lined plate. Repeat with remaining donuts.
- While the donuts are cooling, combine all the maple glaze ingredients. Once the the donuts are cool enough to handle dip the tops of the donuts into the glaze and enjoy!


These were simply amazing. Thank you for sharing such a great recipe!
So glad you enjoyed them!
As a dad trying to make this for Mom's birthday breakfast I have a question. Can I leave these to rise overnight (save time getting up too early) or will that be bad?
Put them in the fridge overnight after cutting.
Thank you! Looking forward to trying these out as they look fantastic!