• About
  • Nav Social Icons

  • Skip to primary navigation
  • Skip to main content
  • Skip to primary sidebar
  • Skip to footer
  • Home
  • About
  • Recipes
    • Blackstone
    • Breads
    • Breakfast
    • Drinks
    • Dessert
    • Dinner
    • Sides
    • Snacks
  • Shop
  • Cart
  • My account
  • Mobile Menu Widgets

    Connect

    Search

The Farmstyle

The Farmstyle

by Kayla Zenner

  • Home
  • About
  • Shop
  • Recipes
    • Blackstone
    • Breads
    • Breakfast
    • Drinks
    • Dessert
    • Dinner
    • Snacks
    • Sides
    • All Recipes
  • Cart

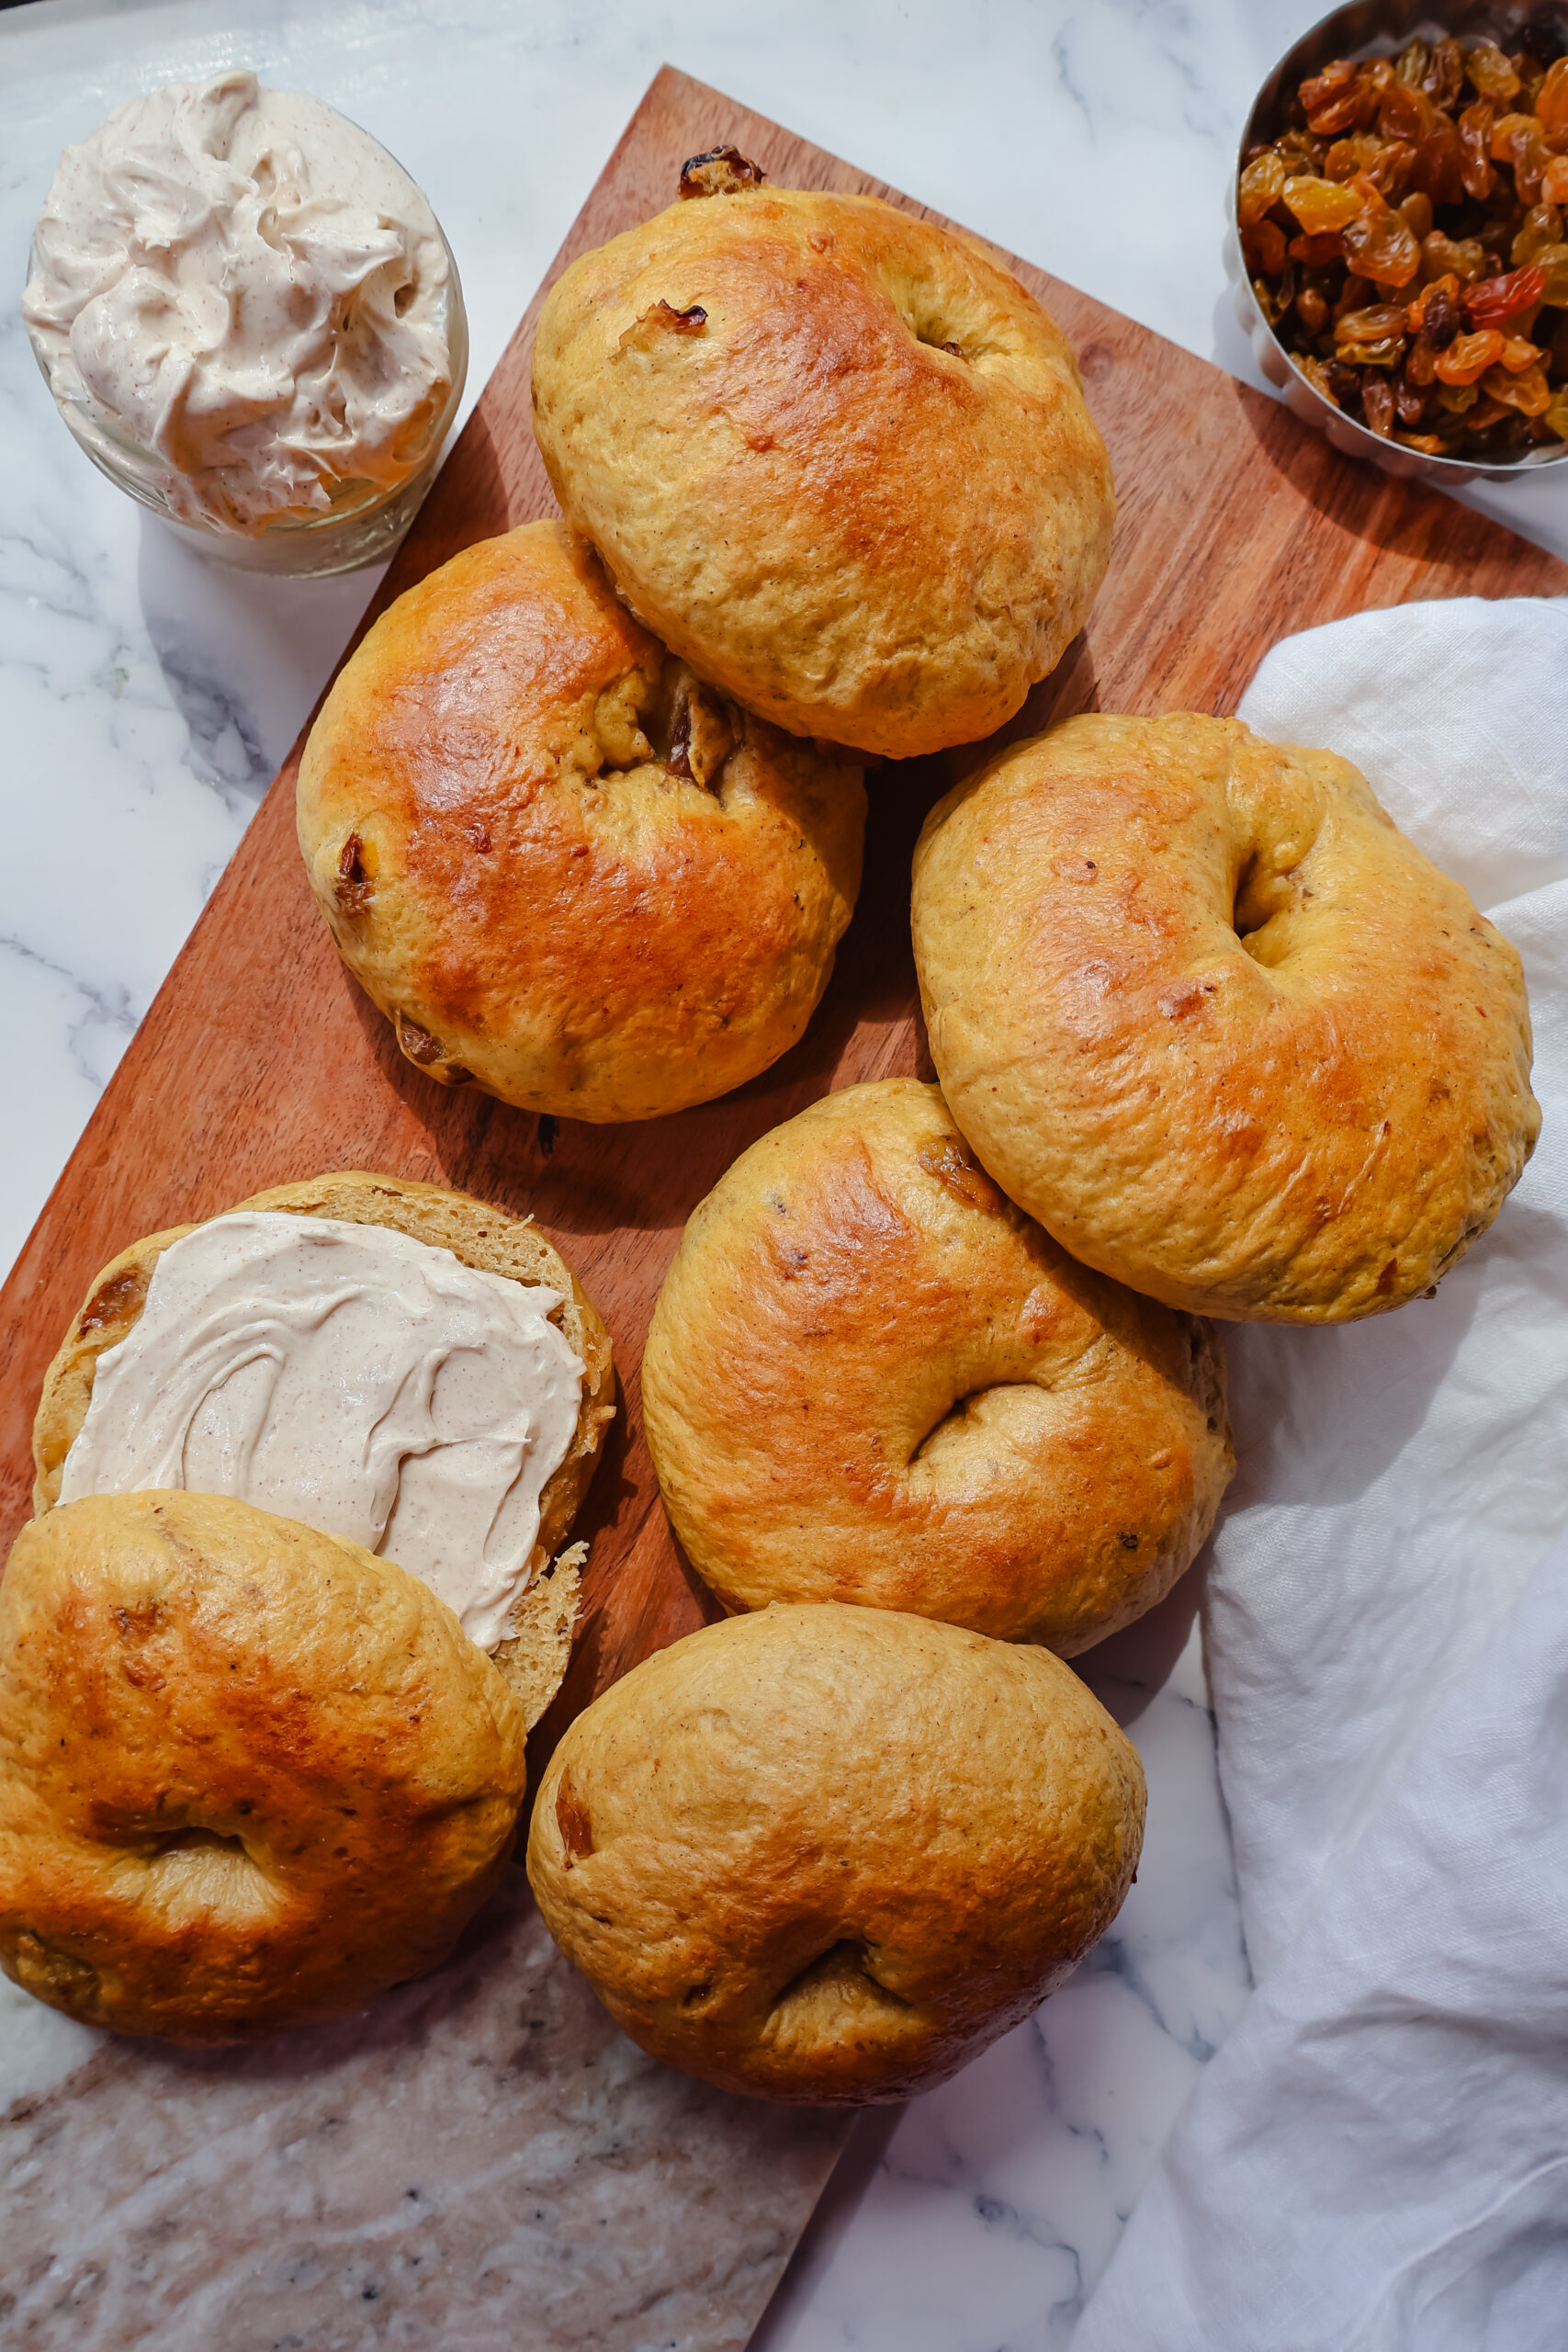
Homemade Pumpkin Cinnamon Raisin Bagels

September 1, 2025 · In: Breads, Breakfast, Recipes

FacebookTweetPin
Jump to Recipe Print Recipe

Pumpkin cinnamon raisin bagels made with yeast, maple syrup, and warm spices. A chewy, cozy fall breakfast that’s freezer-friendly and delicious.

If you love cozy fall flavors, these pumpkin cinnamon raisin bagels are a must-bake. Chewy, slightly sweet, and full of warm spice, they’re perfect for breakfast or an afternoon snack. Unlike a sourdough version, this recipe uses active dry yeast, so the rise time is much shorter—meaning you can enjoy fresh homemade bagels the same day

Ingredient Breakdown & Substitution Ideas

  • Active Dry Yeast – Helps the bagels rise. Can substitute with instant yeast (same amount, no activation needed).
  • Warm Water – Hydrates the dough and activates yeast. Keep it around 105–110°F.
  • Pumpkin Puree – Adds moisture, flavor, and color. Sweet potato puree works too.
  • Raisins – Add natural sweetness and chewiness. Swap for dried cranberries, dates, or omit.
  • Bread Flour – Creates chewy bagels. All-purpose flour works but will be slightly softer.
  • Salt – Enhances flavor.
  • Cinnamon or Pumpkin Pie Spice – Brings warm, cozy spice.
  • Maple Syrup – Sweetens the dough and creates a shiny crust when added to boiling water. Honey or brown sugar can be used instead.

Instructions

Step 1: Prep the Raisins

Soak raisins in warm water for 15 minutes. Drain and set aside.

Step 2: Activate the Yeast

Mix warm water, 2 tbsp maple syrup, and yeast in a bowl. Let sit 5–10 minutes until foamy.

Step 3: Make the Dough

Add pumpkin puree, flour, salt, cinnamon, and raisins. Knead 8–10 minutes by hand (or 5 minutes in a stand mixer) until smooth.

Step 4: First Rise

Place dough in a greased bowl, cover, and let rise until doubled in size (1 to 1 ½ hours).

Step 5: Shape the Bagels

Divide dough into 6–8 pieces, roll into balls, and poke a hole in the center of each. Place on a parchment-lined baking sheet, cover, and let rise 30 minutes.

Step 6: Boil the Bagels

Preheat oven to 425°F. Boil bagels for 1 minute per side in water with 2 tbsp maple syrup. Transfer back to the baking sheet.

Step 7: Bake

Bake 15–20 minutes, rotating halfway, until golden brown. Cool on a wire rack.

Serving Suggestions

These bagels are delicious on their own, but here are some favorite ways to enjoy them:

  • Classic Spread – Toast and top with cream cheese or butter.
  • Sweet Twist – Spread with honey butter, apple butter, or pumpkin cream cheese.
  • Savory Option – Pair with whipped cream cheese and a sprinkle of flaky salt.
  • Breakfast Sandwich – Add scrambled eggs, sausage, or bacon for a hearty start.
  • Freezer Friendly – Slice, freeze, and reheat for quick weekday breakfasts.

Final Thoughts

These pumpkin cinnamon raisin bagels are everything you want in a fall breakfast—chewy, slightly sweet, and packed with warm spice. They’re just as good with a simple smear of butter as they are with cream cheese or even a drizzle of honey.

If you make this recipe, I’d love to see your creations! Tag me @thefarmstyle on Instagram so I can share your bagels in my stories. Homemade baking is always better when it’s shared!

Pumpkin Cinnamon Raisin Bagels

No ratings yet
Pumpkin cinnamon raisin bagels made with yeast, maple syrup, and warm spices. A chewy, cozy fall breakfast that’s freezer-friendly and delicious.
Print Recipe Pin Recipe
Prep Time:30 minutes mins
Cook Time:20 minutes mins
Rise Time:1 hour hr 30 minutes mins
Course: Breakfast, Side Dish
Keyword: bread, breakfast
Servings: 6 bagels
Calories: 346kcal

Ingredients

  • 2 1/4 tsp active dry yeast
  • 1 cup water warmed
  • 1/2 cup pumpkin puree
  • 1/2 cup raisins
  • 4 cups bread flour
  • 1 1/2 tsp salt
  • 1 tsp cinnamon or pumpkin pie spice
  • 2 tbsp maple syrup
  • 2 tbsp maple syrup for boiling
US Customary – Metric

Instructions

  • In a small bowl combine raisins with enough water to cover them. Allow these to sit for 15 minutes before draining remaining liquid.
  • Combine warm water, 2 tbsp maple syrup, and dry active yeast. Mix to combine.
  • Add in pumpkin puree, flour and salt. Knead the dough until the dough starts to come together and form a smooth ball.
  • Cover and let rise for 8-10 hours at room temperature (around 70 degrees).
  • Line a baking sheet with parchment paper.
  • Divide the dough into 6-8 equal pieces. Shape each portion into a round ball with your hands. Take your thyme and make a hole in the center of each ball and gently spread the hole out to form a bagel shape. Place on your prepared baking sheets. Cover the pans with cling wrap or a dish towel and place in a warm place to rise for an hour.
  • Preheat the oven to 425 and bring a pot of water to a boil.
  • Add 2 tbsp maple syrup to boiling water. Use a spatula to gently drop the bagels into the boiling water one at a time.
  • Boil for about 1 minute before flipping over to the other side and boiling for another minute.
  • After they have boiled, place them on the prepared baking sheet.
  • Bake the bagels for 15 to 20 minutes, rotating the pans halfway through.
  • Allow the bagels to cool before slicing and serving with your desired spreads!

Nutrition

Calories: 346kcal | Carbohydrates: 71g | Protein: 11g | Fat: 1g | Saturated Fat: 0.2g | Polyunsaturated Fat: 1g | Monounsaturated Fat: 0.1g | Sodium: 587mg | Potassium: 91mg | Fiber: 2g | Sugar: 7g | Vitamin A: 2IU | Vitamin C: 0.02mg | Calcium: 18mg | Iron: 1mg

Share this:

  • Share on X (Opens in new window) X
  • Share on Facebook (Opens in new window) Facebook
  • Share on Pinterest (Opens in new window) Pinterest

Like this:

Like Loading...
FacebookTweetPin

By: Kayla · In: Breads, Breakfast, Recipes

About Kayla

Hi! I'm Kayla. I'm here to help inspire busy moms to get back in the kitchen and feel beautiful along the way! I'm married to my high school sweetheart and live on a farm with our two busy boys.

you’ll also love

Fluffy Pancakes for the Blackstone
Grilled Chicken Greek Salad
French Onion Beef Skillet

Reader Interactions

Leave a ReplyCancel reply

Next Post >

Apple Crisp on the Blackstone

Primary Sidebar

Meet Kayla

Meet Kayla
hello!

LIVING OURFARM(LIFE)STYLE WHERE WE ​JUGGLE THE CHAOS OF MOTHERHOOD ONE ​KITCHEN ADVENTURE AT A TIME!

Read More

Connect

join the list

Categories

  • Blog
  • Recipes

Follow Along

@thefarmstyle


100,000 of you. I’m honestly still trying to wrap
100,000 of you. I’m honestly still trying to wrap my head around that.

What started as me just sharing what I was making for my family, little moments, and pieces of my life has turned into this incredible community, and that’s because of YOU. 

The comments, the messages, the times you’ve made my recipes in your own kitchens… it all means more than I can put into words.

Thank you for being here, for supporting me, and for growing alongside me. I don’t take a single one of you for granted.

We’re just getting started 🤍


Comment GARDEN and I’ll send you all the details t
Comment GARDEN and I’ll send you all the details to your inbox. 

The best thing about these garden beds is that they can be made to any dimension that you want! I created four 4x8 beds, two 3x8 beds, and two 2x3 beds using the exact same method each time!

Materials (for ONE 4x8 bed)
* (4) 2x8 boards, cut to 8 ft long
* (4) 2x8 boards, cut to 4 ft long 
* (24) 3” exterior wood screws 
* (4) 2x4 boards, cut to 14” long

Instructions
1. Cut Your Boards (if needed)
Cut your boards to length before assembling. We had (4) 12’ boards, we cut into an 8’ board and 4’ board. However, you can also buy (6) 8’ boards and then cut 2 of them in half. 

2. Drill Pilot Holes (optional)
On each 8’ board measure ¾” in from each end and Drill 2 pilot holes per end, spaced about 2–3” from the top and bottom
This helps prevent the wood from splitting when you add screws.

3. Build the First Layer (Bottom Frame)
Lay out:
 * (2) 8 ft boards (long sides)
 * (2) 4 ft boards (short sides)
Form a rectangle with the short boards sitting inside the long boards. Then attach the boards using 3” screws into the pilot holes you created in the previous step. 

4. Stack the Second Layer
Repeat process by placing the second set of boards directly on top of the first frame, lining up edges carefully

5. Add Corner Supports 
Place the 2x4 board inside each corner
These should sit flush with the bottom and sit an inch below the top. 
Screw through the outside boards into the 2x4 board once in the top 2x8 board and once in the bottom 2x8 board. 

 Pro Tips
Use untreated cedar for best longevity, however I used fir for a more cost effective version. These may only last me 5 years, BUT the cost of cedar deterred me from going that route. 

Avoid pressure-treated wood unless it’s labeled safe for gardens

Use a garden safe stain on the interior before filling to help with board longevity.


Comment SALAD for all the recipe details.

Spring
Comment SALAD for all the recipe details. 

Spring salads > everything else right now 🥗🌸

Fresh, colorful, and actually satisfying… these are the kind of salads you crave (not just eat because you feel like you should).

Save this for your weekly menu + tell me which one you’re making first.

Strawberry Balsamic Salad
Blueberry Summer Salad
Streak Harvest Salad
Citrus Kale Salad
Summer Fruit Salad
Greek Pasta Salad
Rainbow Pasta Salad


Comment SMOOTHIE for all the recipe details.

Thi
Comment SMOOTHIE for all the recipe details. 

This Blackberry Coconut Smoothie is creamy, refreshing, and dairy-free, made with coconut milk, frozen blackberries, and coconut yogurt. A quick and easy smoothie recipe ready in just 5 minutes.


Comment RECIPE for all the details!

These cheese
Comment RECIPE for all the details! 

These cheesesteak quesadillas scored ⭐️⭐️⭐️⭐️⭐️ from my kids! BONUS: they are so easy to make on the @blackstoneproducts griddle.


Help me restore my @blackstoneproducts griddle aft
Help me restore my @blackstoneproducts griddle after being a tiny bit neglectful the past few months. 
#blackstonegriddle #griddlenation


Footer

On the Blog

  • Blog
  • Recipes

Info

  • About
  • Disclosure, Privacy Policy, and Terms

Copyright © 2026 · Theme by 17th Avenue

%d

    Rate This Recipe

    Your vote:


    A rating is required
    A name is required
    An email is required
    We use cookies to ensure that we give you the best experience on our website. If you continue to use this site we will assume that you are happy with it.