• About
  • Nav Social Icons

  • Skip to primary navigation
  • Skip to main content
  • Skip to primary sidebar
  • Skip to footer
  • Home
  • About
  • Recipes
    • Blackstone
    • Breads
    • Breakfast
    • Drinks
    • Dessert
    • Dinner
    • Sides
    • Snacks
  • Shop
  • Cart
  • My account
  • Mobile Menu Widgets

    Connect

    Search

The Farmstyle

The Farmstyle

by Kayla Zenner

  • Home
  • About
  • Shop
  • Recipes
    • Blackstone
    • Breads
    • Breakfast
    • Drinks
    • Dessert
    • Dinner
    • Snacks
    • Sides
    • All Recipes
  • Cart

Salted Apple Cider Caramel Sauce

October 27, 2024 · In: Dessert, Recipes

FacebookTweetPin
Jump to Recipe Print Recipe

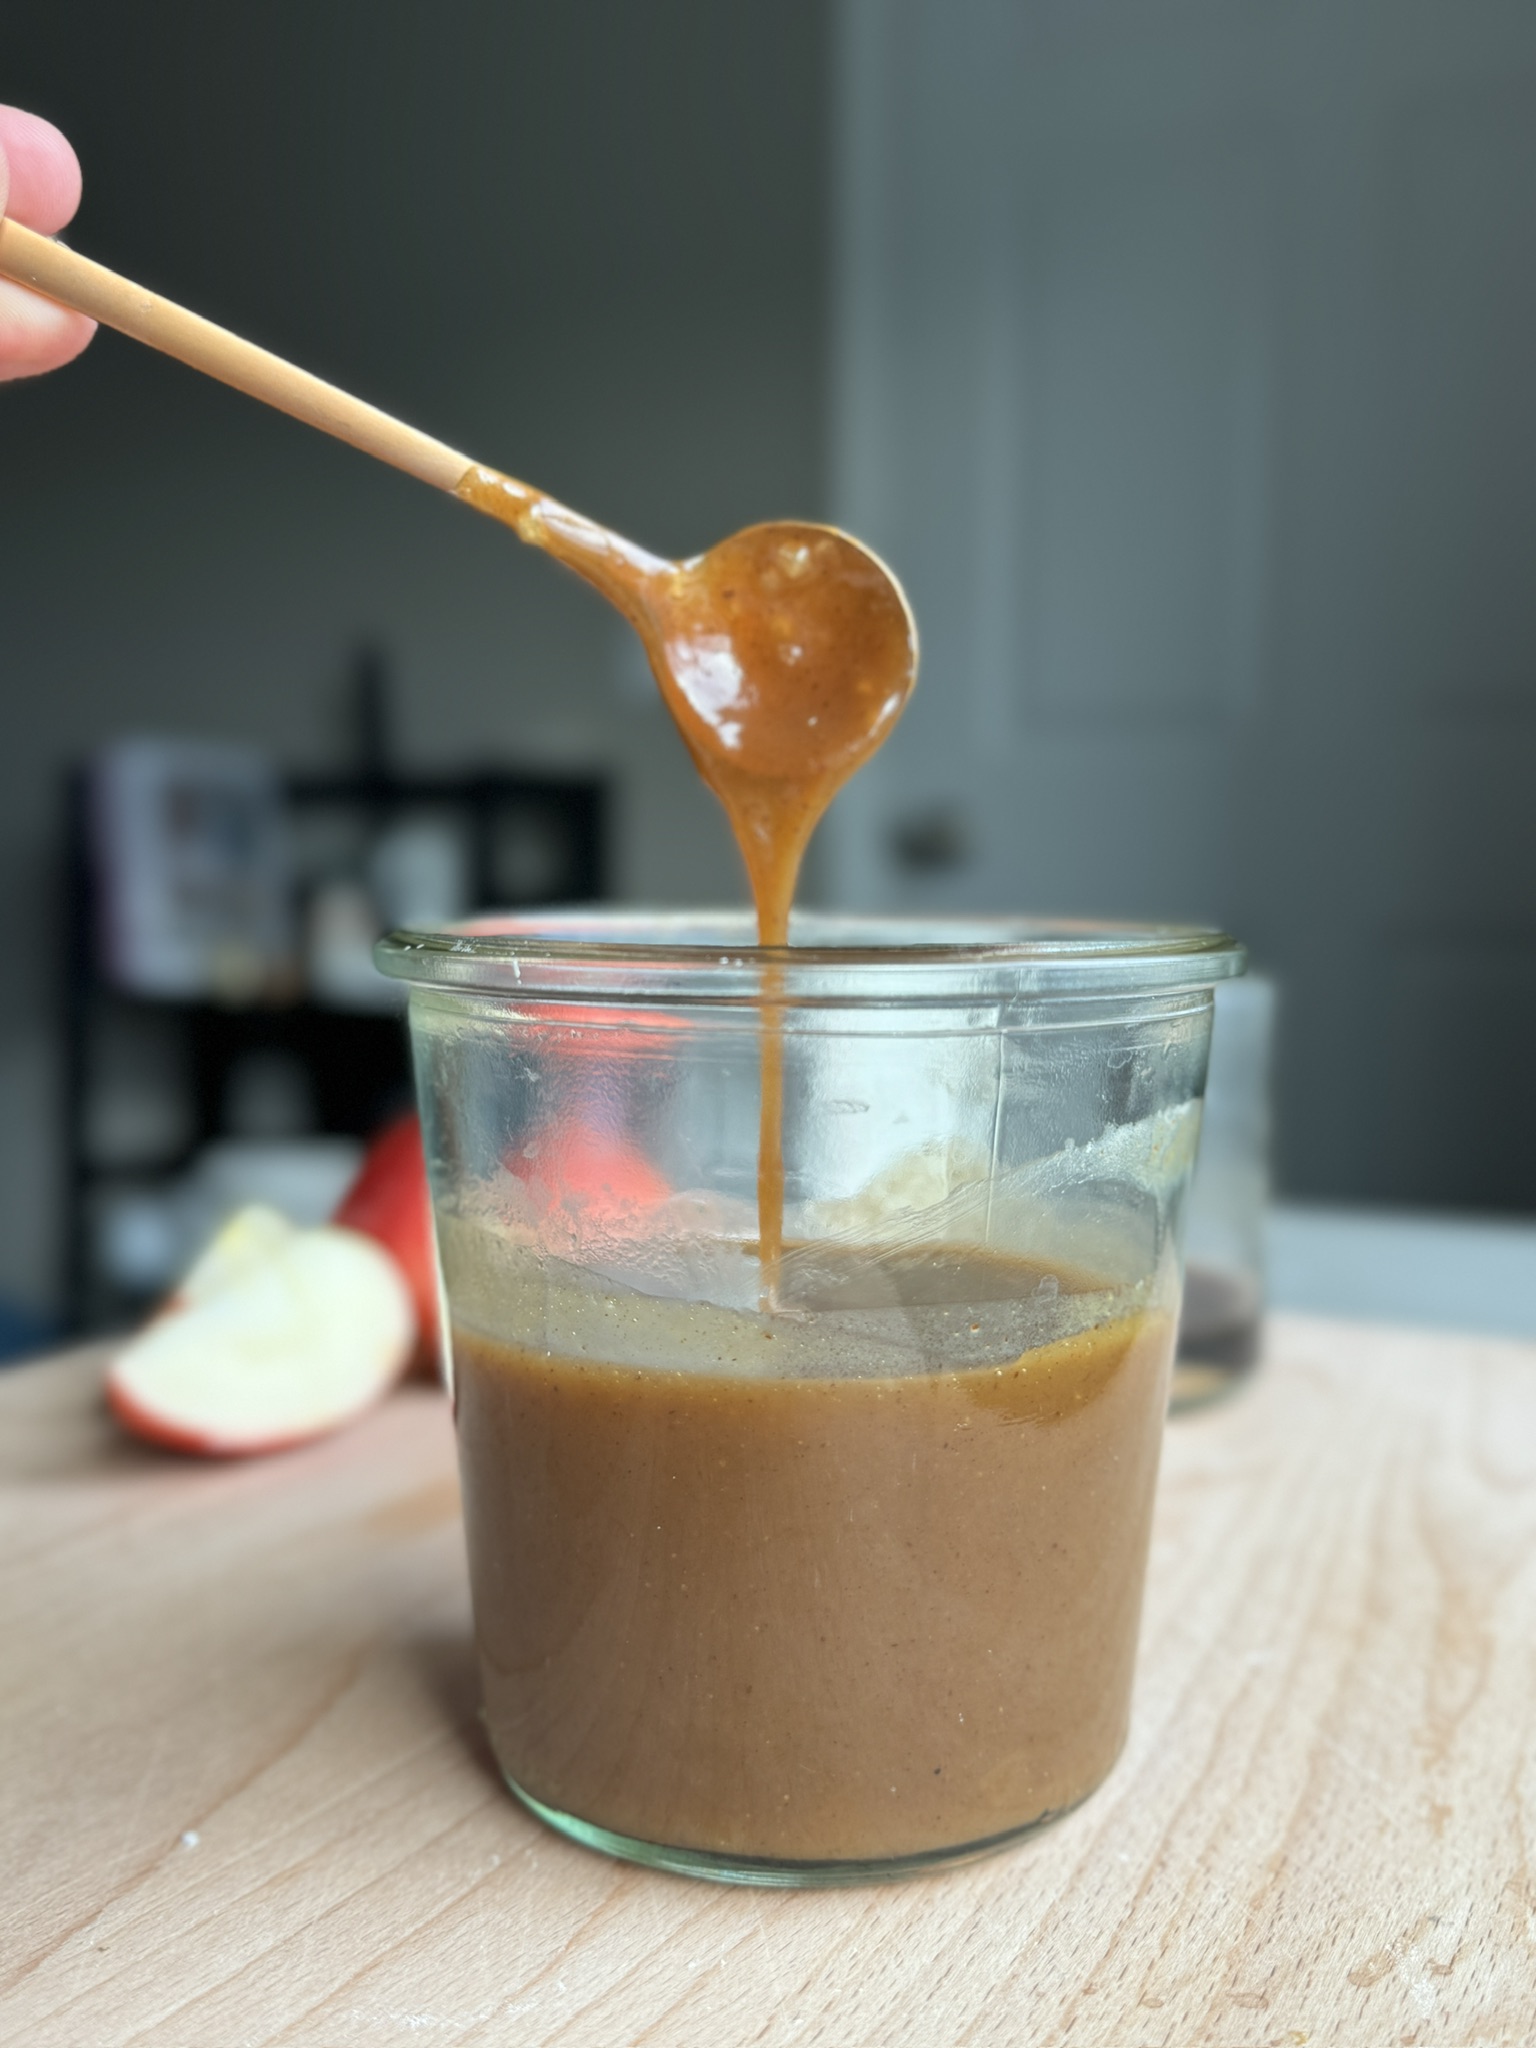
Apple Cider caramel sauce is bursting with apple flavor and creamy buttery caramel. Perfect addition to all your fall desserts.

Ingredients

  • Apple Cider – look for a locally made cider for best results
  • Brown Sugar – most caramels use white sugar, but using brown sugar for a little bit of a butterscotch flavor
  • Butter and Heavy Cream – together these give the sauce a creamy pourable texture
  • Cinnamon and Vanilla Extract – adds a little but more warm and flavor to the caramel
  • Flakey Salt – I love to use maldon flakey salt (affiliate link), you can skip this if you don’t want salty flavor

How to make Apple Cider Caramel Sauce

  • Add apple cider to a sauce pan and bring to a boil. Simmer until apple cider has reduced by half. This could take 10-20 minutes depending on the size of your sauce pan.
  • Add in brown sugar and butter mix until butter has melted. Bring to a simmer and add in heavy cream and cinnamon. Bring to simmer for 5 more minutes stirring frequently.
  • Add in vanilla extract and flakey salt. The sauce will thicken more as it cools.
  • Store in refrigerator for up to 2 weeks.

Share Your Experience

I would love to hear about your experience making and enjoying my Salted Apple Cider Caramel Sauce! Feel free to tag me on Instagram or leave a review below. Your feedback helps me improve our recipes and provides inspiration to fellow home cooks.

Save this recipe for later by simply using the pin button on the recipe card or any of the photos above. Happy cooking!

Salted Apple Cider Caramel Sauce

No ratings yet
Apple Cider caramel is bursting with apple flavor and creamy buttery caramel. Perfect addition to all your fall desserts.
Print Recipe Pin Recipe
Cook Time:25 minutes mins
Course: Dessert
Servings: 24 tbsp
Calories: 56kcal

Ingredients

  • 1 cup apple cider
  • 1/2 cup brown sugar
  • 1/4 cup butter
  • 1/2 cup heavy cream
  • 1/2 tsp cinnamon
  • 1 tsp vanilla extract
  • flakey salt

Instructions

  • Add apple cider to a sauce pan and bring to a boil. Simmer until apple cider has reduced by half. This could take 10-20 minutes depending on the size of your sauce pan.
  • Add in brown sugar and butter mix until butter has melted. Bring to a simmer and add in heavy cream and cinnamon. Bring to simmer for 5 more minutes stirring frequently.
  • Add in vanilla extract and flakey salt. The sauce will thicken more as it cools.
  • Store in refrigerator for up to 2 weeks.

Nutrition

Calories: 56kcal | Carbohydrates: 6g | Protein: 0.2g | Fat: 4g | Saturated Fat: 2g | Polyunsaturated Fat: 0.2g | Monounsaturated Fat: 1g | Trans Fat: 0.1g | Cholesterol: 11mg | Sodium: 18mg | Potassium: 22mg | Fiber: 0.04g | Sugar: 6g | Vitamin A: 132IU | Vitamin C: 0.1mg | Calcium: 9mg | Iron: 0.1mg

Share this:

  • Share on X (Opens in new window) X
  • Share on Facebook (Opens in new window) Facebook
  • Share on Pinterest (Opens in new window) Pinterest

Like this:

Like Loading...
FacebookTweetPin

By: Kayla · In: Dessert, Recipes

About Kayla

Hi! I'm Kayla. I'm here to help inspire busy moms to get back in the kitchen and feel beautiful along the way! I'm married to my high school sweetheart and live on a farm with our two busy boys.

you’ll also love

Chicken Pot Pie Biscuit Bombs
Caramel Eggnog Cookie Sandwiches
Ham, Egg, and Cheese Breakfast Bomb Biscuits

Reader Interactions

Leave a ReplyCancel reply

Next Post >

Pumpkin Cinnamon Roll Cake

Primary Sidebar

Meet Kayla

Meet Kayla
hello!

LIVING OURFARM(LIFE)STYLE WHERE WE ​JUGGLE THE CHAOS OF MOTHERHOOD ONE ​KITCHEN ADVENTURE AT A TIME!

Read More

Connect

join the list

Categories

  • Blog
  • Recipes

Follow Along

@thefarmstyle


100,000 of you. I’m honestly still trying to wrap
100,000 of you. I’m honestly still trying to wrap my head around that.

What started as me just sharing what I was making for my family, little moments, and pieces of my life has turned into this incredible community, and that’s because of YOU. 

The comments, the messages, the times you’ve made my recipes in your own kitchens… it all means more than I can put into words.

Thank you for being here, for supporting me, and for growing alongside me. I don’t take a single one of you for granted.

We’re just getting started 🤍


Comment GARDEN and I’ll send you all the details t
Comment GARDEN and I’ll send you all the details to your inbox. 

The best thing about these garden beds is that they can be made to any dimension that you want! I created four 4x8 beds, two 3x8 beds, and two 2x3 beds using the exact same method each time!

Materials (for ONE 4x8 bed)
* (4) 2x8 boards, cut to 8 ft long
* (4) 2x8 boards, cut to 4 ft long 
* (24) 3” exterior wood screws 
* (4) 2x4 boards, cut to 14” long

Instructions
1. Cut Your Boards (if needed)
Cut your boards to length before assembling. We had (4) 12’ boards, we cut into an 8’ board and 4’ board. However, you can also buy (6) 8’ boards and then cut 2 of them in half. 

2. Drill Pilot Holes (optional)
On each 8’ board measure ¾” in from each end and Drill 2 pilot holes per end, spaced about 2–3” from the top and bottom
This helps prevent the wood from splitting when you add screws.

3. Build the First Layer (Bottom Frame)
Lay out:
 * (2) 8 ft boards (long sides)
 * (2) 4 ft boards (short sides)
Form a rectangle with the short boards sitting inside the long boards. Then attach the boards using 3” screws into the pilot holes you created in the previous step. 

4. Stack the Second Layer
Repeat process by placing the second set of boards directly on top of the first frame, lining up edges carefully

5. Add Corner Supports 
Place the 2x4 board inside each corner
These should sit flush with the bottom and sit an inch below the top. 
Screw through the outside boards into the 2x4 board once in the top 2x8 board and once in the bottom 2x8 board. 

 Pro Tips
Use untreated cedar for best longevity, however I used fir for a more cost effective version. These may only last me 5 years, BUT the cost of cedar deterred me from going that route. 

Avoid pressure-treated wood unless it’s labeled safe for gardens

Use a garden safe stain on the interior before filling to help with board longevity.


Comment SALAD for all the recipe details.

Spring
Comment SALAD for all the recipe details. 

Spring salads > everything else right now 🥗🌸

Fresh, colorful, and actually satisfying… these are the kind of salads you crave (not just eat because you feel like you should).

Save this for your weekly menu + tell me which one you’re making first.

Strawberry Balsamic Salad
Blueberry Summer Salad
Streak Harvest Salad
Citrus Kale Salad
Summer Fruit Salad
Greek Pasta Salad
Rainbow Pasta Salad


Comment SMOOTHIE for all the recipe details.

Thi
Comment SMOOTHIE for all the recipe details. 

This Blackberry Coconut Smoothie is creamy, refreshing, and dairy-free, made with coconut milk, frozen blackberries, and coconut yogurt. A quick and easy smoothie recipe ready in just 5 minutes.


Comment RECIPE for all the details!

These cheese
Comment RECIPE for all the details! 

These cheesesteak quesadillas scored ⭐️⭐️⭐️⭐️⭐️ from my kids! BONUS: they are so easy to make on the @blackstoneproducts griddle.


Help me restore my @blackstoneproducts griddle aft
Help me restore my @blackstoneproducts griddle after being a tiny bit neglectful the past few months. 
#blackstonegriddle #griddlenation


Footer

On the Blog

  • Blog
  • Recipes

Info

  • About
  • Disclosure, Privacy Policy, and Terms

Copyright © 2026 · Theme by 17th Avenue

%d

    Rate This Recipe

    Your vote:


    A rating is required
    A name is required
    An email is required
    We use cookies to ensure that we give you the best experience on our website. If you continue to use this site we will assume that you are happy with it.