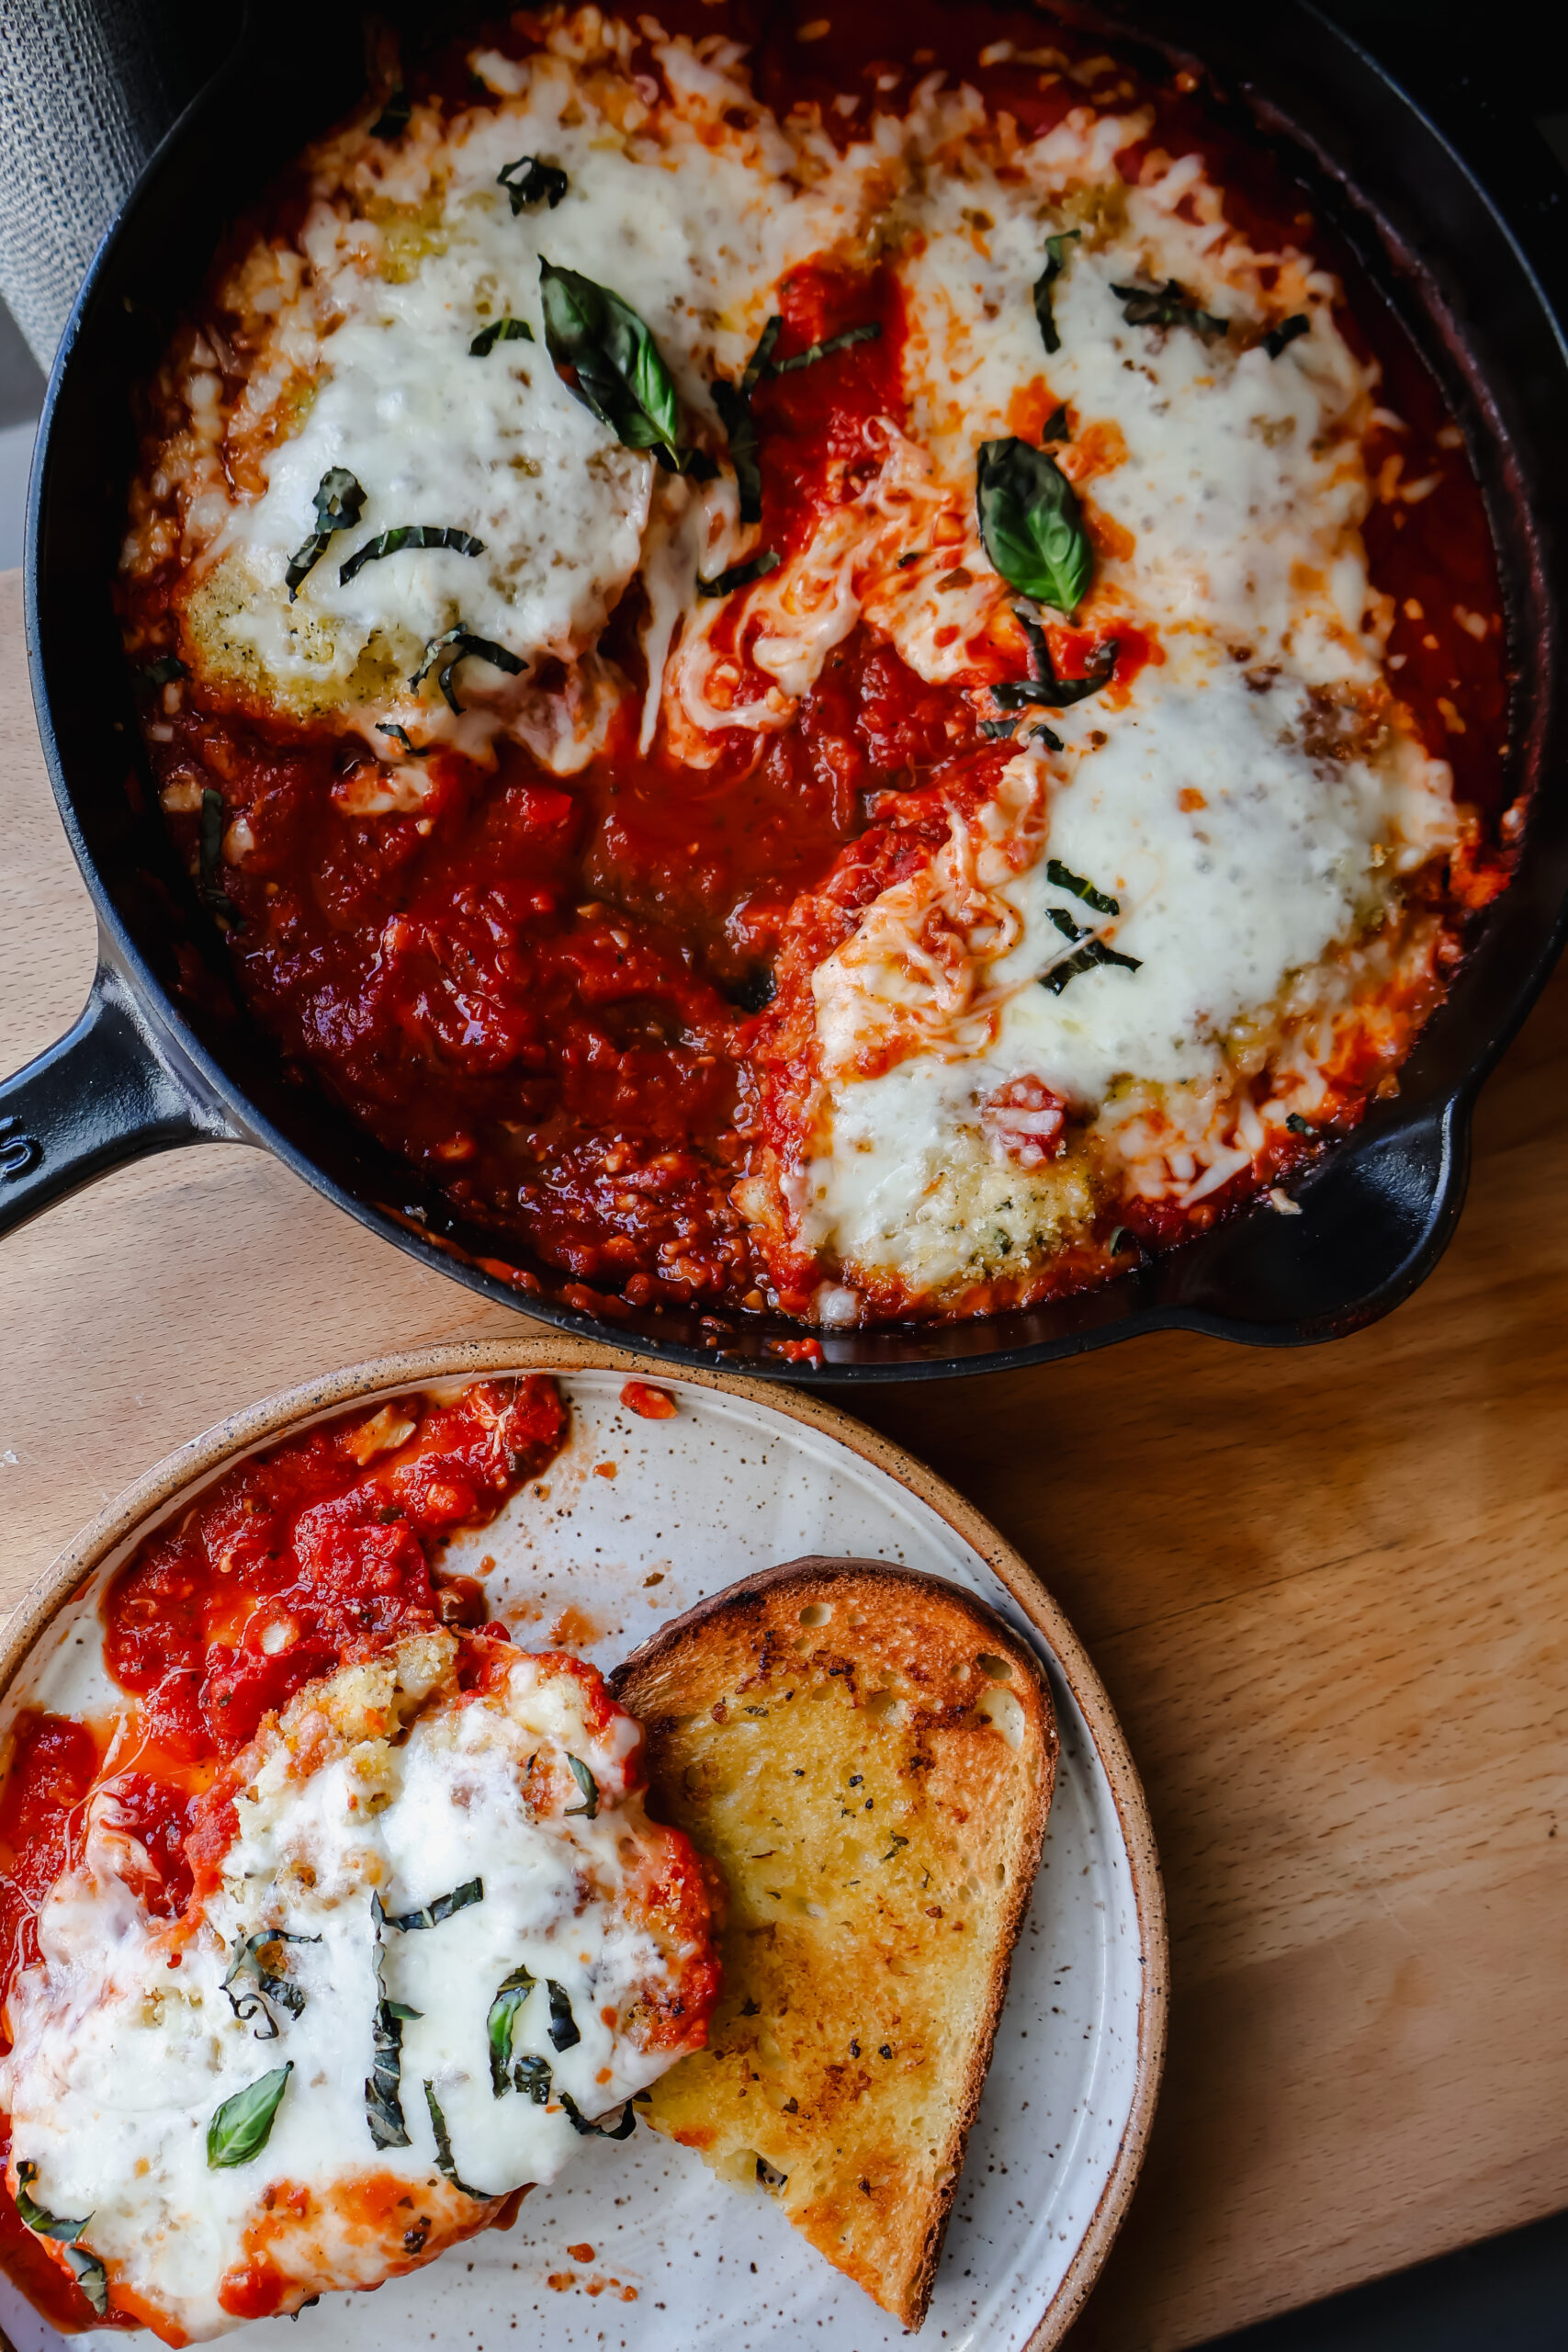
Skillet Chicken Parmesan
This classic chicken parmesan starts with crispy breaded cutlets and finished in a bubbling skillet of sauce, topped with melty mozzarella and fresh basil. Simple, cozy, and meant to be shared on a slow Sunday night.

There's something undeniably comforting about a skillet of Chicken Parmesan bubbling away in rich tomato sauce, topped with golden, melty mozzarella and finished with fresh basil. This recipe keeps things simple and cozy while still delivering that restaurant-quality flavor everyone loves. It starts with crispy breaded chicken cutlets, pan-fried until perfectly golden, then baked in a savory tomato basil sauce until everything melds together into one irresistible dish.
Whether you're planning a slow Sunday dinner, hosting friends, or just craving a hearty Italian-inspired meal, this easy Chicken Parmesan recipe checks every box. It's family-friendly, full of flavor, and surprisingly simple to make at home.
Why You'll Love This Chicken Parmesan
- Crispy, golden breaded chicken cutlets
- Rich tomato basil sauce flavor
- Melty mozzarella topping
- One-skillet finish for easy cleanup
- Perfect comfort meal for sharing

Ingredient Highlights
- Chicken Cutlets - Thin cuts cook quickly and stay juicy inside while getting crispy outside.
- Italian Breadcrumbs - Add texture and seasoned flavor in every bite.
- Parmesan - Freshly grated for the breading
- Garlic + Italian Seasoning - Build a classic Italian flavor base.
- Tomato & Basil Sauce - Brings bold, slow-simmered flavor without extra prep.
- Mozzarella Cheese - Creates that signature cheesy, bubbly finish.
- Fresh Basil - Adds brightness and freshness right before serving.

How to Make Classic Chicken Parmesan
Start by preheating your oven to 350°F and setting up a breading station with whisked eggs in one bowl and breadcrumbs and parmesan in another.
Season the chicken cutlets with salt, Italian seasoning, and garlic powder. Dip each piece into the egg mixture, then coat thoroughly in breadcrumbs.
Heat oil in a cast iron skillet over medium heat and cook the chicken for about 5 minutes per side, until golden brown and cooked through (165°F internal temperature). Remove the chicken and set aside.
In the same skillet, sauté minced garlic until fragrant. Pour in the tomato basil sauce, then nestle the chicken back into the skillet. Sprinkle mozzarella over the top and transfer to the oven.
Bake for about 10 minutes, until the cheese is melted and bubbly. Finish with fresh basil and serve warm with crusty bread.

Tips for the Best Chicken Parmesan
- Pound chicken to even thickness for uniform cooking
- Don't overcrowd the skillet - cook in batches if needed
- Let chicken rest briefly before adding to sauce to keep the crust crisp
- Use freshly shredded mozzarella for better melting
What to Serve With Chicken Parmesan
This dish pairs beautifully with:
- Garlic bread or focaccia
- Pasta or buttered noodles
- Caesar salad or arugula salad
- Roasted vegetables
Storage & Reheating
Store leftovers in an airtight container in the fridge for up to 3 days. Reheat gently in the oven or skillet to keep the breading crisp and the cheese perfectly melty.
If you make this cozy Classic Chicken Parmesan, leave a comment and share how you served it. It's one of those timeless comfort meals that always brings people back to the table.
📖 Recipe
Skillet Chicken Parmesan
Ingredients
Instructions
- Preheat oven to 350.
- Set up your breading station. In a shallow bowl add eggs with 2 tablespoon water and mix to combine. In a second shallow bowl add bread crumbs and grated parmesan. Set aside.
- Season chicken cutlets with salt, Italian seasoning, and garlic powder.
- Dip each cutlet into egg mixture, coating each side, then dipping into bread crumbs, coating each side.
- In a cast iron skillet heat 2-3 tablespoon oil over medium heat. Add chicken and cook on each side for 5 minutes or until the chicken reaches an internal temperature of 165F.
- Remove chicken from the skillet and add in minced garlic. Cooking until fragrant. Pour Classico Tomato and Basil Sauce into the skillet before nestling the chicken cutlets back into the sauce.
- Top with shredded mozzarella cheese and bake in oven for 10 minutes or until cheese is melted.
- Remove from oven, top with fresh basil and serve with crusty bread.