Homemade Apple Cider Cinnamon Rolls | Favorite Fall Recipes
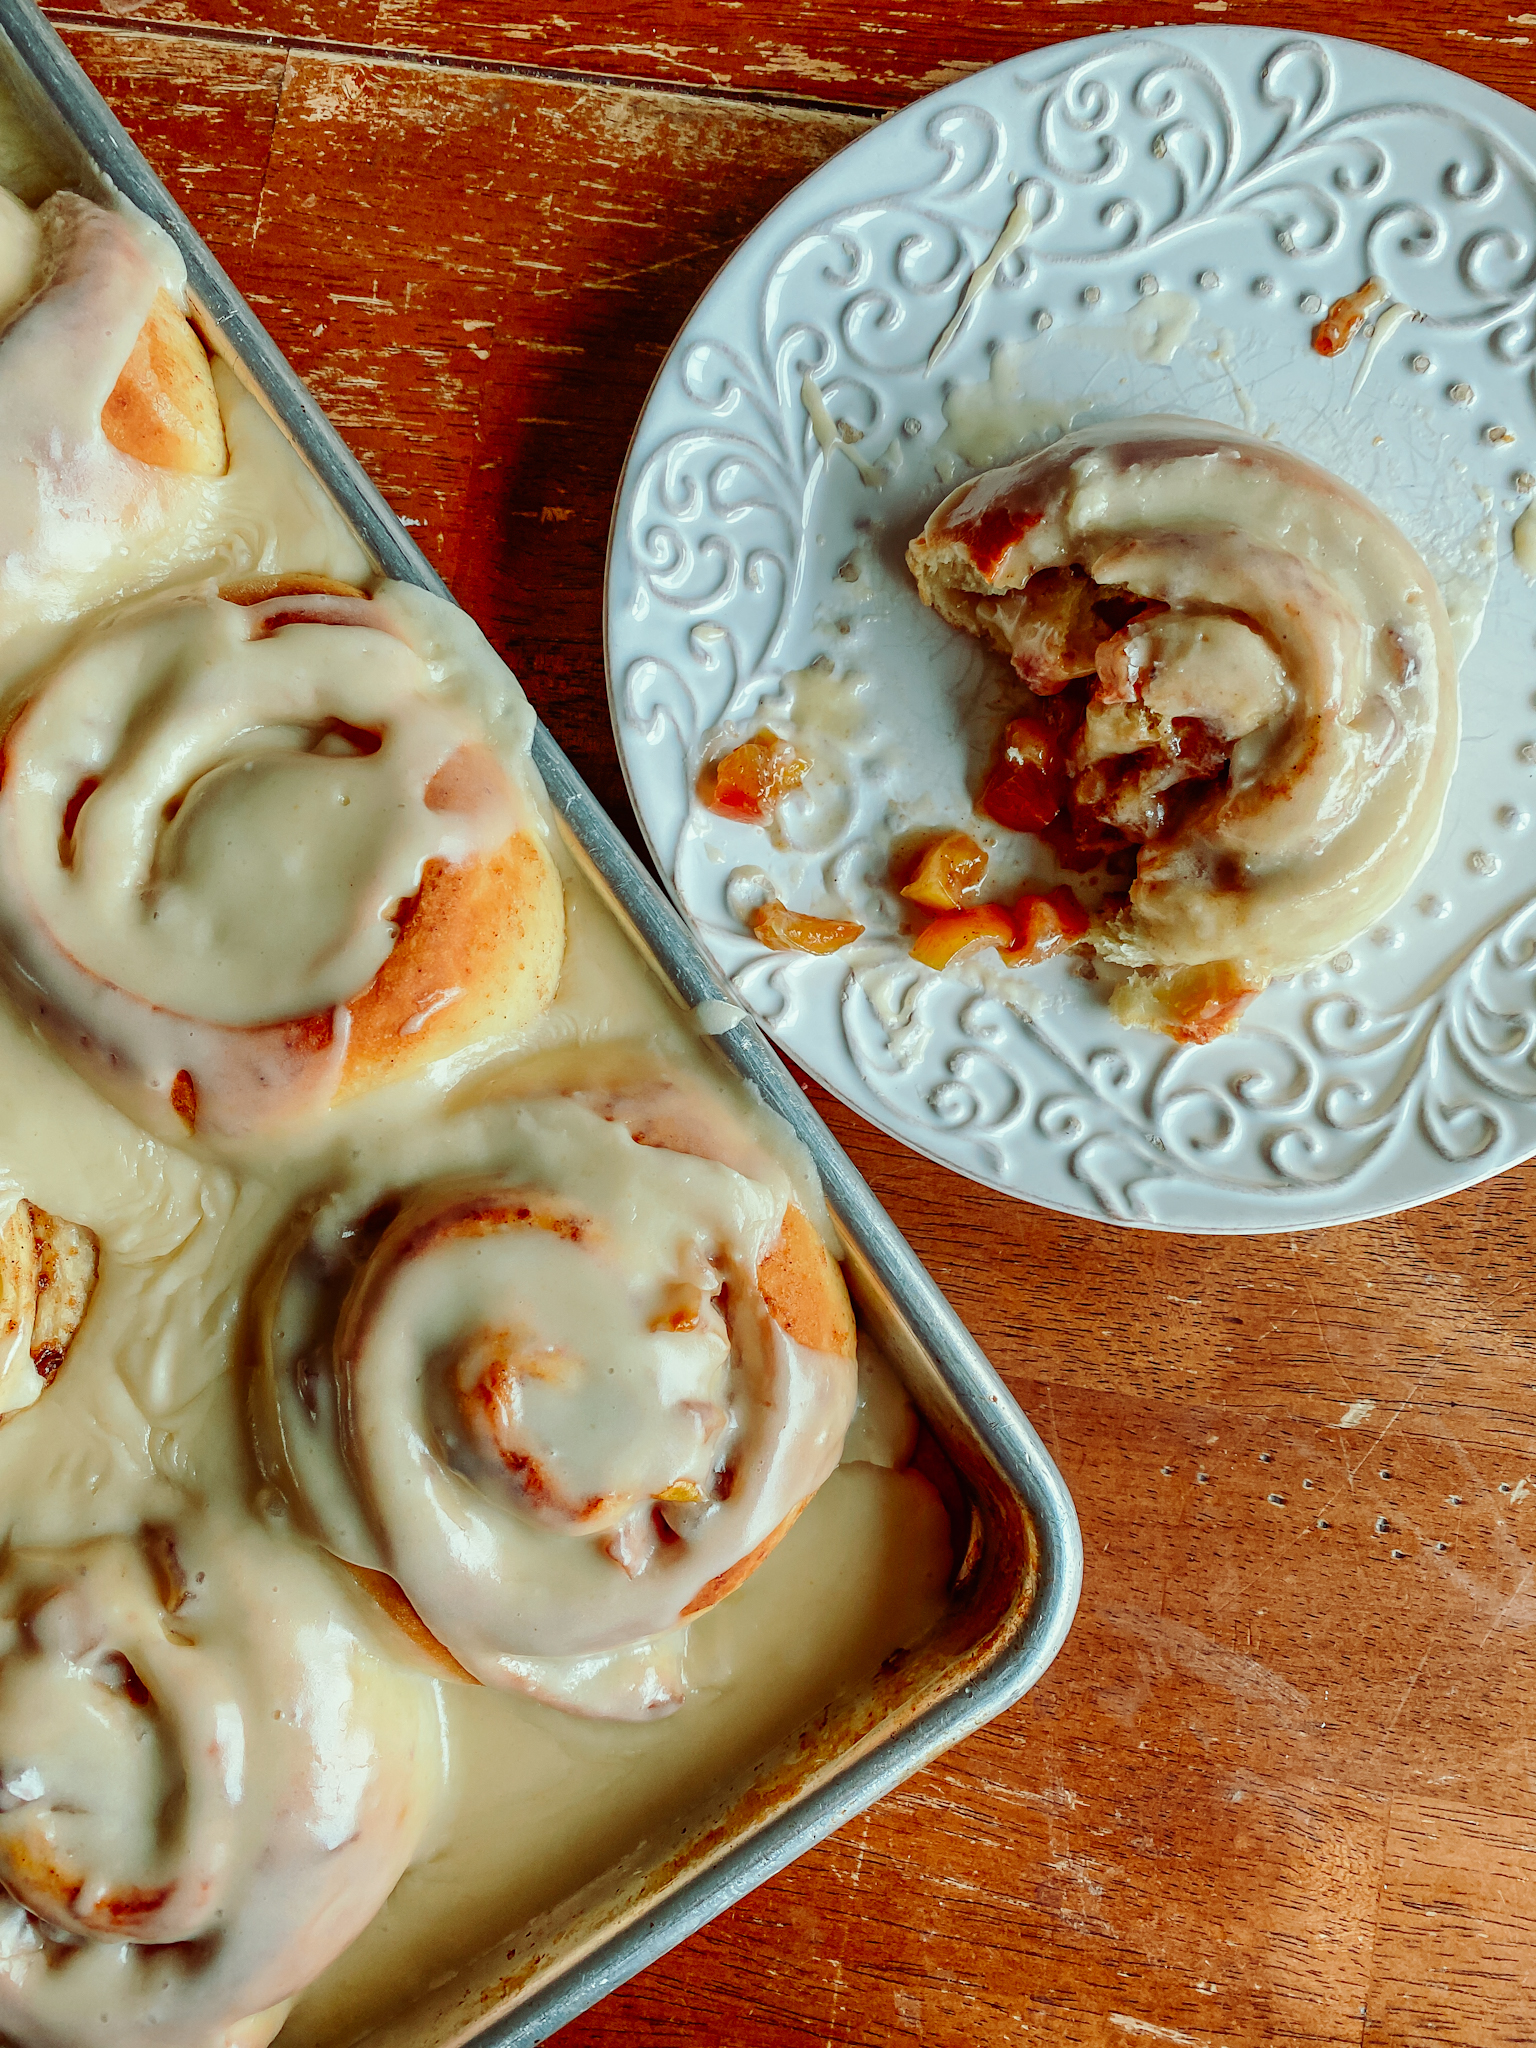
These apple cider cinnamon rolls are so delicious! They are a cross between an apple pie and a cinnamon roll and the brown butter cream cheese apple cider frosting just tops it off!
Apple cider and cinnamon rolls are some of the foods that just scream fall to me! So, when I had the idea to combine them into one recipe I was so excited to dive into creation mode. I have made many variations of my standard cinnamon roll (like red velvet, cookies and cream, or cookie butter), but I was the most excited for this one!
I knew I wanted to switch up the flavor of the dough from my standard cinnamon roll, so I swapped the milk for apple cider to really up the apple flavor. Then swapped regular butter in the filling for apple butter and added homemade apple pie filling (you could use the canned stuff). I'm telling you these do NOT disappoint. They taste like an apple pie and a cinnamon roll had a baby.
If that wasn't enough I topped the rolls off with a browned butter cream cheese frosting with apple cider, whew that is a mouth full, but seriously I could eat this frosting by the spoonful. The night I made it my husband was dipping his dinner roll into it.
So, go ahead and try them out! I can't wait to hear what you all think!
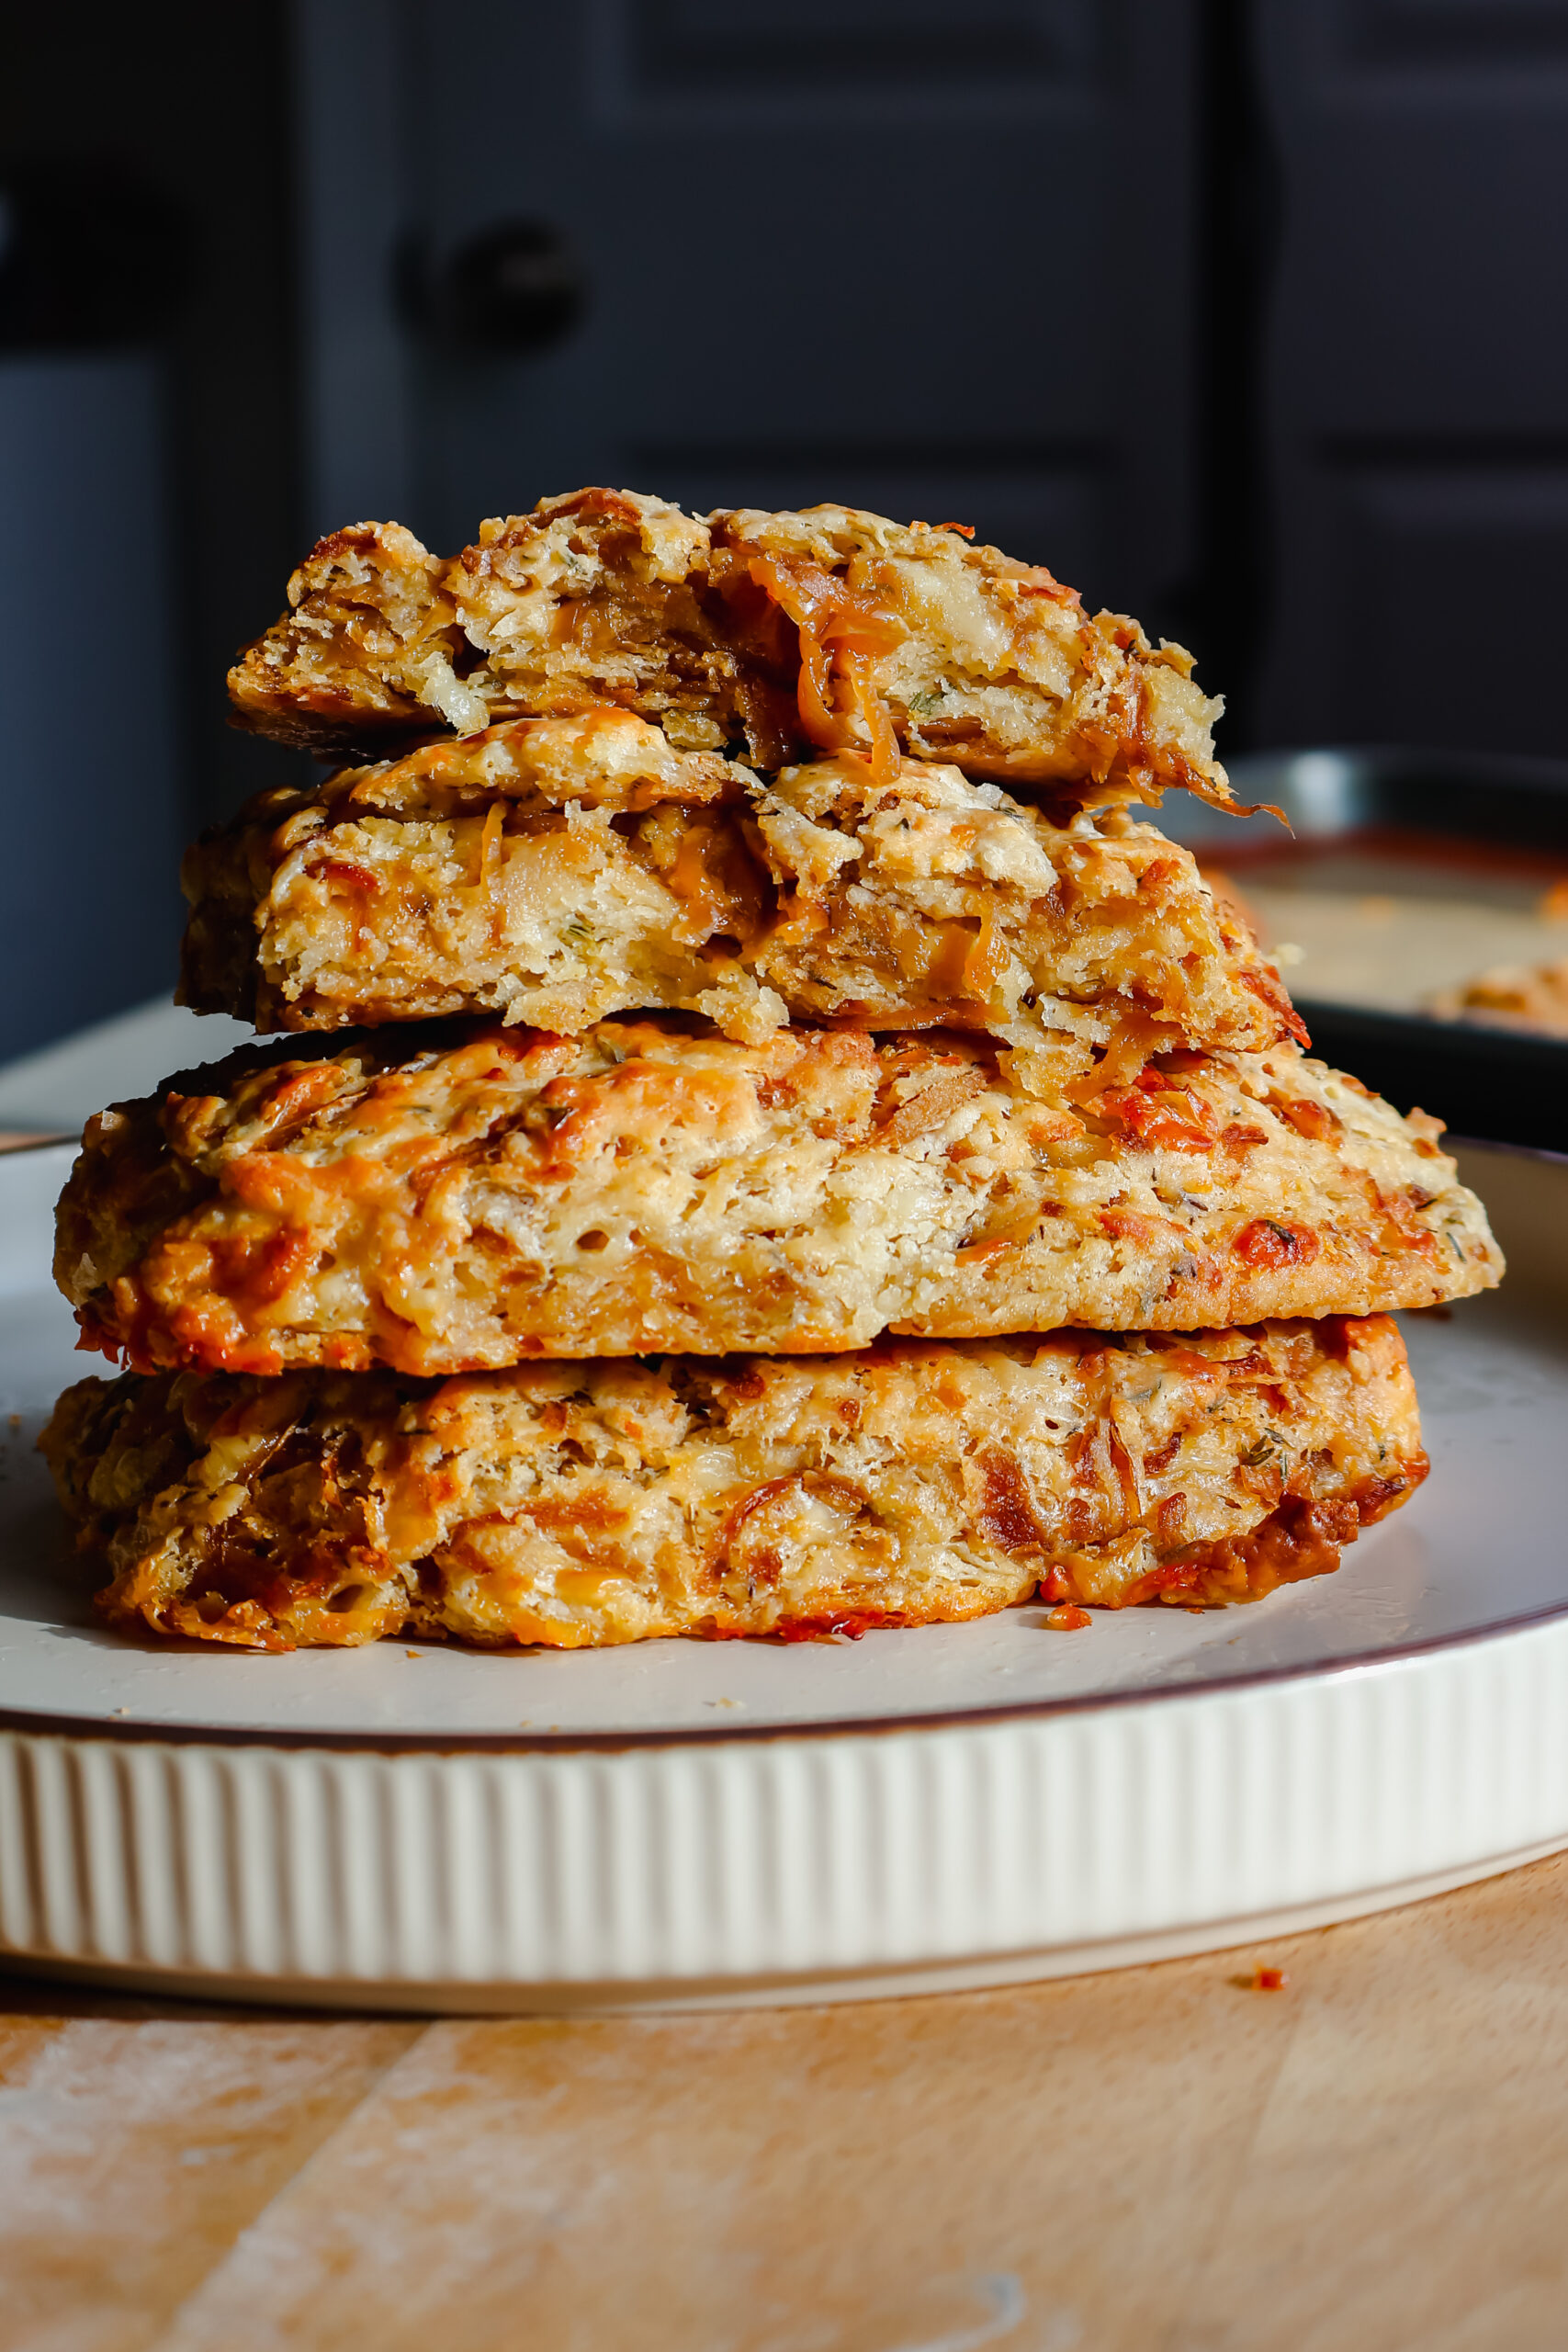
Want more sweet treats? Try my edible cookie dough, sourdough brownies, or strawberry peach pie.
📖 Recipe
Apple Cider Cinnamon Rolls
Ingredients
Instructions
- Combine ¼ cup warmed apple cider with yeast. Set aside until foamy.
- In a large bowl (I use my stand mixer) combine remaining ingredients, except remaining apple cider.
- Add in apple cider and yeast mixture and ½ cups apple cider. Mix together, adding in remaining apple cider if needed.
- Knead mixture for 7-10 minutes. Shape into a ball, place back into bowl, and let rise for an hour, until doubled.
- While the dough is rising add diced apples, brown sugar, cinnamon and apple cider in a skillet. Cook over medium low heat until apples are tender. Add in more water or apple cider if needed to cook apples down. However, you do not want too much remaining liquid.
- After the dough has doubled, place onto counter and roll into a rectangle approximately 20 x 15 inches.
- Spread the apple butter on the dough and top with cooked apples.
- Roll dough into a log shape, and cut into 12 rolls approximately 1.5 inches wide.
- Place on a baking sheet and allow to rise for another hour.
- Bake at 350 for 25-30 minutes.
- While the rolls bake make the frosting. In a small saucepan over medium heat melt the butter. Let it simmer until it is foamy, stir and let simmer until you can start to see brown specks. This will take about 5-10 minutes.
- In a large bowl combine cream cheese, powdered sugar and browned butter. Whisk until combined adding in apple cider to get a smooth pourable consistency.
- Remove rolls from the oven, pour frosting over the top and enjoy!


The Apple Cider Cinnamon Rolls tasted even better than I would have expected.
WONDERFUL! THANK YOU for sharing!
I’m so glad you enjoyed them!