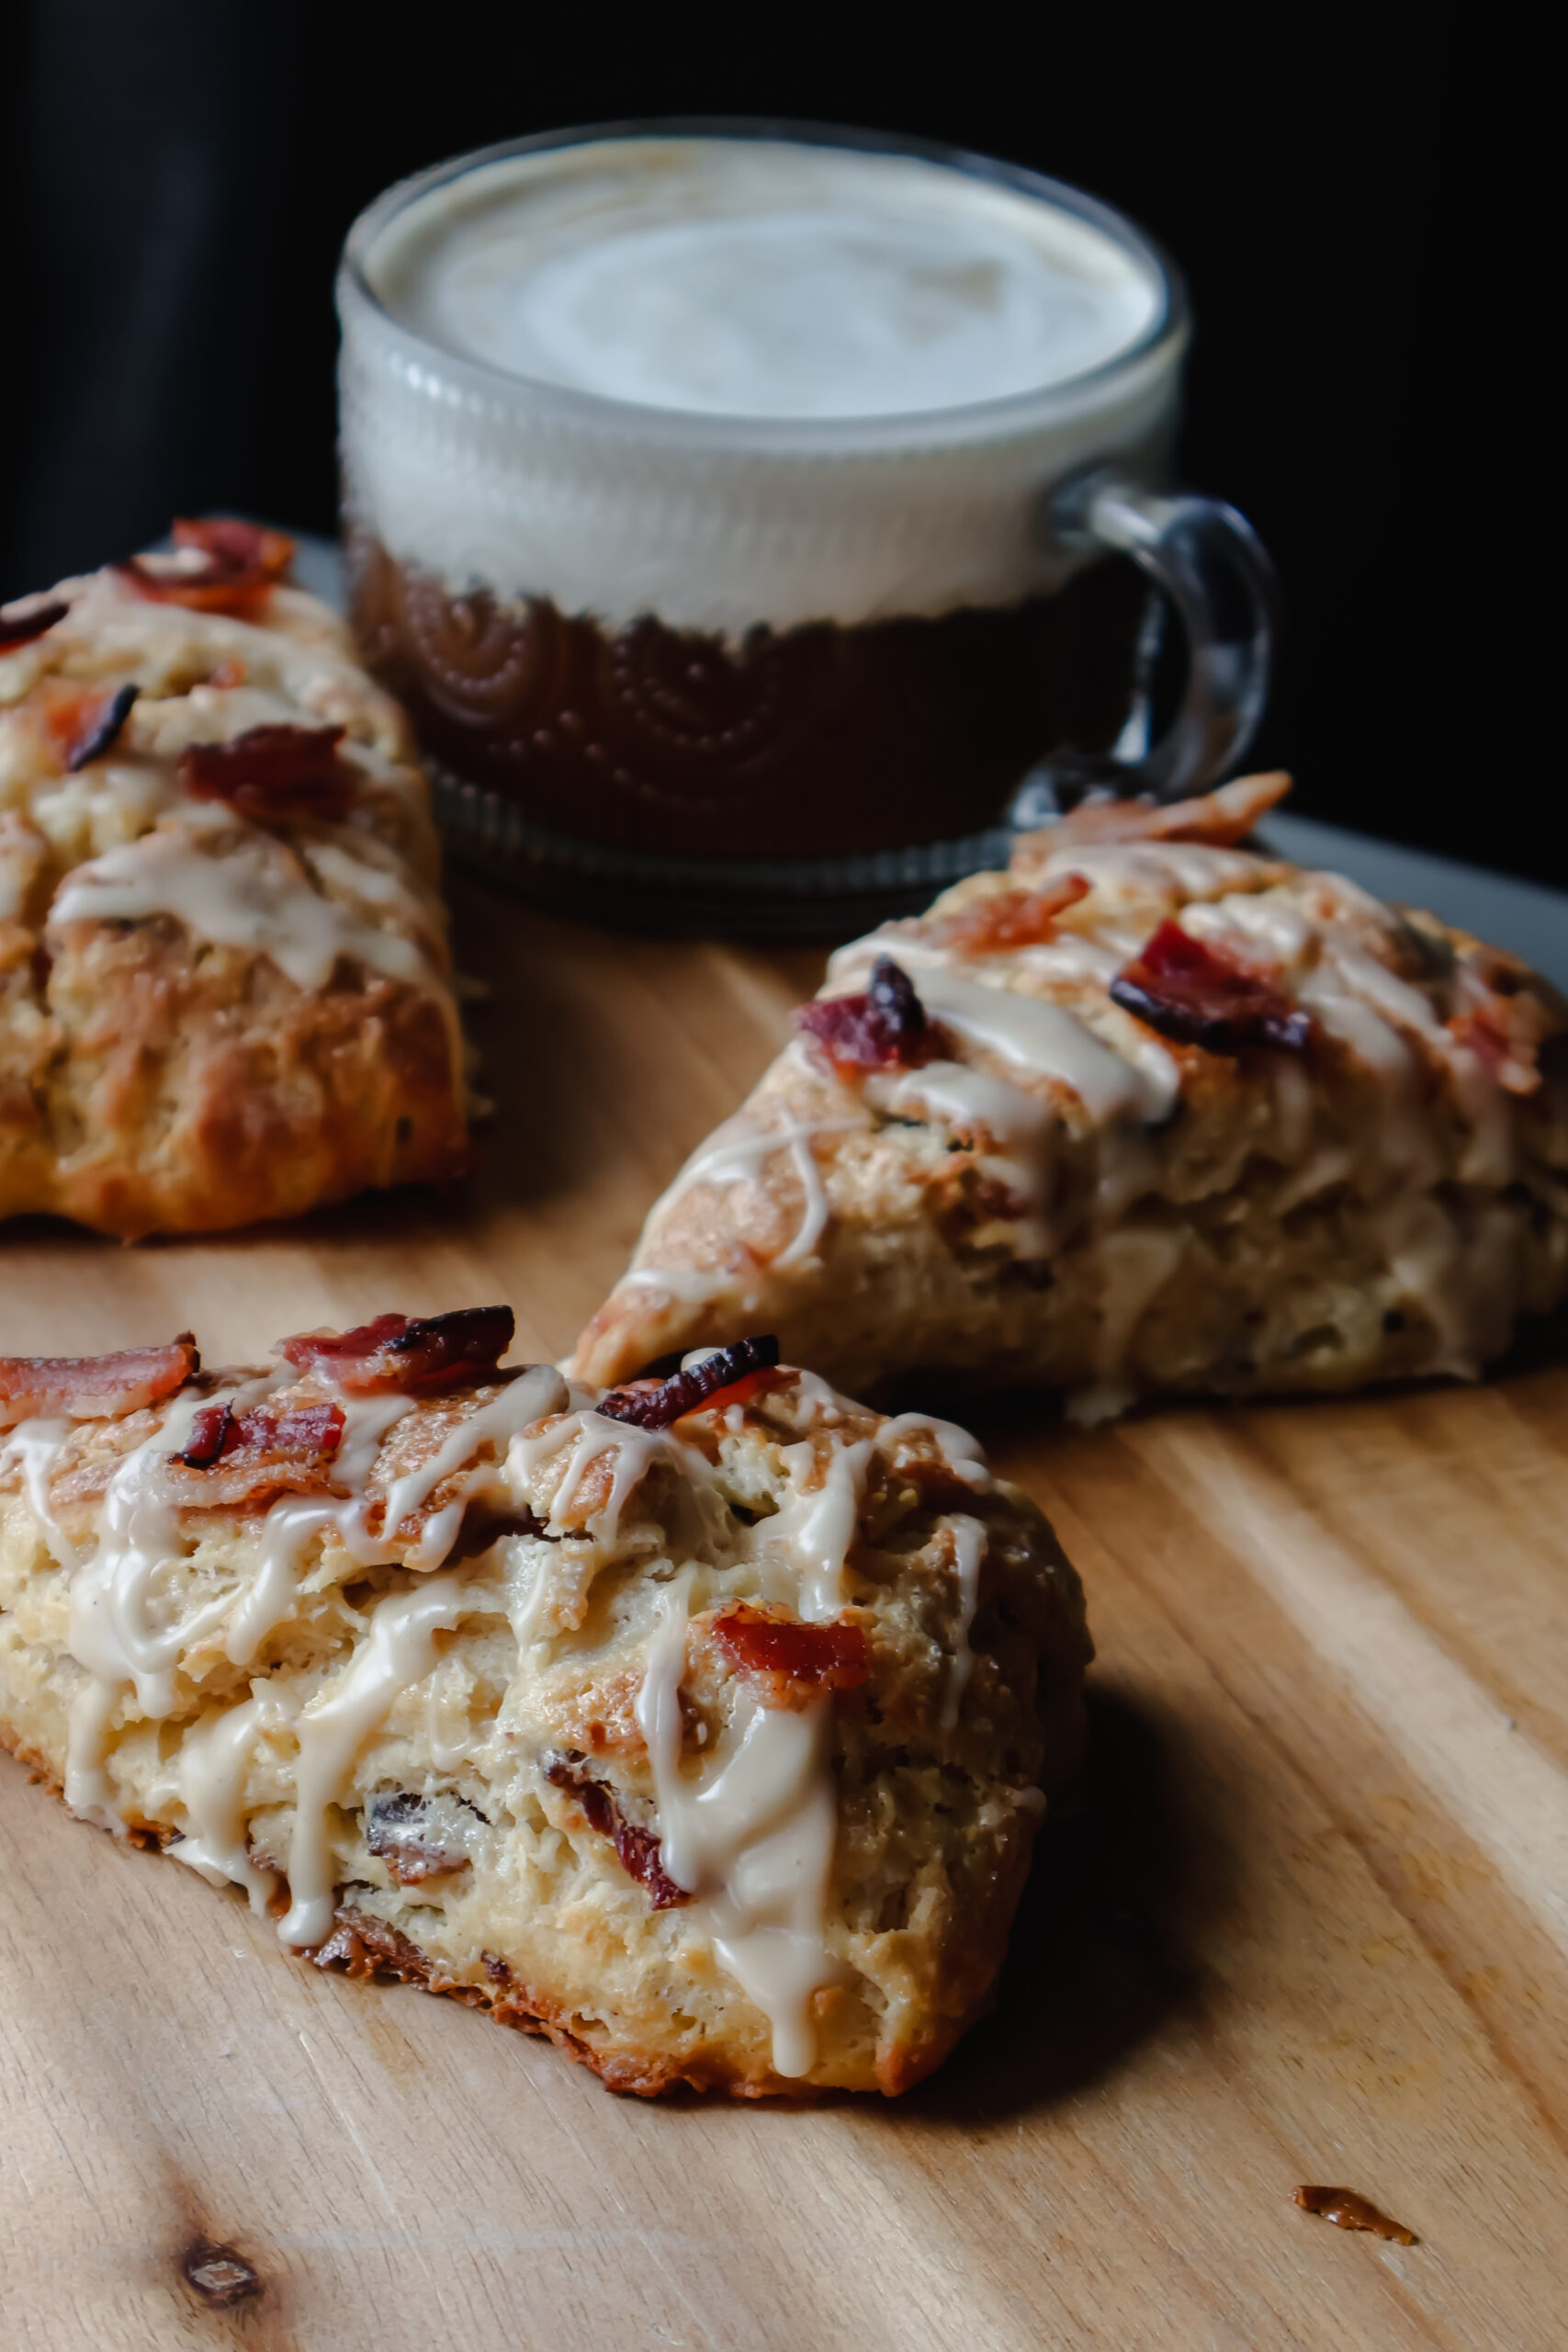
Maple Bacon Scones
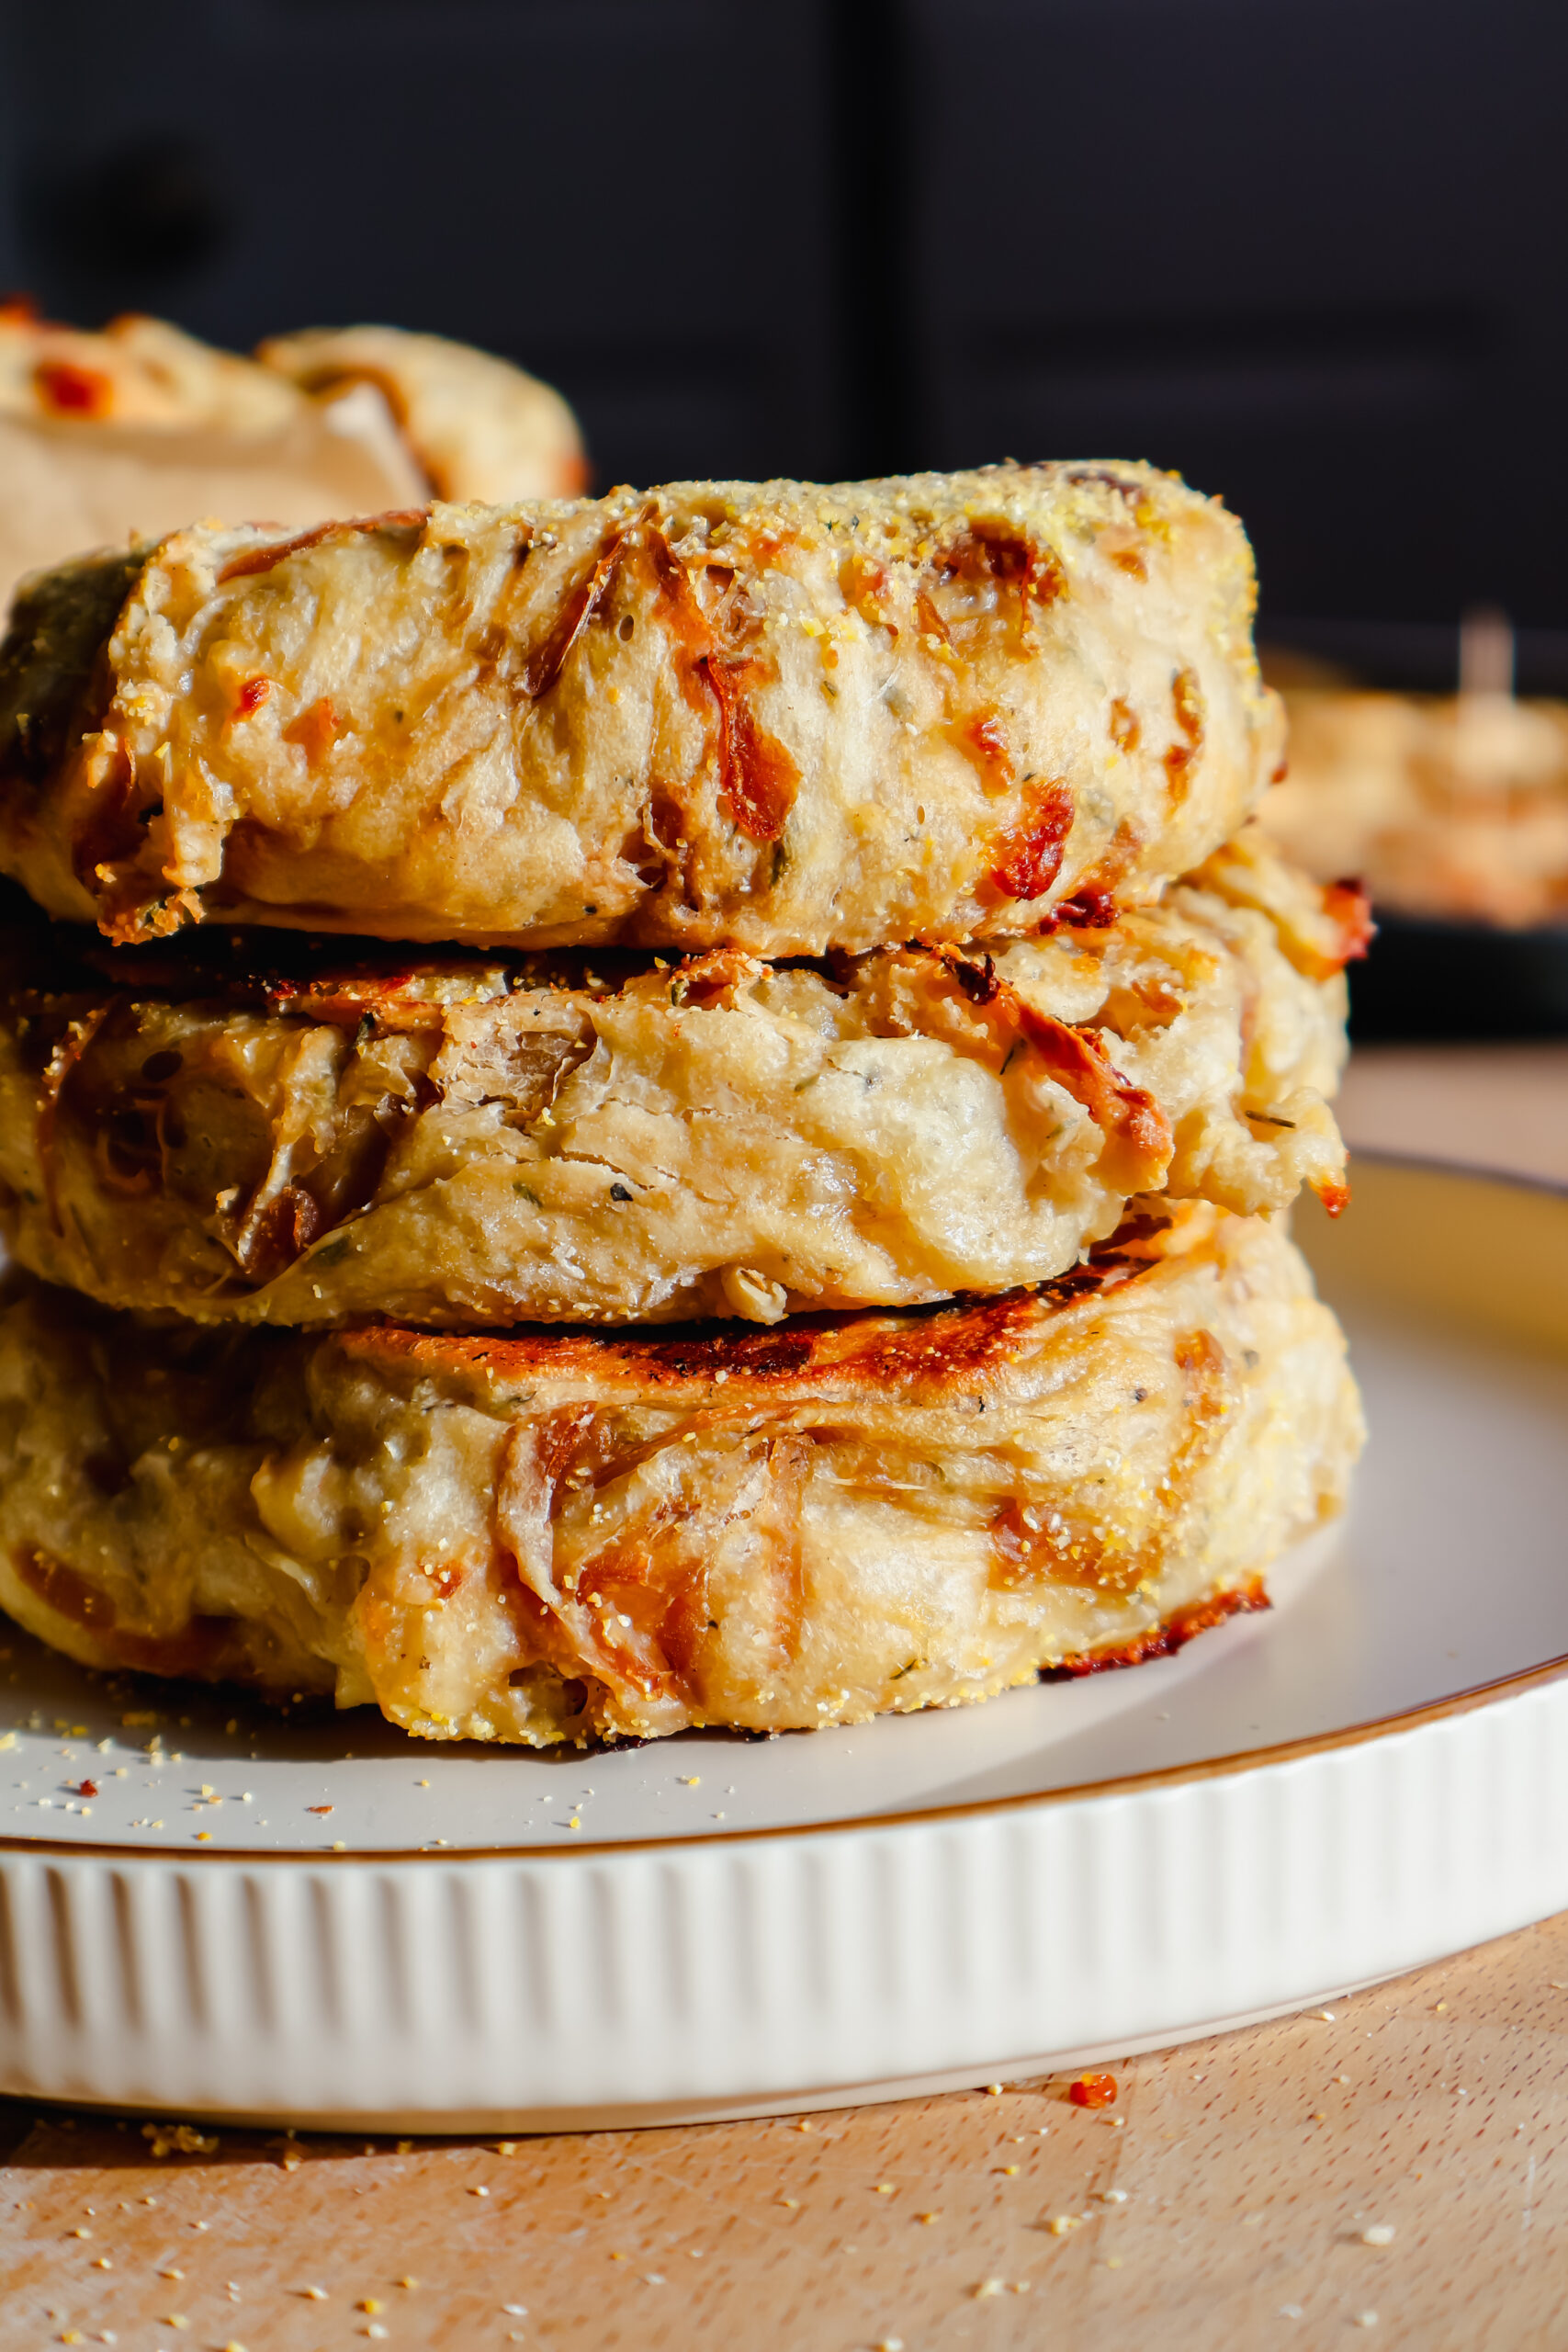
These Maple Bacon Scones are flaky, buttery, and packed with crispy bacon, then drizzled with a sweet maple glaze. A perfect sweet and savory scone recipe for breakfast or brunch.

If you love the perfect balance of sweet and savory, these Maple Bacon Scones are about to become your new favorite breakfast or brunch recipe. Flaky, buttery scones are packed with crispy bacon and lightly sweetened with maple syrup, then finished with a rich maple glaze for the ultimate cozy treat.
These scones have everything you want in a bakery-style bake: tender crumb, golden edges, and just the right balance of flavors. Whether you're serving them for a weekend brunch, holiday breakfast, or alongside your morning coffee, these maple bacon scones are simple, comforting, and full of flavor.

Why You'll Love These Maple Bacon Scones
- Perfect sweet and savory combination
- Flaky, buttery bakery-style texture
- Made with simple pantry ingredients
- Great for breakfast, brunch, or meal prep
- Easy to customize and make ahead

Ingredient Breakdown
For the Scones
- All-Purpose Flour - Provides the structure for the scones. You can substitute with a 1:1 gluten-free flour if needed.
- Maple Syrup - Adds natural sweetness and that classic warm maple flavor. Use pure maple syrup for the best taste.
- Baking Powder & Salt - Help the scones rise and balance the flavors.
- Cold Butter - Grated butter creates flaky layers and a tender crumb. Keeping it cold is key.
- Egg - Adds richness and helps bind the dough together.
- Buttermilk - Keeps the scones soft and tender while adding a slight tang. You can substitute with milk plus a splash of lemon juice or vinegar.
- Cooked Bacon - Adds a savory, smoky flavor that pairs perfectly with maple syrup.
- Heavy Cream - Brushed on top to create a golden finish.
- Coarse Sugar - Adds a light crunch and sparkle to the tops.
Maple Glaze
- Powdered Sugar - Creates a smooth, sweet glaze.
- Maple Syrup - Enhances the maple flavor and thins the glaze.
- Vanilla Extract - Adds warmth and depth to the glaze.

How to Make Maple Bacon Scones
Step 1: Prepare the Dough
Preheat your oven to 350°F and line a baking sheet with parchment paper.
In a large bowl, mix together flour, baking powder, and salt. Grate the cold butter directly into the dry ingredients, then use your hands to work it in until the mixture resembles coarse crumbs.
Create a well in the center and add the egg, maple syrup, and buttermilk. Mix until just combined, being careful not to overwork the dough.
Gently fold in the cooked, crumbled bacon.
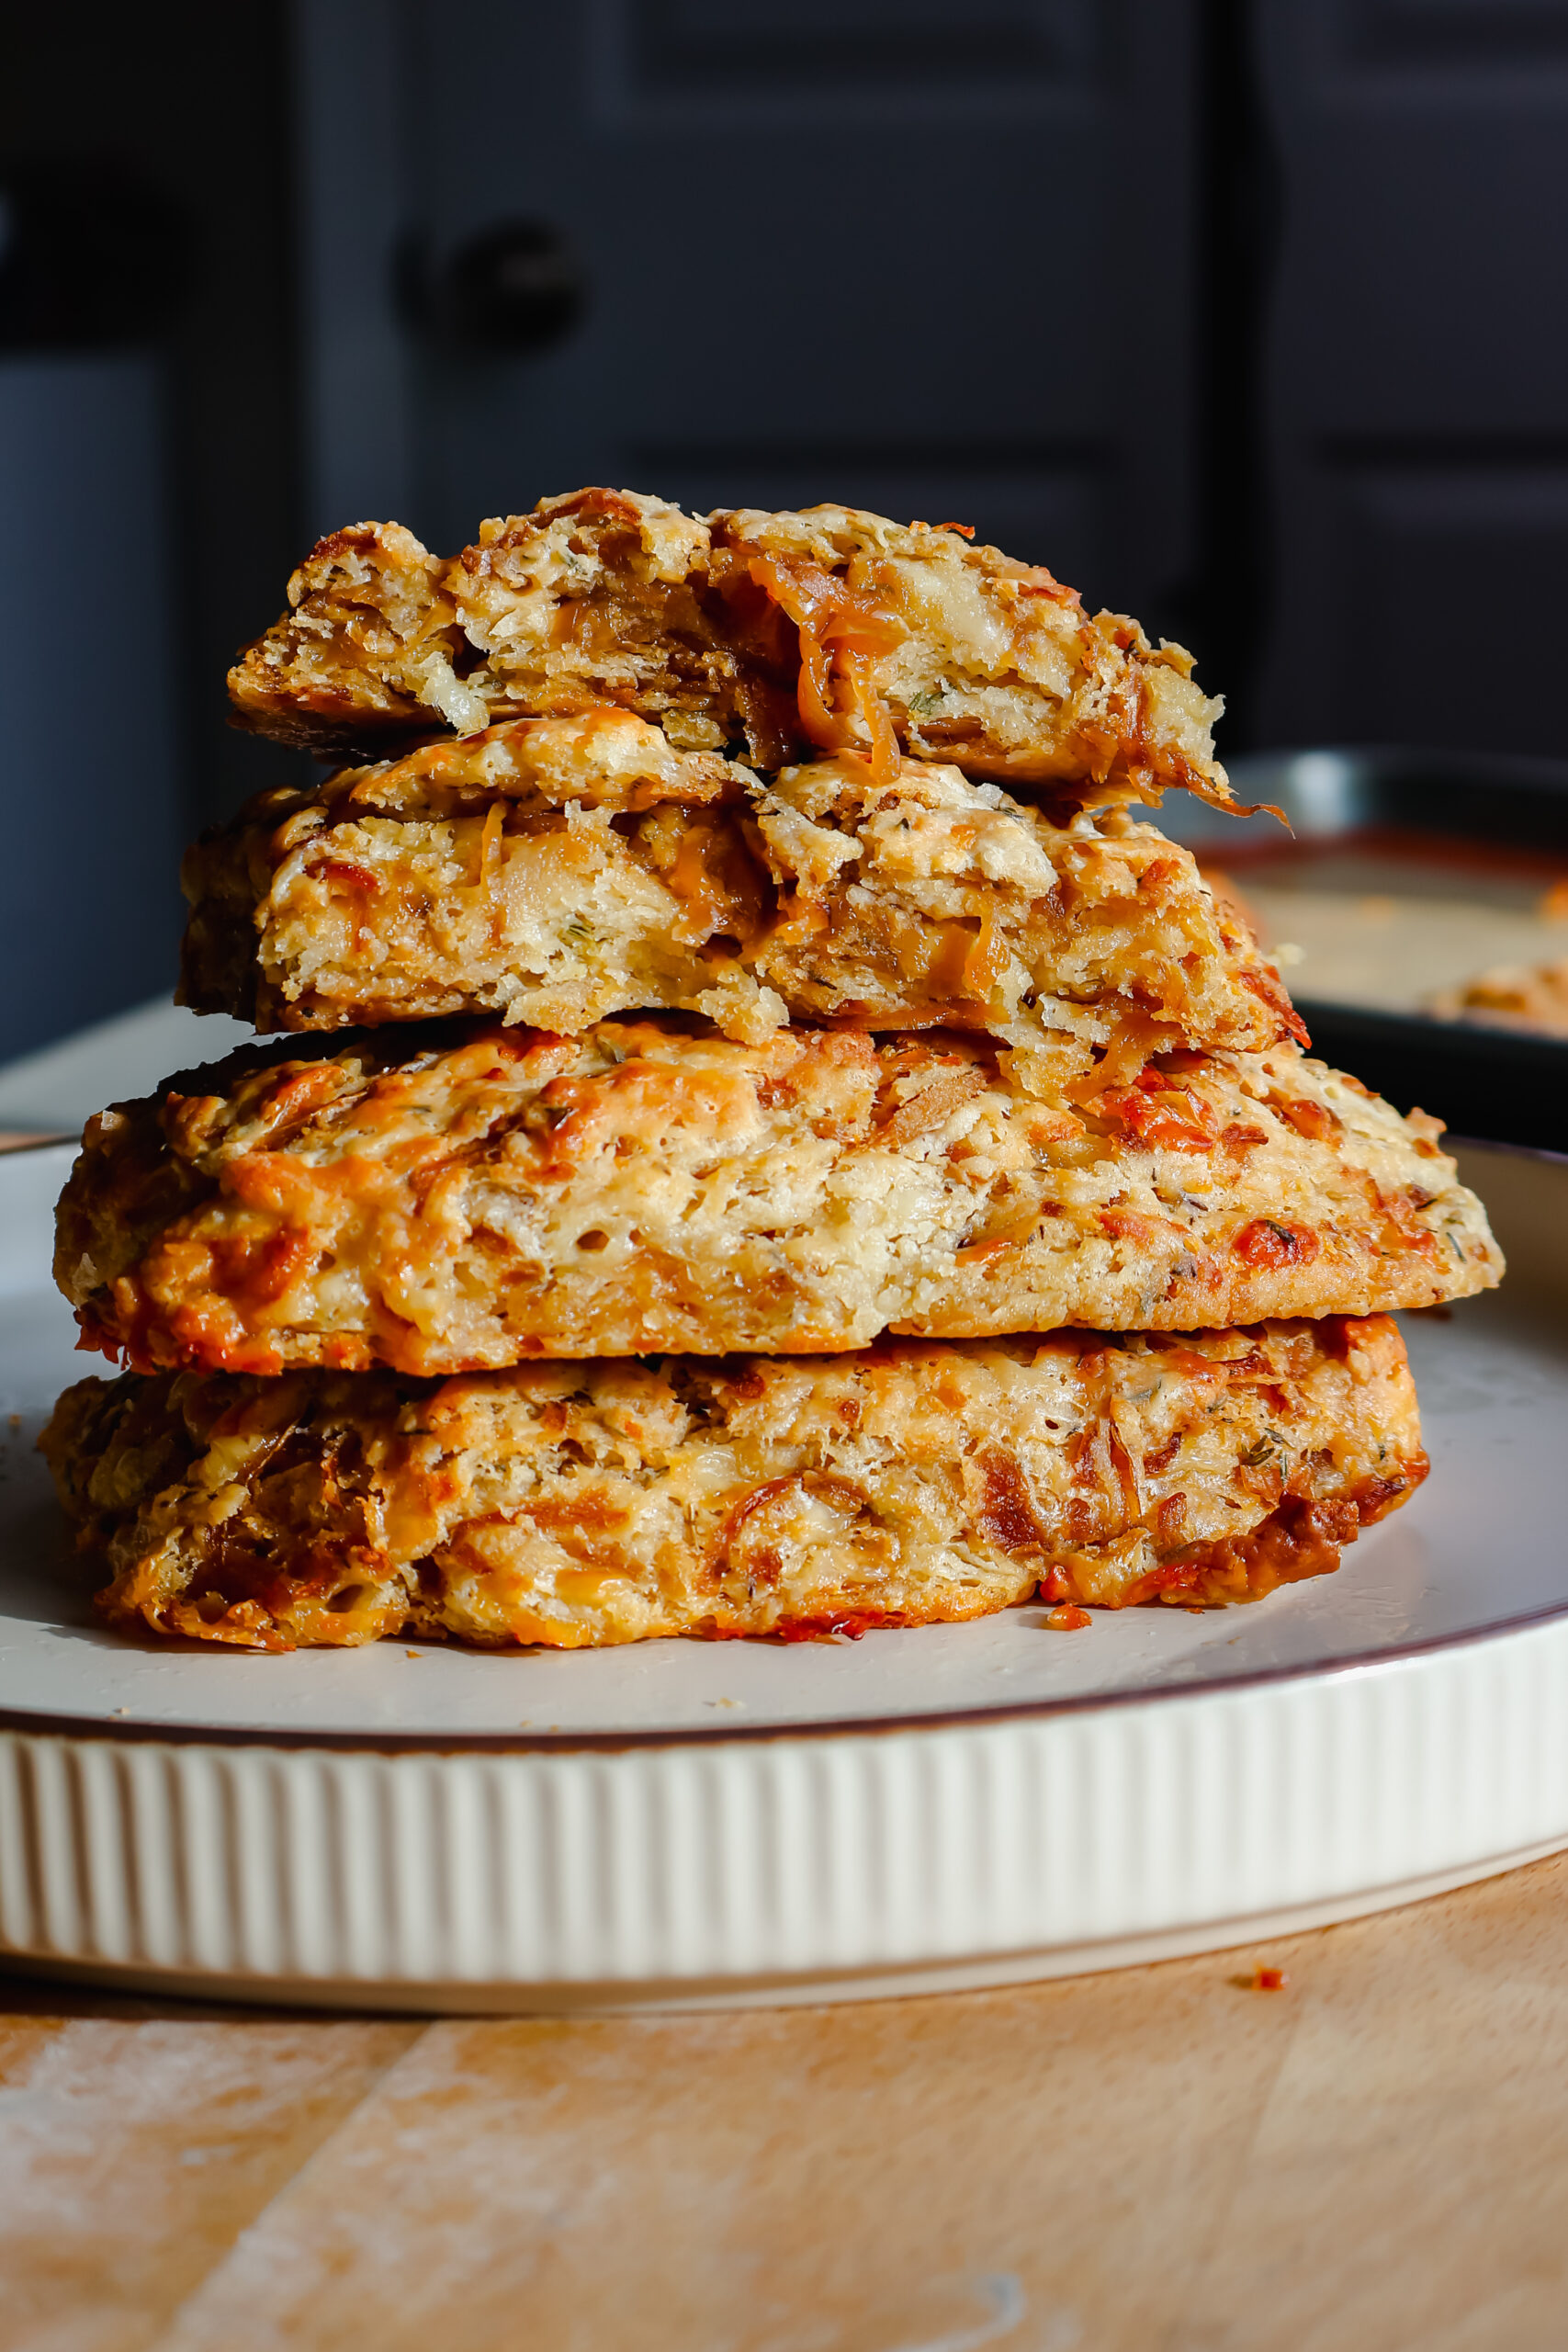
Step 2: Shape the Scones
Turn the dough onto a floured surface and gently shape it into a circle. Cut into 6-8 wedges, similar to slicing a pizza.
Place the scones onto the prepared baking sheet.
Brush the tops with heavy cream and sprinkle with coarse sugar.
Step 3: Bake
Bake for 20-25 minutes, or until the edges are lightly golden and the centers are set.
Allow the scones to cool slightly before adding the glaze.
Step 4: Make the Maple Glaze
In a small bowl, whisk together powdered sugar, maple syrup, and vanilla extract until smooth. Adjust the consistency by adding more maple syrup if needed.
Drizzle the glaze over the slightly cooled scones and serve.

Tips for Perfect Scones
- Keep your butter cold for the flakiest texture
- Do not overmix the dough to avoid dense scones
- Use freshly cooked, crispy bacon for best flavor
- Let scones cool slightly before glazing so it sets nicely
Variations and Substitutions
- Add shredded cheddar for a savory twist
- Swap bacon for turkey bacon or omit for a vegetarian version
- Add a pinch of cinnamon for extra warmth

How to Store
Store leftover scones in an airtight container at room temperature for up to 2 days or refrigerate for up to 4 days. Reheat gently in the oven or microwave before serving.
Final Thoughts
These Maple Bacon Scones with Maple Glaze are the perfect combination of sweet, savory, and buttery goodness. They're simple enough for a weekday treat but special enough for brunch gatherings or holiday mornings. If you try this recipe, be sure to leave a comment and let me know how you liked it, and follow along for more cozy, bakery-style recipes.
📖 Recipe
Maple Bacon Scones
Ingredients
Instructions
- Preheat oven to 350℉. In a large mixing bowl, mix together flour, baking powder, and salt.
- With a cheese grater, grate your cold butter and mix into dry ingredients with your hands until it reaches a crumbly texture.
- Create a well in the center of your bowl and add egg, maple syrup and buttermilk. Mix until just combined.
- Fold in bacon; you want the dough to be just sticky enough to stick to your hands.
- Pour mixture onto a floured surface and shape into a circle. Cut into 6-8 scones, the same way you would a pizza. Then place onto a parchment lined baking sheet.
- Brush with heavy cream, sprinkle with course sugar and bake at 350 degrees F for 20-25 minutes or until lightly golden on edges.
- In a small bowl combine the maple glaze ingredients. Adding additional maple syrup to get the desired texture. Drizzle over slightly cooled scones and enjoy!
Made recipe as written but added a little maple flavoring to the recipe & yet felt the scones did not have much flavor