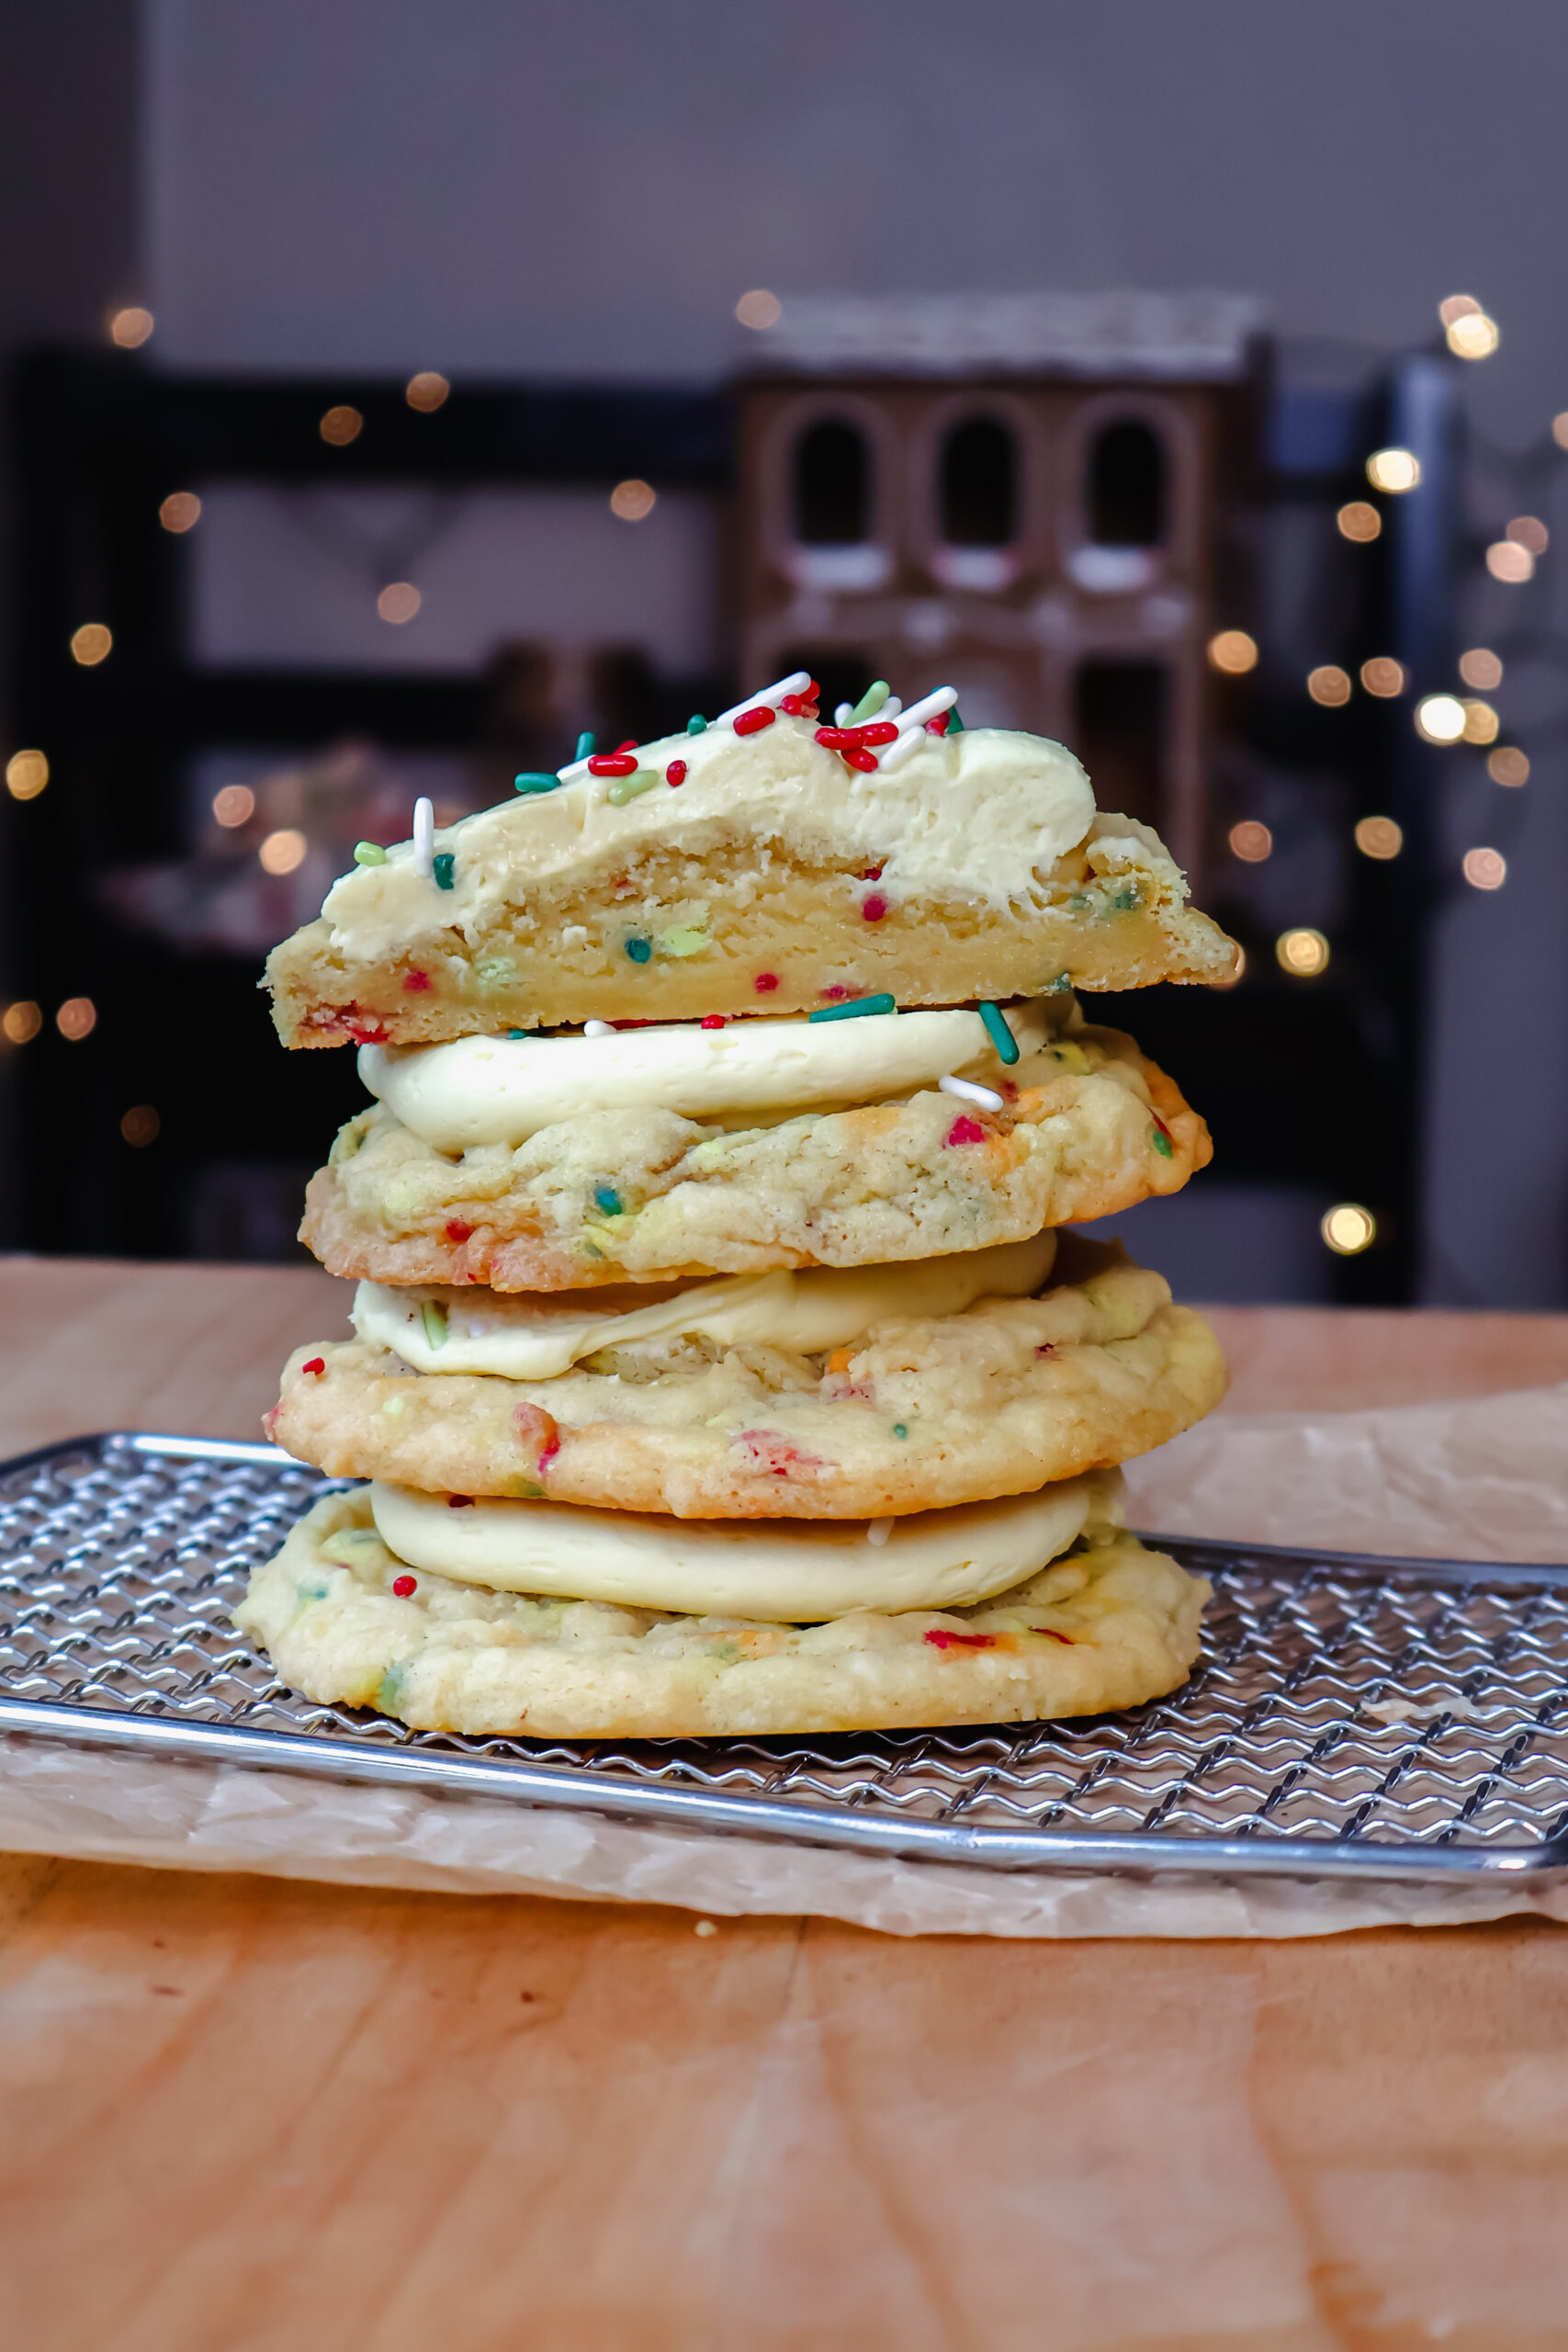
Bakery Style Christmas Birthday Cake Cookies
These Bakery Style Christmas Birthday Cake Cookies are soft, chewy, and topped with creamy birthday cake frosting and sprinkles. A fun holiday twist on classic birthday cake cookies.

If you've ever wished you could combine the joy of a birthday cake cookie with the cozy magic of Christmas baking, these Bakery Style Christmas Birthday Cake Cookies are exactly that. Soft, thick, and buttery with pops of festive sprinkles, these cookies taste just like classic birthday cake but feel perfectly at home on a holiday dessert table.
Each cookie is baked thick and chewy, then topped with a fluffy birthday cake frosting for that unmistakable bakery-style finish. They're perfect for Christmas birthdays, holiday parties, cookie exchanges, or anytime you want something fun, nostalgic, and a little extra special.
These cookies don't spread much in the oven, which gives them that signature bakery look, and the cake batter extract adds just the right amount of birthday cake flavor without being overpowering. Finished with sprinkles on top, they're festive, fun, and guaranteed to make everyone smile.
Why You'll Love These Christmas Birthday Cake Cookies
- Thick and bakery-style with soft centers
- Classic birthday cake flavor with a holiday twist
- Perfect for Christmas birthdays, parties, and cookie trays
- Easy to make with simple pantry ingredients
- Frosted for an extra indulgent finish

Ingredients
Birthday Cake Cookies
- Butter - softened for a rich, tender cookie base
- Granulated sugar - keeps the cookies sweet and soft
- Egg - binds everything together and adds structure
- Cake batter extract - delivers classic birthday cake flavor
- Vanilla extract - balances and enhances sweetness
- All-purpose flour - creates a sturdy yet tender cookie
- Salt - balances the sweetness
- Baking powder & baking soda - help the cookies rise and stay thick
- Sprinkles - for festive color and birthday cake vibes
Birthday Cake Frosting
- Butter - creates a creamy, fluffy frosting base
- Cake batter extract - ties the frosting to the cookie flavor
- Powdered sugar - adds sweetness and structure

How to Make Bakery Style Christmas Birthday Cake Cookies
Preheat your oven to 350°F and line a baking sheet with parchment paper.
In a large bowl, cream together the butter and granulated sugar until smooth and fluffy. Add in the egg, cake batter extract, and vanilla extract, mixing until fully combined.
Add the flour, baking powder, baking soda, salt, and sprinkles. Mix just until the flour disappears. Be careful not to overmix.
Using a large cookie scoop, portion out 6 equal-sized cookie dough balls. Place them on the prepared baking sheet and gently flatten slightly. These cookies won't spread much while baking.
Bake for 10-12 minutes, then allow the cookies to cool on the baking sheet for 10 minutes before transferring them to a cooling rack to cool completely.
While the cookies cool, make the frosting by creaming together the butter, powdered sugar, and cake batter extract until light and fluffy.
Transfer the frosting to a piping bag and frost each cooled cookie. Finish with extra sprinkles for a festive touch.

Tips for Perfect Bakery Style Cookies
- Don't overbake. The centers should stay soft for that bakery-style texture.
- Use a large cookie scoop to keep the cookies thick and uniform.
- Let the cookies cool completely before frosting so the frosting stays fluffy.
Perfect for Christmas Birthdays & Holiday Baking
These Christmas Birthday Cake Cookies are a fun twist on traditional holiday desserts and are especially perfect if you're celebrating a December birthday. They stand out on cookie trays and bring a little extra fun to your holiday baking lineup.

Closing Thought
If you make these Bakery Style Christmas Birthday Cake Cookies, I'd love to hear what you think. Leave a comment below and don't forget to follow along on Instagram for more festive desserts, cozy baking, and bakery-style cookie recipes all season long.
📖 Recipe
Ingredients
Instructions
- Preheat the oven to 350F then line a baking sheet with parchement paper and set it aside.
- Cream the butter and granulated sugar together until smooth.
- Add in the egg, cake batter extract, and vanilla extract and until combined.
- Mix in the flour, baking powder, baking soda, salt, and sprinkles until the flour mixture disappears.
- Use a large cookie scooper scoop out 6 equally sized cookie dough balls, place them on the baking sheet and gently flatten them to desired in thickness, these will not flatten much in the oven.
- Bake the cookies in the oven for 10-12 minutes, then let them cool for 10 minutes before transferring to a cooling rack to cool down fully.
- While the cookies are cooling make the birthday cake frosting
- In a large bowl, cream the butter, powdered sugar and cake batter extract and mix until fluffy.
- Place the frosting in a piping bag and frost each cookie and top with sprinkles.


The cookie part of the recipe doesn’t say powdered sugar but the instructions do. Could you clarify if the cookies call for powdered sugar or not?
Sorry about that! I just updated the recipe. There is no powdered sugar in this recipe.