Brownies on the Blackstone Griddle
These mini skillet Blackstone brownies are gooey, chocolatey, and ready in under 30 minutes, the perfect griddle dessert for camping or cookouts.

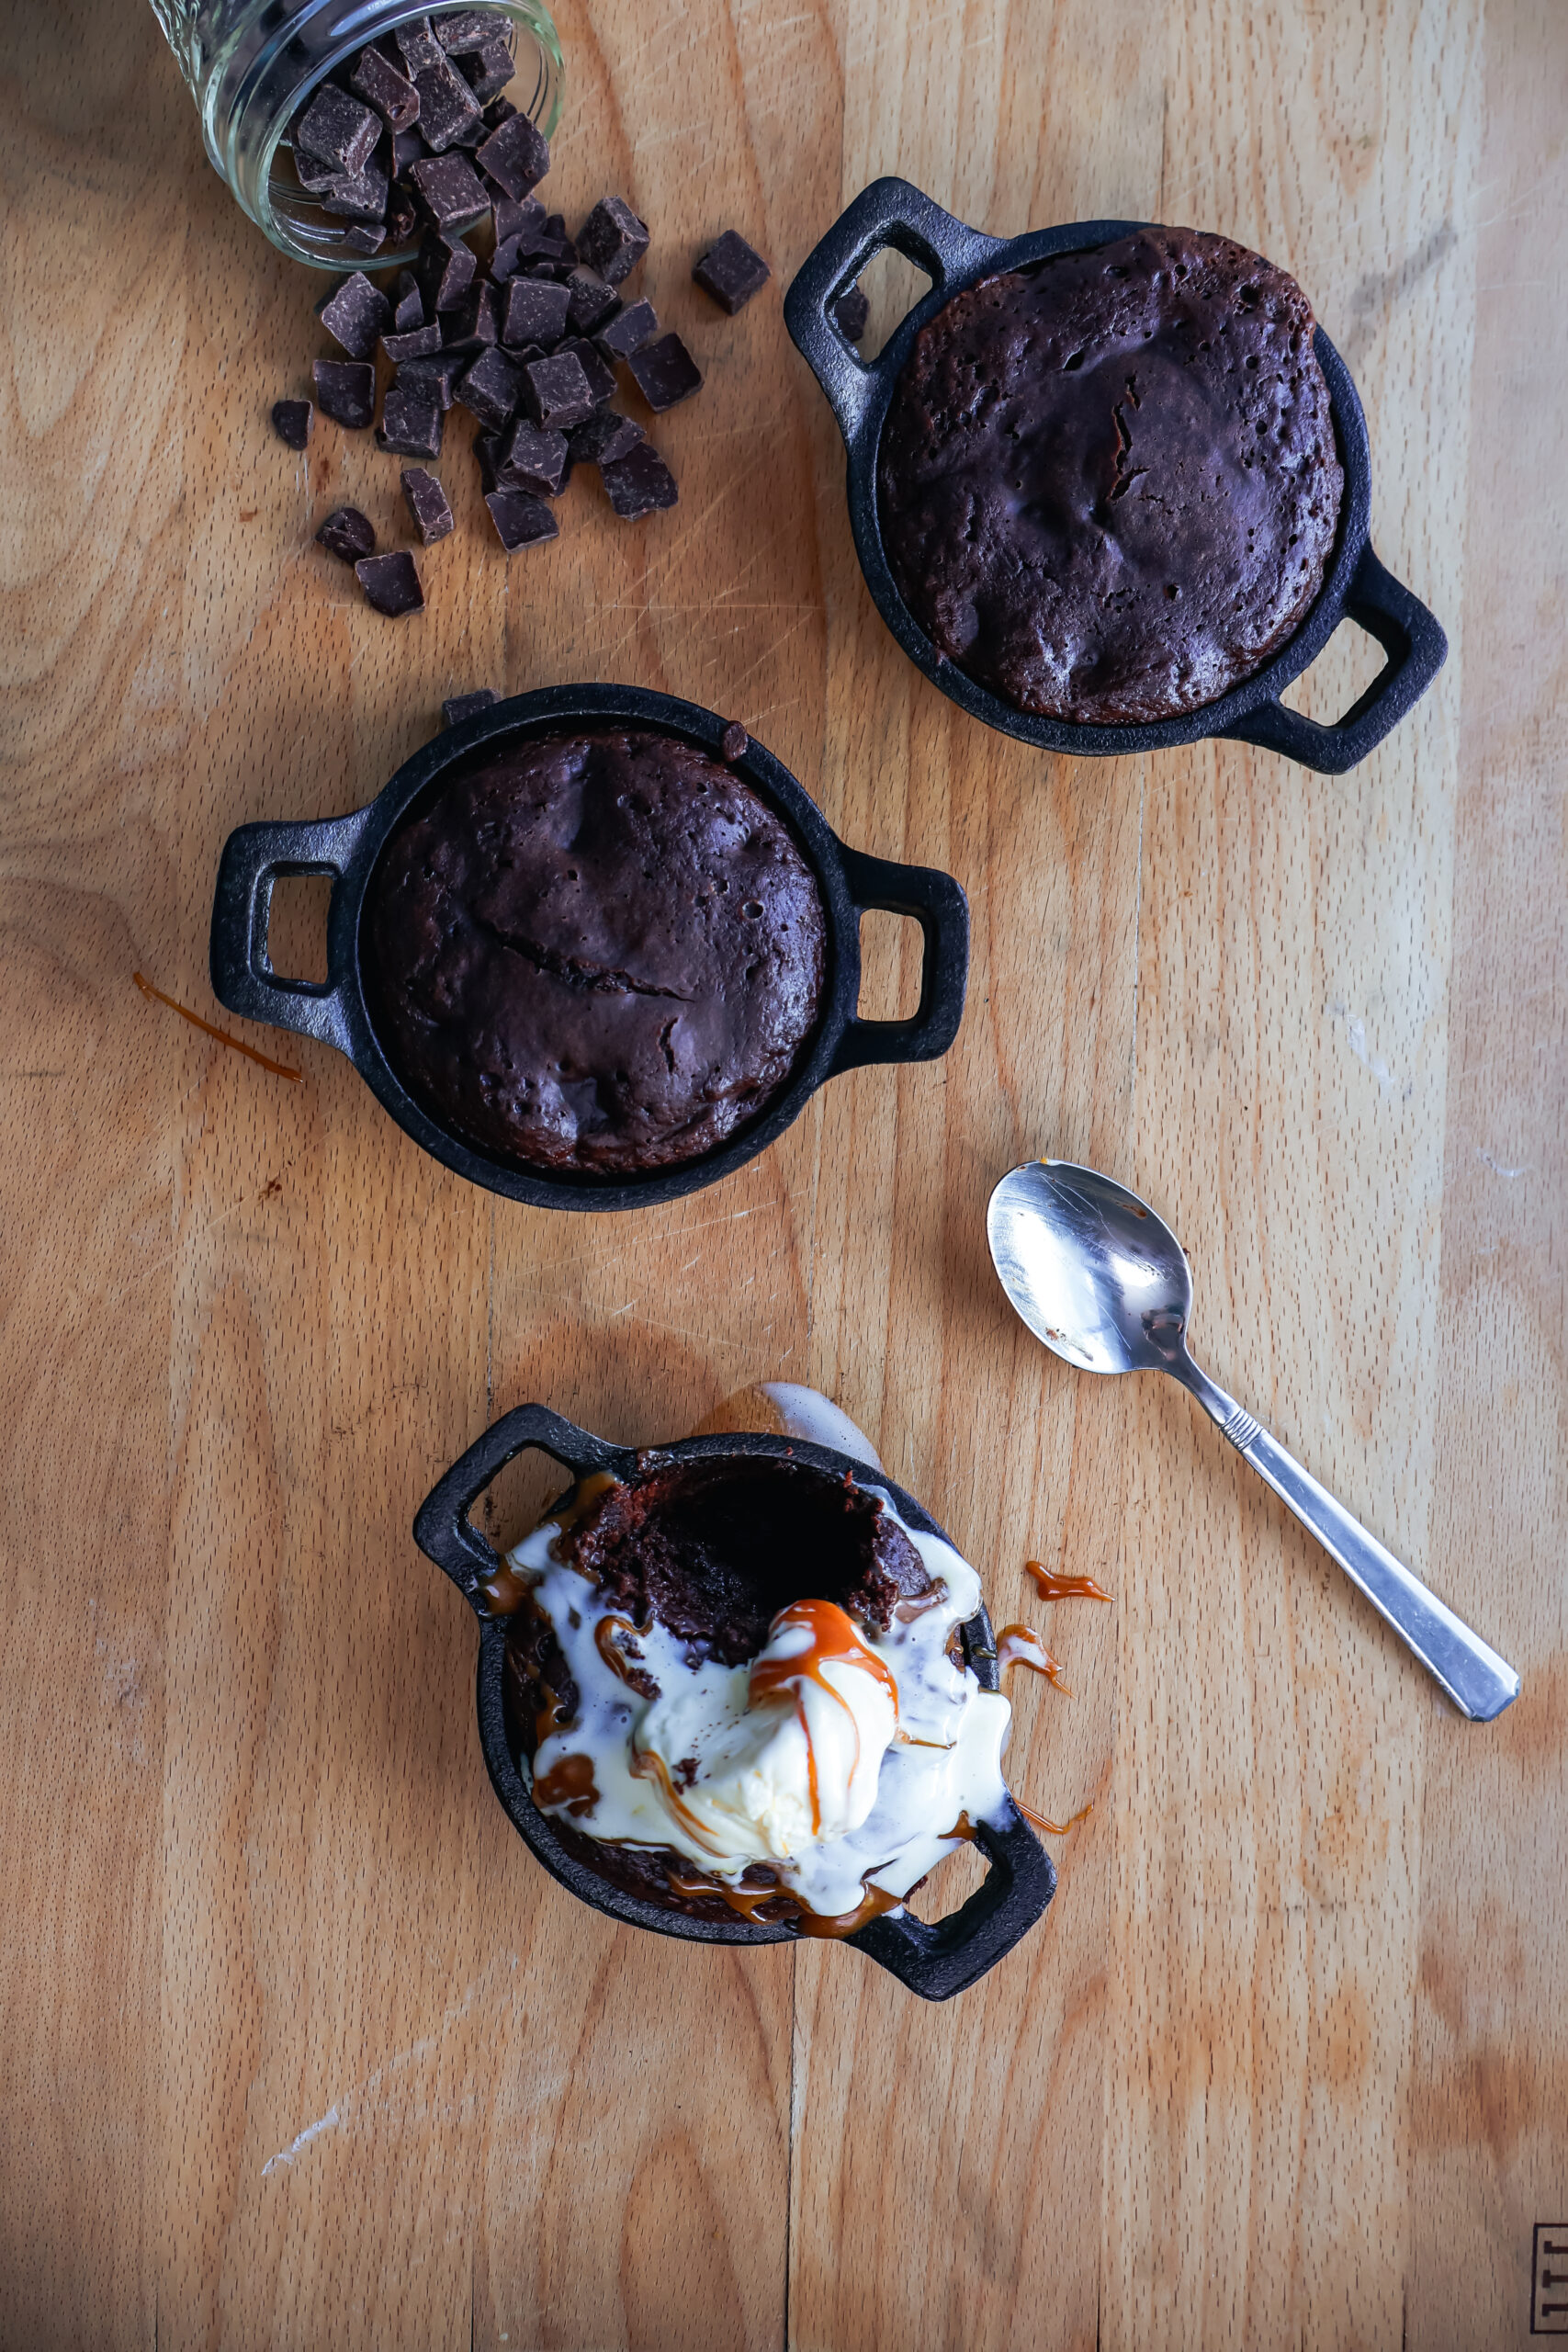
If you're looking for a fun and delicious Blackstone dessert, these Blackstone Brownies are about to be your new go-to treat. Made in mini cast-iron skillets right on the flat-top, they're fudgy, rich, chocolatey, and unbelievably simple. Forget heating up the oven, this griddle dessert comes together entirely outdoors, making it perfect for camping, backyard barbecues, or anytime you want a fast, crowd-pleasing sweet.
Baking brownies on the Blackstone griddle gives them a uniquely gooey center with slightly crisp edges, just like the best bakery-style skillet brownie. Top them warm with a scoop of vanilla ice cream and you've got a restaurant-quality dessert made in under 30 minutes.

Why This Blackstone Dessert Works
- No oven required - perfect for hot days or outdoor cooking
- Mini cast iron skillets keep the brownies soft, gooey, and evenly heated
- Quick prep using pantry staples
- Customizable - add nuts, caramel, or swap in your favorite chocolate chips
- Perfect portioning for gatherings, camping trips, or weeknight treats
This is one of those Blackstone dessert recipes you'll make again and again.

Ingredients
- Butter: Melted for rich flavor and an ultra-fudgy brownie base.
- Granulated sugar: Sweetens the batter and helps create that signature crackly top.
- Vanilla extract: Adds warmth and bakery-style aroma.
- Eggs: Bind the brownies and create thickness and chew.
- Flour & cocoa powder: The foundation of any classic brownie.
- Baking soda: Gives just a slight lift to keep them soft.
- Salt: Balances the chocolate and enhances sweetness.
- Chocolate chips: Folded in for melty pockets of chocolate in every bite.

Equipment You'll Need
- 6 mini (4-inch) cast iron skillets (affiliate) or a 6-cup muffin pan
- A basting dome (affiliate) ideally one with a clear top and built-in thermometer for easy temperature checks
- Infrared thermometer (affiliate) (optional but helpful for ensuring consistent heat)
How to Make Blackstone Brownies
1. Preheat the Griddle
Set your Blackstone to low heat. Place your mini cast iron skillets on the griddle to preheat along with it.
Aim for roughly 325-375°F, using an infrared thermometer if available. This helps prevent burning.
2. Make the Brownie Batter
- Melt the butter and allow to cool slightly.
- In a mixing bowl, whisk together butter, granulated sugar, and vanilla.
- Add eggs and whisk until smooth.
- Stir in flour, cocoa powder, baking soda, and salt. The batter will be thick.
- Fold in chocolate chips.
3. Bake on the Blackstone
- Divide the brownie batter evenly between your 6 skillets.
- Cover with a basting dome to trap heat.
- Bake for 15-20 minutes, or until the center comes out mostly clean with a toothpick (a few moist crumbs are perfect).
4. Serve and Enjoy
Remove skillets from the griddle and cool slightly.
Top each warm brownie with vanilla ice cream, whipped cream, caramel drizzle, or fresh berries.
This is the kind of Blackstone griddle dessert everyone will ask for again.

Tips for Perfect Blackstone Brownies
- Use low heat - high heat burns the bottoms before the center cooks.
- Don't overmix - keeps brownies fudgy, not cakey.
- Rotate skillets halfway through if your griddle has hot spots.
- Let them cool a few minutes - they firm up as they rest.

Serving Ideas
Enjoy your Blackstone Brownie straight from the skillet or top it with:
- Ice cream
- Hot fudge
- Crushed pecans or walnuts
- Caramel sauce
- Whipped cream
These are perfect for summer cookouts, fall camping trips, or an easy weeknight treat.
📖 Recipe
Brownies on the Blackstone Griddle
Ingredients
Equipment
Instructions
- Preheat griddle and 6 4" cast iron skillets or 6 cup muffin pan over low heat. I like to use an infrared thermometer to make sure the heat doesn't get too hot. While it is difficult to get a perfect temperature, I aim for 325-375 F.
- Melt butter and set aside till cool slightly.
- Whisk together butter, granulated sugar and vanilla extract in a large mixing bowl. Then add in eggs.
- Add dry ingredients stirring until combined. Fold in chocolate chips. Batter will be thick.
- Add batter evenly between 6 vessels and cover with a basting dome, bake for 15-20 minutes or until the center just comes clean with a toothpick.
- Remove from griddle and allow to cool slightly before topping with ice cream and enjoy.