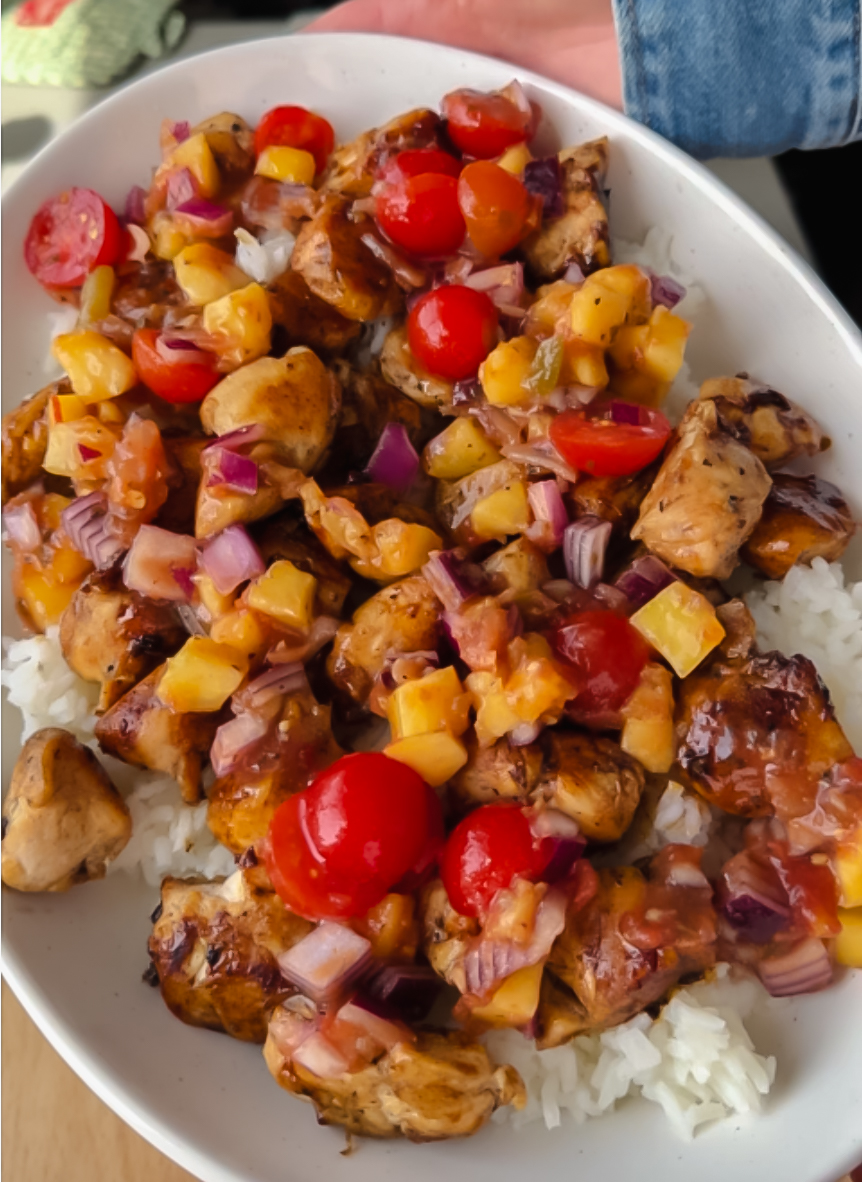
BBQ Hawaiian Chicken on the Blackstone Griddle
Bring tropical flavor to your backyard with this BBQ Hawaiian Chicken cooked on the Blackstone Griddle. Juicy chicken, caramelized pineapple, and veggies tossed in sweet barbecue sauce make the perfect quick and easy meal.

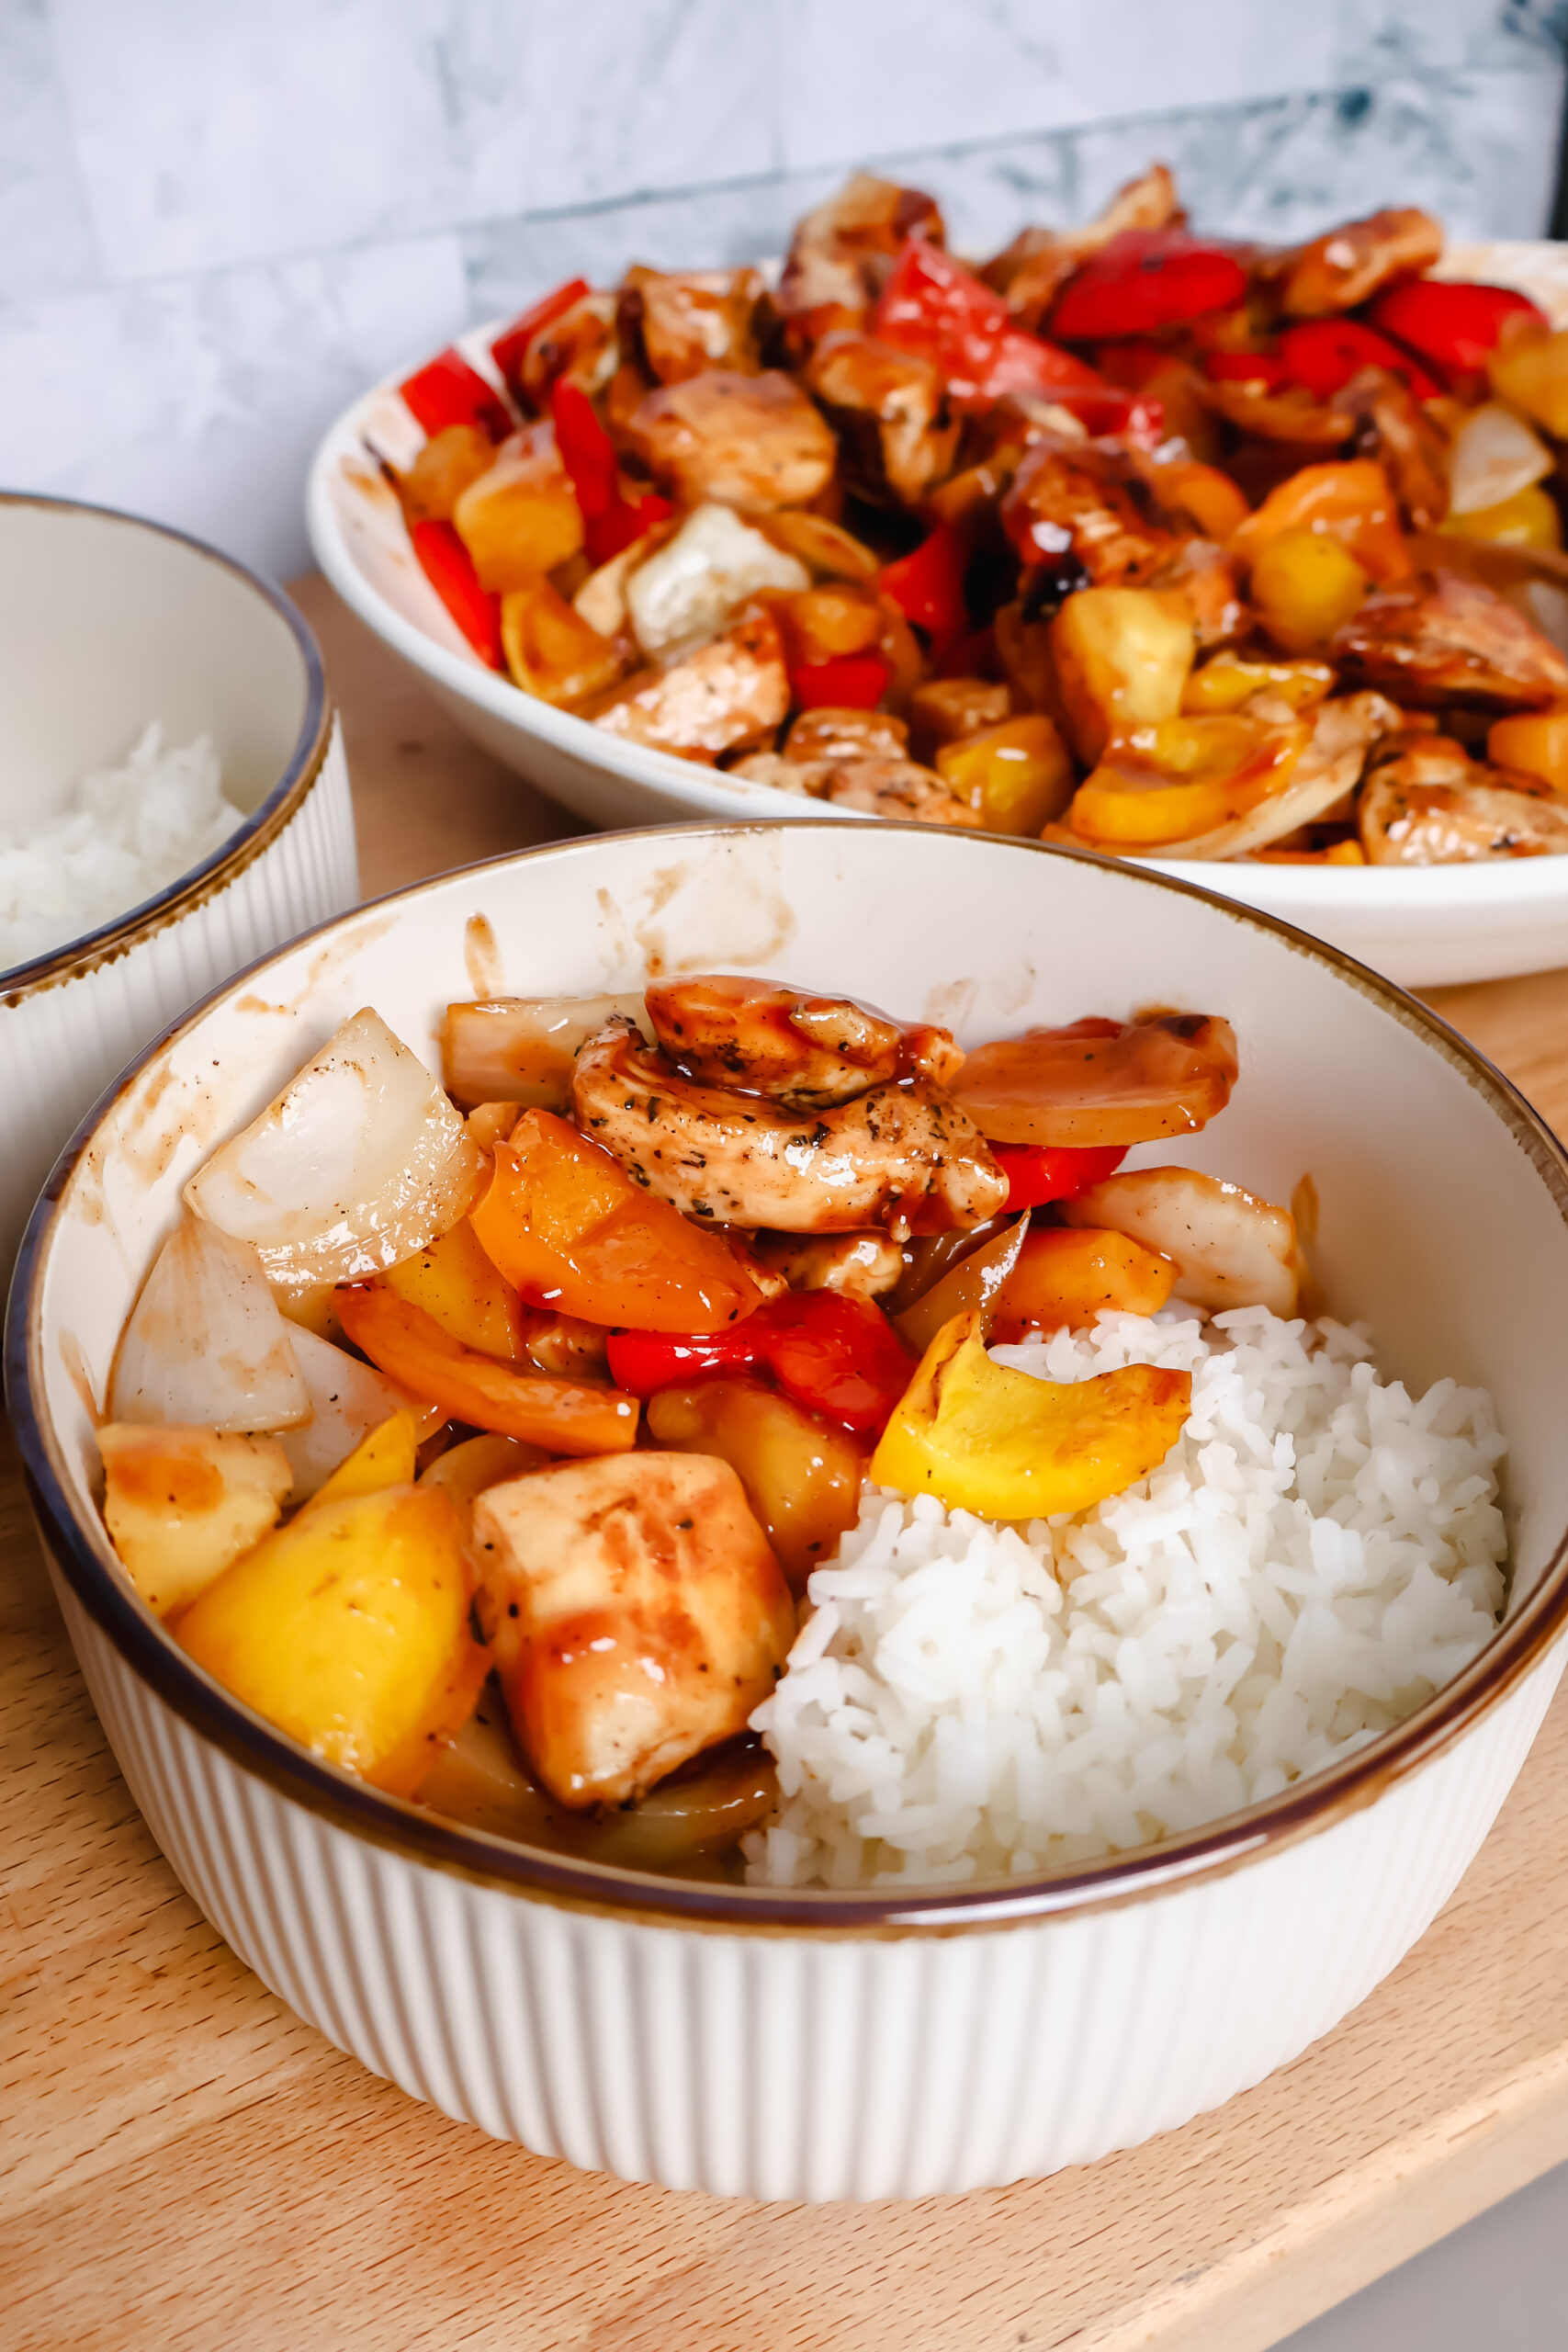
There's something special about cooking outdoors, and this BBQ Hawaiian Chicken on the Blackstone Griddle is the perfect recipe to bring those backyard vacation vibes right to your dinner table. Juicy chicken, caramelized pineapple, and colorful bell peppers come together in a sweet and smoky barbecue glaze that's as easy to make as it is delicious.
Whether you're cooking for a family dinner or entertaining friends, this recipe delivers bold tropical flavor in under 30 minutes, all with that irresistible Blackstone char. It's quick, simple, and guaranteed to become a summer favorite.
Why You'll Love This Recipe
- One griddle meal: Everything cooks on the Blackstone, chicken, peppers, onions, and pineapple, for an easy cleanup.
- Sweet and savory perfection: Tangy barbecue sauce balances perfectly with juicy pineapple and smoky grilled chicken.
- Fast and flavorful: From prep to plate in less than 30 minutes.
Ingredients
- Chicken breasts: Boneless, skinless chicken breasts cut into bite-sized pieces cook quickly and evenly. You can also use chicken thighs for a juicier option.
- Bell peppers: Add vibrant color and crunch. Use a mix of red, yellow, and green peppers for extra flavor and presentation.
- Red onion: Brings a hint of sweetness that pairs perfectly with the barbecue sauce.
- Pineapple chunks: The star of the show. Use canned pineapple for convenience or fresh pineapple for a brighter flavor.
- Barbecue sauce: Choose your favorite store-bought or homemade BBQ sauce. Smoky, honey, or Hawaiian-style barbecue sauces all work beautifully.
- Salt and pepper: Simple seasonings that let the other ingredients shine.

Instructions
- Preheat the Blackstone Griddle to medium heat.
- Season the chicken with salt and pepper, then cook on one side of the griddle until no longer pink.
- On the other side of the griddle, add the peppers, onions, and pineapple, and cook until softened and slightly caramelized.
- Pour the barbecue sauce over the cooked chicken and mix to coat.
- Combine everything together on the griddle and toss for another minute or two to meld the flavors.
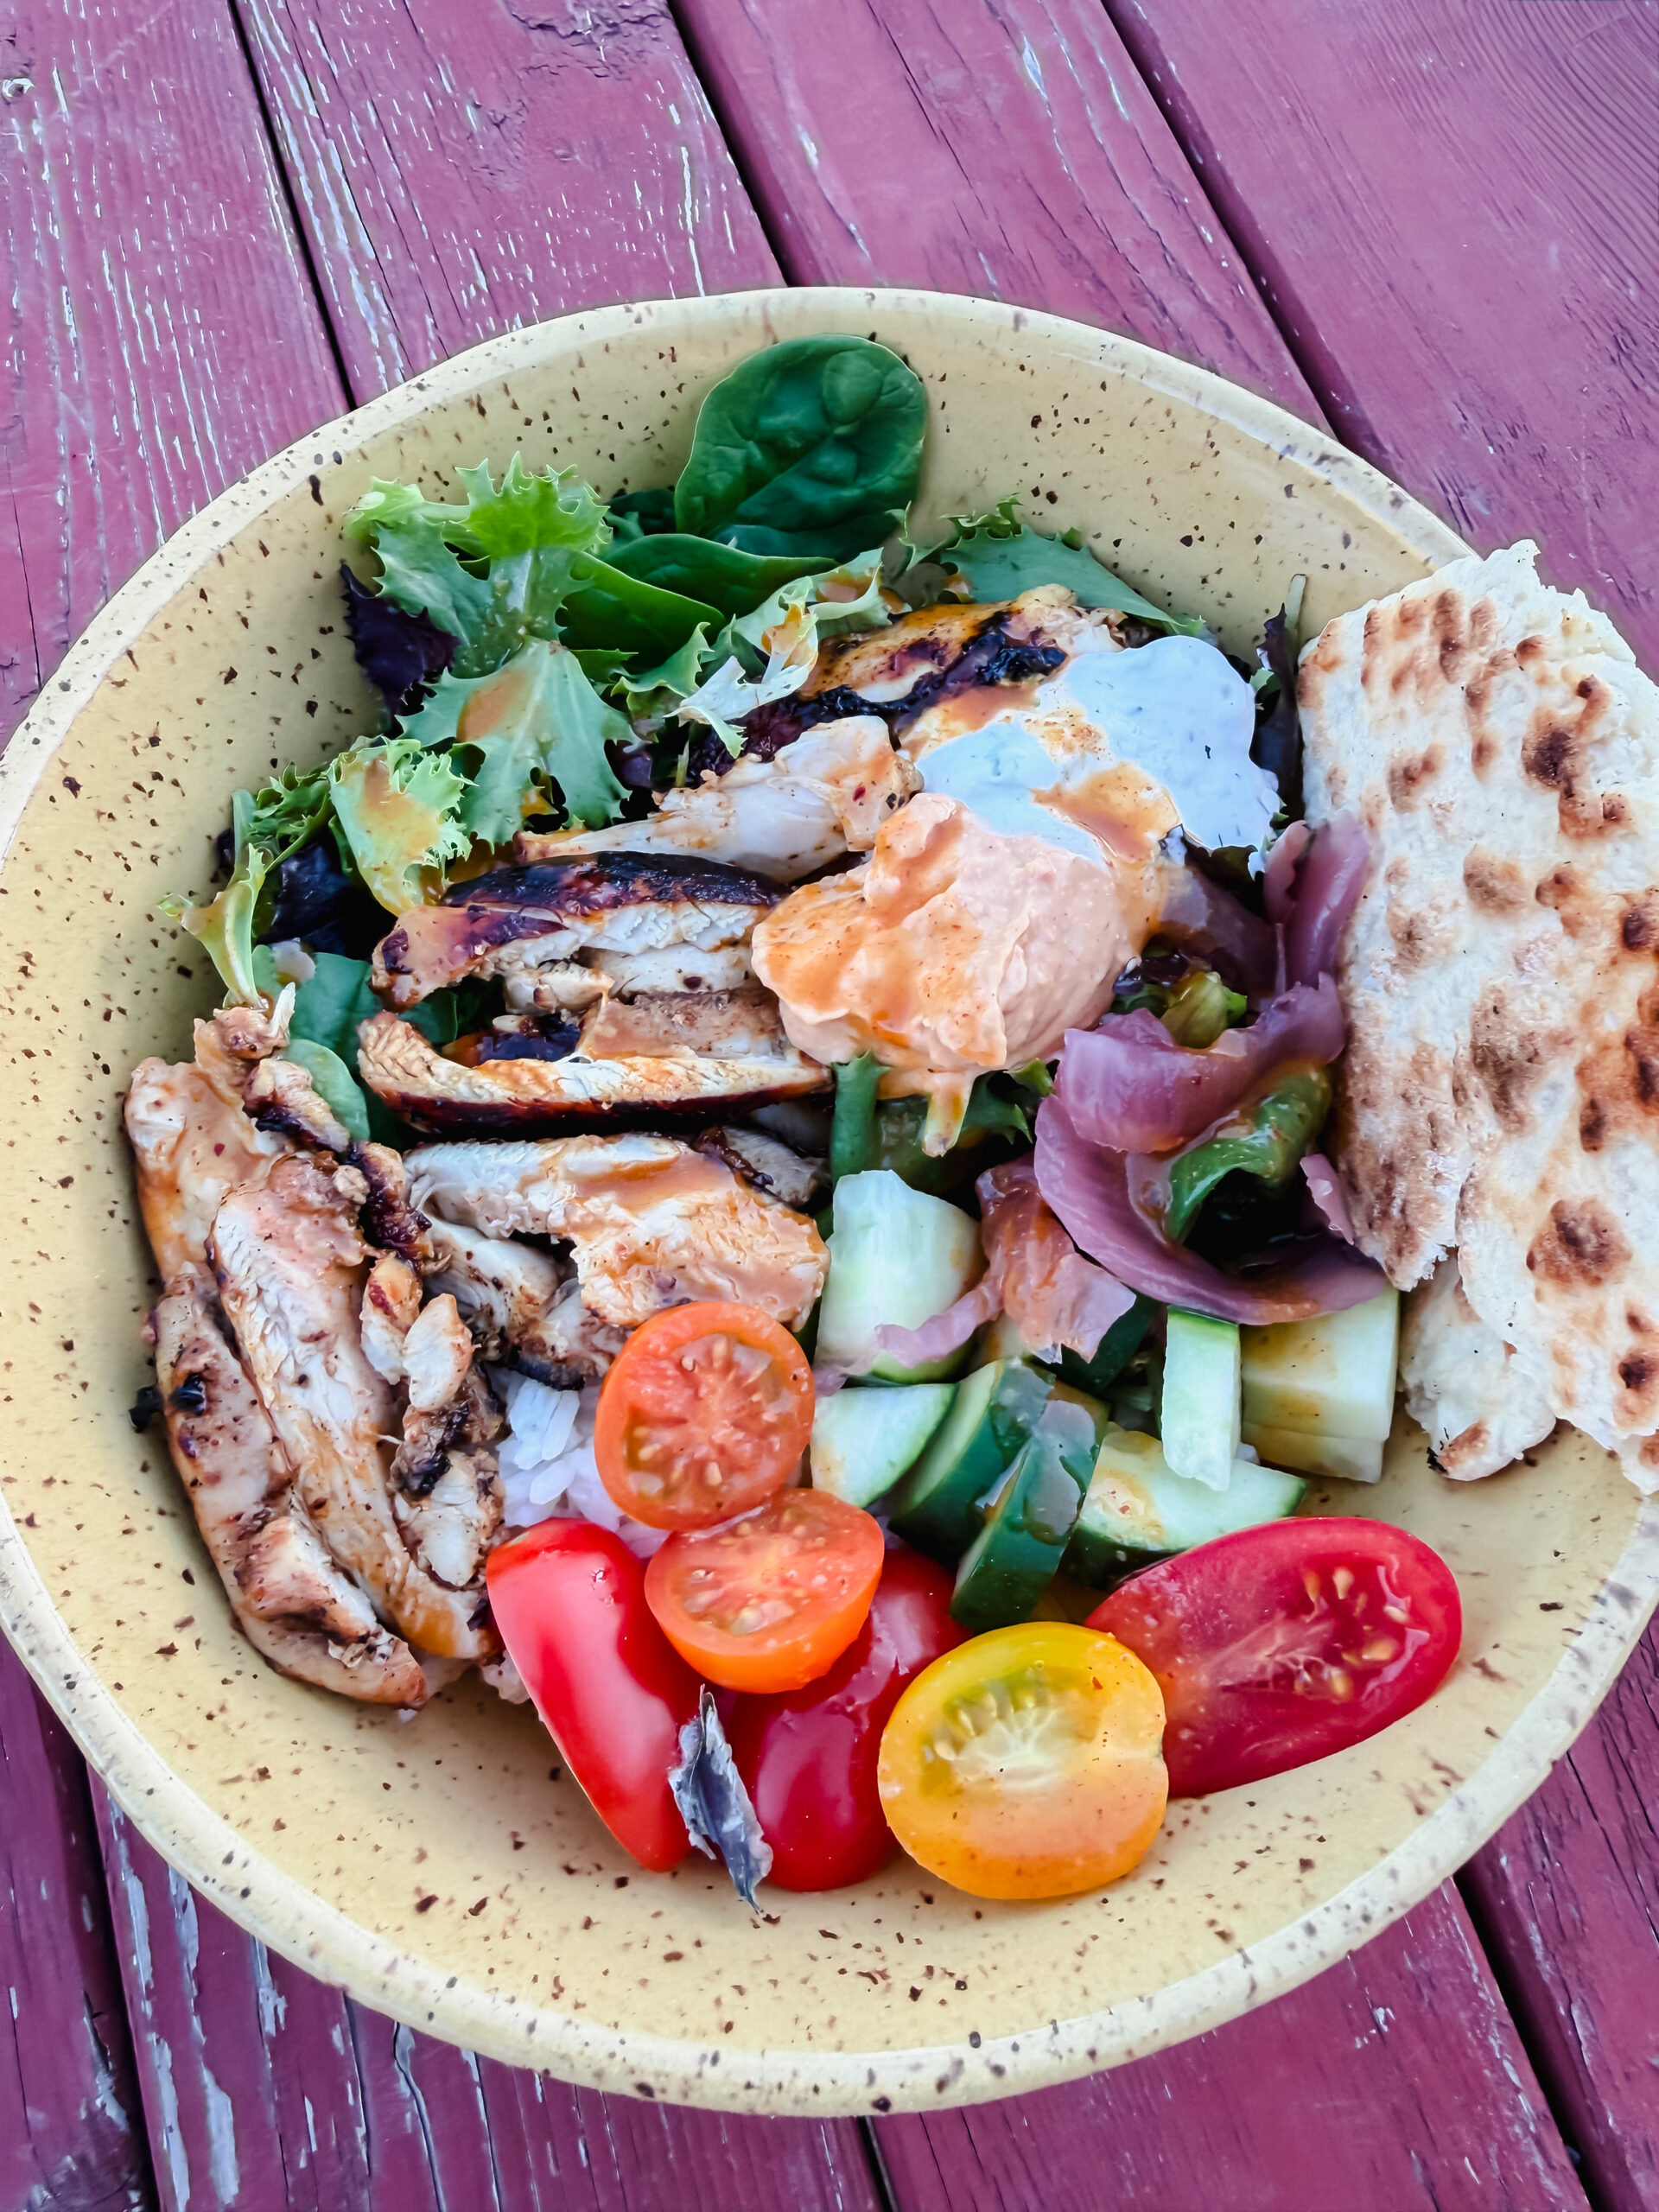
- Serve warm over rice, with tortillas, or on top of a bed of greens for a lighter option.
Serving Ideas
This BBQ Hawaiian Chicken is incredibly versatile. Serve it over steamed white rice, fried rice, or even Hawaiian rolls for easy sliders. It also makes a great filling for tacos or lettuce wraps if you're looking for something lighter.

Tips for Success
- Make sure your griddle is seasoned to prevent sticking and help caramelize the pineapple and veggies.
- Don't overcrowd the griddle, giving everything space ensures that perfect sear.
- Adjust your barbecue sauce to taste, a smoky sauce gives more depth, while a sweeter sauce leans into the tropical flavors.
📖 Recipe
BBQ Hawaiian Chicken on the Blackstone Griddle
Ingredients
Instructions
- Preheat griddle to medium heat.
- Season chicken with salt and pepper and place onto half of the griddle. Cook until no longer pink.
- Add peppers, onions, and pineapple to the other half of the griddle. Cook until softened.
- Pour barbecue sauce over chicken and mix to combine. Remove everything from the griddle.
- Enjoy with rice or on a tortilla.