Creamy Zucchini Bake | Easy Summer Side
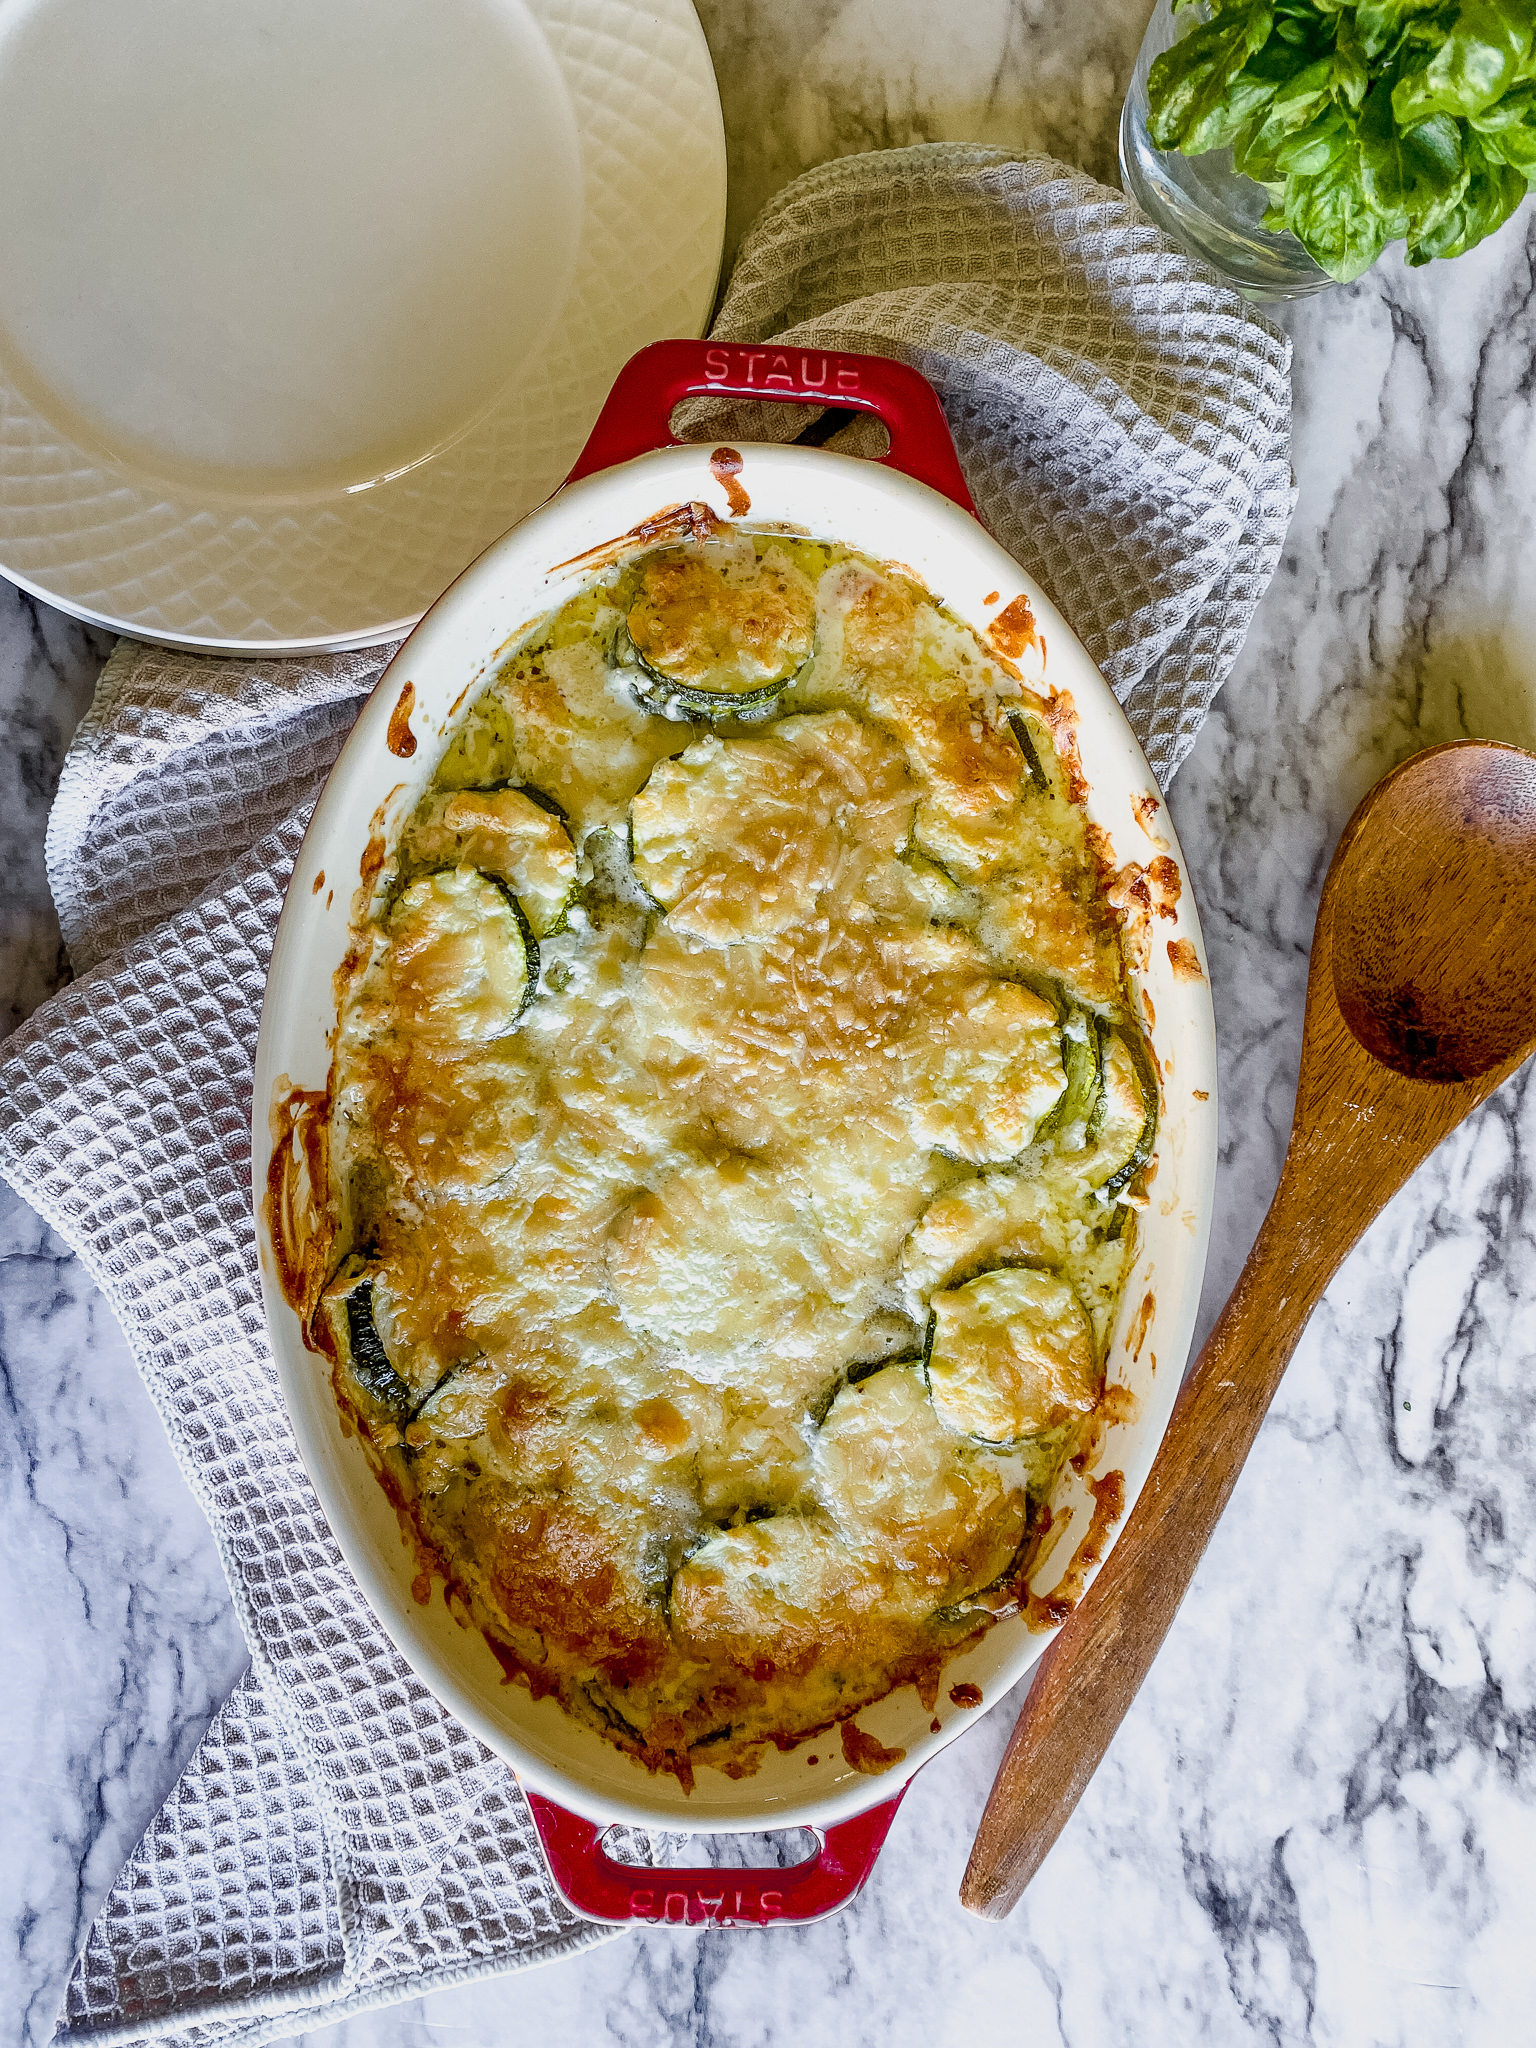
This Creamy Zucchini Bake is the ultimate summer side dish! Zucchini slices are covered with an easy cream sauce and baked until bubbly and golden.
Are you drowning in zucchini from your garden? Don't worry, we've got you covered with this irresistible Creamy Zucchini Bake recipe. It's the perfect way to utilize those abundant zucchinis and create a mouthwatering summer side dish. With a velvety cream sauce and golden baked goodness, this recipe is guaranteed to be a hit at your next gathering. Let's dive in!
The Challenge of Zucchini Overload:
Every summer, the inevitable question arises: How many zucchini plants should I grow? Even if you decide to plant just two, like me, the zucchinis always seem to multiply. But fear not, this Creamy Zucchini Bake will come to your rescue, making you look forward to the zucchini bounty every summer. Bonus: the kids ate more than one bite (I call that a win).
Ingredients:
To create this delectable Creamy Zucchini Bake, you'll need the following ingredients:
- Zucchini: The star ingredient that forms the base of this dish.
- Parmesan Cheese: Its nutty flavor adds a delightful kick to the cream sauce.
- Sour Cream: This tangy addition elevates the cream sauce's flavors.
- Heavy Cream: Provides a rich and velvety texture to the sauce.
- Seasonings: We'll be using salt, Italian seasoning, onion powder, and black pepper to enhance the dish's taste.
- Mozzarella: The gooey, melted cheese topping that takes this bake to the next level.
Instructions:
- Preheat your oven to 350°F . Grease a baking dish and set it aside.
- Prepare the Zucchini: Begin by slicing the zucchini into thin rounds. Layer the slices in the prepared baking dish.
- Create the Cream Sauce: In a skillet melt butter and add in minced garlic. Sauce for 2-3 minutes. Add heavy cream, sour cream, salt, Italian seasoning, and parmesan cheese to the skillet and stir until combined.
- Assemble the Bake: Pour sauce over the zucchini then top with mozzarella cheese. Bake for 20 minutes.
📖 Recipe
Creamy Zucchini Bake
Ingredients
Instructions
- Wash and slice the zucchini into thin slices.
- Layer zucchini into a 8x5 pan.
- In a skillet melt butter and add in minced garlic. Sauce for 2-3 minutes.
- Add heavy cream, sour cream, salt, Italian seasoning, and parmesan cheese to the skillet and stir until combined.
- Pour sauce over the zucchini then top with mozzarella cheese.
- Bake at 350 for 20 minutes.


