Homemade Marshmallow Creme | Made Without Corn Syrup
This Homemade Marshmallow Creme is so light, airy, easy to make and made without any corn syrup. It will make you question why you use to buy the jar stuff.

Homemade Marshmallow Creme is so easy to make and absolutely delicious! And BONUS this recipe can be made without using corn syrup. 4 simple ingredients is all that is needed to make your next fluffernutter sandwich or marshmallow creme frosting.

Ingredients
- Egg Whites - It is important not to get any yolk into the whites. This will prevent the whites from whipping into the correct texture.
- Sugar - granulated sugar is best here.
- Cream of Tartar - this helps to stabelize the egg whites.
- Vanilla Extract - for a traditional vanilla flavor. Swap our your favorite (NON-OIL BASED) extract to switch up the flavor.
How to Make Homemade Marshmallow Creme
- Place a saucepan on the stovetop, fill it with about 2 inches of water and bring it to a boil.
- In a heatproof bowl (large enough to sit on top of the saucepan without touching the water) combine the egg whites, granulated sugar and cream of tartar. (Alternatively, you use a double boiler.)
- Increase the heat to medium-high and hand-whisk the egg mixture continuously. As it heats, it will become frothy and thinner.
- Keep whisking until the sugar has fully dissolved into the egg-white mixture.
- To check, dip a clean finger into the mixture and rub it between your fingers. It should feel smooth with no sugar granules. Be cautious, as the mixture will be hot. If you're using a candy thermometer, the temperature should read 160F.
- Once the sugar has dissolved, add the vanilla extract and whisk on high until stiff peaks form.
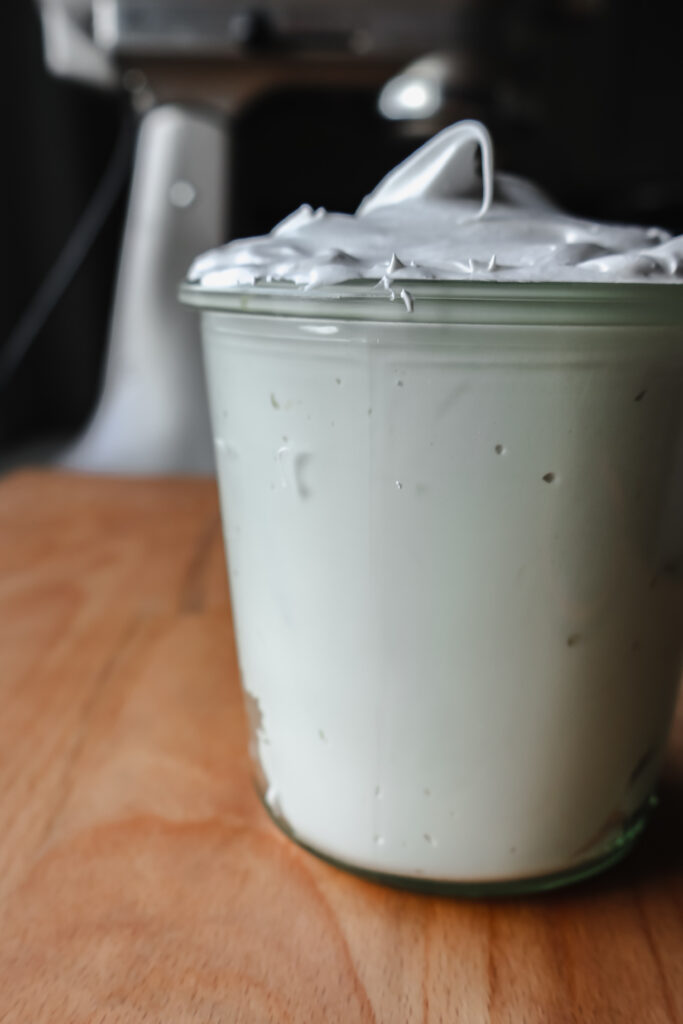
- Your marshmallow fluff is now ready to use. Once it has cooled to room temperature, transfer it to clean jars to store or use immediately.

Share Your Experience
I would love to hear about your experience making and enjoying my Homemade Marshmallow Creme with no corn syrup! Feel free to tag me on Instagram or leave a review below. Your feedback helps me improve our recipes and provides inspiration to fellow home cooks.
Save this recipe for later by simply using the pin button on the recipe card or any of the photos above. Happy cooking!

📖 Recipe

Homemade Marshmallow Creme
This Homemade Marshmallow Creme is so light, airy, easy to make and made without any corn syrup. It will make you question why you use to buy the jar stuff.
Ingredients
Instructions
- Place a saucepan on the stovetop, fill it with about 2 inches of water and bring it to a boil.
- In a heatproof bowl (large enough to sit on top of the saucepan without touching the water) combine the egg whites, granulated sugar and cream of tartar. (Alternatively, you use a double boiler.)
- Increase the heat to medium-high and hand-whisk the egg mixture continuously. As it heats, it will become frothy and thinner.
- Keep whisking until the sugar has fully dissolved into the egg-white mixture.
- To check, dip a clean finger into the mixture and rub it between your fingers. It should feel smooth with no sugar granules. Be cautious, as the mixture will be hot. If you're using a candy thermometer, the temperature should read 160F.
- Once the sugar has dissolved, add the vanilla extract and whisk on high until stiff peaks form.
- Your marshmallow fluff is now ready to use. Once it has cooled to room temperature, transfer it to clean jars to store or use immediately.


This recipe sounds amazing! I love that it skips the corn syrup. Can't wait to try it. Do you think honey could be a substitute for sugar? And how long does the marshmallow creme keep in the fridge?
I have not tested the recipe with honey, so I'm not sure. It lasts for 5-7 days in the fridge.
Do you store in the fridge?
Yes. This is stored in the fridge.
Can I make this with honey or maple syrup?
I haven’t personally tested it, but I’m sure you can!!
this is pretty darn good for being home made
Can you use a sugar substitute to make this diabetic friendly?
I have not recipe tested with a sugar substitute.
Does it get hard or firm in the fridge or is it spreadable for a sandwich?
It stays soft and fluffy in the fridge!
What do you use this for
I use it for my S'mores cake, fluffernutter sandwiches, or anywhere I would use marshmallow cream.