• About
  • Nav Social Icons

  • Skip to primary navigation
  • Skip to main content
  • Skip to primary sidebar
  • Skip to footer
  • Home
  • About
  • Recipes
    • Blackstone
    • Breads
    • Breakfast
    • Drinks
    • Dessert
    • Dinner
    • Sides
    • Snacks
  • Shop
  • Cart
  • My account
  • Mobile Menu Widgets

    Connect

    Search

The Farmstyle

The Farmstyle

by Kayla Zenner

  • Home
  • About
  • Shop
  • Recipes
    • Blackstone
    • Breads
    • Breakfast
    • Drinks
    • Dessert
    • Dinner
    • Snacks
    • Sides
    • All Recipes
  • Cart

Homemade Marshmallows

December 3, 2024 · In: Dessert, Recipes

FacebookTweetPin
Jump to Recipe Print Recipe

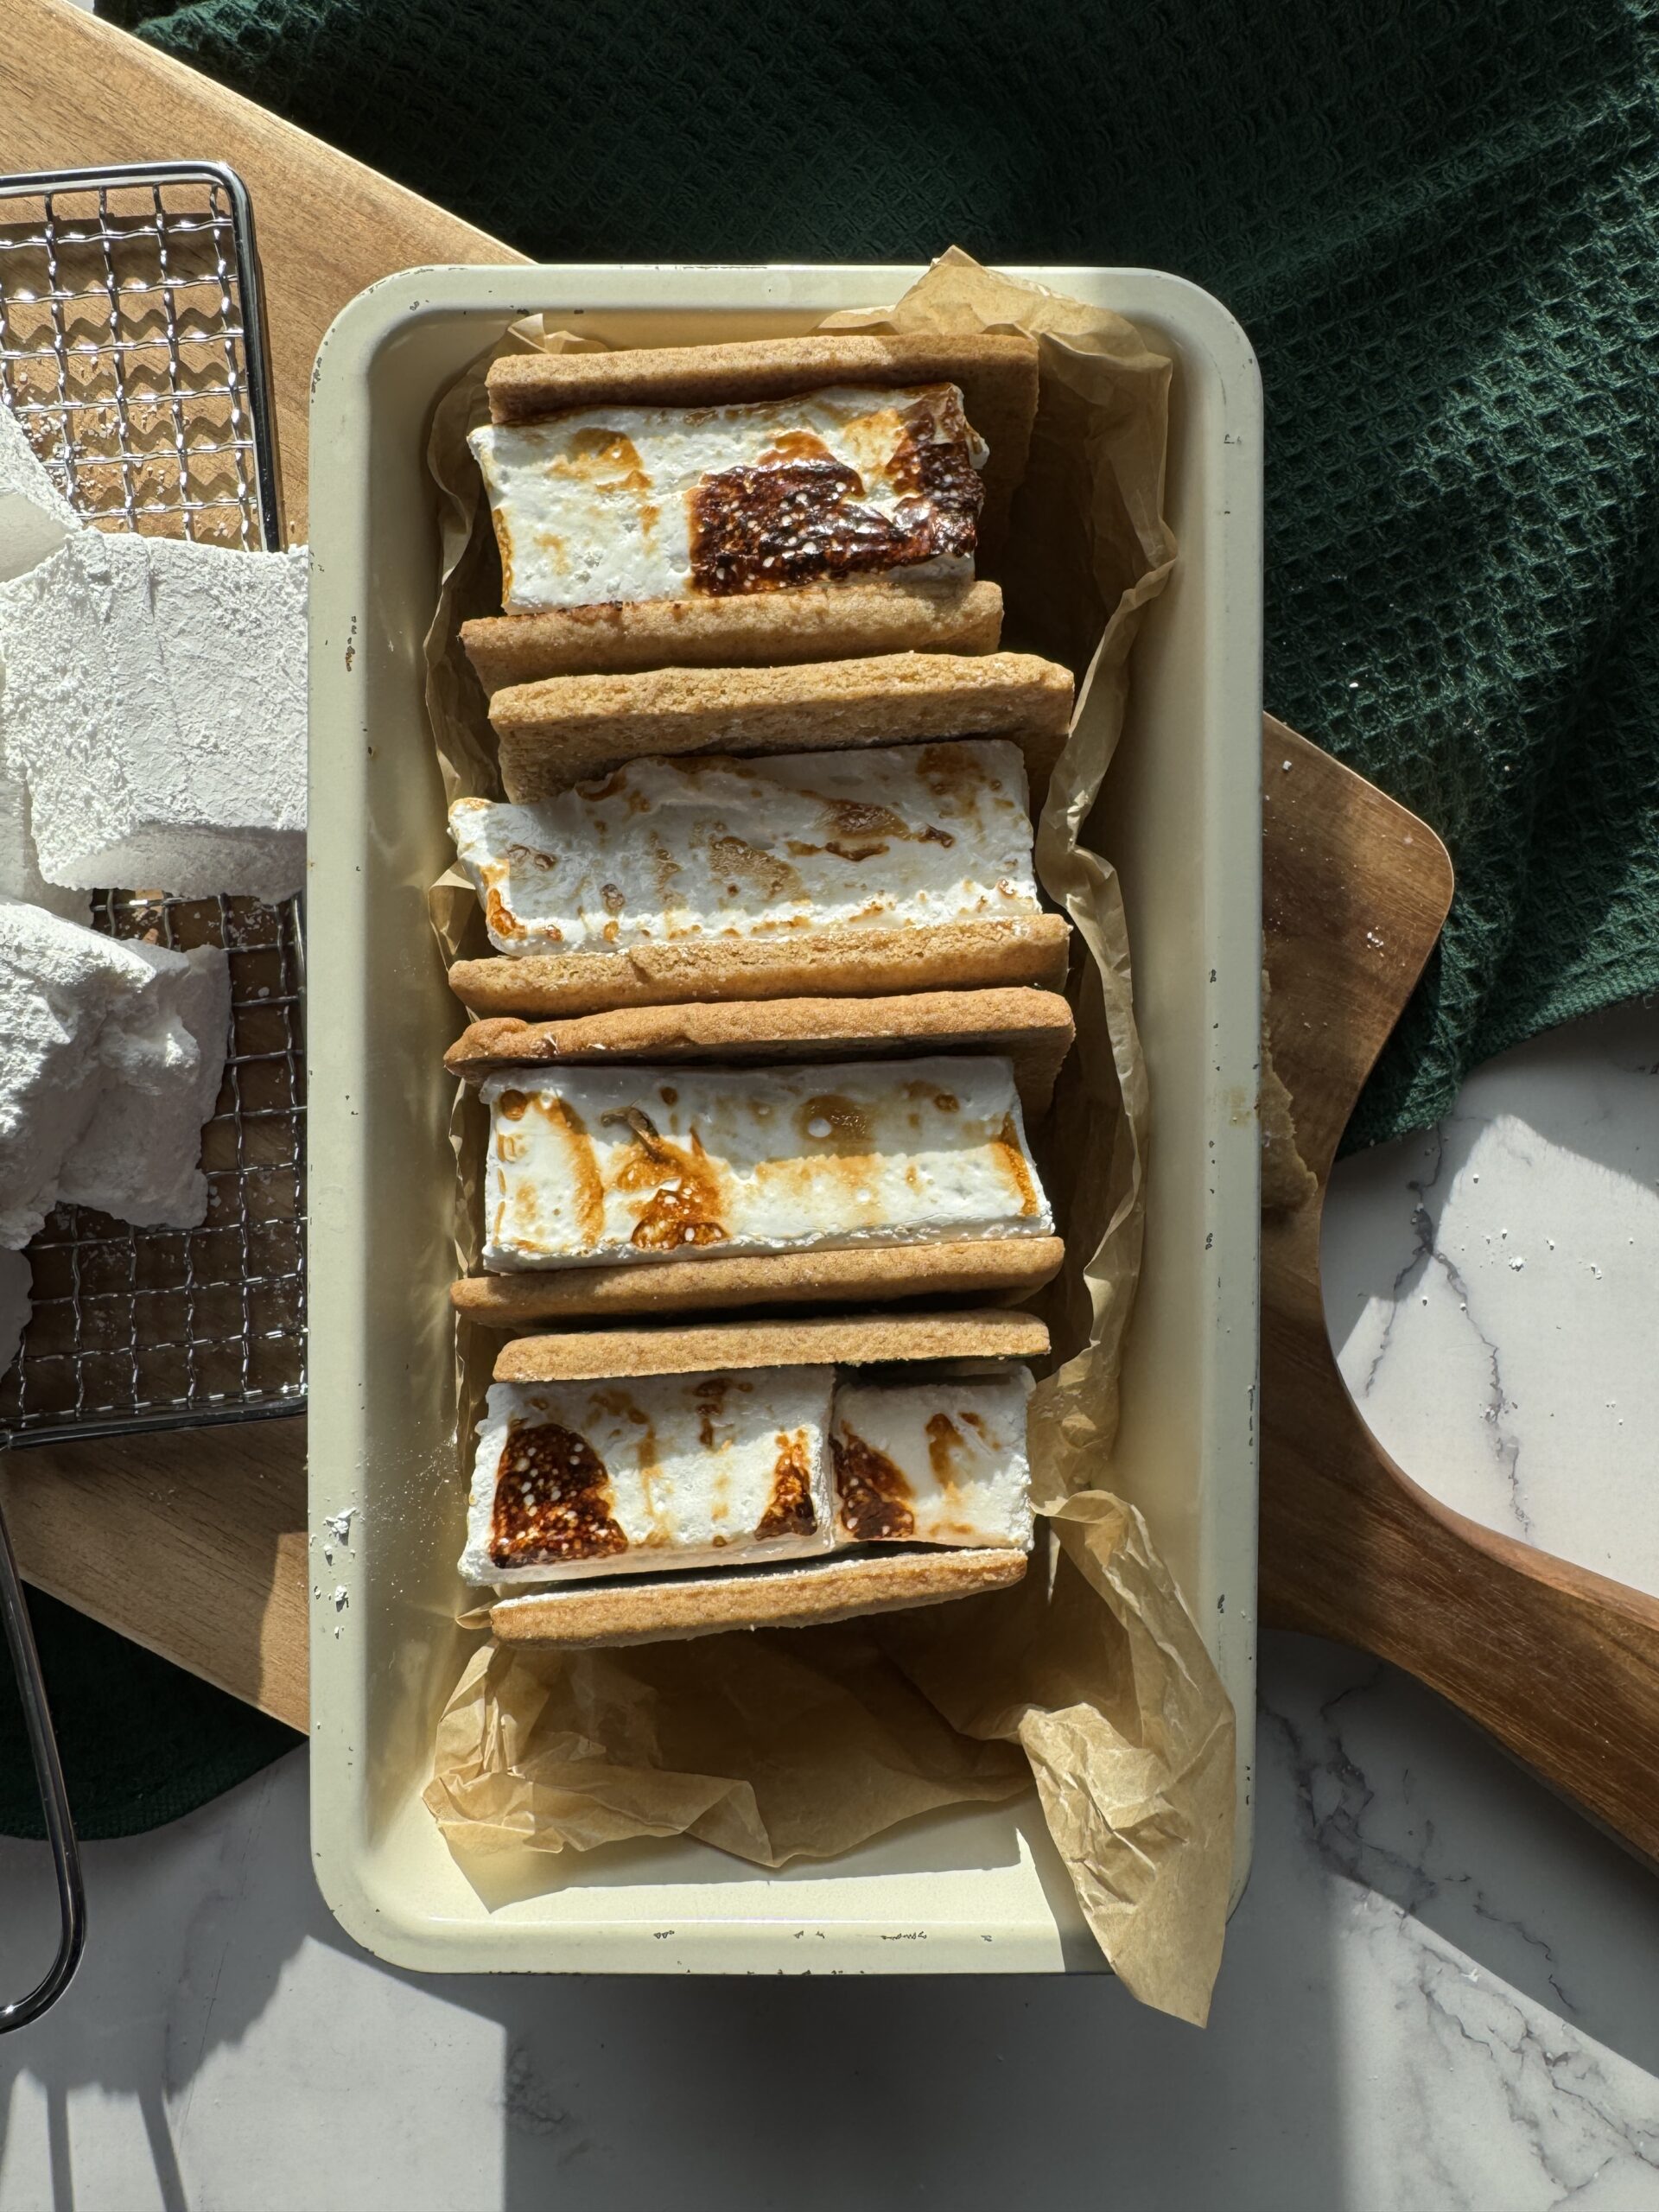
Homemade Marshmallows are made with four simple ingredients that instantly upgrade your hot cocoa.

Ingredients

  • Water – cold water to help bloom the gelatin and for boiling sugar. 
  • Gelatin – powdered gelatin is best. I like to use a grass fed gelatin, but the packets of gelatin from the baking section work also!
  • Granulated Sugar – I also have a maple marshmallow recipe if you prefer to use maple syrup. 
  • Vanilla – I used vanilla extract, but you can also use vanilla bean paste or real vanilla beans. 
  • Powdered Sugar – used to dust the marshmallows to prevent sticking. You can also use corn starch or arrowroot powder.

How to Make Homemade Marshmallows

  • You will want to have everything prepped and ready to go ahead of time. Once the marshmallows are ready to pour you need to work fast as everything starts to set up quick. Make sure to have whisk attachment ready for your stand mixer or hand mixer as well.
  • Line a 9×13 pan with parchment paper. Set aside for later.
  • Soak the gelatin in 1/2 cup of cold water in the bowl of a stand mixer or large bowl with your whisk attachment ready.
  • In a large saucepan dissolve the sugar in 1 1/2 C of water over low heat, stirring constantly.
  • Raise the temperature and bring to a boil – once it comes to a boil don’t stir anymore.
  • Boil steadily until the mixture hits 240. It should take 7-15 mins.
  • Remove from the heat and pour into bowl with gelatin. Begin whisking and add in your vanilla extract. Continue whisking until mixture has tripled in size, the bowl is cool to the touch, and when the whisk is removed the drizzle holds its shape in the bowl.
  • Pour mixture into your prepared pan and let set completely – about 2 hours.
  • Remove marshmallows from the pan and sprinkle with additional powdered sugar. This helps your knife from sticking too much when cutting.
  • Cut marshmallows into desired size with a sharp knife. Dipping each marshmallow in powdered sugar to prevent them all from sticking to each other.
  • Store in an air tight container for up to 2 weeks.

Perfect Matches for your Marshmallows

  • Bone Broth Hot Chocolate
  • Homemade Graham Crackers 

Share Your Experience

I would love to hear about your experience making and enjoying my Homemade Marshmallows! Feel free to tag me on Instagram or leave a review below. Your feedback helps me improve our recipes and provides inspiration to fellow home cooks.

Save this recipe for later by simply using the pin button on the recipe card or any of the photos above. Happy cooking!

Homemade Marshmallows

No ratings yet
Print Recipe Pin Recipe
Prep Time:15 minutes mins
Cook Time:30 minutes mins
Resting Time:2 hours hrs
Course: Dessert
Servings: 20

Equipment

  • 1 Stand Mixer or Hand Mixer
  • 1 Candy Thermometer

Ingredients

  • 3 tbsp gelatin powder
  • 2 cups water
  • 2 tsp vanilla extract
  • 3 cups granulated sugar
  • powdered sugar for dusting

Instructions

  • You will want to have everything prepped and ready to go ahead of time. Once the marshmallows are ready to pour you need to work fast as everything starts to set up quick. Make sure to have whisk attachment ready for your stand mixer or hand mixer as well.
  • Line a 9×13 pan with parchment paper. Set aside for later.
  • Soak the gelatin in 1/2 cup of cold water in the bowl of a stand mixer or large bowl with your whisk attachment ready.
  • In a large saucepan dissolve the sugar in 1 1/2 C of water over low heat, stirring constantly.
  • Raise the temperature and bring to a boil – once it comes to a boil don’t stir anymore.
  • Boil steadily until the mixture hits 240. It should take 7-15 mins.
  • Remove from the heat and pour into bowl with gelatin. Begin whisking and add in your vanilla extract. Continue whisking until mixture has tripled in size, the bowl is cool to the touch, and when the whisk is removed the drizzle holds its shape in the bowl.
  • Pour mixture into your prepared pan and let set completely – about 2 hours.
  • Remove marshmallows from the pan and sprinkle with additional powdered sugar. This helps your knife from sticking too much when cutting.
  • Cut marshmallows into desired size with a sharp knife. Dipping each marshmallow in powdered sugar to prevent them all from sticking to each other.
  • Store in an air tight container for up to 2 weeks.

Share this:

  • Share on X (Opens in new window) X
  • Share on Facebook (Opens in new window) Facebook
  • Share on Pinterest (Opens in new window) Pinterest

Like this:

Like Loading…
FacebookTweetPin

By: Kayla · In: Dessert, Recipes

About Kayla

Hi! I'm Kayla. I'm here to help inspire busy moms to get back in the kitchen and feel beautiful along the way! I'm married to my high school sweetheart and live on a farm with our two busy boys.

you’ll also love

Baked Potato Soup
Creamy Chicken, Bacon and Corn Pasta
The Best Homemade Brioche Bread

Reader Interactions

Leave a ReplyCancel reply

Next Post >

Garlic Butter Chicken Skillet on the Blackstone

Primary Sidebar

Meet Kayla

Meet Kayla
hello!

LIVING OURFARM(LIFE)STYLE WHERE WE ​JUGGLE THE CHAOS OF MOTHERHOOD ONE ​KITCHEN ADVENTURE AT A TIME!

Read More

Connect

join the list

Categories

  • Blog
  • Recipes

Follow Along

@thefarmstyle


Comment GRILL for both the recipes! Grill girl su
Comment GRILL for both the recipes!

Grill girl summer is officially underway 🔥☀️

Turns out grilling is a whole lot less intimidating when you realize it’s basically just an outdoor oven with better flavor. Thanks @traegergrills. 

Tri-tip for dinner, mixed berry cobbler for dessert, and not heating up the kitchen in the process? That feels like a win to me.

Also, respectfully, we are no longer leaving the grilling to the boys this summer. 

#grillgirlsummer #girlswhogrill


Comment CAKE for all the recipe details. This on
Comment CAKE for all the recipe details. 

This one is for those who don’t really like cake. 

Homemade fresh mint chip ice cream, a fudgy cookie layer, and cookies & cream ice cream all stacked into one very perfect ice cream cake. 

One of my favorite things about making desserts from scratch is getting to create flavor combinations you can’t always find at the store.

And honestly, that’s the fun of homemade, making exactly what you wish existed.

#icecreamcake #homemadeicecream #thefarmstyle


Comment CHOCOLATE for all the recipe details. Ch
Comment CHOCOLATE for all the recipe details. 

Chocolate in every possible form 🍫

Save this for your next baking day, because narrowing it down to just one is not happening.

Which are you making first?


POV: An almond croissant and a latte had a baby an
POV: An almond croissant and a latte had a baby and it resulted in your new coffee obsession. 

INGREDIENTS
2 tsp butter
2 tsp brown sugar
1/2 tsp vanilla bean paste 
1/8 tsp almond extract 
2 shots espresso
8 oz milk

INSTRUCTIONS
Add butter, brown sugar, vanilla bean paste, and almond extract to a small cup. Brew your espresso over top and mix to full dissolve the sugar. 

FOR AN ICED LATTE: Add ice to a 16 oz cup, then milk, and top with espresso mixture. Mix and enjoy. 

FOR A HOT LATTE: steam milk to desired temperature and pour over espresso mixture.


Comment ICE CREAM for all the details. 20 minute
Comment ICE CREAM for all the details. 

20 minute homemade ice cream?! This is going to be the best summer ever! 

Watch me creating every flavor combo of my dreams this summer. 

What should I try first? 

@instantpotofficial #homemadeicream #icecreamlover


Comment CHEESECAKE for all the recipe details. O
Comment CHEESECAKE for all the recipe details. 

One of my favorite things about making things homemade is getting to create something you wish existed in the world.

I wanted the nostalgic crunch of those strawberry cheesecake ice cream bars… but with raspberry and an actual cheesecake twist. So naturally I had to make it happen. 

And honestly? This might be one of those recipes that makes you stop after the first bite and think, where has this been my whole life?

Sweet, creamy, crunchy, raspberry perfection.

Would you try raspberry over strawberry? 👇


Footer

On the Blog

  • Blog
  • Recipes

Info

  • About
  • Disclosure, Privacy Policy, and Terms

Copyright © 2026 · Theme by 17th Avenue

%d

    Rate This Recipe

    Your vote:


    A rating is required
    A name is required
    An email is required
    We use cookies to ensure that we give you the best experience on our website. If you continue to use this site we will assume that you are happy with it.