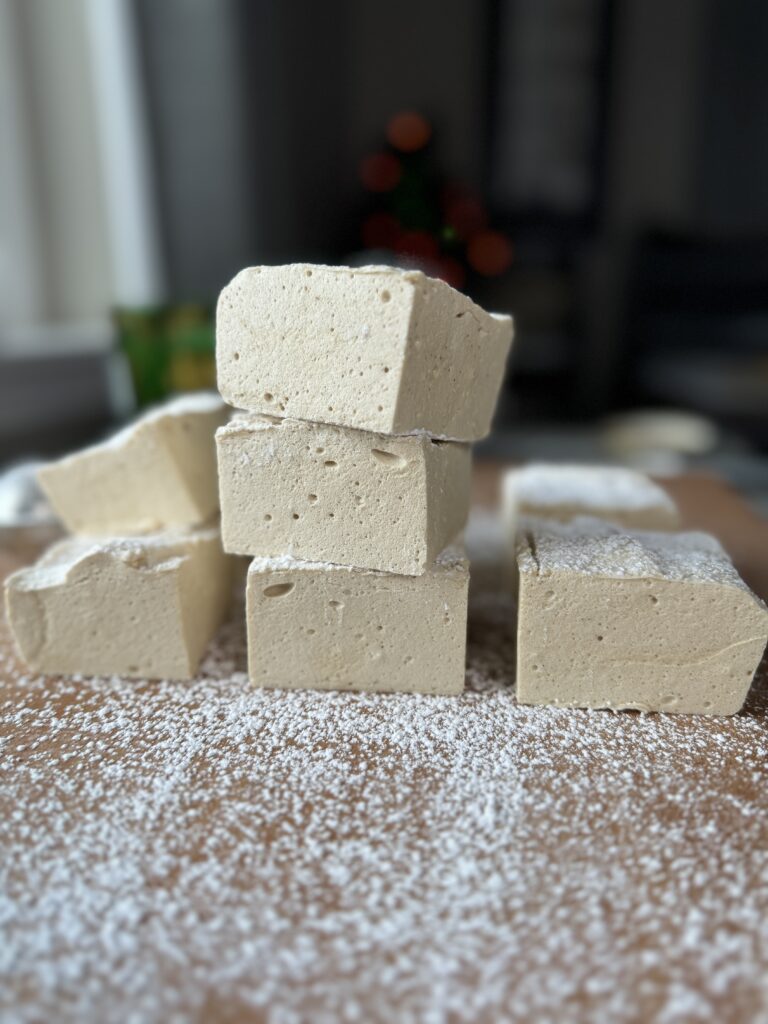
Homemade Maple Marshmallows
These homemade maple marshmallows are made with four simple ingredients and are the perfect addition to your hot chocolate or s'mores.

This post contains affiliate links. I earn a small commission when you choose to use them, which I really appreciate!
Maple Marshmallows are easy to make and taste delish. The marshmallows melt into a frothy and fluffy topping for your hot chocolate and char up nicely for your s'mores. Plus the maple syrup is a healthier alternative to the corn syrup in store bought versions.
Ingredients
- Water - cold water to help bloom the gelatin and for boiling maple syrup.
- Gelatin - powdered gelatin is best. I like to use a grass fed gelatin, but the packets of gelatin from the baking section work also!
- Maple Syrup - make sure to use 100% pure maple syrup and not the fake stuff with corn syrup for best results.
- Salt - helps to off set the sweetness.
- Vanilla - I used real vanilla beans, but you can also use vanilla bean paste or vanilla extract.
- Powdered Sugar - used to dust the marshmallows to prevent sticking. You can also use corn starch or arrowroot powder.
How to Make Homemade Marshmallows
- You will want to have everything prepped and ready to go ahead of time. Once the marshmallows are ready to pour you need to work fast as everything starts to set up quick. Make sure to have whisk attachment ready for your stand mixer or hand mixer as well.
- Line an 8"x8" pan with parchment paper ensuring the paper goes up all sides of the pan. Dust with powdered sugar.
- In a large bowl (I use my stand mixer) add ½ cup of cold water with gelatin. Mix to combine and let sit to bloom.
- In a medium saucepan add ½ cup cold water, maple syrup and salt. Mix to combine then place over medium heat until the mixture comes to a boil. DO NOT STIR after this point as that will encourage crystallization.
- Allow mixture to boil until it reaches 240F-245F, this takes 15-20 minutes so be patient. Keep an eye on the mixture during this time as it can quickly boil over and cause a mess.
- Quickly pout the mixture in the same bowl as the gelatin and begin to whisk.
- Once everything starts to come together add in your vanilla extract or vanilla beans.
- Continue whisking until mixture has tripled in size, the bowl is cool to the touch, and when the whisk is removed the drizzle holds its shape in the bowl.
- Quickly pour mixture into prepared pan. You have about 30 seconds before everything sets up too much.
- Allow marshmallows to set up completely (about 4 hours).
- Remove marshmallows from the pan and sprinkle with additional powdered sugar. This helps your knife from sticking too much when cutting.
- Cut marshmallows into desired size with a sharp knife. Dipping each marshmallow in additional powdered sugar to prevent them all from sticking to each other.
- Store in an air tight container for up to 2 weeks.

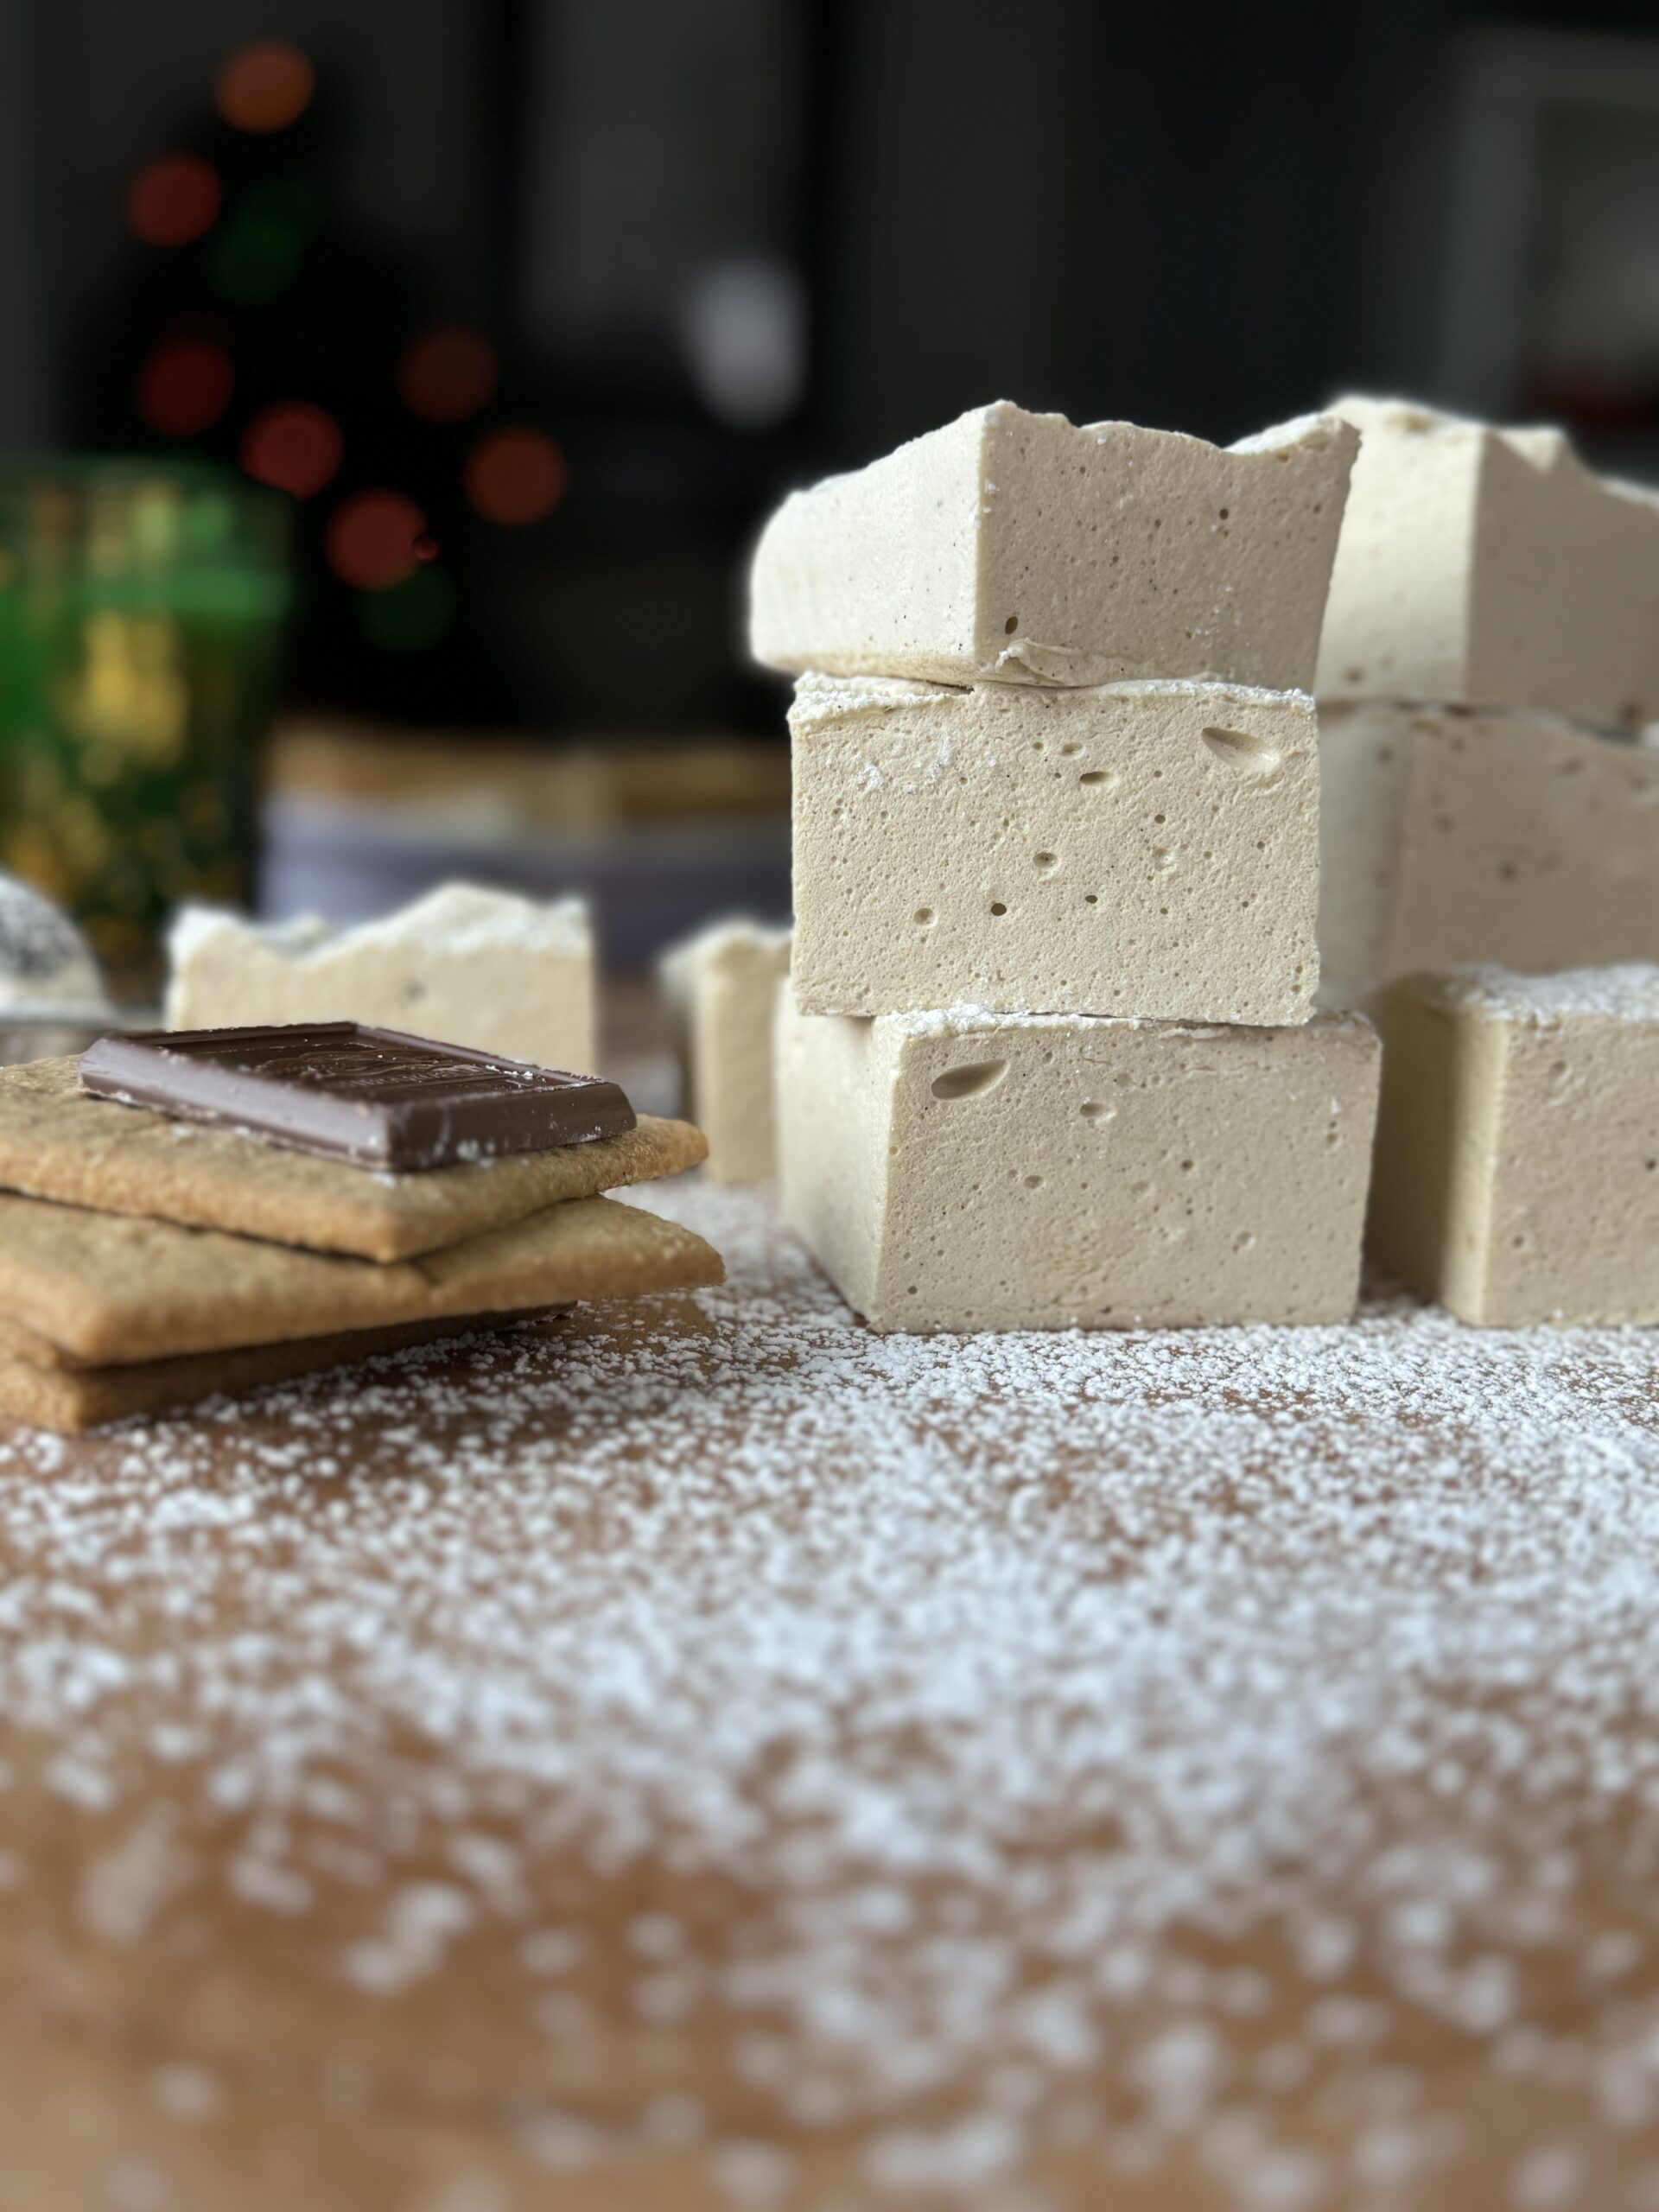
Perfect Matches for your Marshmallows
Share Your Experience
I would love to hear about your experience making and enjoying my Homemade Maple Marshmallows! Feel free to tag me on Instagram or leave a review below. Your feedback helps me improve our recipes and provides inspiration to fellow home cooks.
Save this recipe for later by simply using the pin button on the recipe card or any of the photos above. Happy cooking!
📖 Recipe
Homemade Maple Marshmallows
These homemade maple marshmallows are made with four simple ingredients and are the perfect addition to your hot chocolate or s'mores.
Ingredients
Instructions
- You will want to have everything prepped and ready to go ahead of time. Once the marshmallows are ready to pour you need to work fast as everything starts to set up quick. Make sure to have whisk attachment ready for your stand mixer or hand mixer as well.
- Line an 8"x8" pan with parchment paper ensuring the paper goes up all sides of the pan. Dust with powdered sugar.
- In a large bowl (I use my stand mixer) add ½ cup of cold water with gelatin. Mix to combine and let sit to bloom.
- In a medium saucepan add ½ cup cold water, maple syrup and salt. Mix to combine then place over medium heat until the mixture comes to a boil. DO NOT STIR after this point as that will encourage crystallization.
- Allow mixture to boil until it reaches 240F-245F, this takes 15-20 minutes so be patient. Keep an eye on the mixture during this time as it can quickly boil over and cause a mess.
- Quickly pout the mixture in the same bowl as the gelatin and begin to whisk.
- Once everything starts to come together add in your vanilla extract or vanilla beans.
- Continue whisking until mixture has tripled in size, the bowl is cool to the touch, and when the whisk is removed the drizzle holds its shape in the bowl.
- Quickly pour mixture into prepared pan. You have about 30 seconds before everything sets up too much.
- Allow marshmallows to set up completely (about 4 hours).
- Remove marshmallows from the pan and sprinkle with additional powdered sugar. This helps your knife from sticking too much when cutting.
- Cut marshmallows into desired size with a sharp knife. Dipping each marshmallow in additional powdered sugar to prevent them all from sticking to each other.
- Store in an air tight container for up to 2 weeks.


Turns out perfect every time! My family goes through a batch very quickly.
I’m sorry but these are the worst marshmallows I’ve ever made. I thought they’d turned out fine but they got super soggy even though I followed the recipe exactly and coated them properly. IT’s expensive to waste over a cup of maple syrup. Would not recommend!!
Are you sure that you allowed your syrup to come to the proper temperature? Did the marshmallows end up setting and then get goopy?
These come out beautifully every time! I also love to swap the vanilla extract for vanilla bean paste. Our family loves them and we enjoy them regularly!
Yay! This makes me so happy! I love to add in some almond extract also.