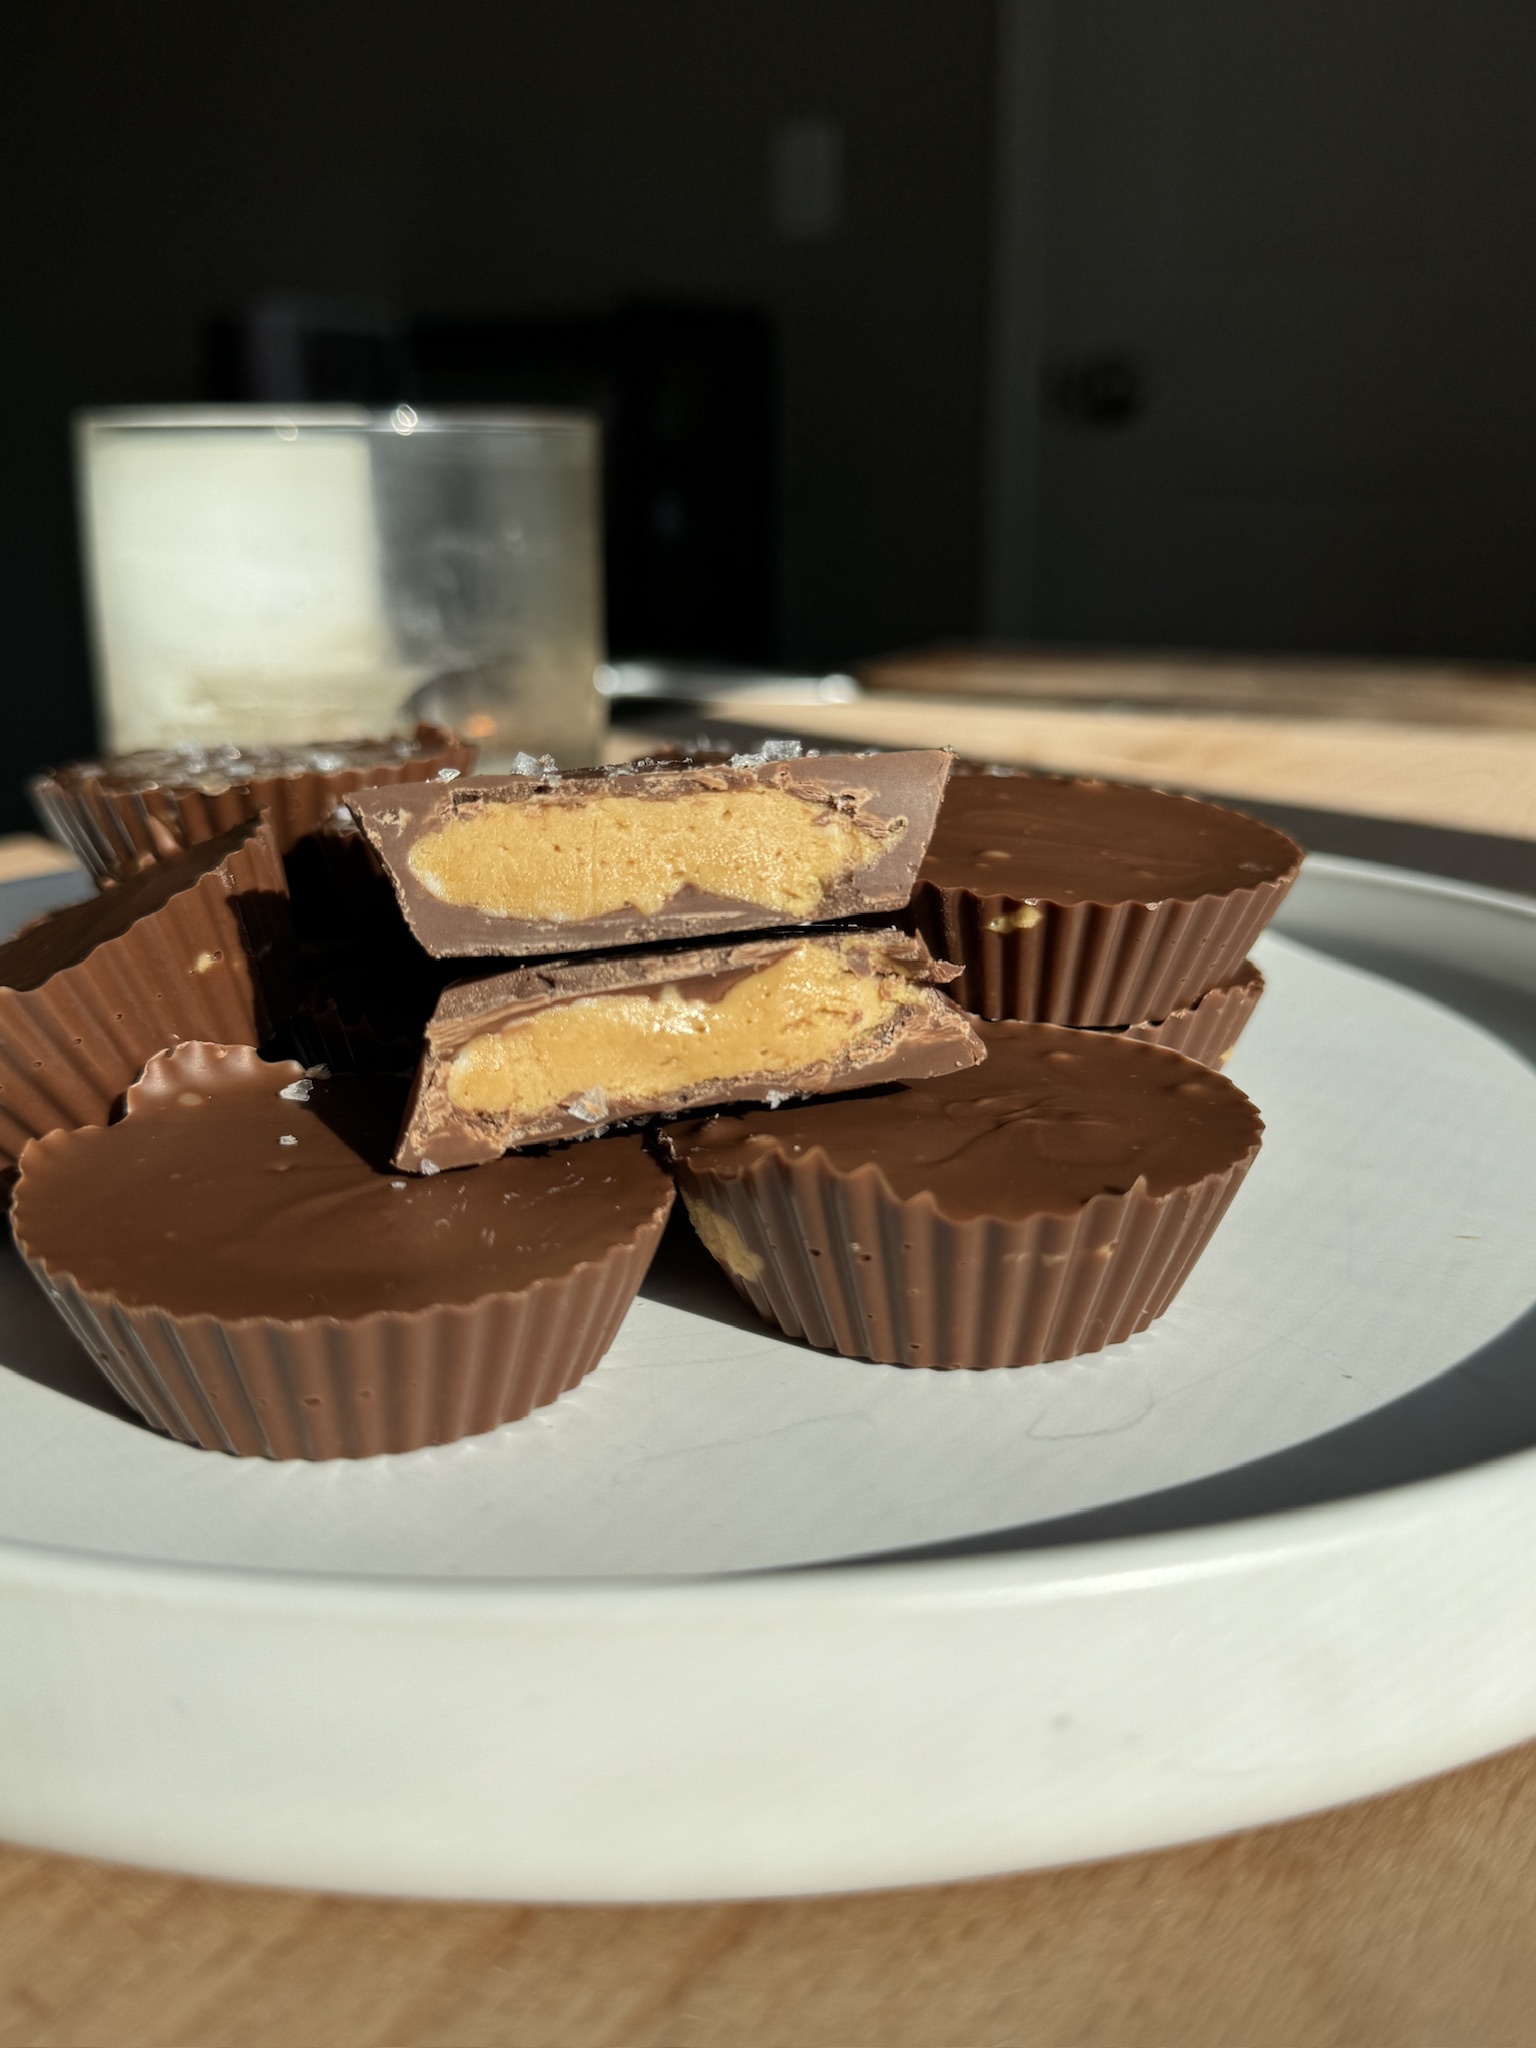
Homemade Peanut Butter Cups
Homemade Peanut Butter Cups are made with four simple ingredients and are so simple to make.

Ingredients
- Chocolate Chips - milk chocolate chips give the most authentic flavor, but love switching it up for dark chocolate
- Coconut Oil - helps to give a smooth consistency to the melted chocolate. It can be skipped, but I prefer the texture.
- Peanut Butter - I prefer to use a peanut butter with just peanuts and salt as the ingredients, but use your favorite brand.
- Powdered Sugar - gives the perfect texture for the interior of the peanut butter cups
How to make homemade peanut butter cups
- Line 12 muffin tins with liners, set aside.
- In a small bowl combine peanut butter and powdered sugar. Mix to combine and set aside for later.
- In a small bowl add chocolate chips and coconut oil. Microwave in 20 second increments mixing between each increment until chocolate is completely melted.
- Add 1 tablespoon melted chocolate into the bottom of each muffin tin, top with 1 tablespoon of peanut butter mixture, and then finish with another 1 tablespoon of melted chocolate.
- Tap your muffin tin to level out the chocolate. Set aside to allow the chocolate to harden, you can also put into the refrigerator to speed up the process.

Share Your Experience
I would love to hear about your experience making and enjoying my Homemade Peanut Butter Cups! Feel free to tag me on Instagram or leave a review below. Your feedback helps me improve our recipes and provides inspiration to fellow home cooks.
Save this recipe for later by simply using the pin button on the recipe card or any of the photos above. Happy cooking!
📖 Recipe
Homemade Peanut Butter Cup
Homemade Peanut Butter Cups are made with four simple ingredients and are so simple to make.
Ingredients
Instructions
- Line 12 muffin tins with liners, set aside.
- In a small bowl combine peanut butter and powdered sugar. Mix to combine and set aside for later.
- In a small bowl add chocolate chips and coconut oil. Microwave in 20 second increments mixing between each increment until chocolate is completely melted.
- Add 1 tablespoon melted chocolate into the bottom of each muffin tin, top with 1 tablespoon of peanut butter mixture, and then finish with another 1 tablespoon of melted chocolate. Sprinkle with flakey salt if using.
- Tap your muffin tin to level out the chocolate. Set aside to allow the chocolate to harden, you can also put into the refrigerator to speed up the process.


