Homemade Pretzel Buns
These Homemade Pretzel Buns are soft, chewy, and perfect for burgers, sandwiches, or sliders. Learn how to make easy bakery-style pretzel buns from scratch with a classic baking soda bath.
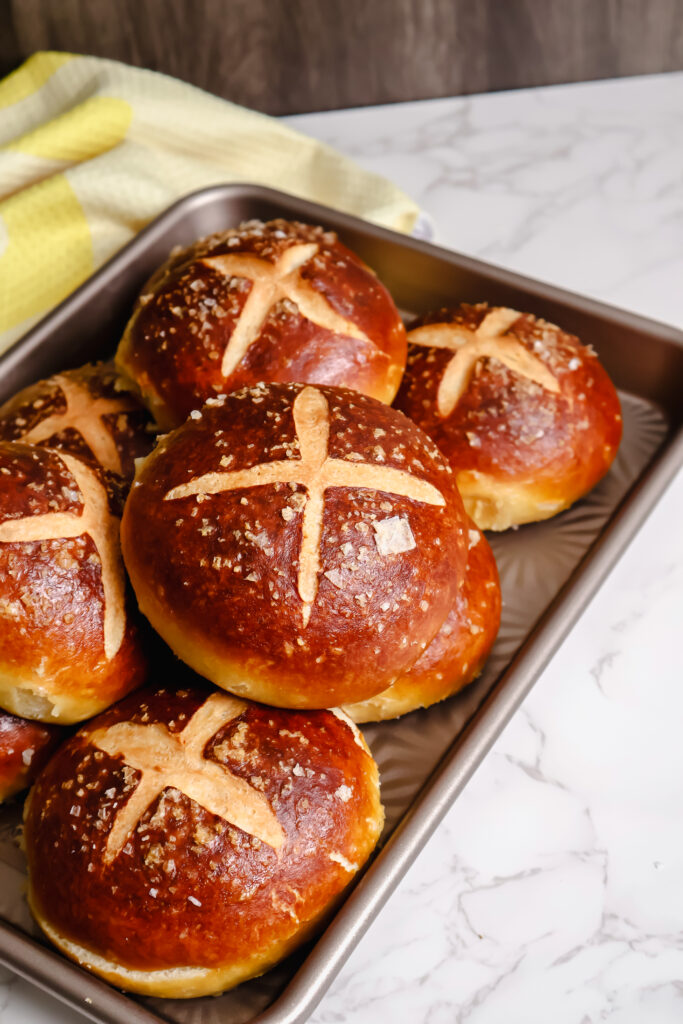
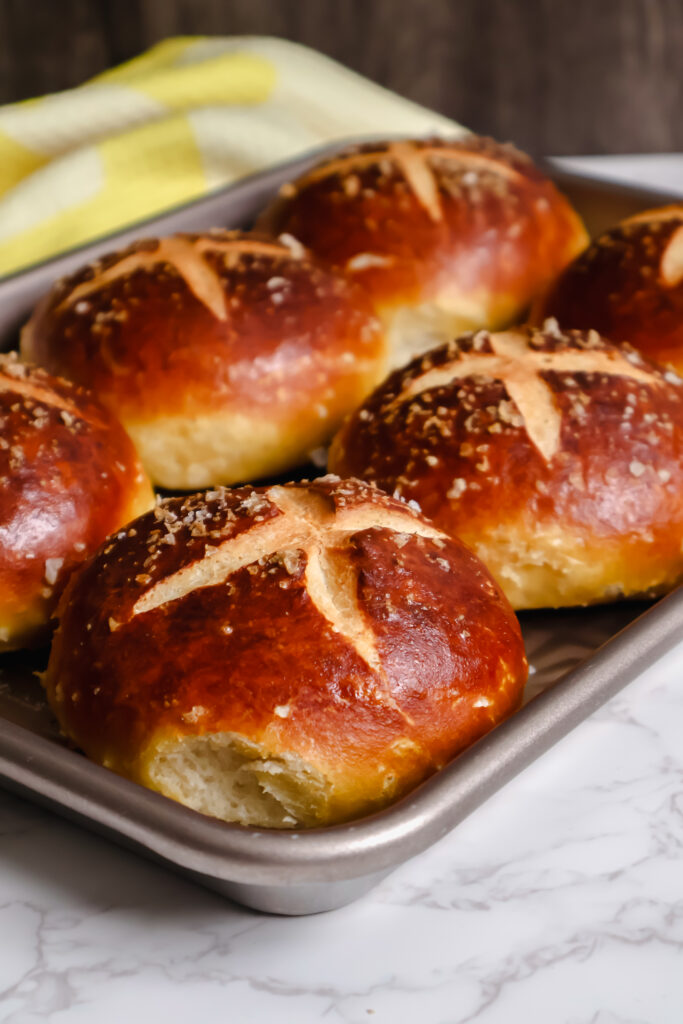
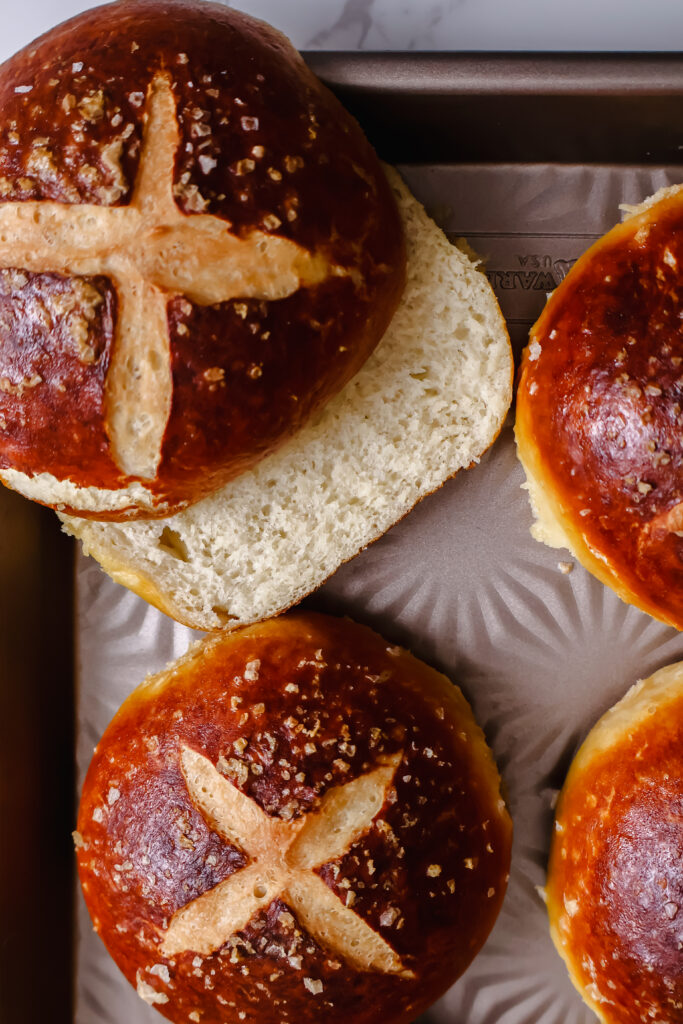
If you've ever wanted to level up burger night, these Homemade Pretzel Buns are the answer. Soft and fluffy on the inside with that signature chewy, golden-brown pretzel crust on the outside, these buns bring bakery-style flavor right to your kitchen.
They combine everything you love about a classic soft pretzel with the shape and sturdiness of a burger bun, making them perfect for smash burgers, sandwiches, pulled pork, chicken sandwiches, or sliders. The baking soda bath gives them that unmistakable pretzel flavor and beautiful deep color, while a sprinkle of coarse salt finishes them off just right.
If you've never made pretzel buns from scratch before, don't worry. This recipe is surprisingly simple and absolutely worth it.
Why You'll Love These Homemade Pretzel Buns
- Soft, fluffy interior with a chewy pretzel crust
- Perfect for burgers, sandwiches, and sliders
- Great for meal prep and freezing
- Bakery-style buns made at home
- A fun way to elevate any sandwich
What Makes a Pretzel Bun Different?
What sets a pretzel bun apart from a standard bread bun is the baking soda bath before baking. This step changes the exterior of the dough, helping create:
- A darker golden-brown crust
- A slightly chewy texture
- That classic pretzel flavor
This technique is what gives pretzel buns their signature look and taste.
Ingredient Breakdown
Dough Ingredients
- Warm Water - Activates the yeast and helps bring the dough together.
- Brown Sugar - Adds a touch of sweetness and helps feed the yeast. You can substitute with granulated sugar or honey.
- Yeast - Helps the dough rise and creates a soft, fluffy texture.
- Butter - Adds richness and flavor to the dough.
- Salt - Balances the flavor and strengthens the dough.
- All-Purpose Flour - Provides structure while still keeping the buns soft. Bread flour can also be used for a slightly chewier texture.
For the Pretzel Finish
- Baking Soda - Essential for the pretzel bath that creates the classic crust and flavor.
- Egg Wash - Helps the buns bake up shiny and deeply golden.
- Coarse Salt - Adds that classic pretzel bun finish and a little crunch.
How to Make Homemade Pretzel Buns
Step 1: Make the Dough
In a large bowl, combine warm water, brown sugar, yeast, and melted butter. Let the mixture sit for about 5 minutes until the yeast becomes foamy.
Add salt and 4½ cups of flour. Mix until a dough forms. Knead using a stand mixer for 3-4 minutes or by hand for 8-10 minutes, adding more flour a little at a time if needed until the dough is soft and slightly tacky but not sticky.
Transfer the dough to a lightly oiled bowl, turning to coat. Cover and let rise for about 1 hour, or until doubled in size.
Step 2: Shape the Buns
Turn the dough out onto a clean surface and divide it into 2-2.5 ounce portions for buns.
Roll each piece into a smooth round ball and place on a lightly floured or parchment-lined surface. Cover and let rest for about 45 minutes.
Step 3: Prepare the Pretzel Bath
Bring a large pot of water to a boil. Carefully add the baking soda slowly, as it will foam up quickly.
Gently press each dough ball slightly to your desired burger bun height.
Working in batches, boil each bun in the baking soda water for about 20-30 seconds, then remove with a slotted spoon.
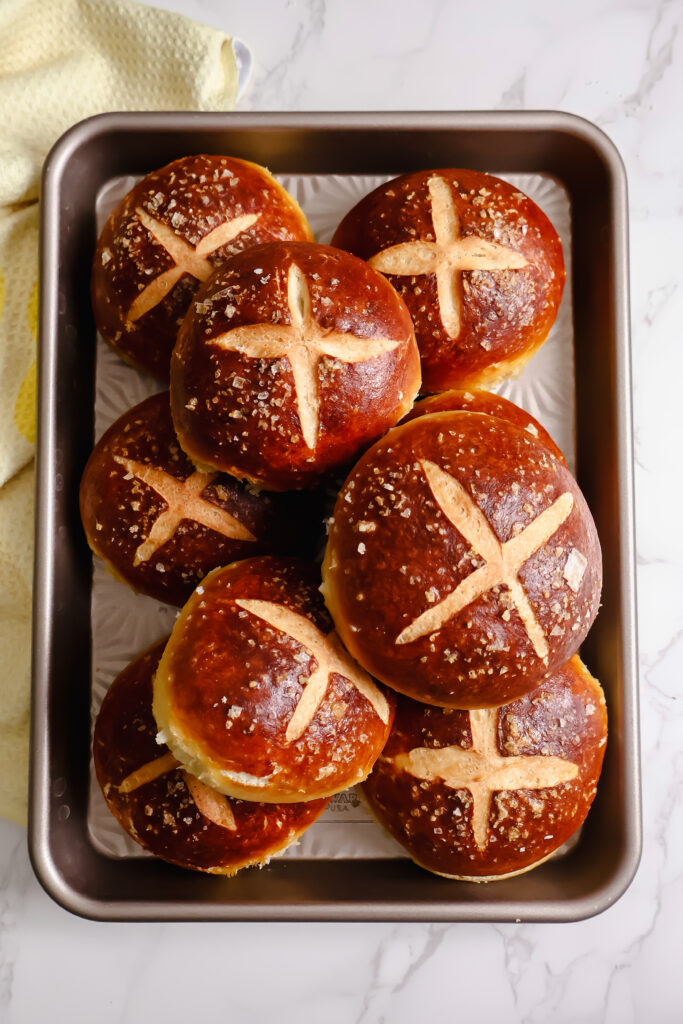
Transfer the buns to a greased or parchment-lined baking sheet, making sure they are not touching.
Step 4: Bake
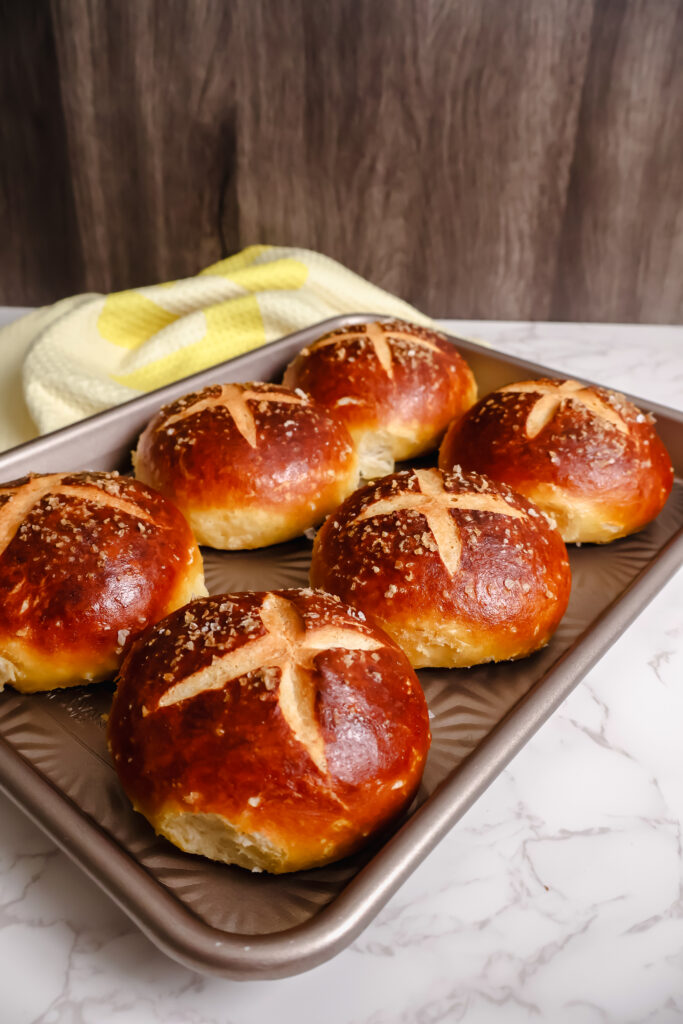
Brush the tops of the buns with beaten egg and sprinkle generously with coarse salt.
Bake at 425°F for 15-18 minutes, or until the buns are deeply golden brown.
Let cool slightly before slicing and serving.
Tips for the Best Pretzel Buns
- Don't skip the baking soda bath, it's what gives the buns their pretzel flavor
- Use warm, not hot, water to activate the yeast properly
- Keep the dough covered while resting so it doesn't dry out
- Press the buns slightly before boiling so they bake in a burger-friendly shape
- Use bread flour if you want a slightly chewier bun
Ways to Use Pretzel Buns
These buns are incredibly versatile and work well for:
- Smash burgers
- Pulled pork sandwiches
- Fried chicken sandwiches
- Turkey burgers
- Ham and cheese sliders
- Breakfast sandwiches
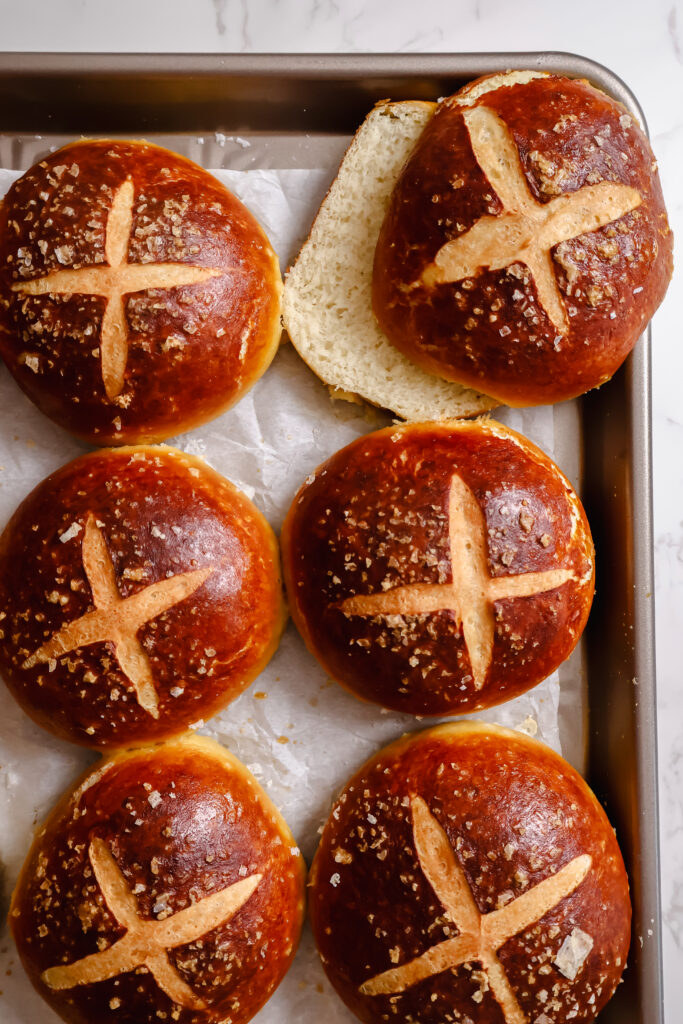
They're sturdy enough to hold juicy fillings without falling apart, which makes them one of the best homemade buns for burgers.
How to Store and Freeze
To Store
Keep cooled pretzel buns in an airtight container or zip-top bag at room temperature for up to 3 days.
To Freeze
Wrap each bun individually and freeze for up to 2 months. Thaw at room temperature and warm in the oven before serving.
Frequently Asked Questions
Can I make pretzel buns ahead of time?
Yes! These buns can be baked a day or two ahead and stored in an airtight container until ready to use.
Can I use bread flour instead of all-purpose flour?
Absolutely. Bread flour will create a slightly chewier texture, which works great for pretzel buns.
Why do you boil pretzel buns before baking?
The baking soda bath is what gives pretzel buns their chewy crust, deep color, and classic pretzel flavor.
Can I make slider pretzel buns instead?
Yes! Simply divide the dough into smaller portions for mini pretzel buns or sliders.
Can I skip the coarse salt?
Yes, but it does add that classic pretzel bun flavor. You can also top them with sesame seeds, everything seasoning, or leave them plain.
Final Thoughts
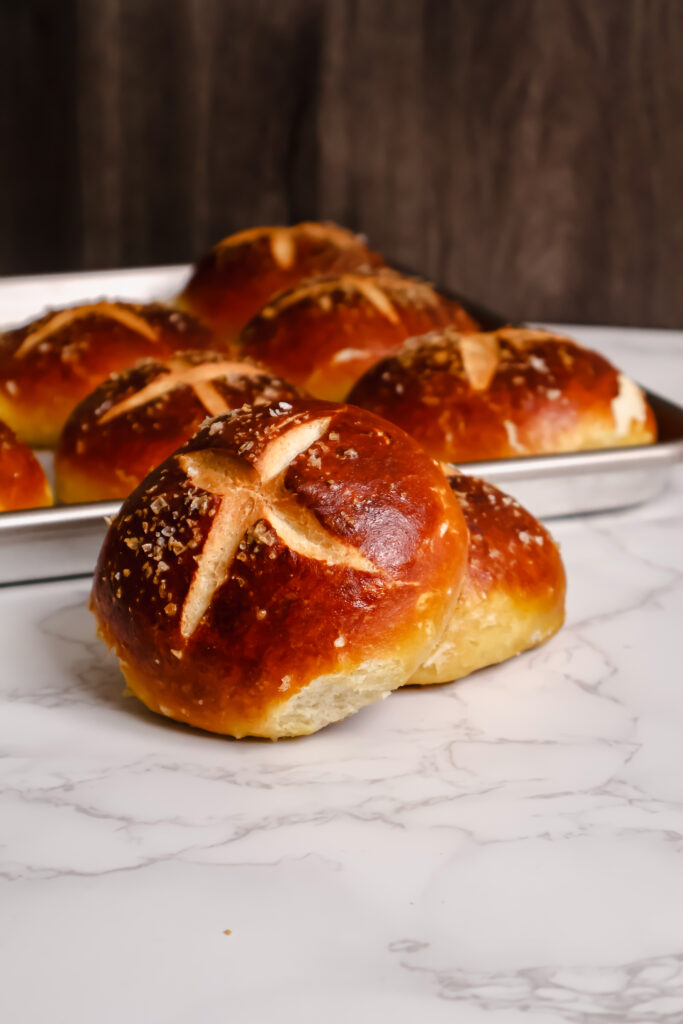
These Homemade Pretzel Buns are one of the best ways to take your burgers and sandwiches to the next level. They're soft, chewy, beautifully golden, and packed with that signature pretzel flavor everyone loves.
Once you try making them from scratch, it's hard to go back to store-bought buns. If you make this recipe, leave a comment and let me know what you used them for, and don't forget to follow along for more homemade bread and comfort food recipes.
📖 Recipe

Homemade Pretzel Buns
Ingredients
Instructions
- Combine water, sugar, yeast, and butter in a large bowl. Let sit for 5 minutes.
- Add the salt and 4 ½ cups flour. Mix until combined. knead using the stand mixer for 3-4 minutes or by hand for 8-10 minutes. add in more flour a little at a time if needed.
- Oil a bowl, add the dough and turn to coat with the oil. Cover and let rise until doubled, about 1 hour.
- Remove the dough from the bowl and place on a flat surface. Divide the dough into 2-2.5 oz pieces, Roll each piece into a round ball. let rest for 45 minutes.
- Bring water to a boil and carefully add the baking soda. It will boil over, so add slowly and be careful!
- Gently press the pretzel buns down to your desired burger bun height and then Boil the pretzel rolls in the water solution in batches. Remove with a large slotted spoon. Place buns on a baking sheet that has been sprayed with cooking spray. Make sure they are not touching.
- Brush the tops with the egg wash and season liberally with the salt. Place bake at 425 F for 15 to 18 minutes until golden brown.


