Homemade Sausage Gravy
Make creamy, savory homemade sausage gravy in under 20 minutes. Perfect over biscuits for breakfast or brunch, with options to freeze for easy meal prep.

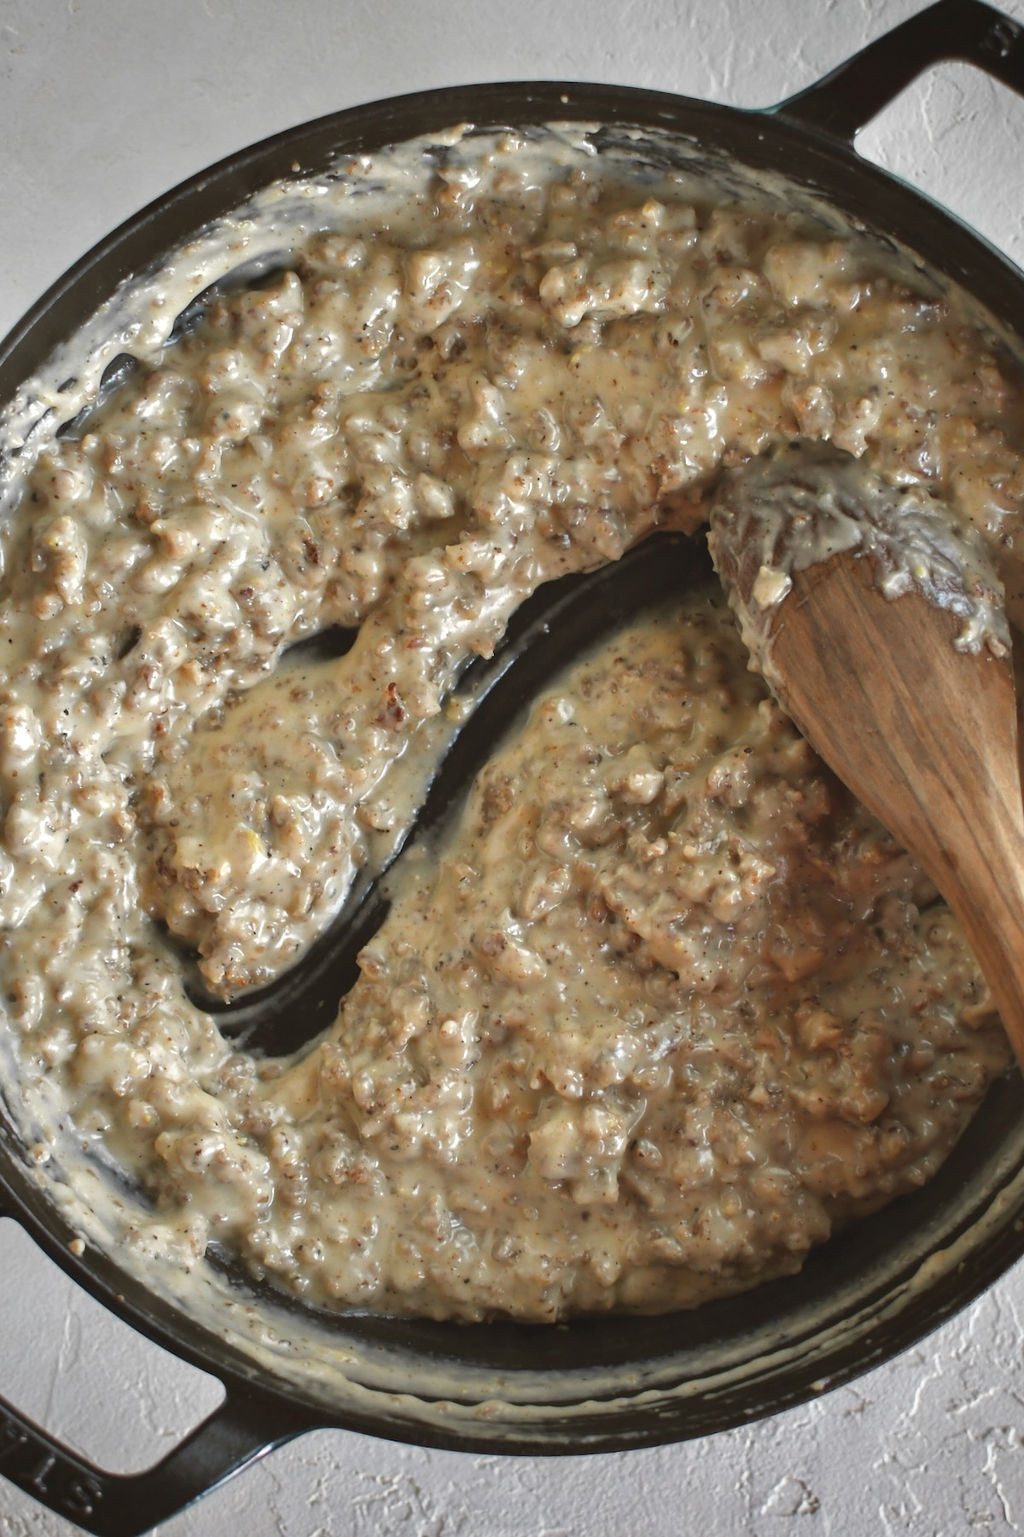
There's nothing quite like homemade sausage gravy over freshly baked biscuits for a classic Southern breakfast. Creamy, savory, and packed with flavor, this gravy is simple to make with just a few ingredients and comes together in under 20 minutes. Perfect for weekend brunches or a comforting breakfast any day of the week!
Why You'll Love This Sausage Gravy
- Rich and Creamy - A luscious gravy made with milk and sausage for the ultimate comfort flavor.
- Quick and Simple - Ready in about 15-20 minutes.
- Customizable - Adjust the spice level, type of sausage, or milk for lighter or richer versions.
- Perfect with Biscuits - Pairs beautifully with freshly baked or frozen biscuits.
Ingredients That Make It Special
- Ground Sausage - Provides the savory base. You can use breakfast sausage, spicy Italian sausage, or turkey sausage for a leaner option.
- Flour - Thickens the gravy. Adding it gradually ensures a smooth consistency.
- Milk - Creates a creamy texture. Whole milk gives the richest flavor, but 2% works fine.
- Roasted Chicken Better than Bouillon - Adds depth and a savory umami boost. Chicken or beef bouillon works, or substitute with chicken stock if preferred.
- Pepper - Enhances the flavors of the sausage and milk. Salt may not be necessary because the sausage and bouillon are already salty.

Step-by-Step Instructions
- Cook the Sausage - In a large skillet over medium heat, cook the ground sausage until fully browned. Break up the meat as it cooks.
- Add the Flour - Sprinkle in flour gradually, stirring to coat the sausage. Cook for about 2 minutes to eliminate the raw flour taste.
- Add Milk and Bouillon - Slowly stir in milk and the roasted chicken bouillon. Simmer gently while stirring until the gravy thickens.
- Adjust Consistency - If too thick, add more milk. If too thin, continue simmering a few more minutes.
- Season - Add freshly cracked black pepper to taste. Serve warm over biscuits.
Variations & Tips
- Spicy Gravy - Use spicy sausage or add a pinch of cayenne pepper.
- Vegetarian Option - Substitute sausage with sautéed mushrooms or plant-based sausage.
- Thicker Gravy - Let simmer longer or add a touch more flour.
- Make-Ahead - Gravy can be cooked ahead and reheated gently on the stove with a splash of milk to loosen.
Freezing Option
- Freeze Fully Cooked Gravy - Let the gravy cool completely, then store in a freezer-safe container for up to 2 months. Thaw overnight in the fridge and reheat gently.
- Freeze in Portions - Freeze individual servings in small containers or freezer bags for easy breakfast prep.
Frequently Asked Questions
Can I make this gravy ahead of time?
Yes! Prepare the gravy fully, store in the fridge, and reheat gently with a splash of milk to loosen it before serving.
Can I freeze sausage gravy?
Absolutely. Cool completely, freeze in containers or portioned freezer bags for up to 2 months. Thaw overnight in the fridge before reheating.
What can I serve it with besides biscuits?
It's also great over toast, waffles, breakfast potatoes, or even mashed potatoes for a savory twist.
Can I use turkey sausage?
Yes! Turkey sausage works for a leaner option, but the gravy may be slightly less rich and flavorful. Adjust seasonings as needed.
How do I get the gravy smooth without lumps?
Gradually add the flour and milk, stirring constantly. Whisking while adding the liquid helps prevent lumps.
Share Your Experience
I would love to hear about your experience making and enjoying my Homemade Gravy! Feel free to tag me on Instagram or leave a review below. Your feedback helps me improve our recipes and provides inspiration to fellow home cooks.
Save this recipe for later by simply using the pin button on the recipe card or any of the photos above. Happy cooking!
📖 Recipe
Homemade Sausage Gravy
Ingredients
Instructions
- In a large skillet cook the sausage.
- Add in flour 1 tablespoon at a time, stir to coat the sausage and cook for about 2 minutes.
- Add in milk boulion and pepper. Simmer until thickened.
- If the gravy is too thick you can add additional milk, or if it is too thin simmer a little longer.


