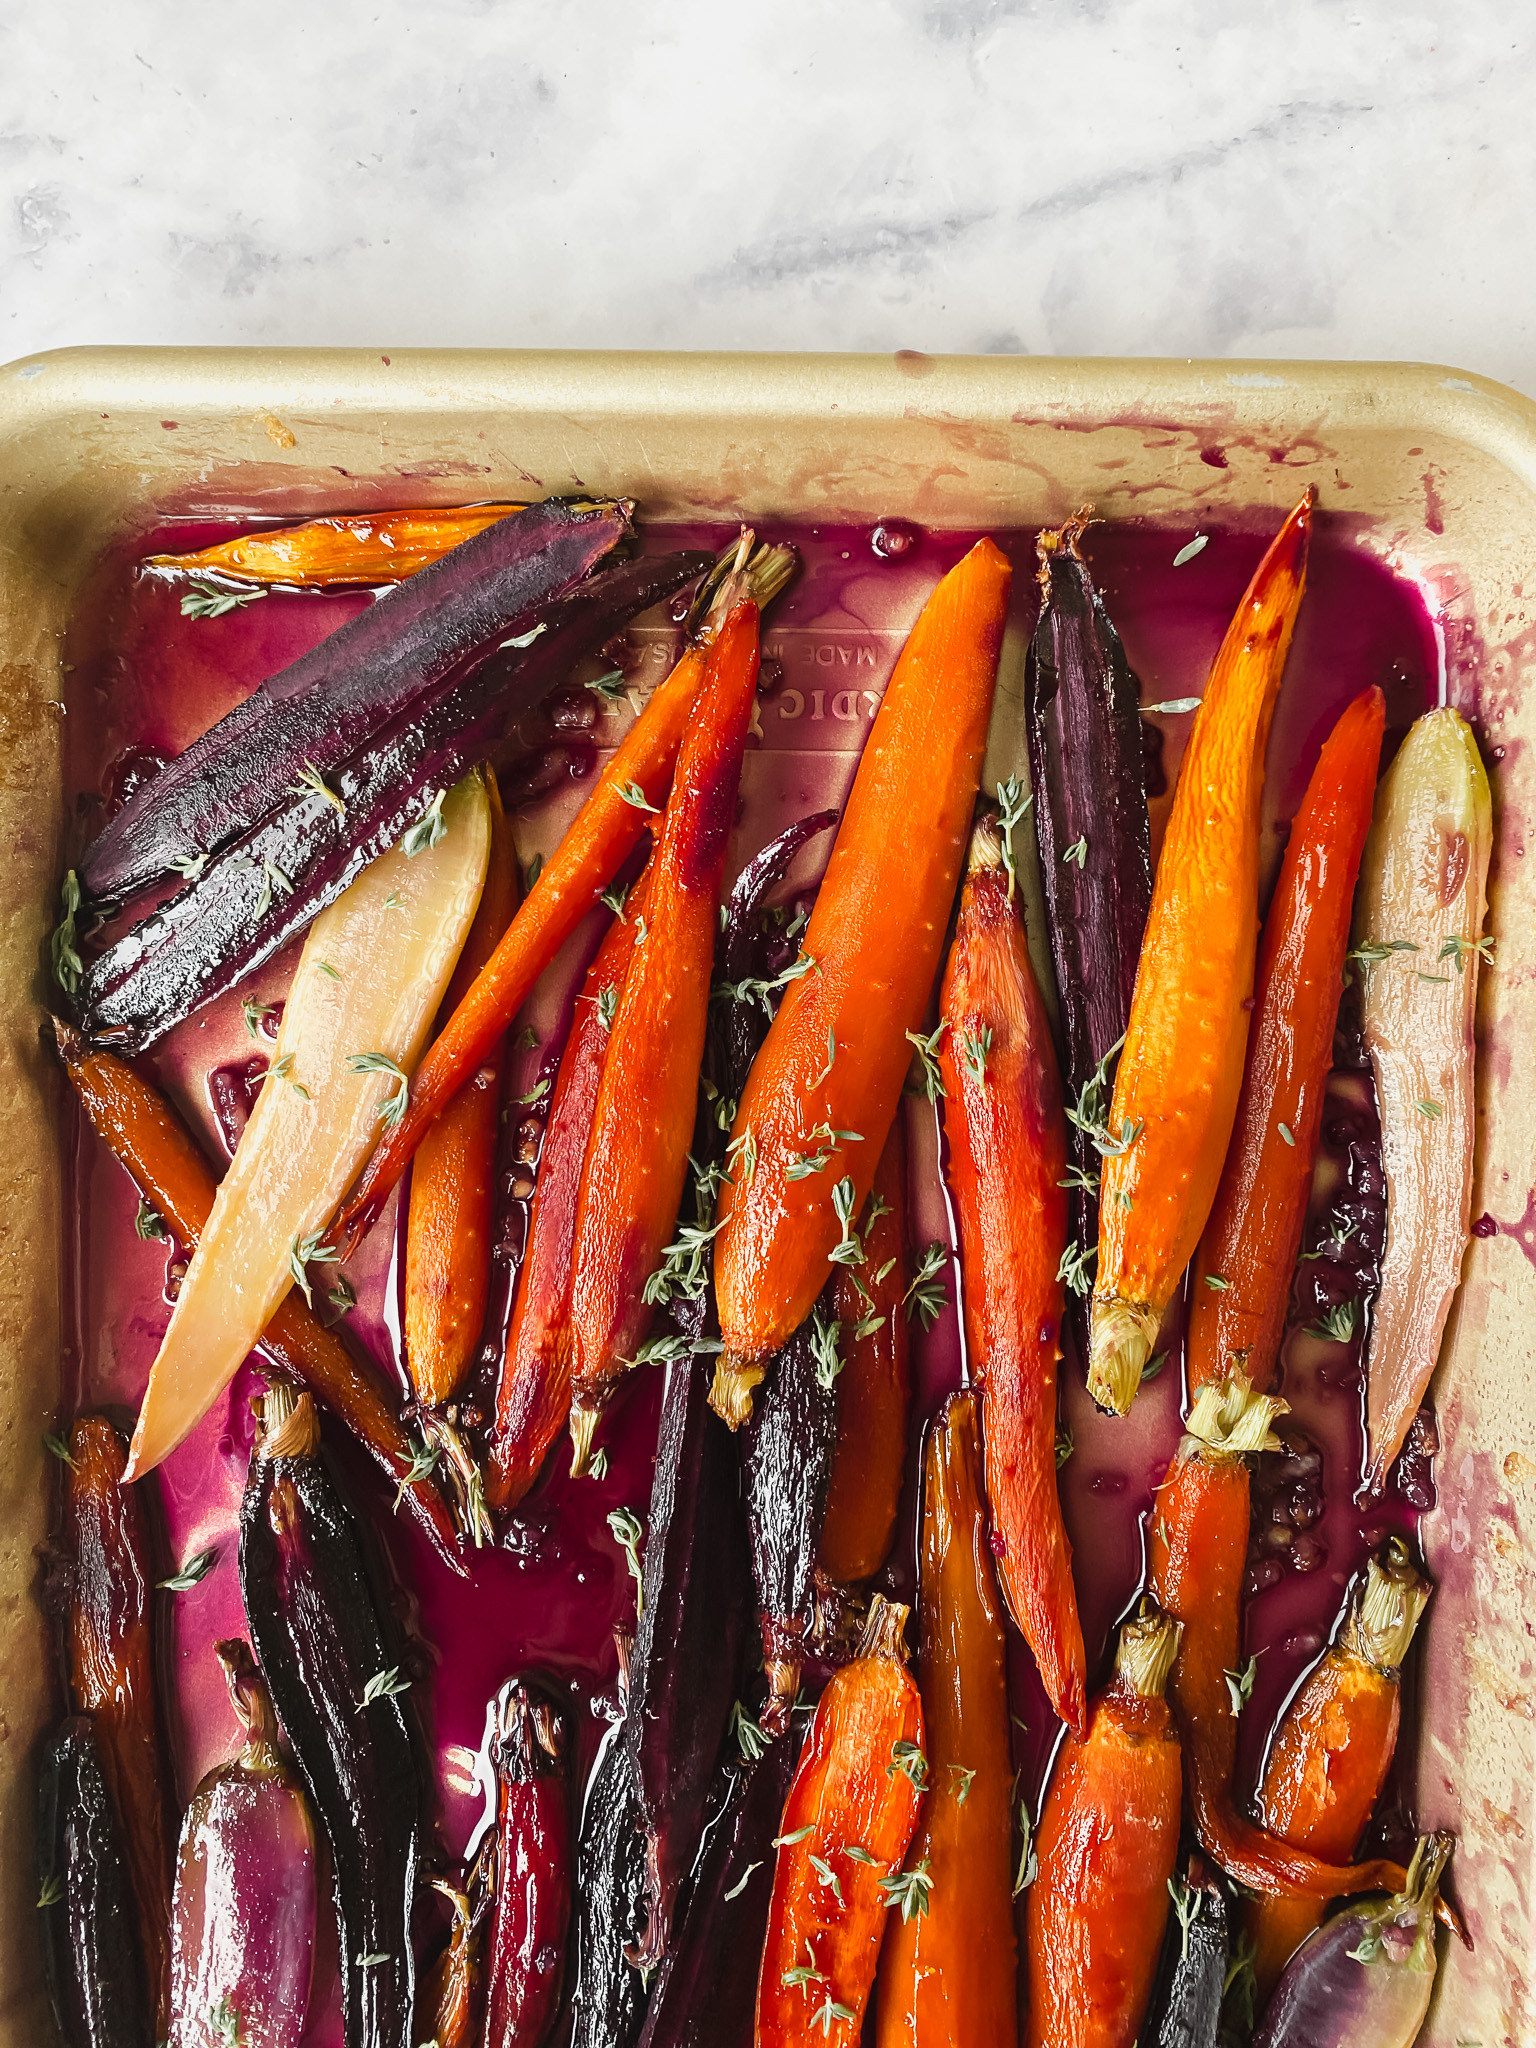
Maple Glazed Carrots
These maple glazed carrots are the perfect side to bring to your next holiday meal.


Share Your Experience
I would love to hear about your experience making and enjoying my Maple Glazed Carrots. Feel free to tag me on Instagram or leave a review below. Your feedback helps me improve our recipes and provides inspiration to fellow bakers.
Save this recipe for later by simply using the pin button on the recipe card or any of the photos above. Happy cooking!
📖 Recipe
Maple Glazed Carrots
These maple glazed carrots are the perfect side to bring to your next holiday meal.
Ingredients
Instructions
- Preheat oven to 350.
- Wash and peel carrots. Cut any in half so that they are approximately the same size.
- Arrange carrots on a baking tray.
- In a small bowl combine maple syrup, brown sugar, and salt.
- Pour maple syrup over carrots, tossing to ensure they are completely covered.
- Bake carrots for 20-25 minutes until carrots are tender.
- Garnish with thyme and feta and enjoy!


