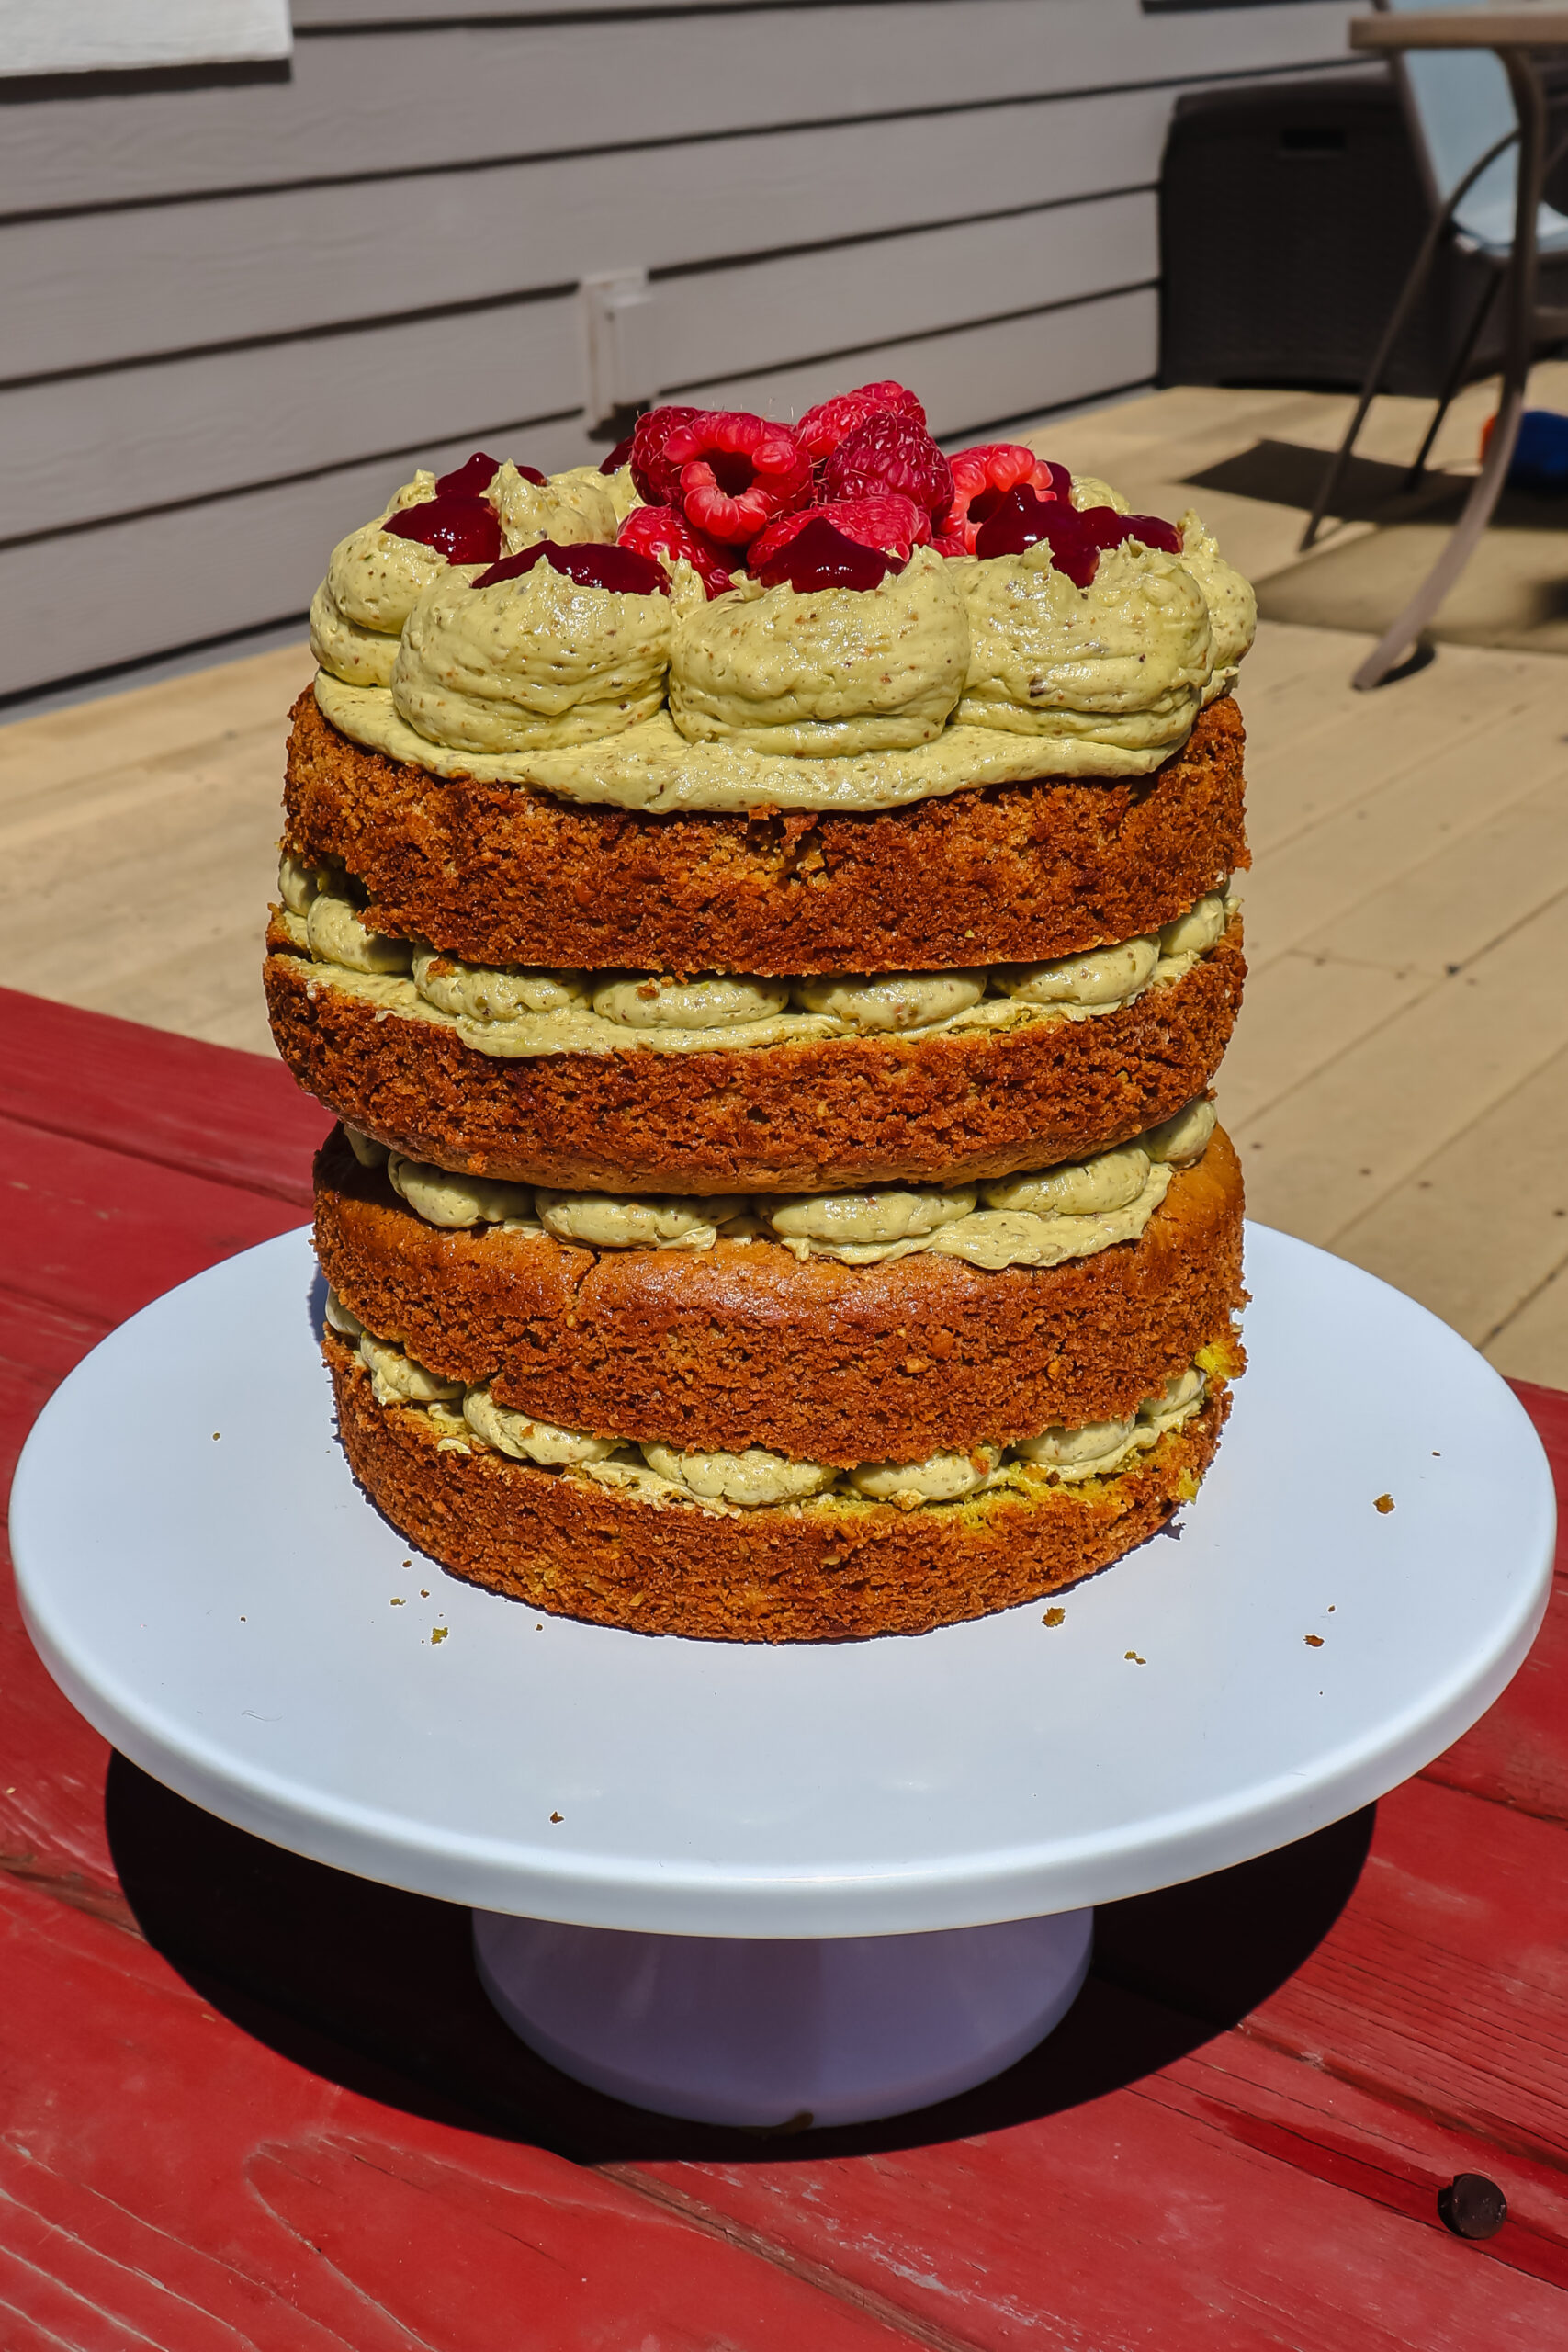
Pistachio Raspberry Cake with Pistachio Buttercream
This homemade pistachio cake has layers of raspberry filling and pistachio buttercream for a perfectly moist cake with all of the pistachio flavor.

Ingredients
- Shelled Pistachios - buy them preshelled to save time
- Pistachio Cream - if you don't have pistachio cream pulse together ¼ cup pistachios with oil in a food processor
- Sugar - granulated sugar for the cake and powdered sugar for the buttercream
- Flour - all purpose flour is great, if you want a ligher texture you can swap for cake flour
- Baking Powder - to help the cake rise
- Egg - to add structure ro the batter
- Salt - I always say salt makes baking better
- Olive Oil - we ditched the butter for olive oil for an extra moist cake
- Butter - for the buttercream
- Milk - can be dairy or nondairy.
- Vanilla Extract - for a slight warmth in flavor in the cake and buttercream
- Food Dye - OPTIONAL if you want the cake to have a more distinct green color
- Raspberry Jam - homemade or store bought

How to Make Pistachio Cake and Pistachio Buttercream
- Preheat the oven to 350F. Grease two or three 6" cake pans with butter, then dust with flour. Line the bottoms with parchment paper rounds. Set aside.
- Add the pistachios to a food processor or blender, and blend until finely ground.
- In a medium bowl, whisk together the pistachios, flour, baking powder, and salt. Set aside.
- In a separate large bowl, whisk together the milk, olive oil, sugar and vanilla extracts until well combined. If you want a more pronounced green color to the cake add natural green food coloring.
- Add the dry ingredient mixture to the wet, gently fold until just combined.
- Divide the cake batter evenly among the two prepared cake pans. I divided between 2 cake pans and then cut the cakes in half after cooling. However, I could have divided the mixture into 3 cake pans and had better results.
- Bake at 350F for 25-30 minutes, or until a toothpick inserted into the middle comes out clean.
- Remove the cakes from the oven and set on a wire rack. Allow to cool for 30 minutes before removing cakes from the pans. I prefer to then wrap my cake layers in plastic wrap and freeze until completely cooled and slightly frozen. This helps make assembling easier!

Prepare the buttercream:
- Once ready to assemble, prepare the buttercream. In the bowl of a stand mixer fitted with the paddle attachment or with a handheld mixer, beat the butter with the pistachio butter, until smooth.
- While mixing on low, add powdered sugar until fully combined. Then add the vanilla.
- Increase the speed to medium, and beat for about 5 minutes, until very light and fluffy, scraping down the sides of the bowl as needed.
Assemble:
- If needed and using a serrated knife, slice the top of one cake layer off to even. Or cut the cake layers in half for thinner layers.
- Place the cake layer cut side up on a cake stand or platter. Spread or pipe some of the buttercream in the middle, then pipe or spread some around the edges to create a border. Then, add a large spoonful of raspberry jam to the middle.
- Add the second cake layer on top (cut side down). If you are only doing 2 layers you can then decorate the cake as desired. Or continue this process until all layers are in place and then decorate the cake as desired.
- Cut and enjoy the cake!

Share Your Experience
I would love to hear about your experience making and enjoying my Pistachio Raspberry Cake with Pistachio Buttercream! Feel free to tag me on Instagram or leave a review below. Your feedback helps me improve our recipes and provides inspiration to fellow home cooks.
Save this recipe for later by simply using the pin button on the recipe card or any of the photos above. Happy cooking!
📖 Recipe
Pistachio Raspberry Cake with Pistachio Buttercream
This homemade pistachio cake has layers of raspberry filling and pistachio buttercream for a perfectly moist cake with all of the pistachio flavor.
Ingredients
Instructions
- Preheat the oven to 350F. Grease two or three 6" cake pans with butter, then dust with flour. Line the bottoms with parchment paper rounds. Set aside.
- Add the pistachios to a food processor or blender, and blend until finely ground.
- In a medium bowl, whisk together the pistachios, flour, baking powder, and salt. Set aside.
- In a separate large bowl, whisk together the milk, olive oil, sugar and vanilla extracts until well combined. If you want a more pronounced green color to the cake add natural green food coloring.
- Add the dry ingredient mixture to the wet, gently fold until just combined.
- Divide the cake batter evenly among the two prepared cake pans. I divided between 2 cake pans and then cut the cakes in half after cooling. However, I could have divided the mixture into 3 cake pans and had better results.
- Bake at 350F for 25-30 minutes, or until a toothpick inserted into the middle comes out clean.
- Remove the cakes from the oven and set on a wire rack. Allow to cool for 30 minutes before removing cakes from the pans. I prefer to then wrap my cake layers in plastic wrap and freeze until completely cooled and slightly frozen. This helps make assembling easier!
Prepare the buttercream:
- Once ready to assemble, prepare the buttercream. In the bowl of a stand mixer fitted with the paddle attachment or with a handheld mixer, beat the butter with the pistachio butter, until smooth.
- While mixing on low, add powdered sugar until fully combined. Then add the vanilla.
- Increase the speed to medium, and beat for about 5 minutes, until very light and fluffy, scraping down the sides of the bowl as needed.
Assemble:
- If needed and using a serrated knife, slice the top of one cake layer off to even. Or cut the cake layers in half for thinner layers.
- Place the cake layer cut side up on a cake stand or platter. Spread or pipe some of the buttercream in the middle, then pipe or spread some around the edges to create a border. Then, add a large spoonful of raspberry jam to the middle.
- Add the second cake layer on top (cut side down). If you are only doing 2 layers you can then decorate the cake as desired. Or continue this process until all layers are in place and then decorate the cake as desired.
- Cut and enjoy the cake!


