Zucchini Fritters
These zucchini fritters are a great way to use up zucchini in a way the whole family will love!

Ingredients
- Zucchini - shredded you can let drain on a paper towel to remove extra liquid if desired.
- Eggs - creates structure to hold the fritters together.
- Parmesan Cheese - can swap for cheddar cheese if desired
- Flour - all purpose flour is best
- Seasoning - garlic powder, onion powder, salt
- Butter - for cooking the fritters
How to make Zucchini Fritters
- In a large bowl combine zucchini, eggs, cheese, flour, garlic powder, onion powder, and salt. Mix to combine.
- In a large skillet melt the butter.
- Add ¼ cup zucchini mixture to the skillet and cook over medium heat for 3-5 minutes per side.
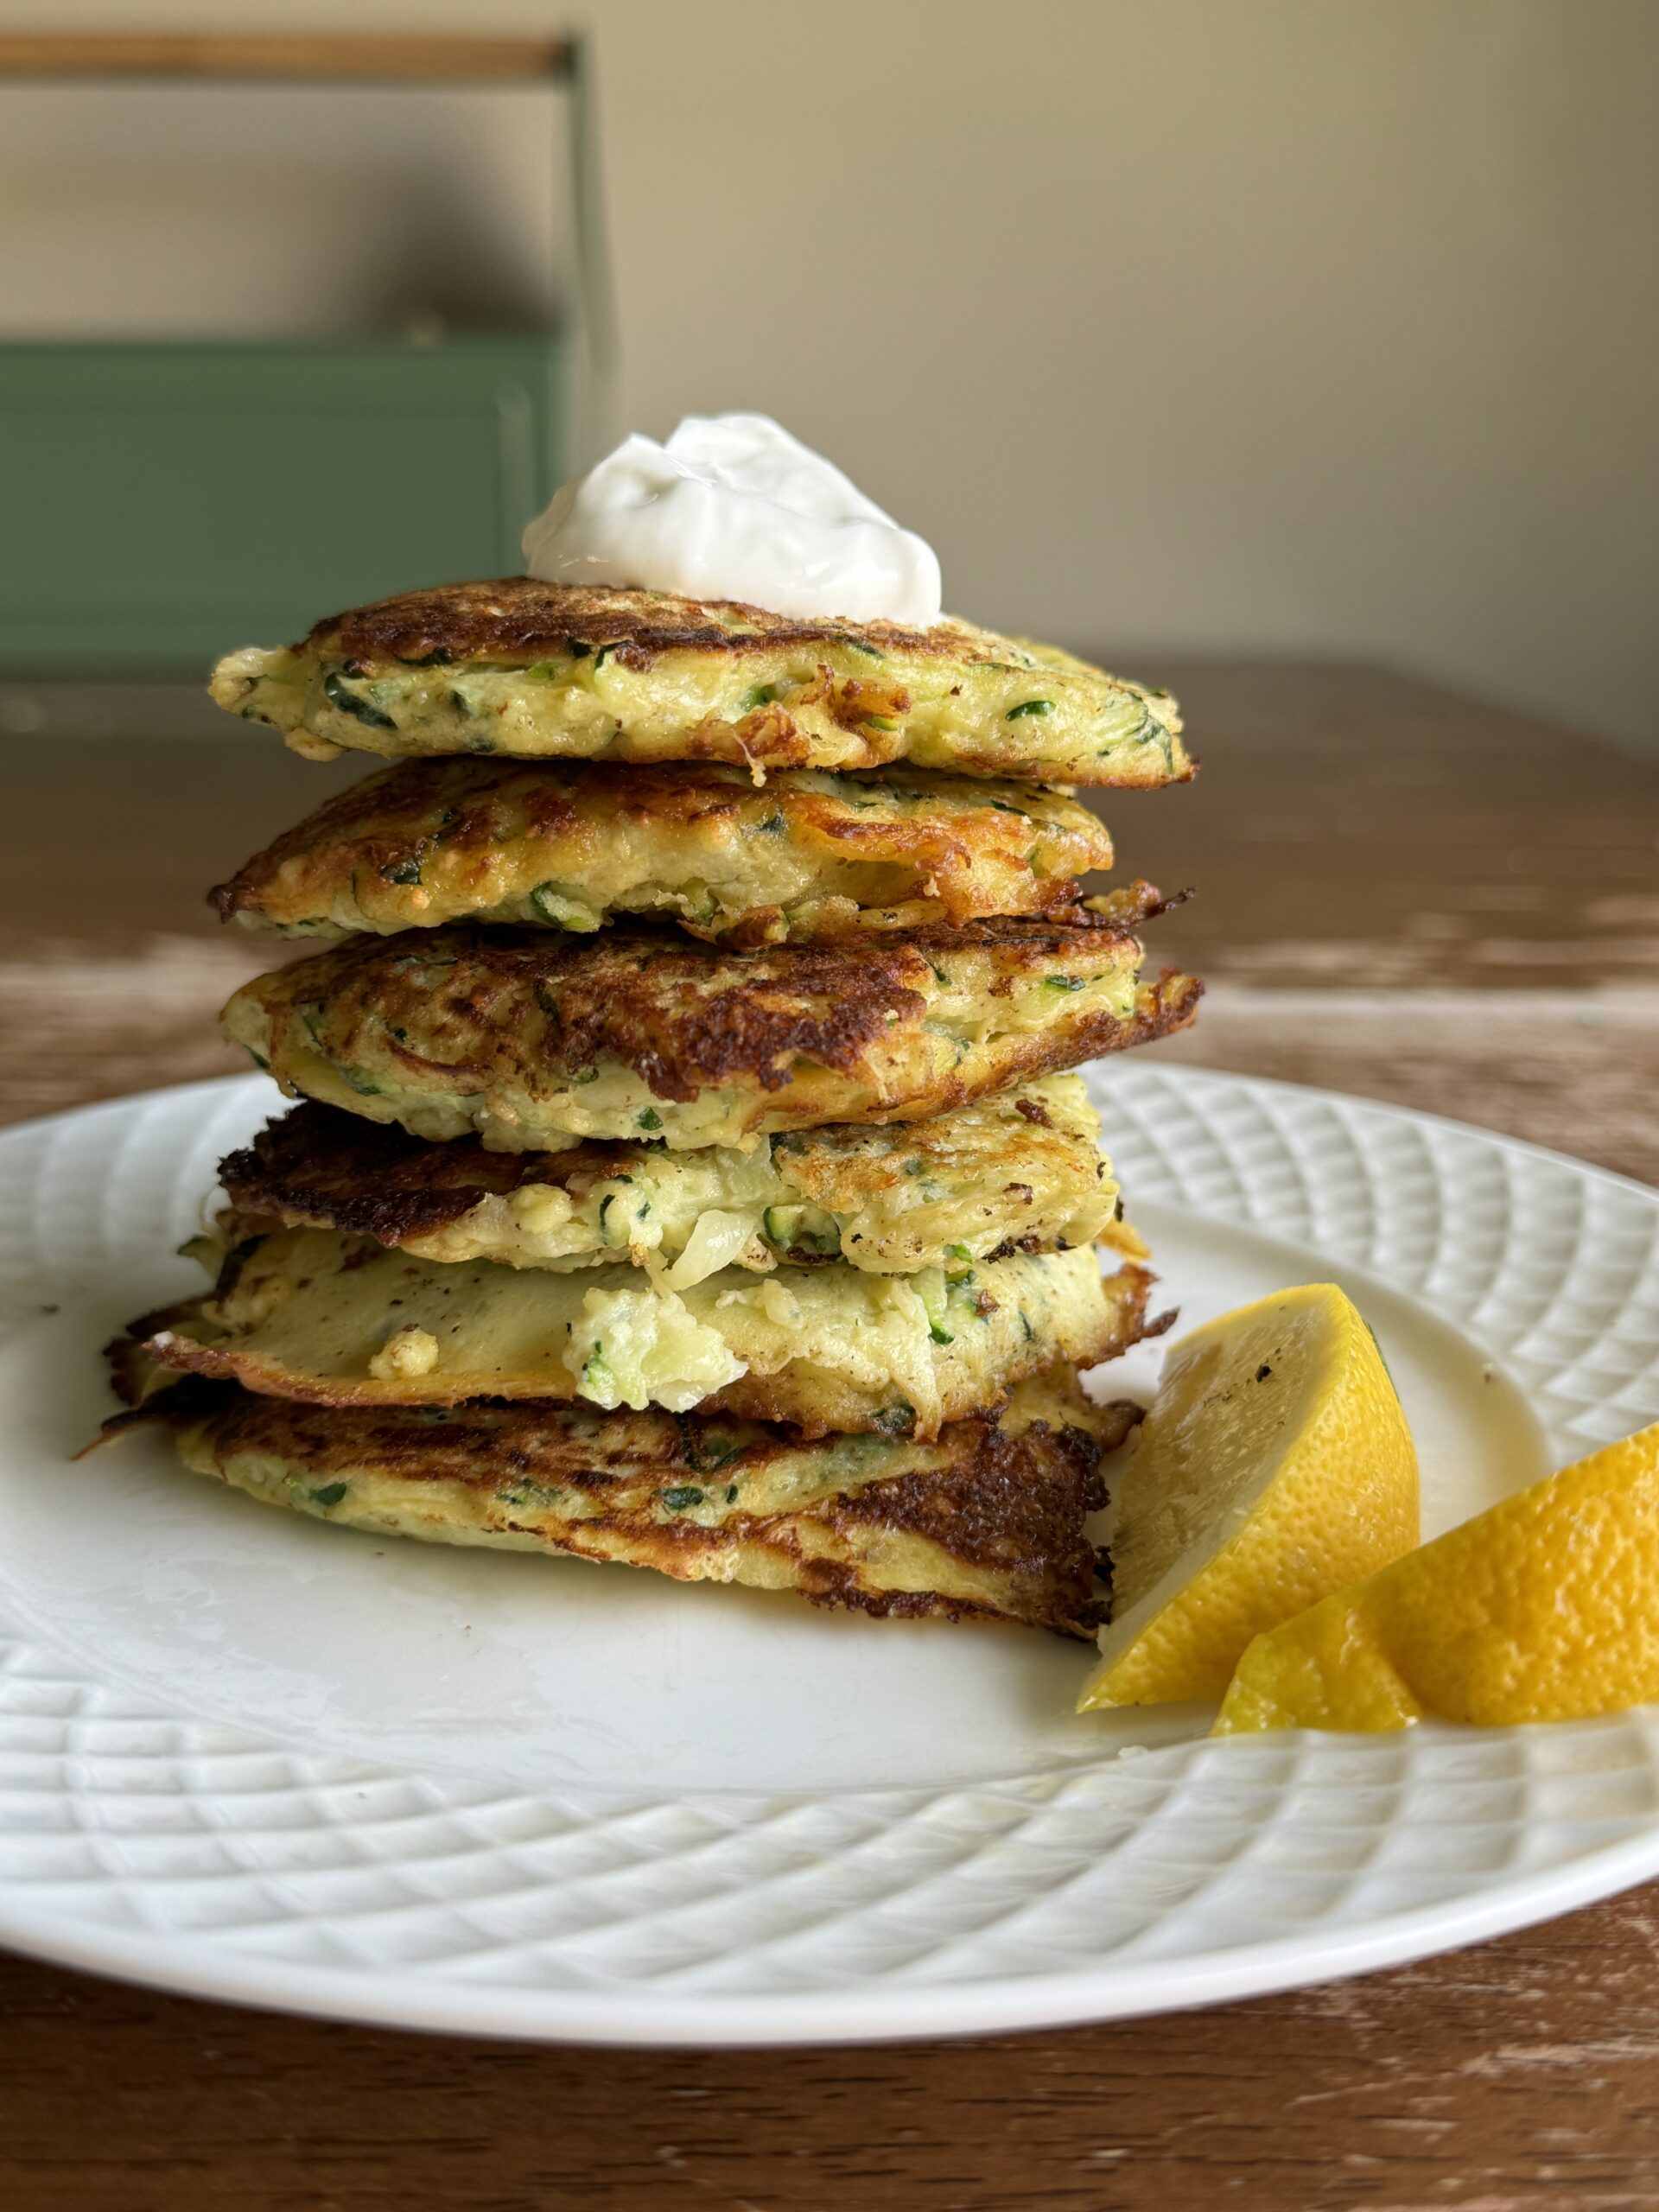
- Remove from skillet and serve warm with a dollop of sour cream.

Share Your Experience
I would love to hear about your experience making and enjoying my Zucchini Fritters! Feel free to tag me on Instagram or leave a review below. Your feedback helps me improve our recipes and provides inspiration to fellow home cooks.
Save this recipe for later by simply using the pin button on the recipe card or any of the photos above. Happy cooking!
📖 Recipe
Zucchini Fritters
These zucchini fritters are a great way to use up zucchini in a way the whole family will love!
Ingredients
Instructions
- In a large bowl combine zucchini, eggs, cheese, flour, garlic powder, onion powder, and salt. Mix to combine.
- In a large skillet melt the butter.
- Add ¼ cup zucchini mixture to the skillet and cook over medium heat for 3-5 minutes per side.
- Remove from skillet and serve warm with a dollop of sour cream.


