• About
  • Nav Social Icons

  • Skip to primary navigation
  • Skip to main content
  • Skip to primary sidebar
  • Skip to footer
  • Home
  • About
  • Recipes
    • Blackstone
    • Breads
    • Breakfast
    • Drinks
    • Dessert
    • Dinner
    • Sides
    • Snacks
  • Shop
  • Cart
  • My account
  • Mobile Menu Widgets

    Connect

    Search

The Farmstyle

The Farmstyle

by Kayla Zenner

  • Home
  • About
  • Shop
  • Recipes
    • Blackstone
    • Breads
    • Breakfast
    • Drinks
    • Dessert
    • Dinner
    • Snacks
    • Sides
    • All Recipes
  • Cart

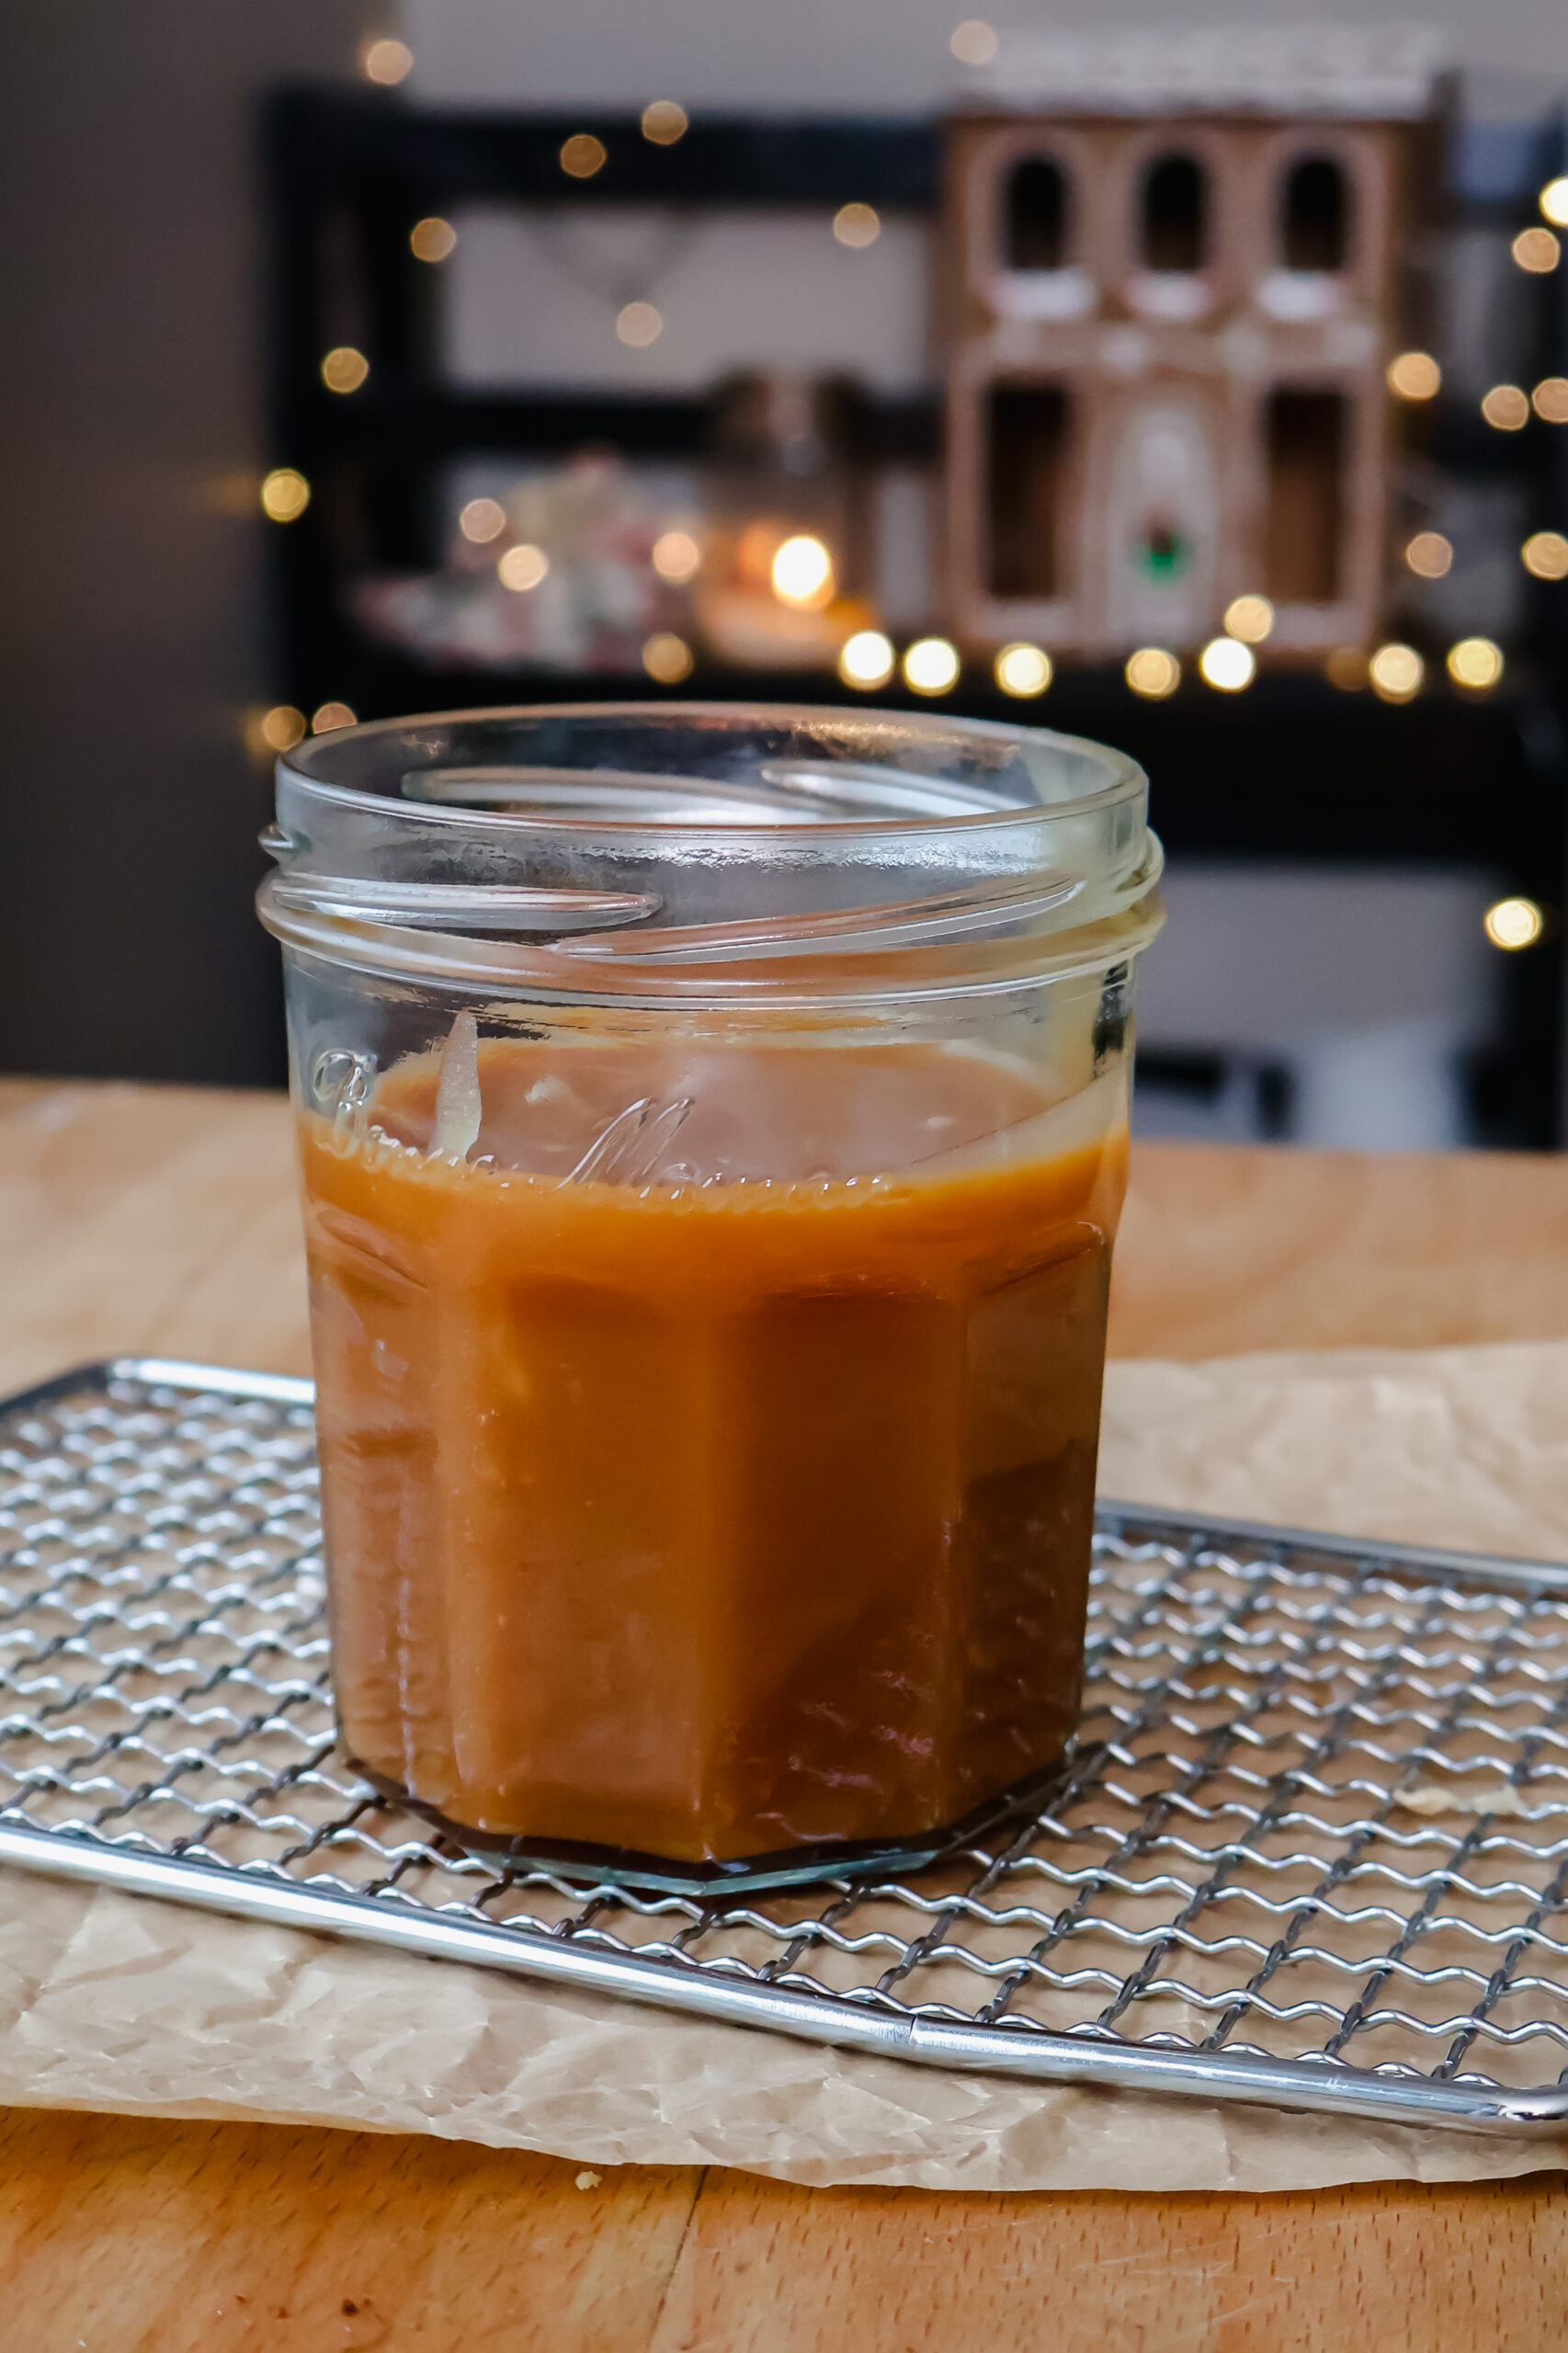
3 Ingredient Eggnog Caramel | Easy Holiday Caramel Sauce

December 16, 2025 · In: Dessert, Recipes

FacebookTweetPin
Jump to Recipe Print Recipe

Easy 3 Ingredient Eggnog Caramel made with sugar, butter, and eggnog. This rich, creamy holiday caramel is perfect for desserts, coffee, and festive baking.

3 Ingredient Eggnog Caramel

If you’re looking for an easy holiday sauce that instantly elevates desserts, this 3 Ingredient Eggnog Caramel is it. Rich, buttery, and perfectly spiced thanks to classic eggnog, this homemade caramel comes together with minimal effort and delivers big seasonal flavor. Drizzle it over cookies, brownies, pancakes, ice cream, or even stir it into coffee for a festive twist.

This eggnog caramel is proof that you don’t need a long ingredient list to make something special. With just sugar, butter, and eggnog, you’ll have a smooth, pourable caramel that tastes like the holidays in every spoonful.

Why You’ll Love This Eggnog Caramel

  • Made with just three simple ingredients
  • Rich, buttery texture with warm holiday flavor
  • Perfect for gifting, baking, and coffee drinks
  • Stores beautifully for make-ahead desserts
3 Ingredient Eggnog Caramel

Ingredients You’ll Need

  • Granulated Sugar
    The foundation of the caramel. Granulated sugar melts smoothly and creates that classic rich caramel flavor. Other sugars are not recommended, as they can affect both texture and consistency.
  • Unsalted Butter
    Adds richness and helps transform the melted sugar into a silky caramel sauce. Unsalted butter is best so you can control the overall flavor, especially since eggnog already contains spices.
  • Full-Fat Eggnog
    Brings the signature holiday flavor and creamy texture to this caramel. Full-fat eggnog works best, but dairy-free eggnog can be used if needed. Just note the caramel may be slightly thinner.

How to Make 3 Ingredient Eggnog Caramel

  1. Add the sugar to a medium saucepan over medium heat, stirring continuously with a spatula. Be patient and let the sugar melt slowly until it turns into a smooth, light amber liquid.
  2. Once melted, whisk in the room-temperature butter one tablespoon at a time. The mixture will bubble vigorously, which is normal.
  3. Slowly add the eggnog while whisking. If the caramel seizes or hardens, keep whisking over low heat. It will loosen back up with time and gentle heat.
  4. Remove from the heat and allow the caramel to cool to room temperature before using. Store in an airtight container in the refrigerator.

Ways to Use Eggnog Caramel

  • Drizzle over cookies, brownies, and blondies
  • Spoon over pancakes, waffles, or French toast
  • Use as a filling for cookie sandwiches
  • Swirl into coffee, lattes, or hot chocolate
  • Pour over ice cream or cheesecake
3 Ingredient Eggnog Caramel

Storage Tips

Store eggnog caramel in an airtight container in the refrigerator for up to one week. Reheat gently in the microwave or on the stovetop, stirring until smooth.

Frequently Asked Questions

Why did my caramel seize when I added the eggnog?
Caramel can seize when a cold liquid is added. This is normal. Keep the heat low and continue whisking, and the caramel will smooth out again.

Can I use low-fat eggnog?
You can, but full-fat eggnog produces the creamiest caramel. Lower-fat versions may result in a thinner sauce.

How do I reheat eggnog caramel?
Reheat gently in short intervals in the microwave or over low heat on the stove, stirring frequently to prevent burning.

Can I make this caramel ahead of time?
Yes. This caramel is perfect for making ahead and storing in the refrigerator until ready to use.

Is this caramel safe for kids?
Yes, as long as the eggnog is non-alcoholic. Most store-bought eggnogs are alcohol-free.

Can I freeze eggnog caramel?
Freezing is not recommended, as it can affect the texture once thawed. Refrigeration works best.

Final Thoughts

This 3 Ingredient Eggnog Caramel is one of those recipes you’ll find yourself making again and again throughout the holiday season. It’s simple, festive, and incredibly versatile. Whether you’re dressing up baked goods or adding a seasonal touch to your favorite drinks, this caramel delivers cozy holiday flavor with minimal effort.

3 Ingredient Eggnog Caramel

No ratings yet
Easy 3 Ingredient Eggnog Caramel made with sugar, butter, and eggnog. This rich, creamy holiday caramel is perfect for desserts, coffee, and festive baking.
Print Recipe
Prep Time:20 minutes mins
Cook Time:20 minutes mins
Course: Dessert
Servings: 32 tbsp
Calories: 46kcal

Ingredients

  • 1 cup granulated sugar
  • 6 tbsp unsalted butter
  • 1/2 cup full fat eggnog

Instructions

  • Add the sugar to a medium saucepan over medium heat, stir continuously with a spatula. Be patient, it will take a little bit to melt but you want to take it low and slow.
  • Once it has melted into a light brown sauce, quickly whisk the room temp butter 1 tbsp at a time.
  • Add in eggnog. If your caramel seizes up and hardens, keep whisking over low heat, it may take a few minutes but be patient it will come back together.
  • Allow to cool to room temperature and set aside for later. Store in the refrigerator.

Nutrition

Calories: 46kcal | Carbohydrates: 7g | Protein: 0.2g | Fat: 2g | Saturated Fat: 1g | Polyunsaturated Fat: 0.1g | Monounsaturated Fat: 1g | Trans Fat: 0.1g | Cholesterol: 8mg | Sodium: 2mg | Potassium: 7mg | Sugar: 7g | Vitamin A: 74IU | Vitamin C: 0.1mg | Calcium: 6mg | Iron: 0.01mg

Share this:

  • Share on X (Opens in new window) X
  • Share on Facebook (Opens in new window) Facebook
  • Share on Pinterest (Opens in new window) Pinterest

Like this:

Like Loading...
FacebookTweetPin

By: Kayla · In: Dessert, Recipes

About Kayla

Hi! I'm Kayla. I'm here to help inspire busy moms to get back in the kitchen and feel beautiful along the way! I'm married to my high school sweetheart and live on a farm with our two busy boys.

you’ll also love

Garlic Honey Chicken Bowls with Fresh Peach Salsa
Simple Cherry Limeade
Steak Fajita Rice Bowl

Reader Interactions

Leave a ReplyCancel reply

Next Post >

Gingerbread Latte Cookie Sandwiches

Primary Sidebar

Meet Kayla

Meet Kayla
hello!

LIVING OURFARM(LIFE)STYLE WHERE WE ​JUGGLE THE CHAOS OF MOTHERHOOD ONE ​KITCHEN ADVENTURE AT A TIME!

Read More

Connect

join the list

Categories

  • Blog
  • Recipes

Follow Along

@thefarmstyle


100,000 of you. I’m honestly still trying to wrap
100,000 of you. I’m honestly still trying to wrap my head around that.

What started as me just sharing what I was making for my family, little moments, and pieces of my life has turned into this incredible community, and that’s because of YOU. 

The comments, the messages, the times you’ve made my recipes in your own kitchens… it all means more than I can put into words.

Thank you for being here, for supporting me, and for growing alongside me. I don’t take a single one of you for granted.

We’re just getting started 🤍


Comment GARDEN and I’ll send you all the details t
Comment GARDEN and I’ll send you all the details to your inbox. 

The best thing about these garden beds is that they can be made to any dimension that you want! I created four 4x8 beds, two 3x8 beds, and two 2x3 beds using the exact same method each time!

Materials (for ONE 4x8 bed)
* (4) 2x8 boards, cut to 8 ft long
* (4) 2x8 boards, cut to 4 ft long 
* (24) 3” exterior wood screws 
* (4) 2x4 boards, cut to 14” long

Instructions
1. Cut Your Boards (if needed)
Cut your boards to length before assembling. We had (4) 12’ boards, we cut into an 8’ board and 4’ board. However, you can also buy (6) 8’ boards and then cut 2 of them in half. 

2. Drill Pilot Holes (optional)
On each 8’ board measure ¾” in from each end and Drill 2 pilot holes per end, spaced about 2–3” from the top and bottom
This helps prevent the wood from splitting when you add screws.

3. Build the First Layer (Bottom Frame)
Lay out:
 * (2) 8 ft boards (long sides)
 * (2) 4 ft boards (short sides)
Form a rectangle with the short boards sitting inside the long boards. Then attach the boards using 3” screws into the pilot holes you created in the previous step. 

4. Stack the Second Layer
Repeat process by placing the second set of boards directly on top of the first frame, lining up edges carefully

5. Add Corner Supports 
Place the 2x4 board inside each corner
These should sit flush with the bottom and sit an inch below the top. 
Screw through the outside boards into the 2x4 board once in the top 2x8 board and once in the bottom 2x8 board. 

 Pro Tips
Use untreated cedar for best longevity, however I used fir for a more cost effective version. These may only last me 5 years, BUT the cost of cedar deterred me from going that route. 

Avoid pressure-treated wood unless it’s labeled safe for gardens

Use a garden safe stain on the interior before filling to help with board longevity.


Comment SALAD for all the recipe details.

Spring
Comment SALAD for all the recipe details. 

Spring salads > everything else right now 🥗🌸

Fresh, colorful, and actually satisfying… these are the kind of salads you crave (not just eat because you feel like you should).

Save this for your weekly menu + tell me which one you’re making first.

Strawberry Balsamic Salad
Blueberry Summer Salad
Streak Harvest Salad
Citrus Kale Salad
Summer Fruit Salad
Greek Pasta Salad
Rainbow Pasta Salad


Comment SMOOTHIE for all the recipe details.

Thi
Comment SMOOTHIE for all the recipe details. 

This Blackberry Coconut Smoothie is creamy, refreshing, and dairy-free, made with coconut milk, frozen blackberries, and coconut yogurt. A quick and easy smoothie recipe ready in just 5 minutes.


Comment RECIPE for all the details!

These cheese
Comment RECIPE for all the details! 

These cheesesteak quesadillas scored ⭐️⭐️⭐️⭐️⭐️ from my kids! BONUS: they are so easy to make on the @blackstoneproducts griddle.


Help me restore my @blackstoneproducts griddle aft
Help me restore my @blackstoneproducts griddle after being a tiny bit neglectful the past few months. 
#blackstonegriddle #griddlenation


Footer

On the Blog

  • Blog
  • Recipes

Info

  • About
  • Disclosure, Privacy Policy, and Terms

Copyright © 2026 · Theme by 17th Avenue

%d

    Rate This Recipe

    Your vote:


    A rating is required
    A name is required
    An email is required
    We use cookies to ensure that we give you the best experience on our website. If you continue to use this site we will assume that you are happy with it.