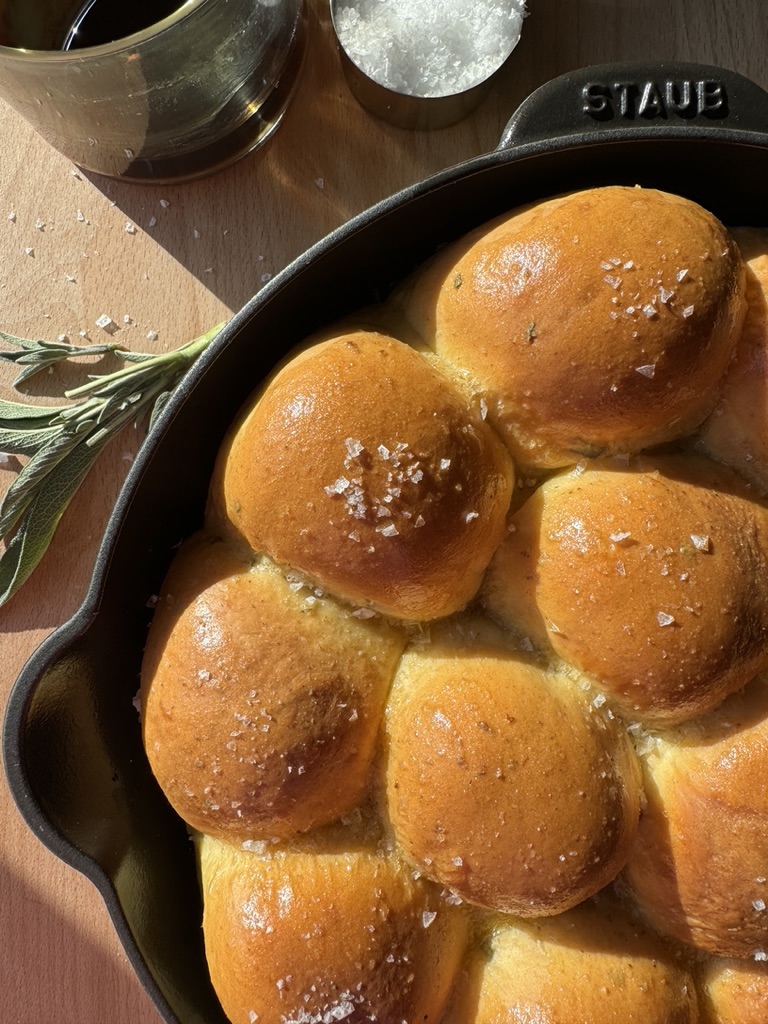
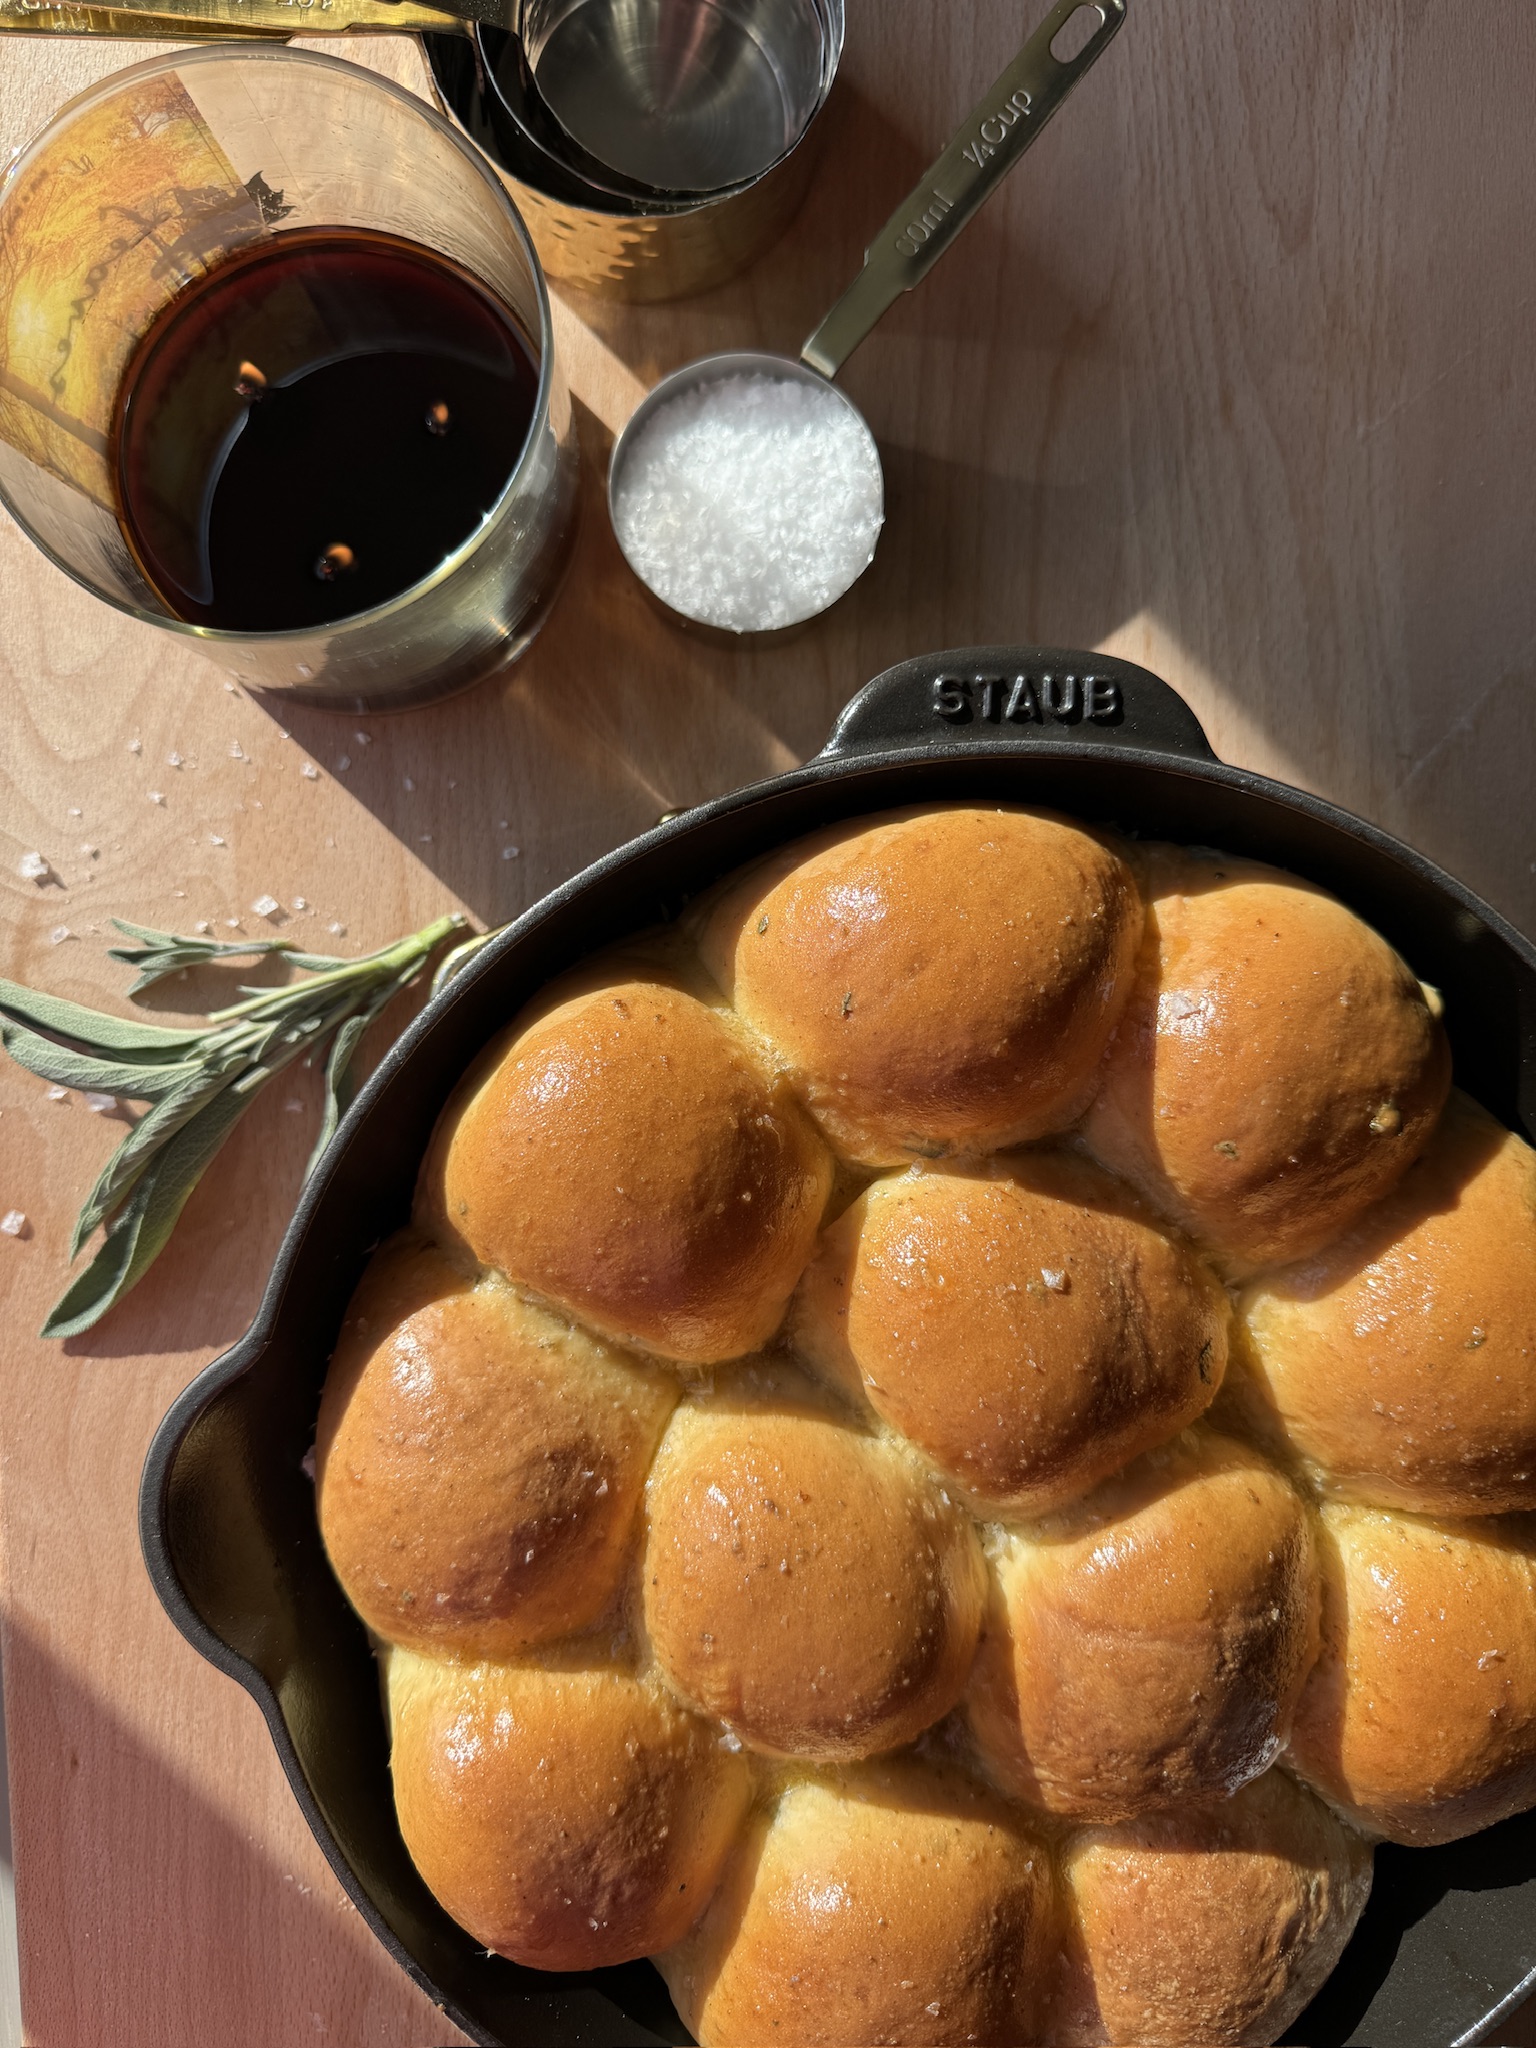
Browned Butter Sage Dinner Rolls
These soft dinner rolls are infused with fresh sage and browned butter for the best fall infused roll.

Easy Dinner Roll Recipe with Browned Butter and Sage
Did you know that making homemade dinner rolls is actually super simple to do? Plus it tastes so much better than store bought rolls that has been sitting on the shelf for weeks. With a few simple ingredients you can have homemade rolls! This recipe uses browned butter and sage, but feel free to swap out the sage for your favorite herb!
What's in Browned Butter Sage Dinner Rolls?
- Flour - All Purpose is preffered for a fluffier loaf, but Bread Flour is totally fine also. You will just have a chewier loaf.
- Yeast - I like to use Dry Active Yeast
- Milk - This is the KEY to a nice fluffy rolls. I see lots of recipes use water for the main liquid, but the milk really makes this roll stand out. I use regular whole milk, but you can swap for almond or oat milk as well.
- Browned Butter - Adds rich nutty buttery flavor to the dough. If you need a dairy free option I have swapped the butter for oil.
- Egg - I have left out the egg before because I ran out, but the egg gives the bread extra structure and fluffiness.
- Honey - this is used to help activate the yeast. You can also swap for regular sugar if you are baking this for your kids under 1.
How to make fluffy dinner rolls
- Place the butter in small saucepan over medium heat. Once melted, the butter will begin to foam. Keep stirring until the butter begins to turn a light amber color. The foam will subside and you will have little brown specks (milk solids) at the bottom of the pan.
- Combine ¼ cup warmed milk with yeast and honey. Set aside until foamy (about 5 minutes).
- In a large bowl combine egg, browned butter, yeast mixture, sage and remaining milk.
- Add 2 and ½ cup flour and salt. Mix to combine adding in additional flour to make dough workable.
- Knead mixture for 7-10 minutes. Shape into a ball, place back into bowl, and let rise for an hour, until doubled.
- Place dough onto counter and divide into 12 sections (roughly 2.5 oz each). Shape into a ball and place on a baking sheet to rise four about another hour.
- Bake at 350 for 25-30 minutes. Top with a little more butter if desired
Share Your Experience
I would love to hear about your experience making and enjoying my Browned Butter Sage Dinner Rolls! Feel free to tag me on Instagram or leave a review below. Your feedback helps me improve our recipes and provides inspiration to fellow home bakers.
Save this recipe for later by simply using the pin button on the recipe card or any of the photos above. Happy cooking!
📖 Recipe
Browned Butter Sage Dinner Rolls
These soft dinner rolls are infused with fresh sage and browned butter for the best fall infused roll.
Ingredients
Instructions
- Place the butter in small saucepan over medium heat. Once melted, the butter will begin to foam. Keep stirring until the butter begins to turn a light amber color. The foam will subside and you will have little brown specks (milk solids) at the bottom of the pan.
- Combine ¼ cup warmed milk with yeast and honey. Set aside until foamy (about 5 minutes).
- In a large bowl combine egg, browned butter, yeast mixture, sage and remaining milk.
- Add 2 and ½ cup flour and salt. Mix to combine adding in additional flour to make dough workable.
- Knead mixture for 7-10 minutes. Shape into a ball, place back into bowl, and let rise for an hour, until doubled.
- Place dough onto counter and divide into 12 sections (roughly 2.5 oz each). Shape into a ball and place on a baking sheet to rise four about another hour.
- Bake at 350 for 25-30 minutes. Top with a little more butter if desired


After reading the recipe twice, I don't see when or how the brown butter is used? Also, if using a stand mixer, how long should it knead for? Thank you!
The browned butter is added with the milk, yeast, egg, and sage in step 3. If using a stand mixer knead for 5ish minutes.