Easy Focaccia with Butterfly Pea Tea | Bread Art
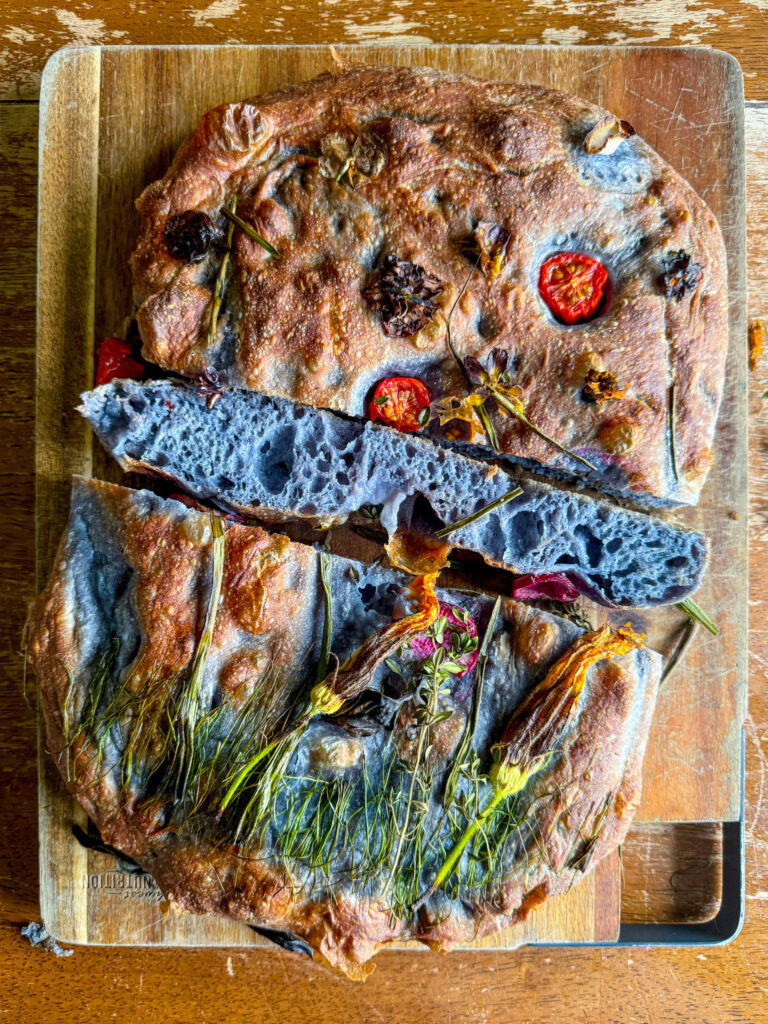
This super simple focaccia recipe is made with butterfly pea tea for a beautiful blue dough and topped with edible flowers and herbs for bread art that is almost too pretty to eat.

Bread art like this easy focaccia bread is my absolute favorite thing to create in the kitchen. It takes all the beautiful aspects of food and combines them into one unique piece of art that doubles as a tasty meal!
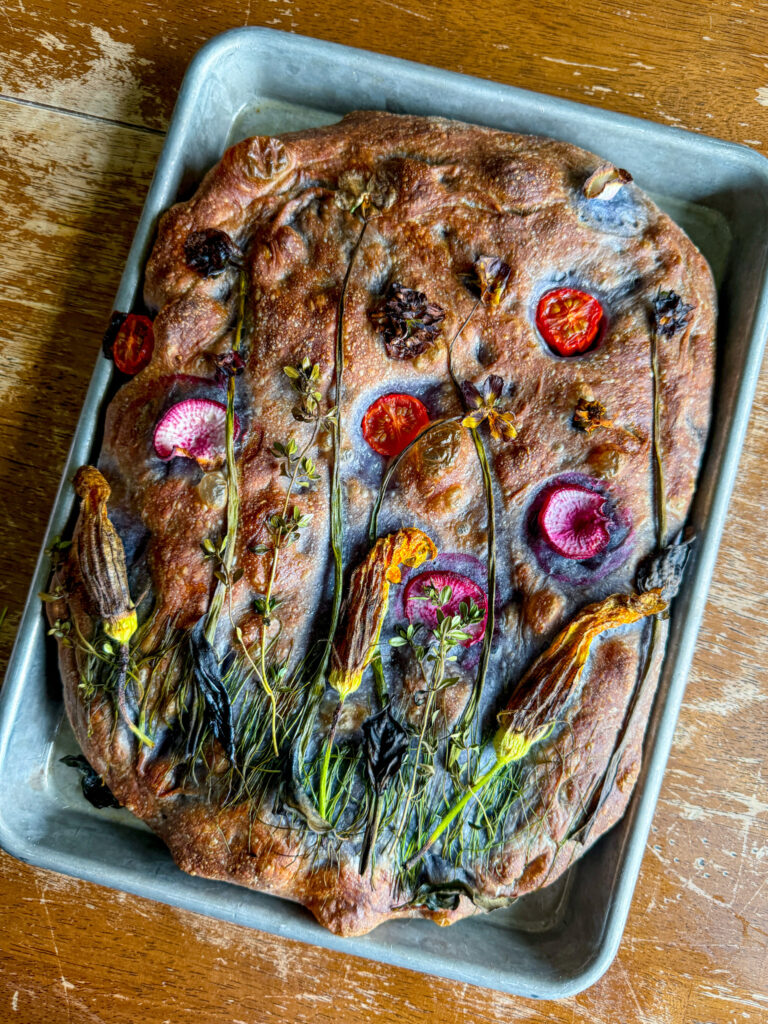
Swapping the water in a traditional focaccia recipe with butterfly pea tea takes this work of art up to another level. The natural blue coloring that comes with butterfly pea tea stays through the baking process and results in a blue loaf without any artificial coloring.
Ingredients for Easy Focaccia
- Instant Yeast - I prefer to use instant yeast here so that I do not have to proof it with sugar prior, but if you only have dry active yeast proof the yeast with ½ cup warm tea and 1 tablespoon sugar or honey prior to mixing everything together.
- Flour - I used all purpose flour, but if you want a bit more structure to your dough swap for bread flour.
- Salt - this not only adds flavor to your bread, but also helps tighten the gluten structure of your dough.
- Liquid - to achieve the beautiful blue color here I used butterfly pea tea, but you can swap this for water if you don't want the blue coloring
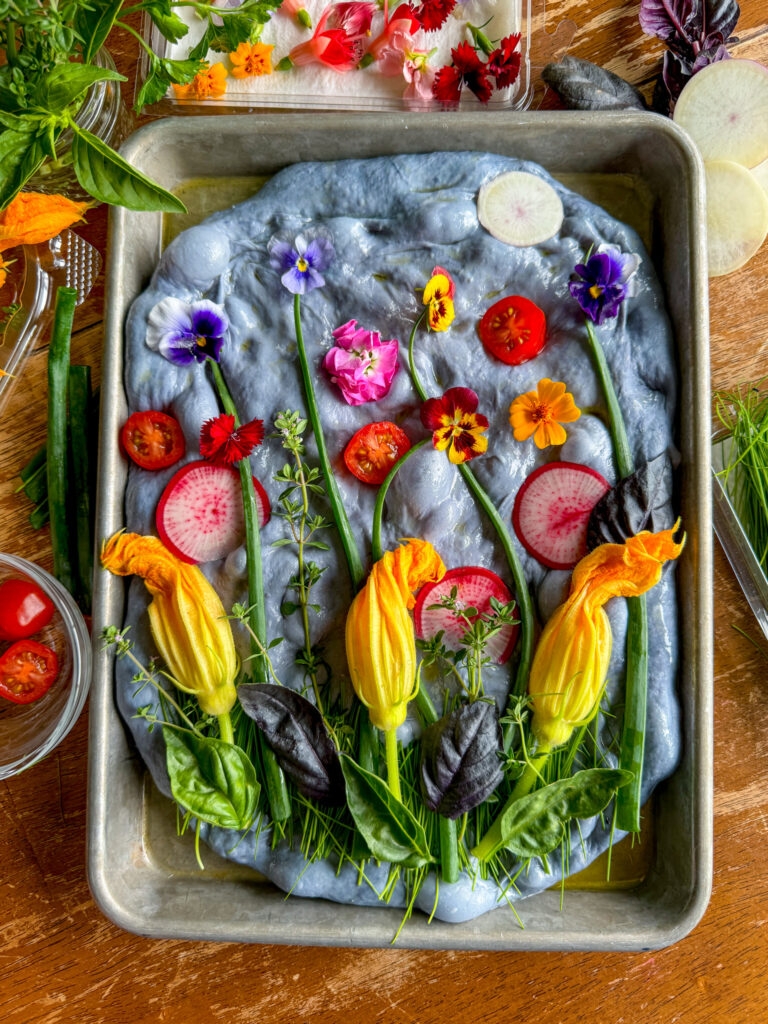
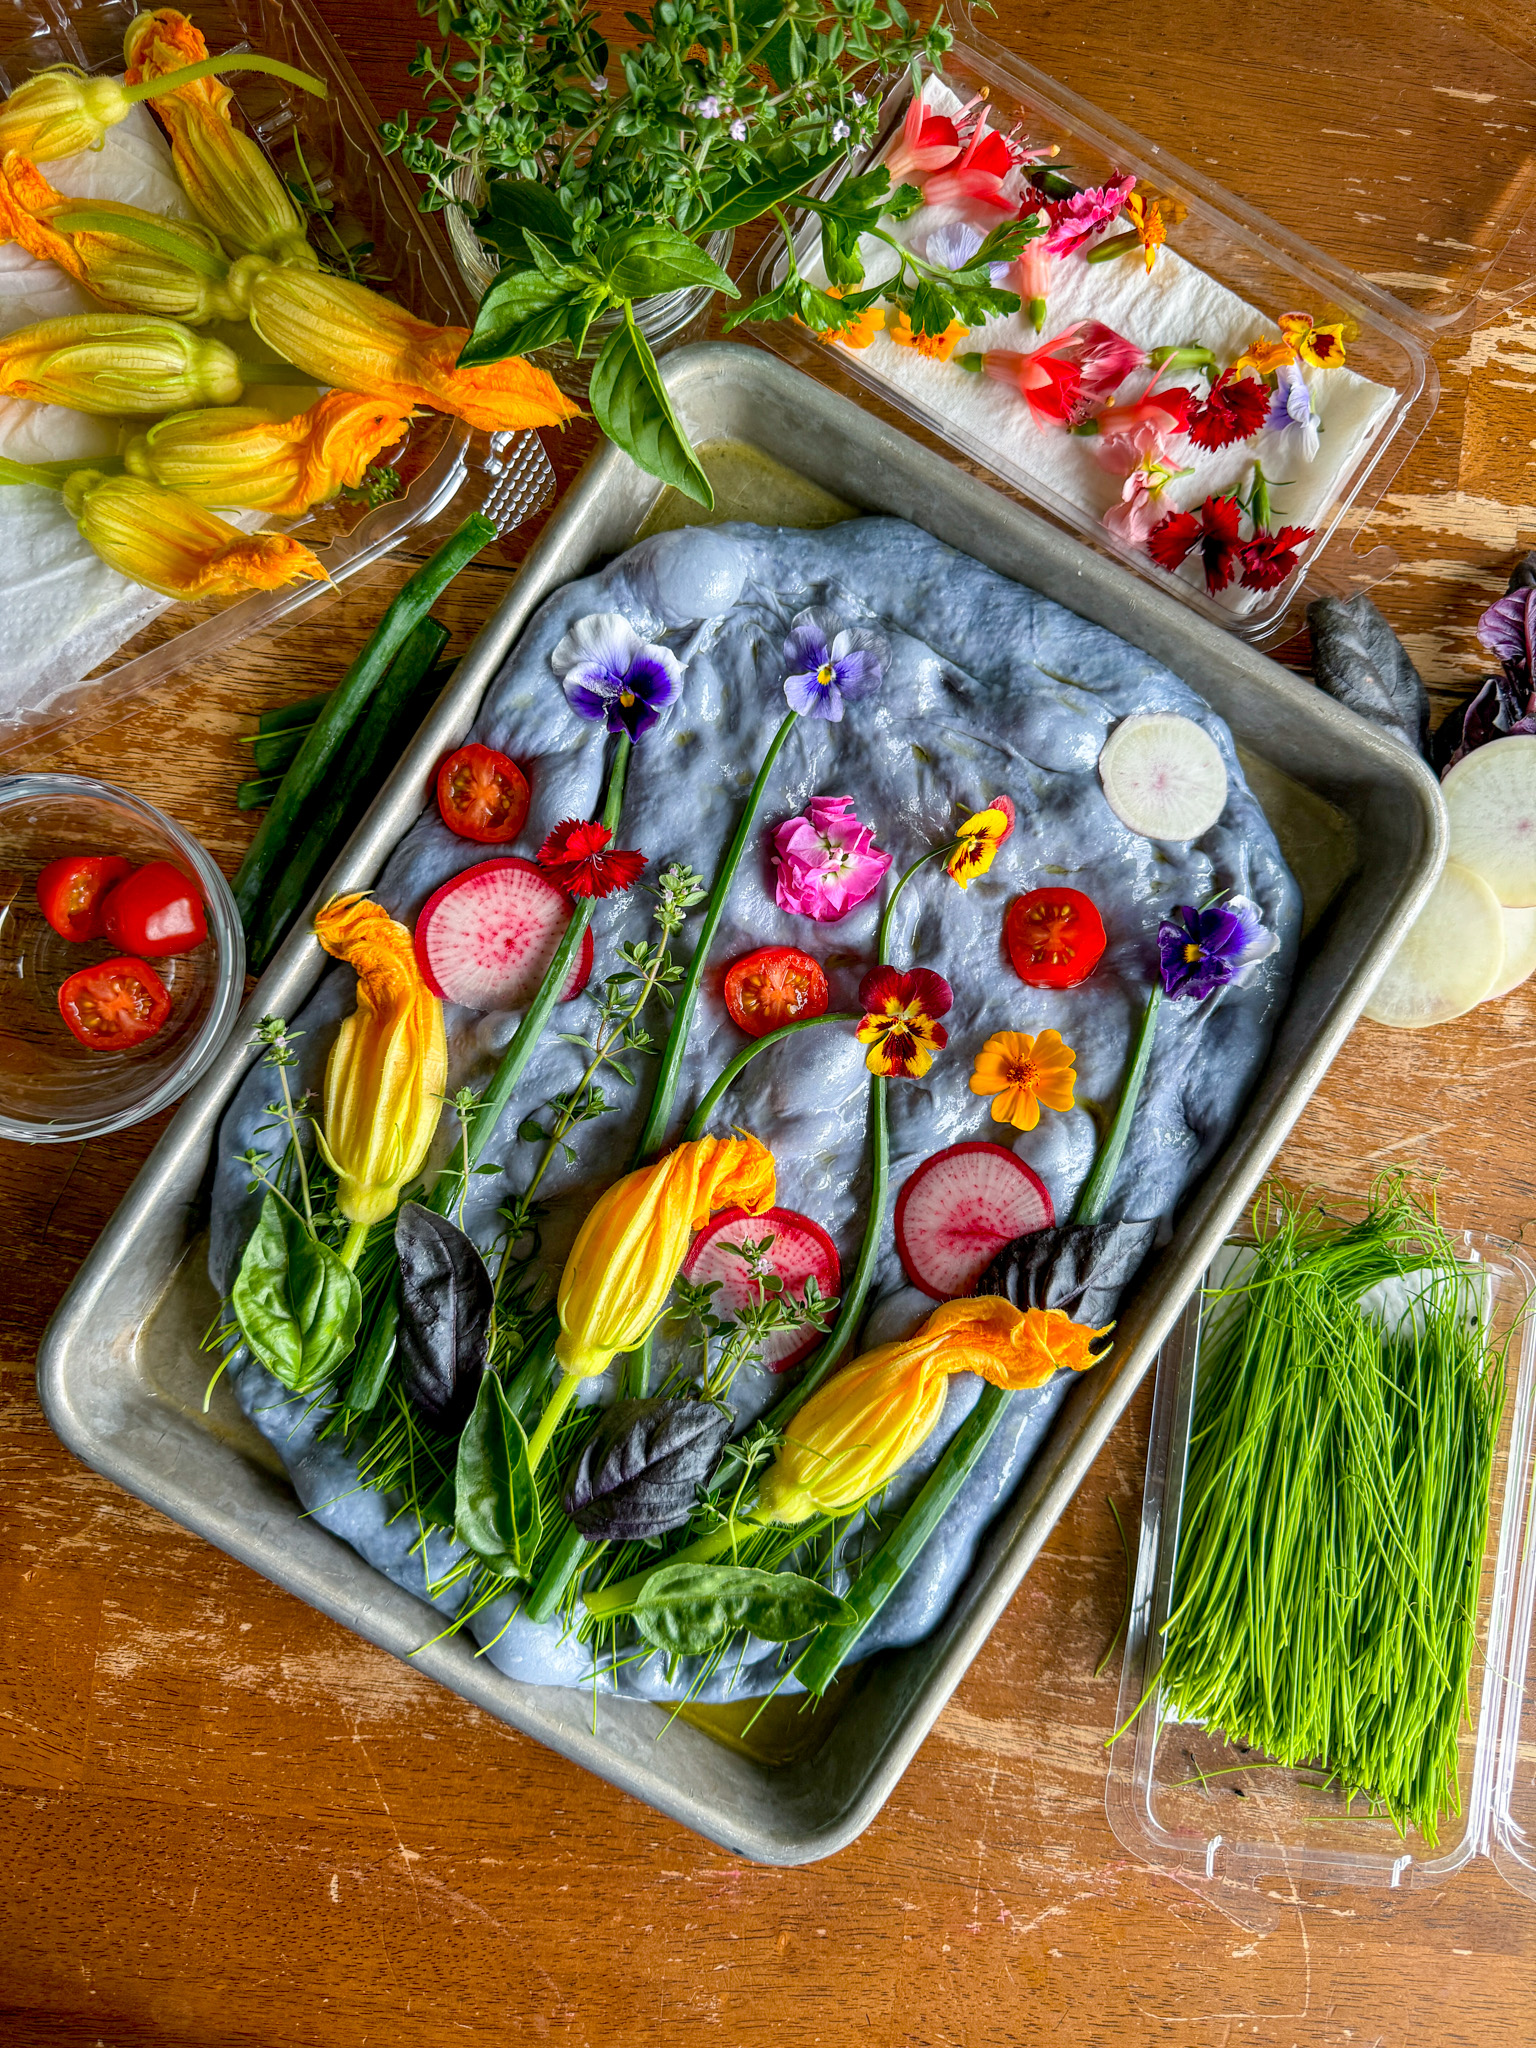
- Edible Flowers and Herbs - these are used to decorate the top of your bread. I used basil leaves, chives, squash blossoms, green onions, radishes, cherry tomatoes, pansies, violas, and thyme.
How to make Super Simple Focaccia
- In a large bowl add yeast, flour, salt, and butterfly pea tea. Mix until a dough forms-it will be pretty sticky and wet.
- Cover and let rise for an hour or until doubled in size.
- Add 3 tablespoon of olive oil to a quarter sheet pan or in a 9x13 baking dish.
- Place dough onto the sheet pan and gently stretch until it fills the pan.
- Cover and let rise an additional 30 minutes.
- Preheat oven to 425.
- Drizzle 1 tablespoon olive oil to the top of the bread and gently dimple the dough.
- Decorate with edible flours and herbs.
- Bake the dough for 25-30 minutes and enjoy!
Share Your Experience
I would love to hear about your experience making and enjoying my Easy Focaccia with Butterfly Pea Tea! Feel free to tag me on Instagram or leave a review below. Your feedback helps me improve our recipes and provides inspiration to fellow home cooks.
Save this recipe for later by simply using the pin button on the recipe card or any of the photos above. Happy cooking!
📖 Recipe
Easy Focaccia with Butterfly Pea Tea
Ingredients
Instructions
- In a large bowl add yeast, flour, salt, and butterfly pea tea. Mix until a dough forms-it will be pretty sticky and wet.
- Cover and let rise for an hour or until doubled in size.
- Add 3 tablespoon of olive oil to a quarter sheet pan or in a 9x13 baking dish.
- Place dough onto the sheet pan and gently stretch until it fills the pan.
- Cover and let rise an additional 30 minutes.
- Preheat oven to 425.
- Drizzle 1 tablespoon olive oil to the top of the bread and gently dimple the dough.
- Decorate with edible flours and herbs.
- Bake the dough for 25-30 minutes and enjoy!


