Easy Homemade Pizza Crust
This is the best homemade pizza crust! It is easy to make, has only five ingredients, and can be made several days in advance if needed.

Homemade pizza crust is a weekly occurrence here in our house! We love pizza night, everyone can make their own flavor and this pizza crust is ready to use in about an hour OR can be made head of time for an easy weeknight dinner.

What Ingredients are Used for Pizza Crust?
- Flour - I use all purpose flour, but you could swap for a 1-to-1 Gluten Free flour or a 00 Pizza Flour if you are feeling fancy!
- Olive Oil - or your favorite neutral tasting oil.
- Sugar or Honey - this is used to help activate the yeast.
- Yeast - I prefer to use active dry yeast.
- Salt - this adds flavor and helps to develop your dough.
- Water - technically a sixth ingredient. You will want this to be warm to help activate the yeast. I aim for the temperature of a baby bottle or about 110 F.
How to Make Homemade Pizza Crust?
- Sprinkle the yeast over the warm water in the bowl of a stand mixer. Whisk to combine and then let sit until bubbles have formed on the top, about 10 minutes.
- Add the flour, olive oil and salt and mix with the dough hook on medium-low speed until the dough comes together, about 2 minutes. Increase the speed to medium-high and knead until the dough is shiny and elastic, about 5-8 minutes. Alternatively you can knead by hand for about 10 minutes.
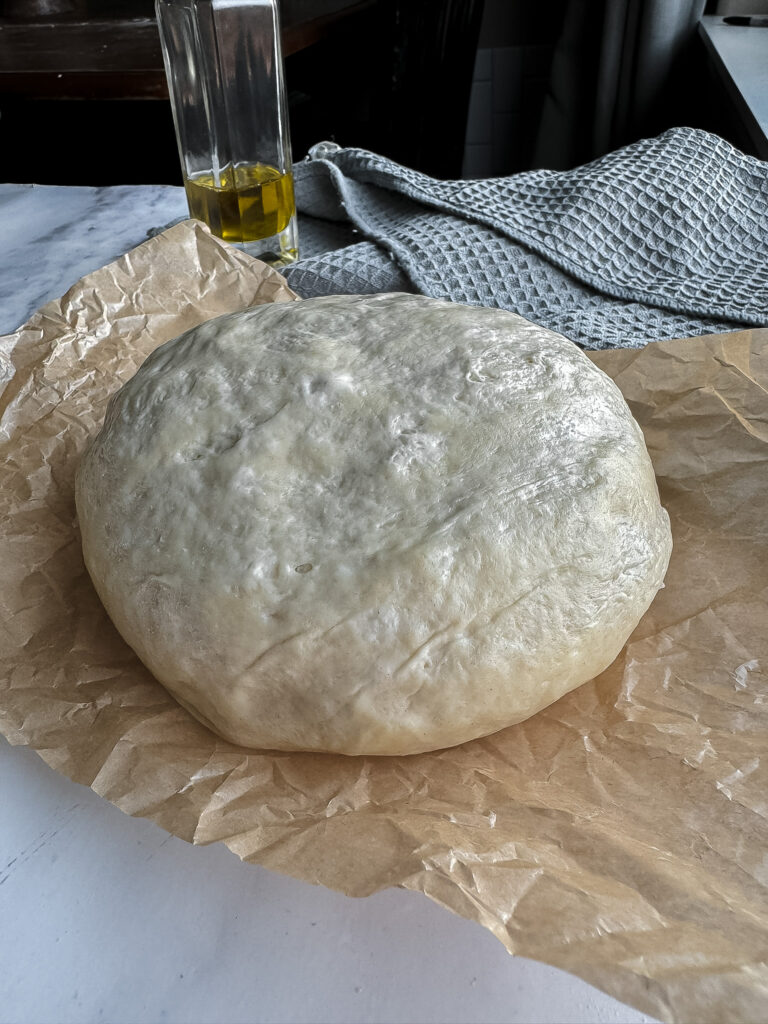
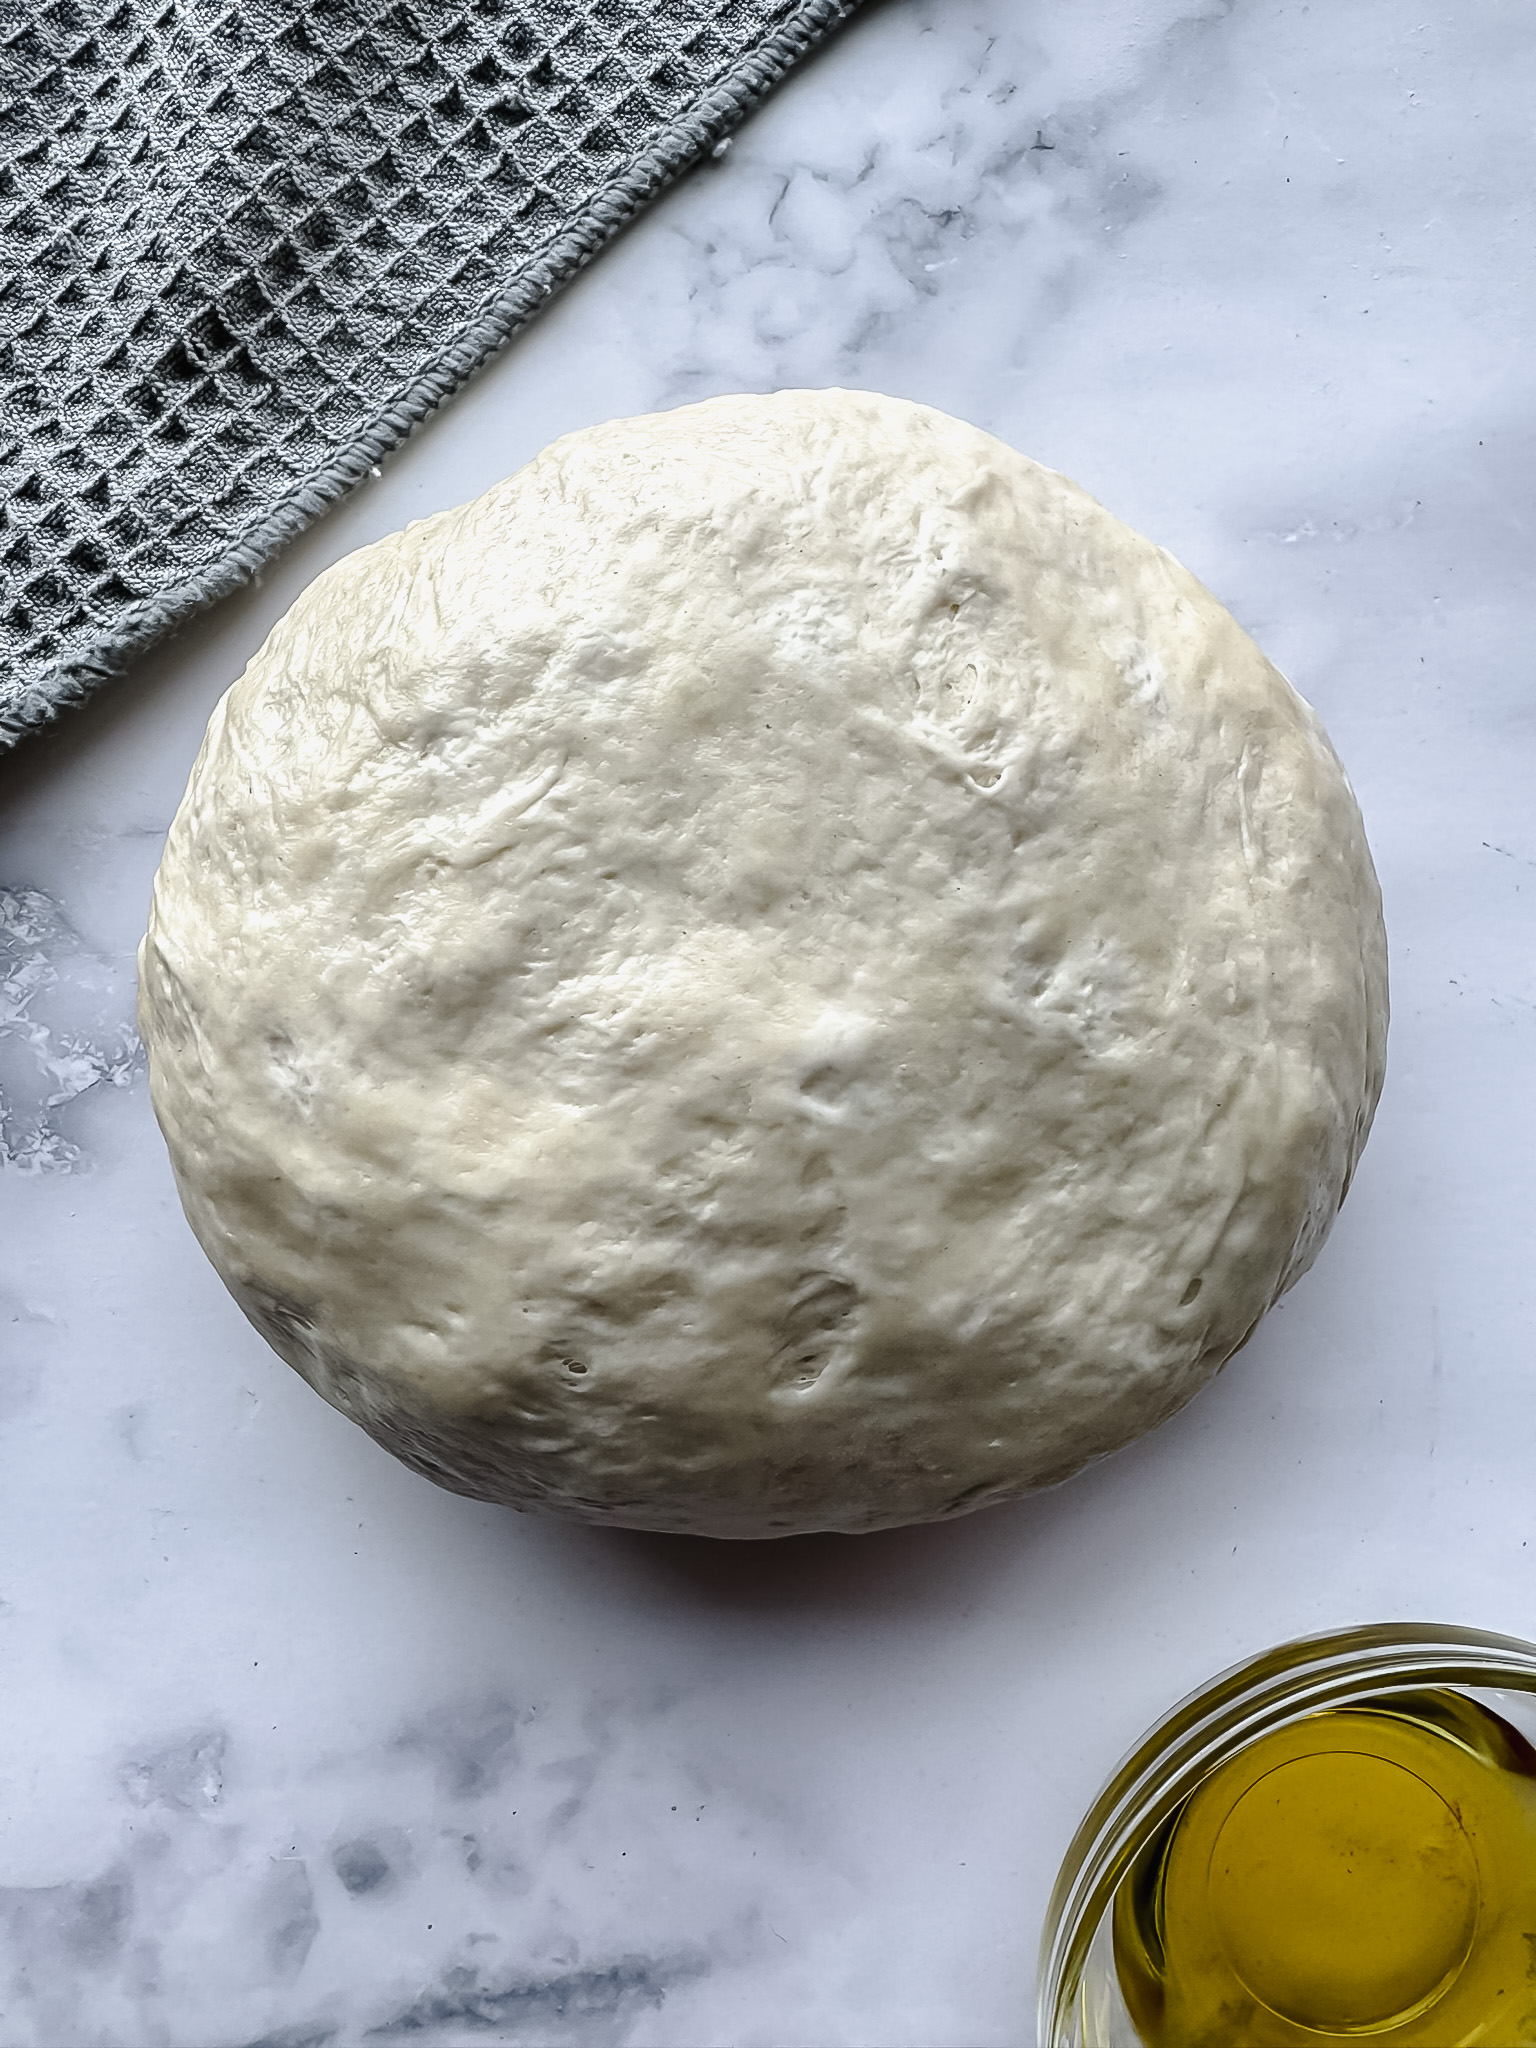
- Cover the bowl loosely with plastic wrap and let sit in a warm place until the dough is doubled in size, about 1 hour.
- Punch down the dough, use dough immediately or wrap in plastic wrap and store in fridge for up to 3 days before making your pizzas.
Favorite Pizza Recipes
- Steak + Balsamic -
- Balsamic Peach Basil Pizza
- Blackberry Basil Flatbread Pizza
- Balsamic Ricotta Zucchini Pizza
- Cheeseburger Pizza
- Buffalo Chicken Pizza
- Cheeseburger Calzones
Share Your Experience
I would love to hear about your experience making and enjoying my Homemade Pizza Crust! Feel free to tag me on Instagram or leave a review below. Your feedback helps me improve our recipes and provides inspiration to fellow home cooks.
Save this recipe for later by simply using the pin button on the recipe card or any of the photos above. Happy cooking!
📖 Recipe
Easy Homemade Pizza Crust
This is the best homemade pizza crust! It is easy to make, has only five ingredients, and can be made several days in advance if needed.
Ingredients
Instructions
- Sprinkle the yeast over the warm water in a large bowl or stand mixer. Whisk to combine and then let sit until bubbles have formed on the top, about 5-10 minutes.
- Add the flour, olive oil and salt and mix with the dough hook on medium-low speed until the dough comes together, about 2 minutes. Increase the speed to medium-high and knead until the dough is shiny and elastic, about 5-8 minutes. Alternatively you can knead by hand for about 10 minutes.
- Cover the bowl loosely with plastic wrap and let sit in a warm place until the dough is doubled in size, about 1 hour.
- Punch down the dough, use dough immediately or wrap in plastic wrap and store in fridge for up to 3 days before making your pizzas.


When do you add the sugar?
With the yeast and water mixture.
Love this!
So glad you enjoyed it!