Greek Pasta Salad with Homemade Greek Dressing
This Greek Pasta Salad is full of fresh Mediterranean flavors with tomatoes, cucumber, feta, olives, and homemade Greek dressing. Perfect for potlucks, meal prep, or summer lunches!

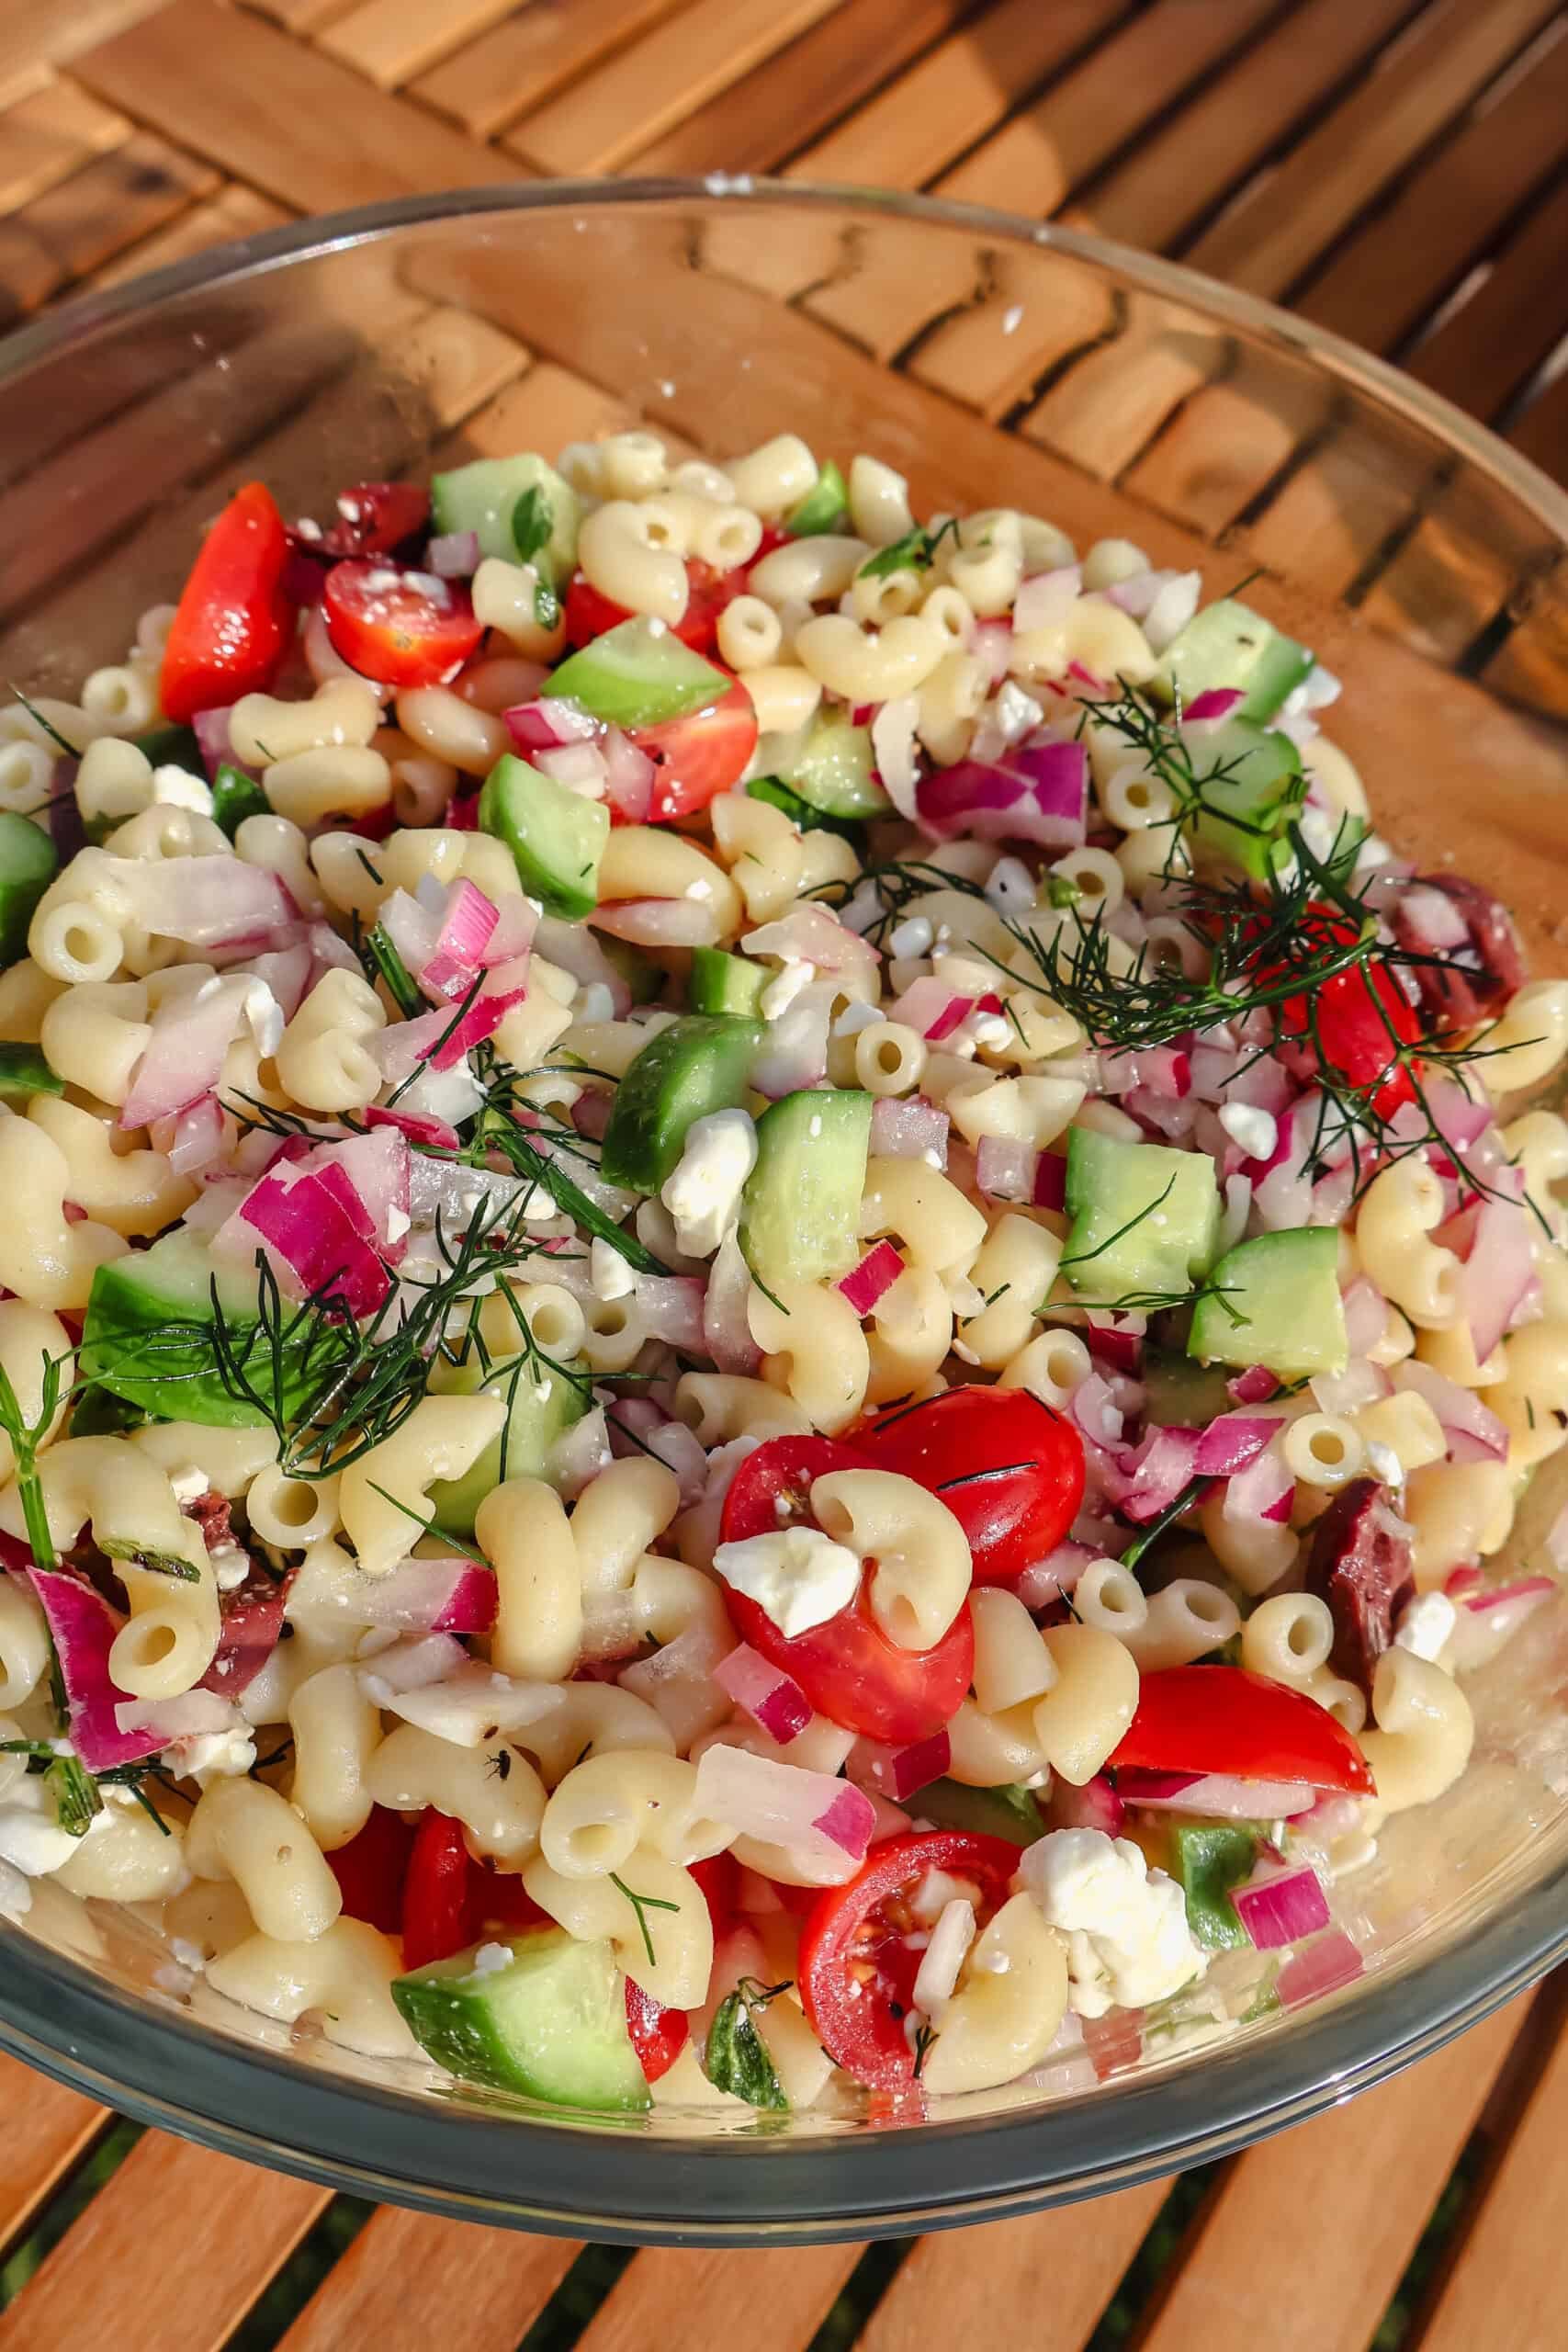
If you're looking for a vibrant, fresh, and flavorful dish to bring to your next cookout or weekday lunch, this Greek Pasta Salad is it. Loaded with colorful veggies, briny olives, creamy feta, and tossed in a tangy homemade Greek dressing, it's the perfect side dish that doubles as a light, satisfying meal.
This Mediterranean-inspired pasta salad brings together the bold flavors of Greece in one easy-to-make bowl. Whether you're prepping for a summer picnic, backyard BBQ, or meal-prepping for the week, this salad keeps well and tastes even better the next day.
Why You'll Love This Greek Pasta Salad
- Packed with fresh Mediterranean flavors
- Quick and easy to prepare - perfect for busy weekdays or last-minute entertaining
- Customizable with your favorite veggies or protein add-ins
- Tossed in a homemade Greek dressing with simple pantry ingredients
- Great for meal prep, potlucks, picnics, and warm-weather meals
What's In This Greek Pasta Salad
- Pasta - I like to use a smaller pasta like elbow
- Tomatoes
- Cucumber
- Kalmata Olives
- Feta Cheese
- Red Onion
- Fresh Dill
- Olive Oil
- White Wine Vinegar
- Garlic
- Oregano
- Honey
- Salt + Pepper
How to Make Greek Pasta Salad
Start by preparing your favorite short-cut pasta and letting it cool slightly. While the pasta is cooking, mix together your Greek dressing in a small jar or bowl - shake or whisk until it's emulsified and aromatic.
In a large mixing bowl, combine all the chopped vegetables, olives, cheese, and herbs. Add the cooled pasta, pour the dressing over everything, and toss to coat. That's it - a delicious, no-fuss dish that's bursting with color and flavor.
Tips for the Best Greek Pasta Salad
- Cook pasta just until al dente so it holds its shape in the salad
- Let the pasta cool slightly before tossing to avoid wilting the vegetables
- Use high-quality olive oil for the most flavorful dressing
- Taste and adjust seasoning just before serving - a pinch more salt or vinegar can brighten everything up
- Chill before serving if you have time - it helps the flavors meld

Serving Suggestions
This Greek Pasta Salad is versatile enough to be served as:
- A hearty vegetarian lunch
- A refreshing side dish for grilled chicken or seafood
- A make-ahead picnic salad
- A potluck favorite
- A light dinner with added chickpeas or grilled shrimp
Make-Ahead & Storage
Greek pasta salad is a dream for meal prepping! It can be made a day ahead and stored in an airtight container in the fridge. The flavors only get better with time. Just give it a good toss before serving and refresh with a little extra olive oil or vinegar if needed.
Recipe Variations
Want to mix things up? Try these ideas:
- Add artichoke hearts or roasted red peppers
- Swap dill for parsley or basil
- Stir in cooked chicken, shrimp, or chickpeas for added protein
- Use gluten-free pasta for a gluten-free version
Share Your Experience
I would love to hear about your experience making and enjoying my Greek Pasta Salad! Feel free to tag me on Instagram or leave a review below. Your feedback helps me improve our recipes and provides inspiration to fellow home cooks.
Save this recipe for later by simply using the pin button on the recipe card or any of the photos above. Happy cooking!
📖 Recipe
Greek Pasta Salad
Ingredients
Instructions
- In a small jar combine all ingredients for the Greek Dressing. Shake to combine and set aside.
- In a large bowl combine all the remaining ingredients, top with dressing and enjoy!


