The Easiest Grilled Tri-Tip Steak
This grilled tri-tip steak recipe is perfect for family dinners or when you need to serve a crowd! This naturally tender roast is a budget friendly steak that is easy to grill.
What is Tri-Tip?
Tri tip is a roast that comes from the sirloin area. It gets it's name because of the triangular shape of the roast. It is a well marbled cut of beef that is naturally tender. It does really well when grilled or roasted. If you cannot locate tri tip in your grocery story look for it under it's other names Santa Maria of bottom sirloin tip.
While tri tip is classified as a roast, It is naturally tender so we love to grill it up, slice it, and eat it just like a steak. BONUS: it is a less expensive cut of meat so is a great option for serving a crowd.
Ingredients
- 2-3 lb tri tip roast
- ½ cup olive oil
- 3 cloves garlic
- ¼ cup worcestershire sauce
- 1 tsp garlic powder
- 1 tsp onion powder
- 1 tsp salt

Instructions
- In a large ziplock bag add all ingredients. Place into refrigerator and let marinate for at least 4 hours. I like to rotate the bag ever 30 minutes or so.
- Preheat grill to 350 and remove tri tip from the refrigerator.
- Place wireless thermometer into the tri tip roast and place onto preheated grill.
- Flip the roast halfway through cooking. I used the Meater thermo estimated cook time to find the halfway point. For my 2 lb roast it was about 15 minutes before I needed to flip it.
- Once the internal temperature of your roast is 5 degrees LESS than your desired temperature remove the roast from the grill. The Meater will tell you exactly when you need to remove it which is what makes this tool so helpful!
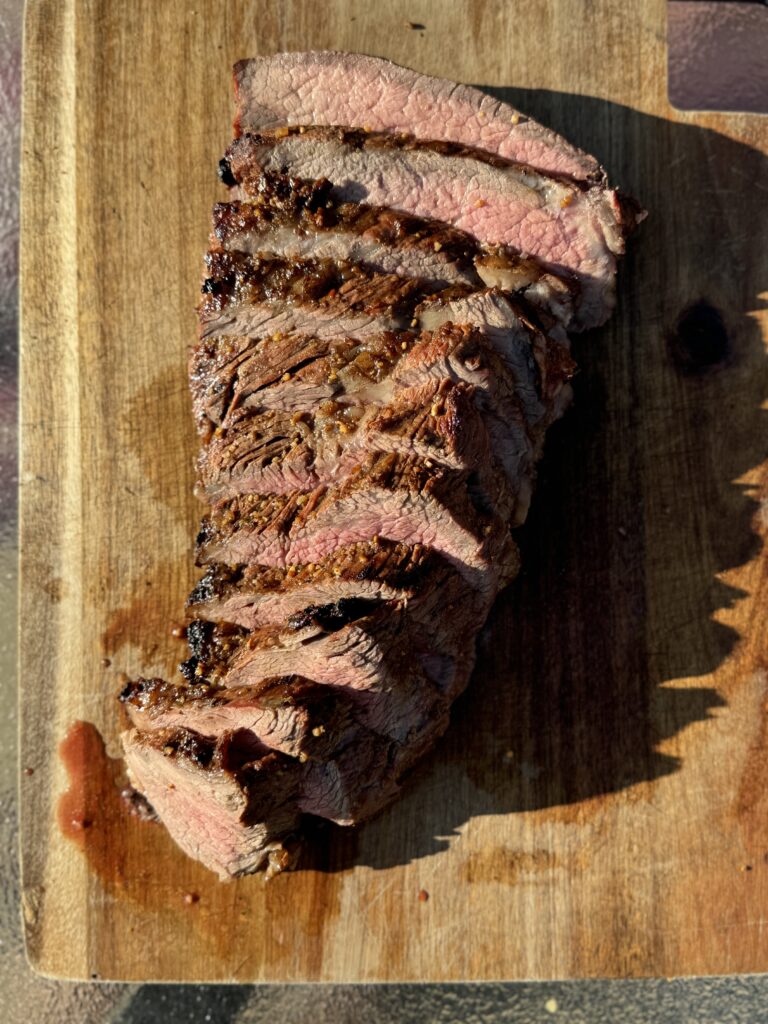
- Let your roast rest for 5-10 minutes before slicing and enjoy!
What makes this tri tip recipe so easy?
Honestly, this comes down to the tool! I have been afraid to cook the tri tip in our freezer because I didn't want to ruin it! So when I purchased the Meater thermometer it made it SO simple! Put the probe into your meat, connect the app, and let it tell you what to do!

Share Your Experience
I would love to hear about your experience making and enjoying my simple trip tip steak recipe! Feel free to tag me on Instagram or leave a review below. Your feedback helps me improve our recipes and provides inspiration to fellow home cooks.
Save this recipe for later by simply using the pin button on the recipe card or any of the photos above. Happy cooking!
📖 Recipe

The Easiest Grilled Tri-Tip
Ingredients
Equipment
Instructions
- In a large ziplock bag add all ingredients. Place into refrigerator and let marinate for at least 4 hours. I like to rotate the bag ever 30 minutes or so.
- Preheat grill to 350 and remove tri tip from the refrigerator.
- Place wireless thermometer into the tri tip roast and place onto preheated grill.
- Flip the roast halfway through cooking. I used the Meater thermo estimated cook time to find the halfway point. For my 2 lb roast it was about 15 minutes before I needed to flip it.
- Once the internal temperature of your roast is 5 degrees LESS than your desired temperature remove the roast from the grill. The Meater will tell you exactly when you need to remove it which is what makes this tool so helpful!
- Let your roast rest for 5-10 minutes before slicing and enjoy!


