Apple Crisp No Bake Cheesecake
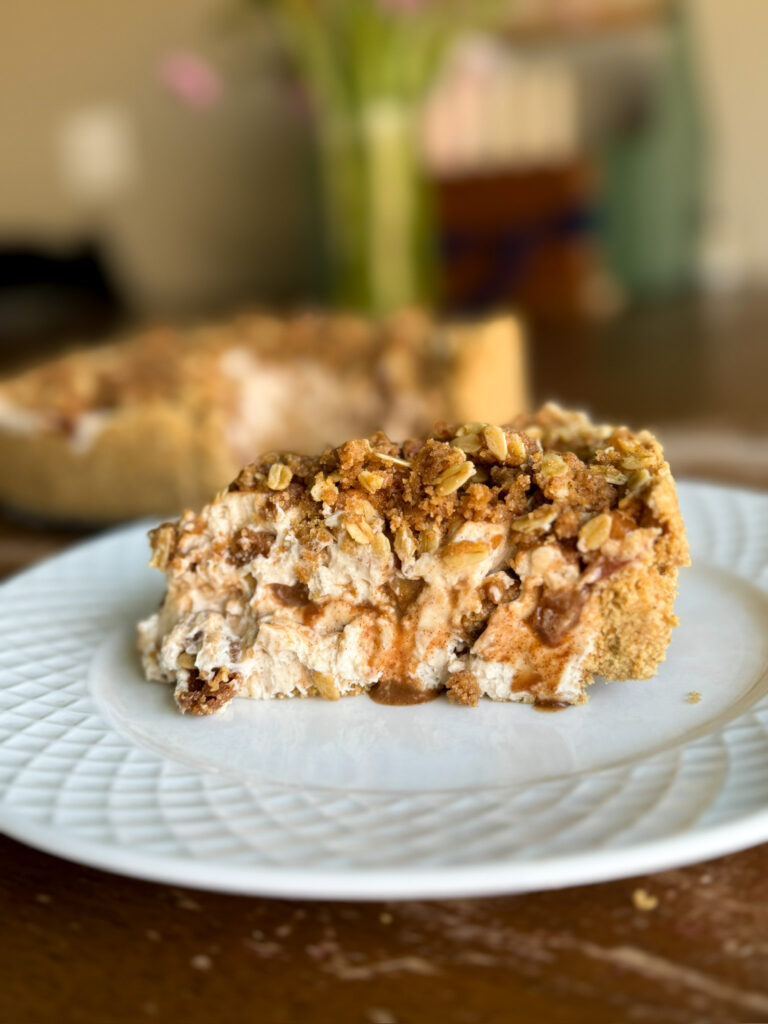
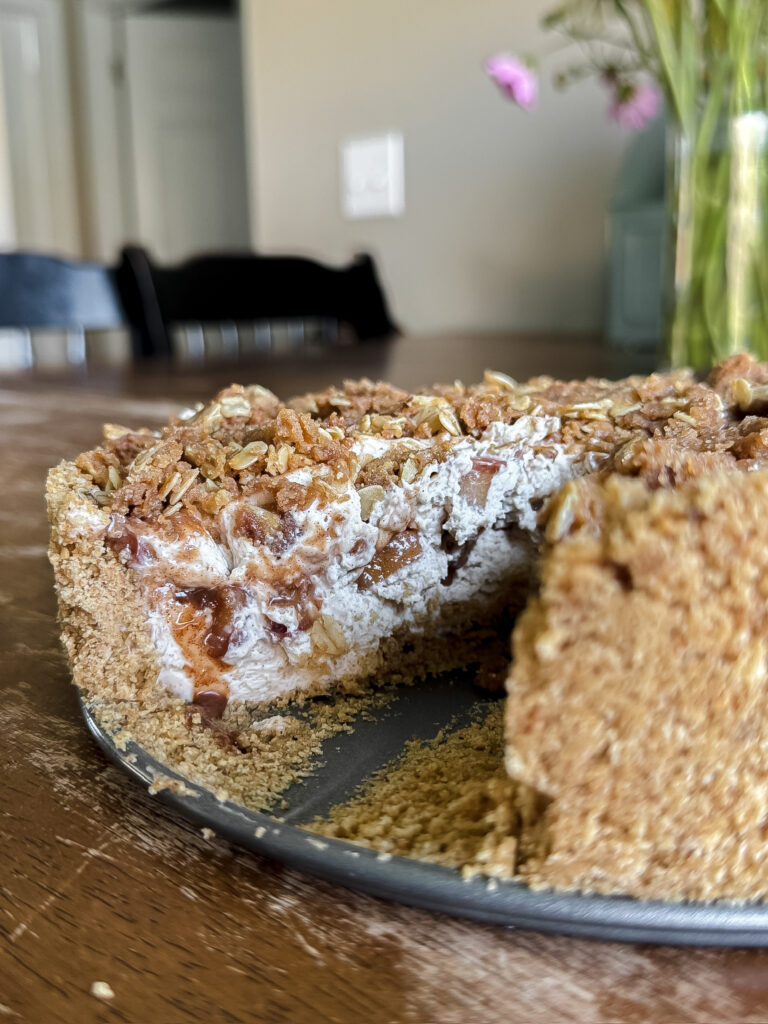
This apple crisp no bake cheesecake is made with fluffy creamy cheesecake, apple pie filling layers, and topped with a crisp topping for the perfect fall treat.
No bake cheesecake is one of my favorite treats to make! It is super simple and almost no fail! I much prefer the simplicity of making it over an actual cheesecake. However, I wanted to mix it up and add in some of my favorite fall flavors. So this Apple Crisp No Bake Cheesecake came to life! The addition of the crisp topping adds a much needed textural element to the cheesecake and really brings home the fall flavors.
Ingredients
- Cream Cheese - I prefer full fat cream cheese for richness
- Sugar - both brown and granulated
- Heavy Cream - if you are wanting to save time you can swap for 2 cups of whipped topping
- Vanilla Extract - the garlic of baking
- Salt - to help balance sweetness
- Butter - for the crust, apple filling, and crisp topping
- Graham Cracker Crumbs - About 2 packages of crushed graham crackers
- Apples - for our apple filling. I like to use a nice crisp apple
- Oats - for our crisp topping
- Flour - for our crisp topping
How to Make Apple Crisp No Bake Cheesecake
Crisp Topping
- Preheat oven to 400
- Combine brown sugar, flour, cinnamon, salt, and cardamom in a large bowl. Cut in butter until blended and the mixture resembles small peas.
- Mix in oats until well combined.
- Place onto a parchment lined baking sheet so that it is in a thin layer.
- Bake for 15-20 minutes. Remove from oven and allow to cool. Once cool use your hands to break apart into crumbs.
Apple Pie Filling
- In a skillet combine diced apples, butter, cinnamon, and brown sugar. Mix to combine.
- Cook over medium heat until apples have softened and the mixture begins to caramelize. This should take about 15 minutes.
Graham Cracker Crust
- In a small bowl combine graham cracker crumbs and melted butter. Mix to form a a sandy texture.
- Add the graham cracker mixture to an 8" springform pan or pie pan. Set aside for later.
Cheesecake
- In a large bowl add cream cheese, vanilla extract, cinnamon and sugar. Mix with a hand mixer until light and fluffy.
- In another bowl add heavy cream. Whip until stiff peaks form.
- Fold the whipped cream into the cream cheese mixture. Set aside.
- Take half of the cream cheese mixture and top graham crackers.
- Add in half of the apple pie filling and spread evenly.
- Top with remaining cream cheese mixture and remaining apple pie filling.
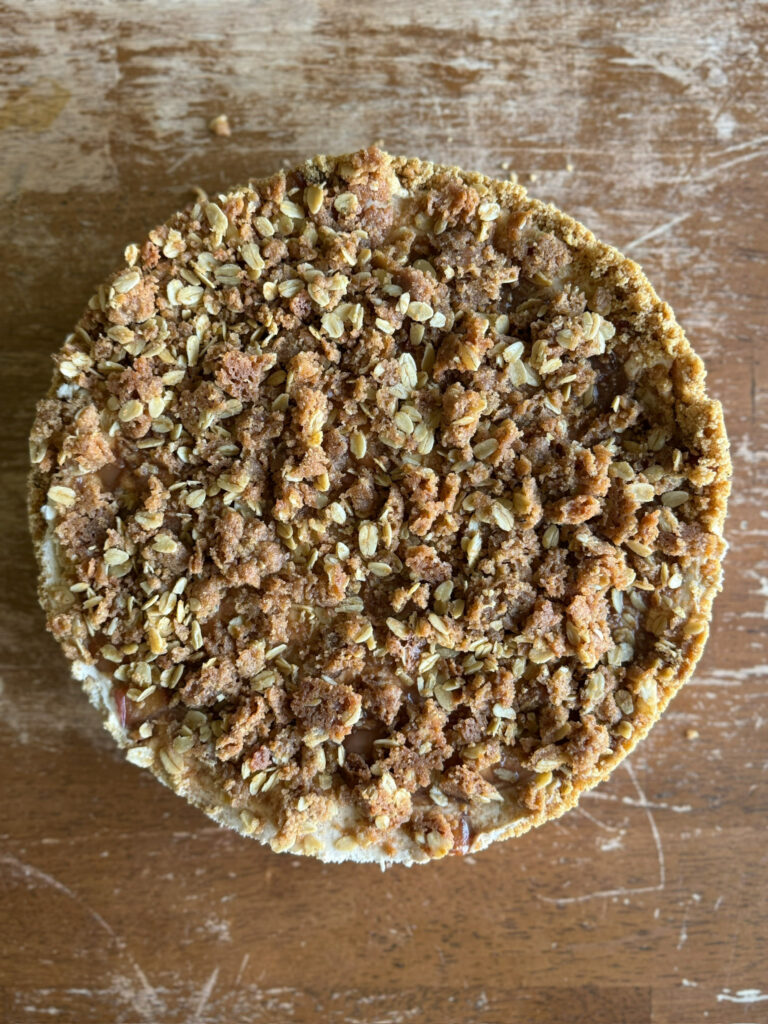
- Top with crisp topping and lightly press into mixture so it stays together.
- Serve immediately for a softer texture or cool in refrigerator for a few hours to set.
Want More Like This?
Share Your Experience
I would love to hear about your experience making and enjoying my Apple Crisp No Bake Cheesecake! Feel free to tag me on Instagram or leave a review below. Your feedback helps me improve our recipes and provides inspiration to fellow home cooks.
Save this recipe for later by simply using the pin button on the recipe card or any of the photos above. Happy cooking!
📖 Recipe

Apple Crisp No Bake Cheesecake
Ingredients
Instructions
- Preheat oven to 400
- Combine brown sugar, flour, cinnamon, salt, and cardamom in a large bowl. Cut in butter until blended and the mixture resembles small peas.
- Mix in oats until well combined.
- Place onto a parchment lined baking sheet so that it is in a thin layer.
- Bake for 15-20 minutes. Remove from oven and allow to cool. Once cool use your hands to break apart into crumbs.
- In a skillet combine diced apples, butter, cinnamon, and brown sugar. Mix to combine.
- Cook over medium heat until apples have softened and the mixture begins to caramelize. This should take about 15 minutes.
- In a small bowl combine graham cracker crumbs and melted butter. Mix to form a a sandy texture.
- Add the graham cracker mixture to an 8" springform pan or pie pan. Set aside for later.
- In a large bowl add cream cheese, vanilla extract, cinnamon and sugar. Mix with a hand mixer until light and fluffy.
- In another bowl add heavy cream. Whip until stiff peaks form.
- Fold the whipped cream into the cream cheese mixture. Set aside.
- Take half of the cream cheese mixture and top graham crackers.
- Add in half of the apple pie filling and spread evenly.
- Top with remaining cream cheese mixture and remaining apple pie filling.
- Top with crisp topping and lightly press into mixture so it stays together.
- Serve immediately for a softer texture or cool in refrigerator for a few hours to set.


