• About
  • Nav Social Icons

  • Skip to primary navigation
  • Skip to main content
  • Skip to primary sidebar
  • Skip to footer
  • Home
  • About
  • Blog
    • Mom Life
    • Farm Life
    • Recipes
      • Breakfast
      • Dessert
      • Dinner
      • Sides
      • Snacks
  • Shop
    • Shop – Digital Books
  • Cart
  • My account
  • Mobile Menu Widgets

    Connect

    Search

The Farmstyle

The Farmstyle

by Kayla Zenner

  • Home
  • About
  • Shop
    • Shop – Meal Plans
    • Shop My Favorites
  • Blog
    • Breakfast
    • Dessert
    • Dinner
    • Snacks
    • Sides
    • All Recipes
  • Cart

Buttery Crescent Rolls

November 9, 2023 · In: Breads, Recipes, Sides

FacebookTweetPin
Jump to Recipe Print Recipe

These buttery crescent rolls taste so much better than the canned ones and are sure to impress!

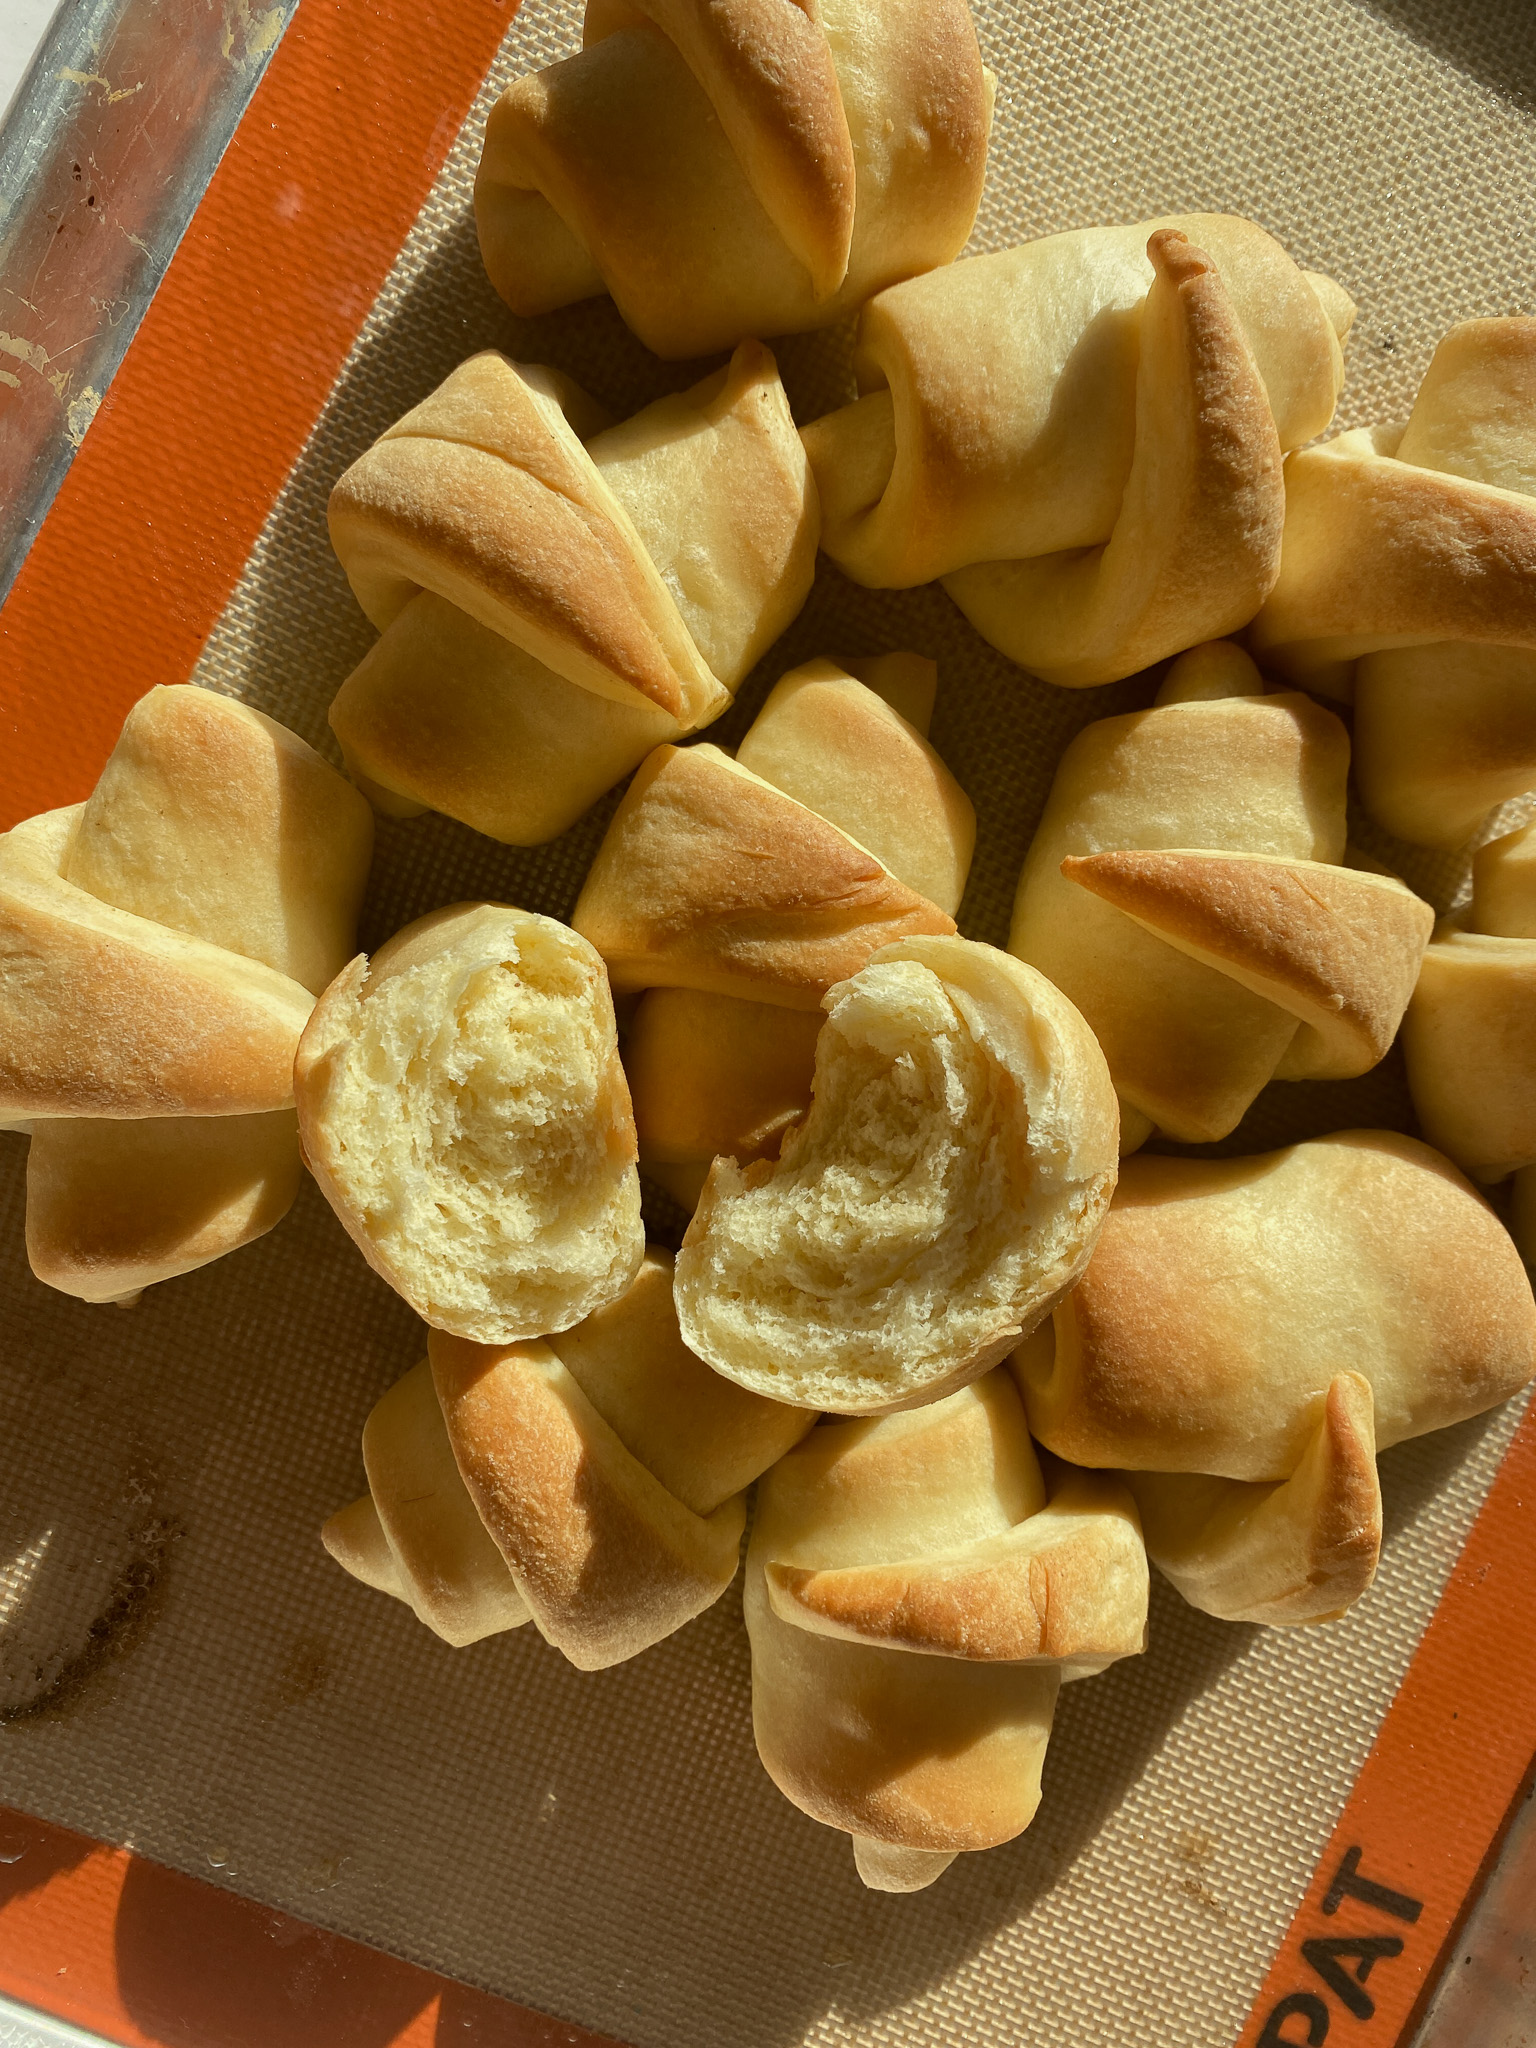
Buttery crescent rolls are a classic side dish for a reason. They’re flaky, buttery, and delicious, and they go perfectly with almost anything. Plus, they’re relatively easy to make, even for novice bakers.

If you’re looking for a buttery crescent roll recipe that will impress your guests, this one is for you. It’s made with a simple dough that’s rolled out and layered with butter, then cut into triangles and rolled up. The rolls are then baked until golden brown and flaky.
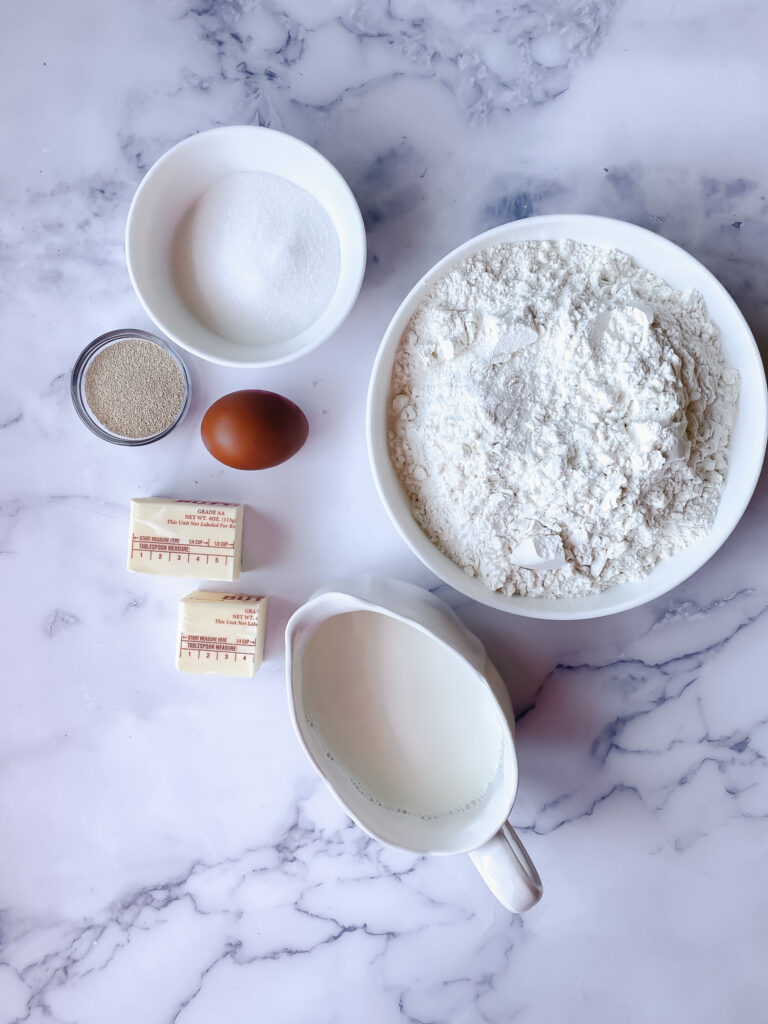
Ingredients

Active Dry Yeast; you can also use instant yeast, but half the first rise time.

Butter: You can’t have buttery rolls with out butter.

Milk: I prefer milk in here over water.

Sugar: adds a touch of sweetness to the dough.

Egg: add richness and structure

Flour: I used regular all purpose, but bread flour would be fine also.

Instructions

  • In a large bowl, dissolve the yeast in the warm milk. Let yeast dissolve for 5 minutes.
  • Add in 1/3 cup melted butter, sugar, egg, and salt. Mix until combined.
  • Mix in flour 1/2 cup at a time until a soft dough forms. Knead using a stand mixer for 2-3 minutes, or by hand for 6-8 minutes.
  • Place dough in an oiled bowl and let rise until doubled (about 1 hour).
  • split the dough in half and roll each into a 12 inch circle.
  • Brush each circle with the remaining 1/4 cup melted butter.
  • Cut each circle into 12 triangle wedges, and roll each wedge starting at the large end.
  • Let rise on a cookie sheet for another 30-60 minutes.
  • Bake at 375 for 10-12 minutes.

Want more like this?

  • Sweet Hawaiian Rolls
  • One Hour French Bread
  • Homemade Brioche Bread

Share Your Experience

I would love to hear about your experience making and enjoying my Buttery Crescent Rolls! Feel free to tag me on Instagram or leave a review below. Your feedback helps me improve our recipes and provides inspiration to fellow home cooks.

Save this recipe for later by simply using the pin button on the recipe card or any of the photos above. Happy cooking!

Buttery Crescent Rolls

No ratings yet
These buttery crescent rolls taste so much better than the canned ones and are sure to impress!
Print Recipe
Prep Time:2 hours hrs
Cook Time:15 minutes mins
Course: Side Dish
Keyword: flatbread
Servings: 12 rolls
Calories: 152kcal

Ingredients

  • 1 package dry active yeast 2 1/4 tsp
  • 4 tbsp butter
  • 1/2 cup milk warmed
  • 3 tbsp sugar
  • 1 tsp salt
  • 1 large egg
  • 2 cups all purpose flour
  • 2 tbsp butter melted

Instructions

  • In a large bowl, dissolve the yeast and sugar in the warm milk. Let yeast dissolve for 5 minutes. This mixture should be nice and foamy after 5 minutes.
  • Add in 4 tbsp melted butter, egg, and salt. Mix until combined.
  • Mix in flour 1/2 cup at a time until a soft dough forms. You may not use all 2 cups of flour. Knead using a stand mixer for 2-3 minutes, or by hand for 6-8 minutes.
  • Place dough in an oiled bowl and let rise until doubled (about 1 hour).
  • Roll the dough into a 12 inch circle.
  • Brush the circle with the remaining 2 tbsp melted butter.
  • Cut into 12 triangle wedges, and roll each wedge starting at the large end.
  • Let rise on a baking sheet for another 30-60 minutes.
  • Bake at 375 for 10-12 minutes.

Nutrition

Calories: 152kcal | Carbohydrates: 20g | Protein: 3g | Fat: 7g | Saturated Fat: 4g | Polyunsaturated Fat: 0.4g | Monounsaturated Fat: 2g | Trans Fat: 0.2g | Cholesterol: 32mg | Sodium: 249mg | Potassium: 51mg | Fiber: 1g | Sugar: 4g | Vitamin A: 214IU | Vitamin C: 0.002mg | Calcium: 20mg | Iron: 1mg

Share this:

  • Click to share on X (Opens in new window) X
  • Click to share on Facebook (Opens in new window) Facebook
  • Click to share on Pinterest (Opens in new window) Pinterest

Like this:

Like Loading...
FacebookTweetPin

By: Kayla · In: Breads, Recipes, Sides

About Kayla

Hi! I'm Kayla. I'm here to help inspire busy moms to get back in the kitchen and feel beautiful along the way! I'm married to my high school sweetheart and live on a farm with our two busy boys.

you’ll also love

Chicken Bacon Ranch Sliders on the Blackstone Griddle
Homemade Italian Dressing
savory ham and cheese monkey bread in bundt panSavory Breakfast Monkey Bread

Reader Interactions

Leave a ReplyCancel reply

Next Post >

From Scratch Green Bean Casserole

Primary Sidebar

Meet Kayla

Meet Kayla
hello!

LIVING OURFARM(LIFE)STYLE WHERE WE ​JUGGLE THE CHAOS OF MOTHERHOOD ONE ​KITCHEN ADVENTURE AT A TIME!

Read More

Connect

join the list

Categories

  • Blog
  • Recipes

Follow Along

@thefarmstyle


Help me get to my big goal before 2026.


Comment RECIPE for all the details sent to your in
Comment RECIPE for all the details sent to your inbox. 

These Individual Chicken Pot Pies are the ultimate cozy comfort food with a flaky homemade pie crust, creamy chicken filling, and perfectly portioned for easy serving.

Ingredients
Chicken Pot Pie Filling
3 cups rotisserie chicken shredded
1 onion diced
1/2 cup carrots diced
4 tbsp butter
1/4 cup flour
1/4 cup heavy cream
2 cups chicken broth
1 tsp onion powder
1 tsp garlic powder
1/2 tsp rosemary
Pie Crust
2 cups butter cold
4 cups all purpose flour
2 tsp salt
1/4 cup ice cold water

Instructions
Preheat oven to 425 F.

Make the Pie Crust
In a large bowl add cubed butter, salt and flour. Using a pastry cutter or two knives cut together the flour and butte until it resembles crumbly flour.
Slowly add in the ice cold water until the dough starts to come together. Once the dough starts to come together pour onto a counter and use your hands to combine the dough.
Split the dough in 12 section and place onto a floured surface and roll out half the pie crusts to fit your pie pan. If the dough starts to stick to the rolling pin, sprinkle a little flour on top.
Transfer the rolled-out crust to your pie pan, pressing it gently to fit the bottom and sides.

Make the Pot Pie Filling
Melt butter in a cast iron pan and add in onion and carrot. Cook over medium heat until soft. 
Add in flour. Cook for 1-2 minutes.
Add in chicken stock, seasonings, chicken, and heavy cream. Simmer for 5 minutes to thicken sauce. 
Top with biscuits and bake according to biscuit instructions.

Assemble the Pot Pies
Add about 1 cup of filling to each of the prepared pie pans.
Roll out remaining pie crust and place on top of filled pie pans.
Crimp the edges and bake pies for 25-30 minutes, or until crust is golden brown.

Make Ahead Option
After assembling the pit pies, place onto a sheet pan and freeze for 1-2 hours. Wrap each in plastic wrap and freeze for later. 
Bake from frozen at 400F for 45-55 minutes. Covering with foil if the tops brown too fast.


Comment BREAKFAST for all the recipe details.

Th
Comment BREAKFAST for all the recipe details. 

These viral sausage gravy bombs are perfect for Christmas morning! Combining the classic biscuit and gravy into a portable breakfast creation, they are a family favorite!

Ingredients
1 lb ground sausage
1/3 cup flour
2 cups milk
1 Tbsp Roasted Chicken Better than Bouillon
pepper to taste
1 pkg refrigerator biscuits

Instructions
In a large skillet cook the sausage.
Add in flour, stir to coat the sausage and cook for about 2 minutes. Add in milk boulion and pepper. Simmer until thickened.
Roll the biscuits into a small circle, then fill with about 1/4 cup gravy. Pinch up to middle to seal and place seam side down on a baking sheet. Repeat with remaining biscuits.
NOTE: if making these ahead of time you can place these in the refrigerator overnight. Then bake the next morning. 
Bake according to biscuit package.

TIP: I like to double this recipe and freeze the remaining. Pull out what I want the night before to thaw in the fridge, then place in oven on broil for a few minutes to crisp the biscuit up. BECAREFUL not to forget them in the oven and watch carefully.

#christmasbreak #makeaheadbreakfast #biscuitsandgravy


Nothing beats a room full of flour-dusted hands an
Nothing beats a room full of flour-dusted hands and people excited to learn.

Our pie and sugar cookie class with Wendy @thepeacefulhomestead gave 12 students the confidence (and the recipes) to bake treats everyone will be raving about.

These classes are always so much fun and I look forward to it every year.


(ad) A little peek into my everyday life:

School
(ad) A little peek into my everyday life:

School drop-off → recipe testing → editing → errands → cow chores and somewhere in between, I grab a @drinkolipop to keep things moving.

It’s not coffee. It’s not water. It’s just that happy moment in the middle of my day that feels like a treat and supports my wellness goals.

Today’s pick: Ginger Ale

Tomorrow? Who knows — the OLIPOP drawer stays stocked. 😉

Which flavor should I try next?

#OLIPOPpartner #DITL


So excited to get started with my new @breville Ba
So excited to get started with my new @breville Barista Touch! 

Not a perfect shot because I forgot to set the grind size to the correct spot, but stay tuned for tomorrow! 

#breville #espresso


Footer

On the Blog

  • Blog
  • Recipes

Info

  • About
  • Disclosure, Privacy Policy, and Terms

Copyright © 2025 · Theme by 17th Avenue

%d

    Rate This Recipe

    Your vote:


    A rating is required
    A name is required
    An email is required
    We use cookies to ensure that we give you the best experience on our website. If you continue to use this site we will assume that you are happy with it.