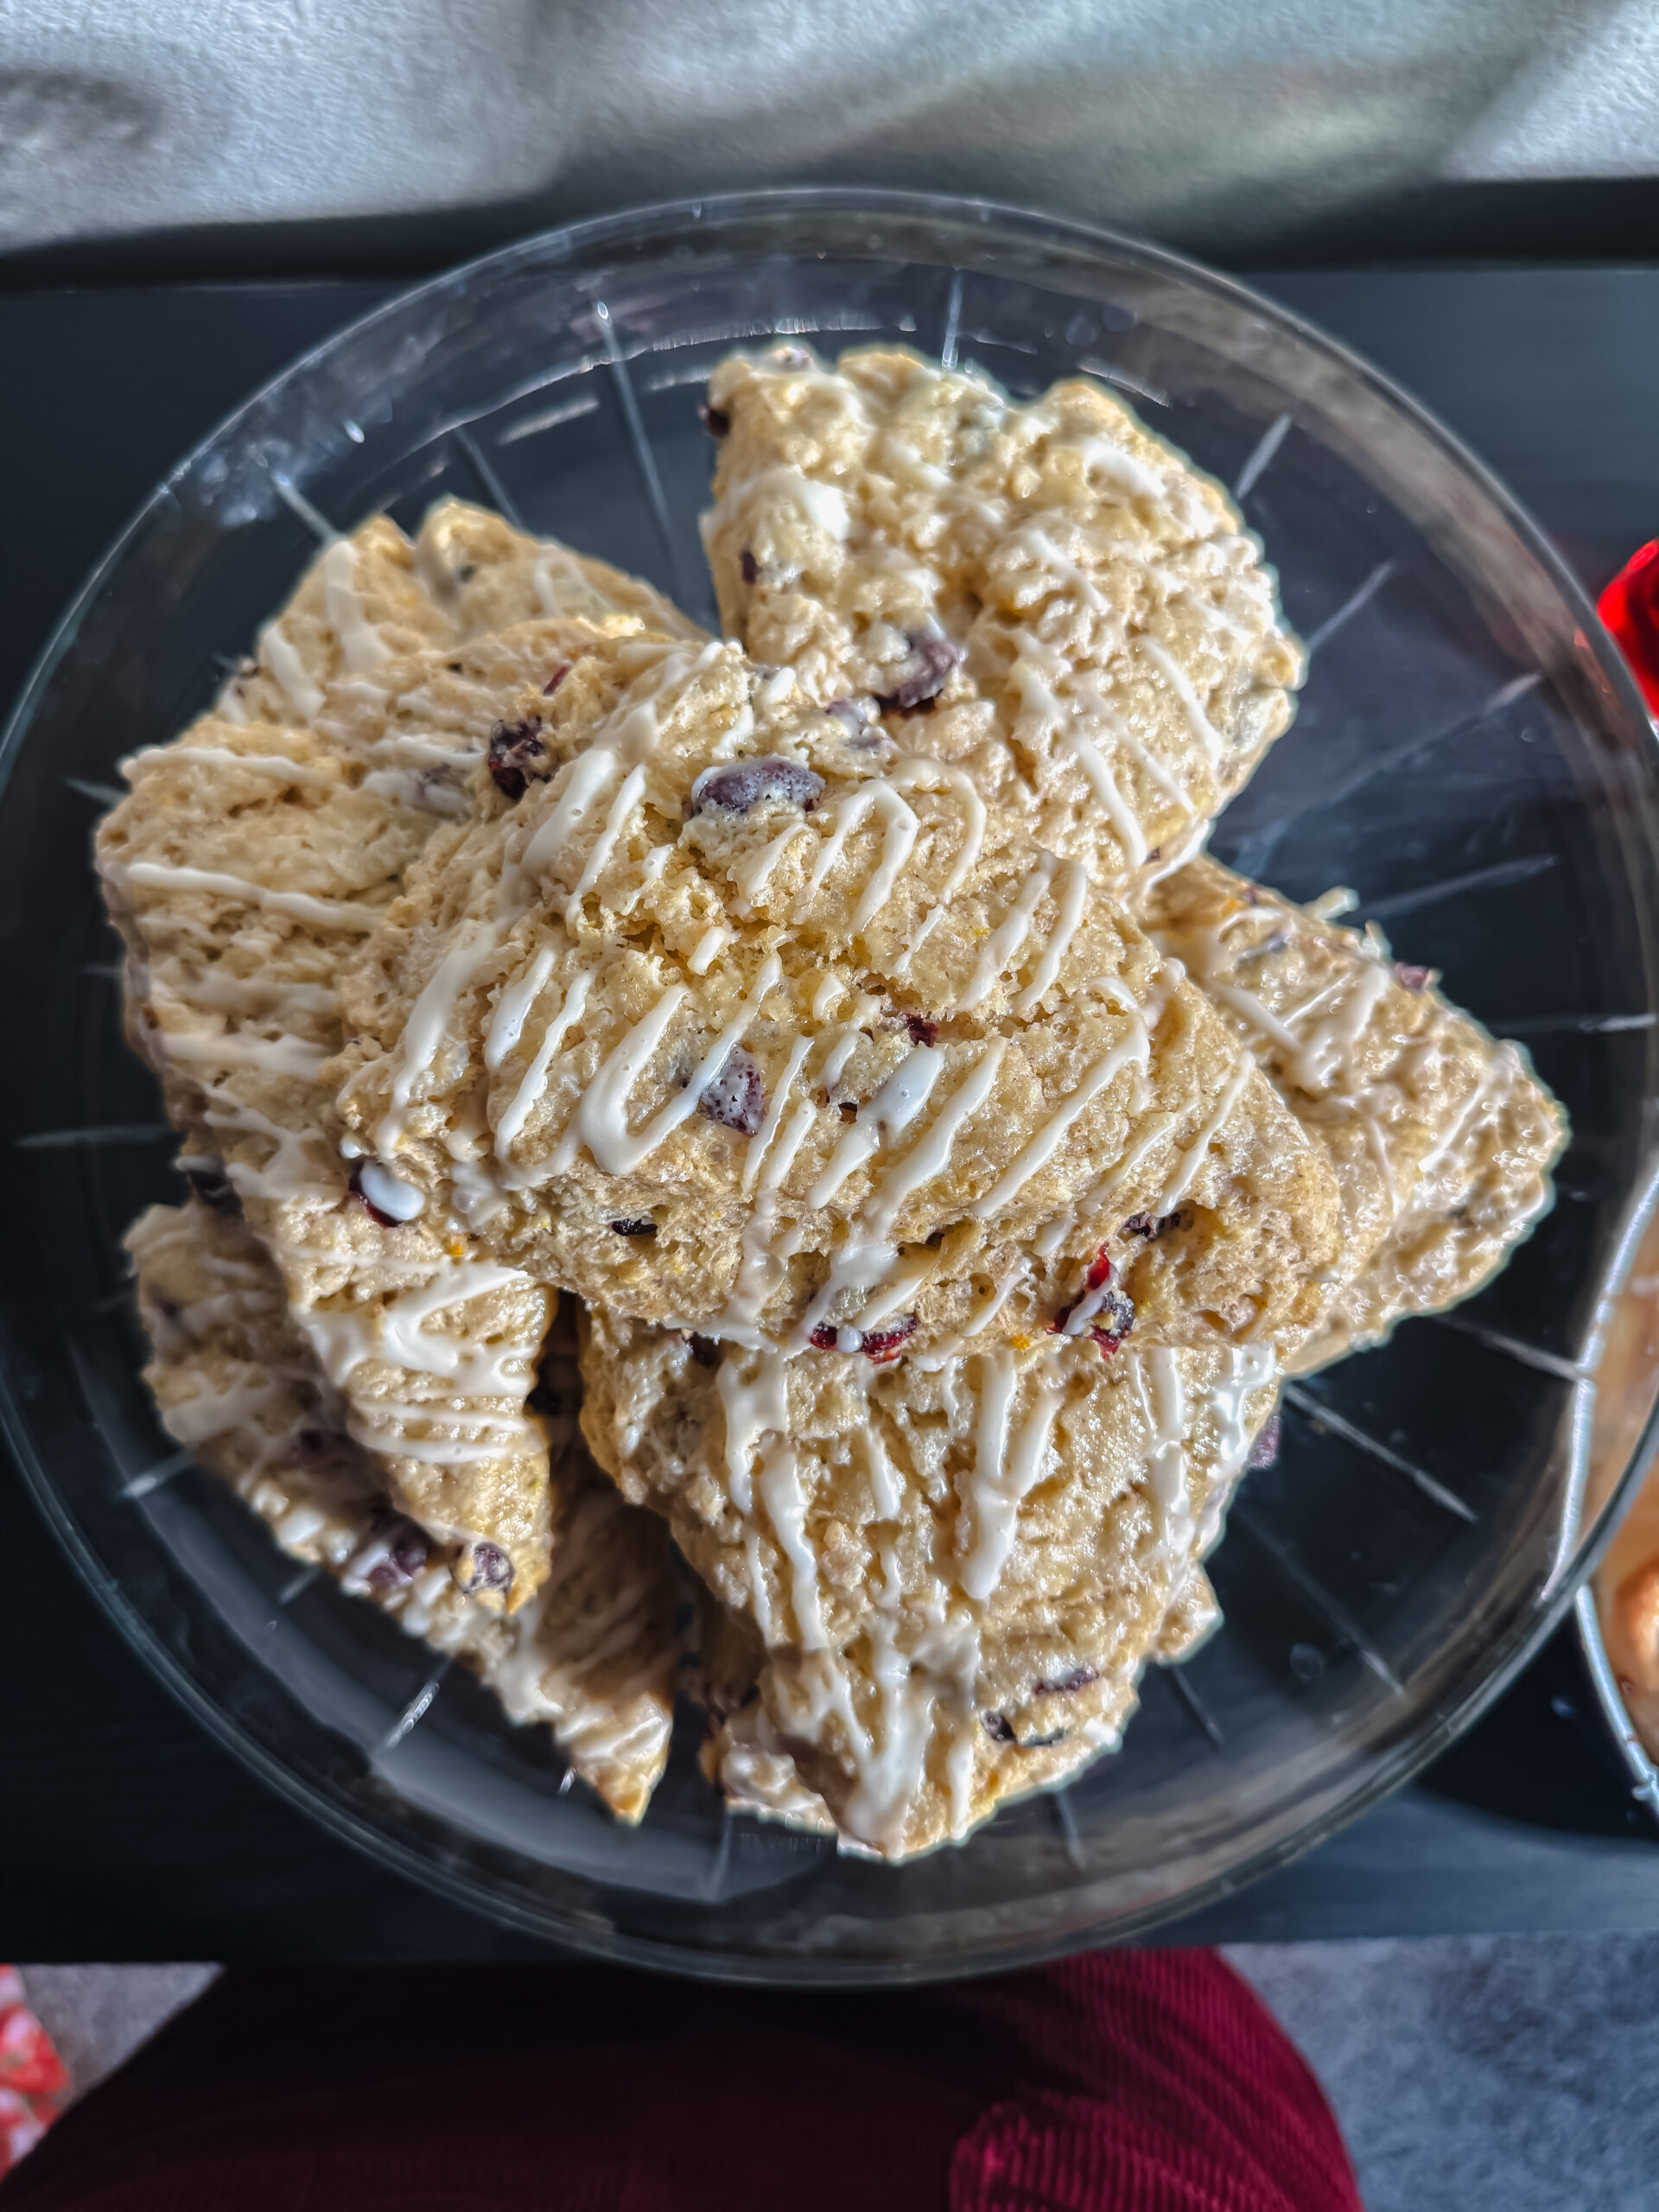
Cranberry Orange Scones
Bright, buttery, and full of holiday flavor, these Cranberry Orange Scones are soft, flaky, and topped with a sweet orange glaze, perfect for cozy mornings.

Soft, buttery, and perfectly sweet - these Cranberry Orange Scones are the ultimate cozy bake for the holiday season. Bursting with bright citrus flavor and chewy dried cranberries, these scones have that perfect bakery-style texture: crisp on the edges, tender in the middle, and finished with a sweet orange glaze.
Whether you're serving them for brunch, a cozy afternoon treat, or your Christmas morning breakfast, these scones are a delicious balance of tangy, sweet, and buttery flavors that everyone will love.
Why You'll Love This Recipe
- Bright & festive flavor - Sweet orange zest and tart dried cranberries make every bite taste like the holidays.
- Bakery-style texture - Cold butter and buttermilk give these scones a flaky, melt-in-your-mouth crumb.
- Simple to make - No fancy tools, no complicated steps - just easy homemade comfort.
- Perfect for gifting or brunch - These scones look beautiful and taste even better with a drizzle of orange glaze.
Ingredients
For the Scones
- All-purpose flour - The base that keeps the scones light and fluffy.
- Salt - Enhances all the other flavors.
- Baking powder - Gives the scones their soft, tender rise.
- Cold butter - The secret to that perfect flaky texture. (Tip: freeze it for a few minutes before grating!)
- Egg - Adds structure and richness.
- Sugar - for an extra touch of sweetness
- Buttermilk - Keeps the dough tender and slightly tangy.
- Orange zest - Brings a bright citrusy note that pairs beautifully with cranberries.
- Ocean Spray® Craisins® Dried Cranberries - Sweet, chewy, and full of holiday flavor.
- Heavy cream - Brushed on top for that gorgeous golden finish.
For the Glaze
- Powdered sugar - For sweetness and smooth texture.
- Fresh orange juice - Adds citrus flavor and thins the glaze to the perfect drizzling consistency.

Instructions
1. Prepare the Dough
Preheat your oven to 350°F. In a large mixing bowl, whisk together the flour, baking powder, salt, and sugar.
Using a cheese grater, grate the cold butter directly into the dry mixture. Gently mix with your hands until the texture becomes crumbly - like coarse sand.
2. Mix Wet Ingredients
Create a well in the center of your bowl and add the egg, buttermilk, and orange zest. Stir until just combined (the dough should be slightly sticky).
3. Add the Cranberries
Fold in the Ocean Spray® Craisins® Dried Cranberries. Avoid overmixing to keep the scones tender.
4. Shape and Cut
Turn the dough onto a floured surface, gently pat it into a circle about 1-inch thick, and cut it into wedges - like slicing a pizza.
5. Bake
Place the scones on a parchment-lined baking sheet, brush with heavy cream, and bake for 20-25 minutes, or until the edges are lightly golden.
6. Make the Glaze
While the scones bake, whisk together the powdered sugar and orange juice until smooth. Add more juice as needed to reach your desired consistency.
7. Glaze and Serve
Once the scones have cooled slightly, drizzle the orange glaze over top. Serve warm or at room temperature - they're irresistible either way!
Tips for Perfect Scones
- Keep your butter cold. Cold butter is key to creating those flaky layers.
- Don't overmix. Stir just until everything comes together - a little lumpiness is okay.
- Make ahead. You can freeze unbaked scones and bake them fresh in the morning!
- Add texture. Sprinkle coarse sugar on top before baking for extra crunch.
How to Serve
These scones pair perfectly with:
- A cozy Cranberry Latte
- A smear of orange marmalade or honey butter
- A brunch spread with fresh fruit and coffee
A Cozy Holiday Favorite
With their vibrant cranberry flavor, hint of orange zest, and soft, buttery crumb, these Cranberry Orange Scones are everything you want in a holiday bake. Whether you're making them for guests or just treating yourself to a quiet morning moment, they'll fill your kitchen with warmth and that irresistible smell of freshly baked goodness.
📖 Recipe
Cranberry Orange Scones
Ingredients
Instructions
- Preheat oven to 350℉. In a large mixing bowl, mix together flour, baking powder, salt, and granulated sugar.
- With a cheese grater, grate your cold butter and mix into dry ingredients with your hands until it reaches a crumbly texture.
- Create a well in the center of your bowl and add egg, buttermilk, and orange zest. Mix until just combined.
- Fold in dried cranberries; you want the dough to be just sticky enough to stick to your hands.
- Pour mixture onto a floured surface and shape into a circle. Cut into serving sizes, the same way you would a pizza. Then place onto a parchment lined baking sheet.
- Brush with heavy cream and bake at 350 degrees F for 20-25 minutes or until lightly golden on edges.
- While the scones bake combine the glaze ingredients and mix until smooth. Adding additional orange juice to get the desired consistency. Once the scones have cooled slightly drizzle the glaze over top.