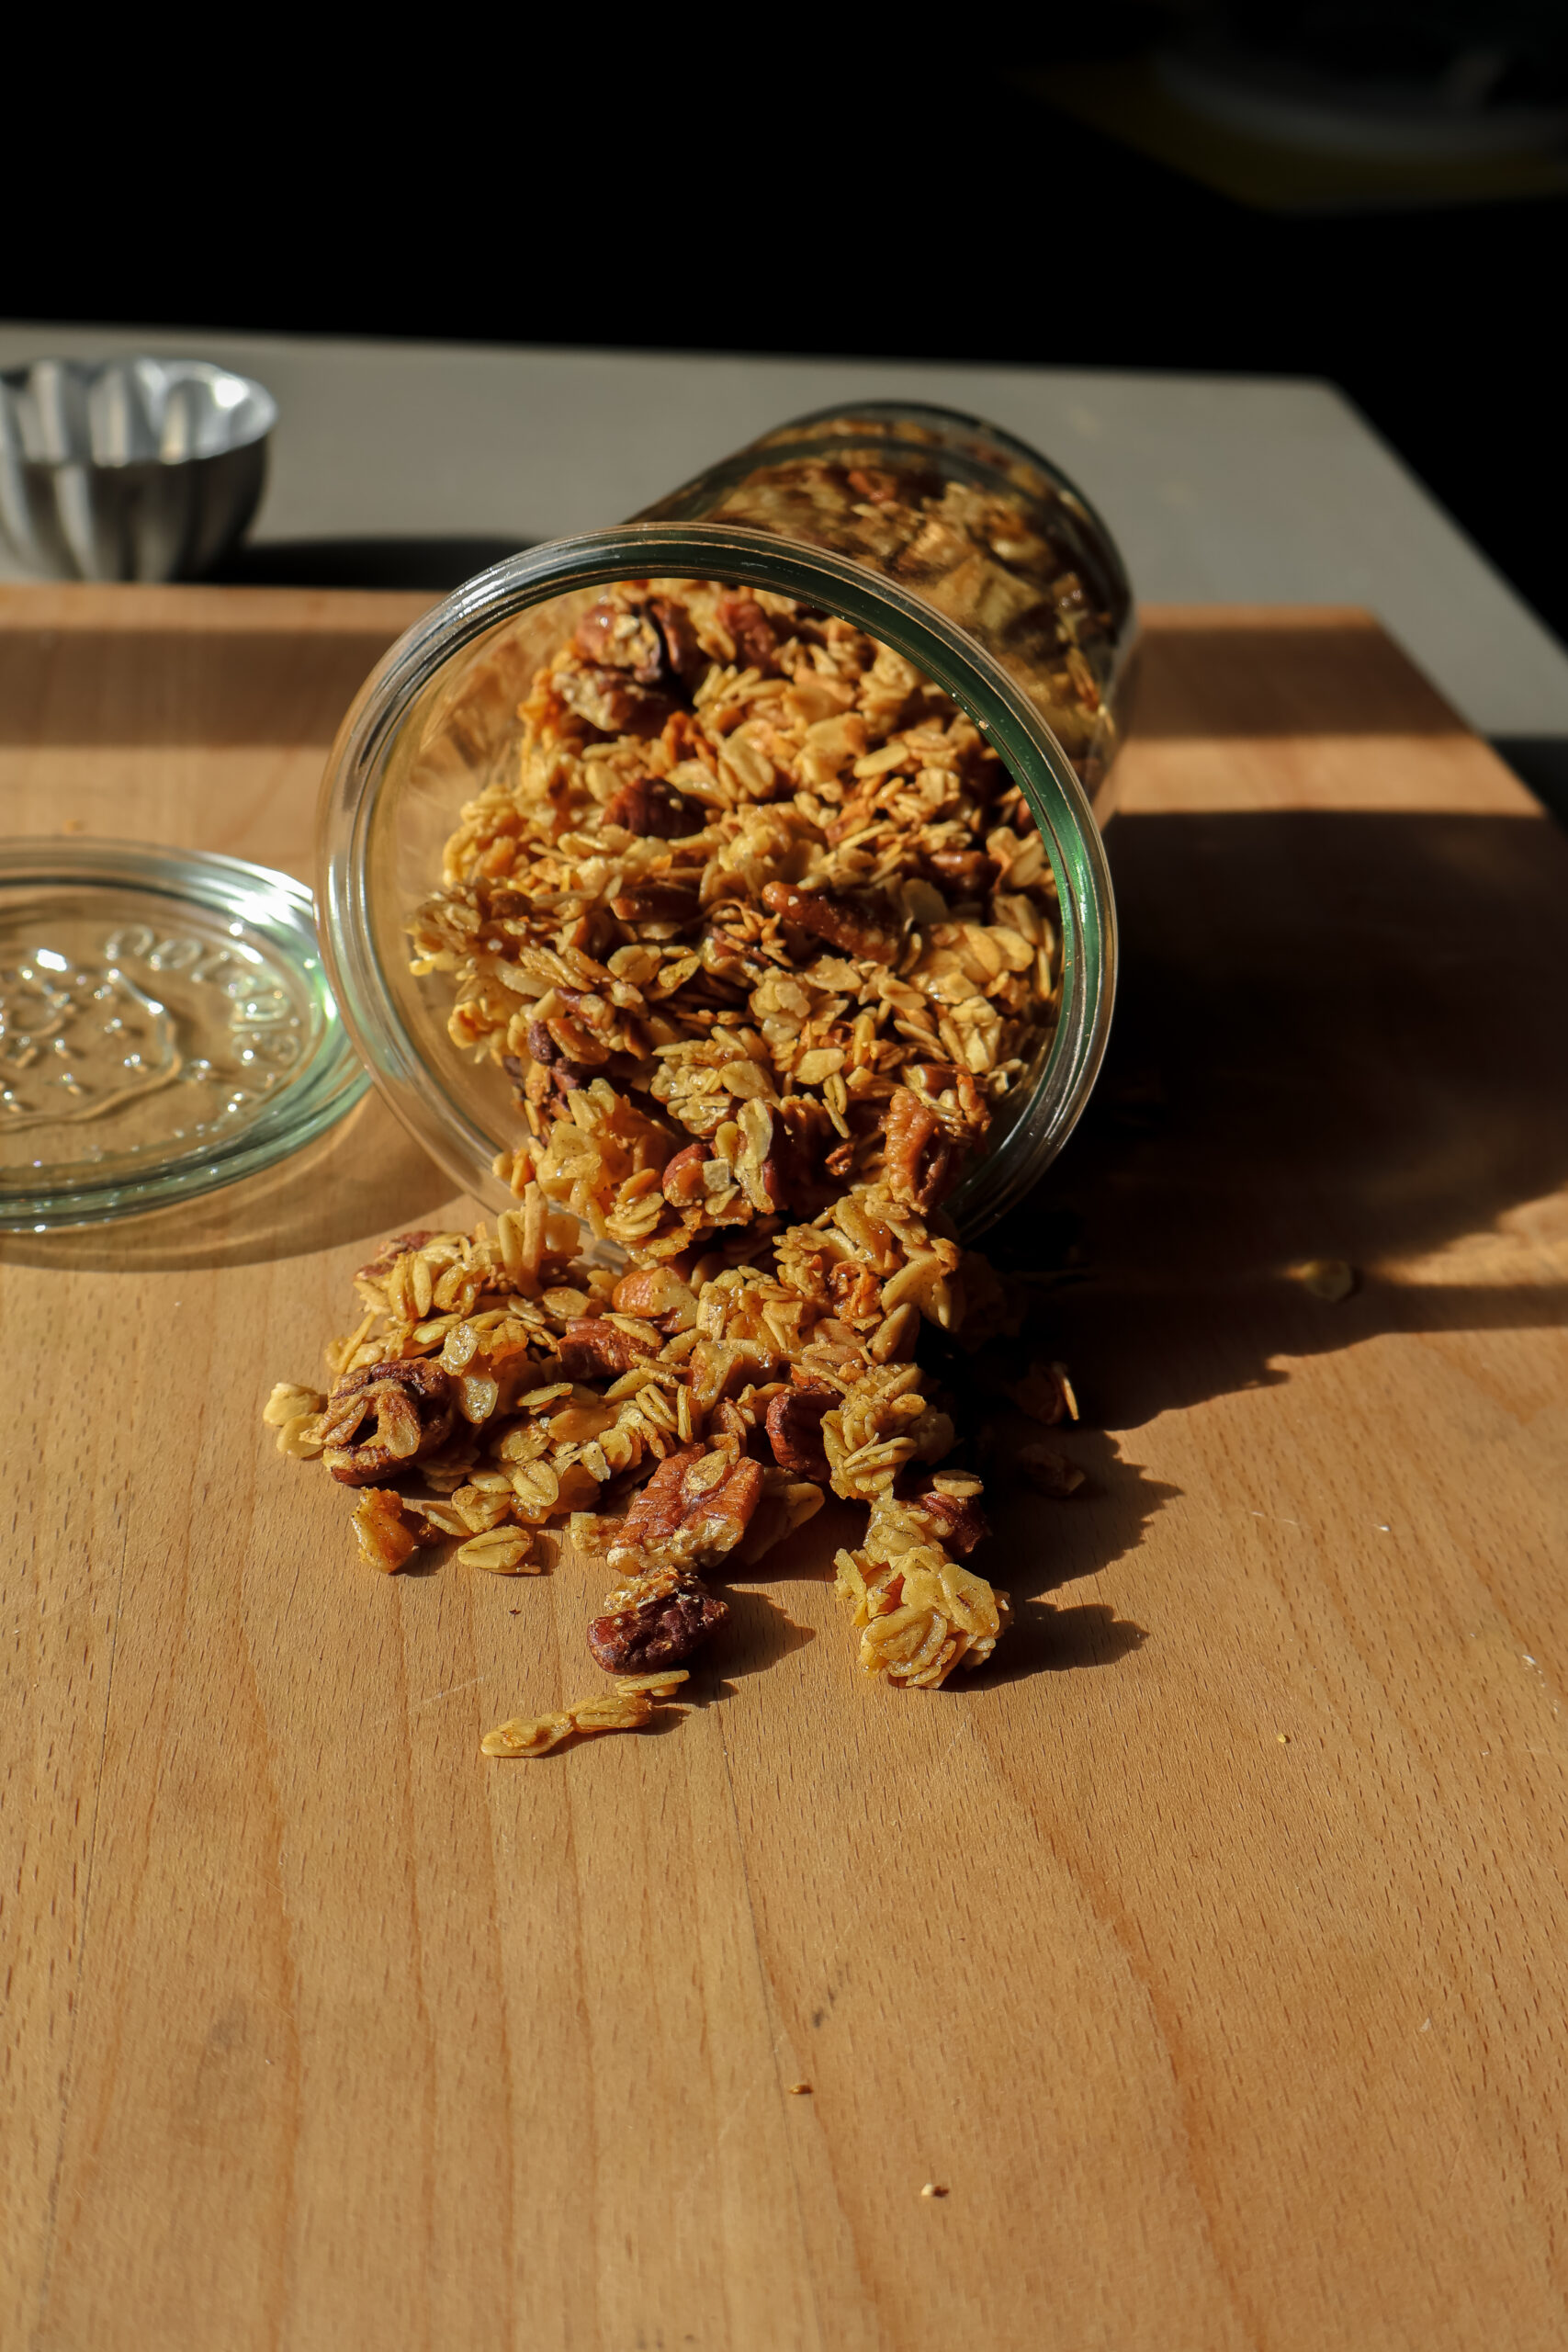
Easy Homemade Maple Pecan Granola
This easy homemade maple pecan granola is so easy to make and absolutely delicious.

We have gone through two batches of this super easy homemade granola in the last week! Everyone in the house loves to eat this granola on it's own or stirred into yogurt. BONUS: it can be customized by adding in or swapping out your favorite ingredients.

Ingredients
- Pecans
- Rolled Oats
- Ground Flaxseed
- Shredded Coconut
- Maple Syrup - my favorite sweetener for granola. It adds the perfect amount of sweetness with the added bonus of maple flavor.
- Butter - I love to use butter instead of oil to help with the browning
- Cinnamon
- Vanilla Extract
- Salt

How to make Homemade Maple Pecan Granola
- Preheat oven to 350F.
- Add pecans, oats, ground flax, shredded coconut, and salt to a bowl. Mix to combine.
- Add in maple syrup, melted butter, and vanilla extract. Mix to combine.
- Add mixture to a parchment lined baking sheet and spread to an even layer.
- Bake for 25-30 minutes until granola starts to brown.
- Remove from oven and let cool completely. Add to an airtight container and store at room temperature for 1-2 weeks.


Share Your Experience
I would love to hear about your experience making and enjoying my Easy Homemade Maple Pecan Granola! Feel free to tag me on Instagram or leave a review below. Your feedback helps me improve our recipes and provides inspiration to fellow home cooks.
Save this recipe for later by simply using the pin button on the recipe card or any of the photos above. Happy cooking!

📖 Recipe
Easy Homemade Maple Pecan Granola
This easy homemade maple pecan granola is so easy to make and absolutely delicious.
Ingredients
Instructions
- Preheat oven to 350F.
- Add pecans, oats, ground flax, shredded coconut, and salt to a bowl. Mix to combine.
- Add in maple syrup, melted butter, and vanilla extract. Mix to combine.
- Add mixture to a parchment lined baking sheet and spread to an even layer.
- Bake for 25-30 minutes until granola starts to brown.
- Remove from oven and let cool completely. Add to an airtight container and store at room temperature for 1-2 weeks.