Stuffed Pepper Skillet with Orzo | One Pan Dinner
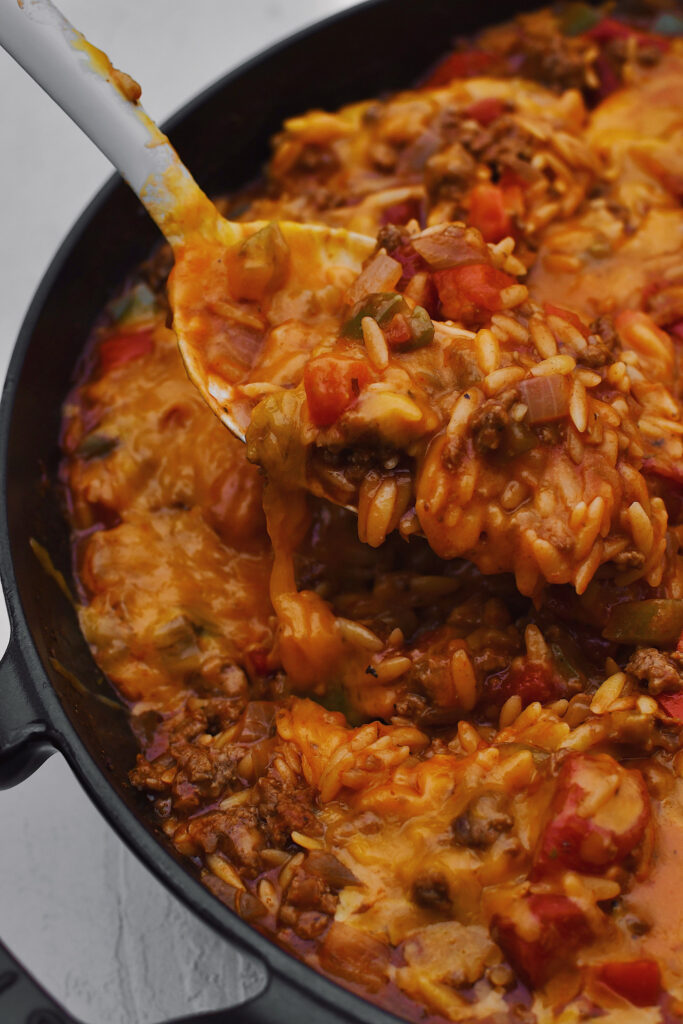
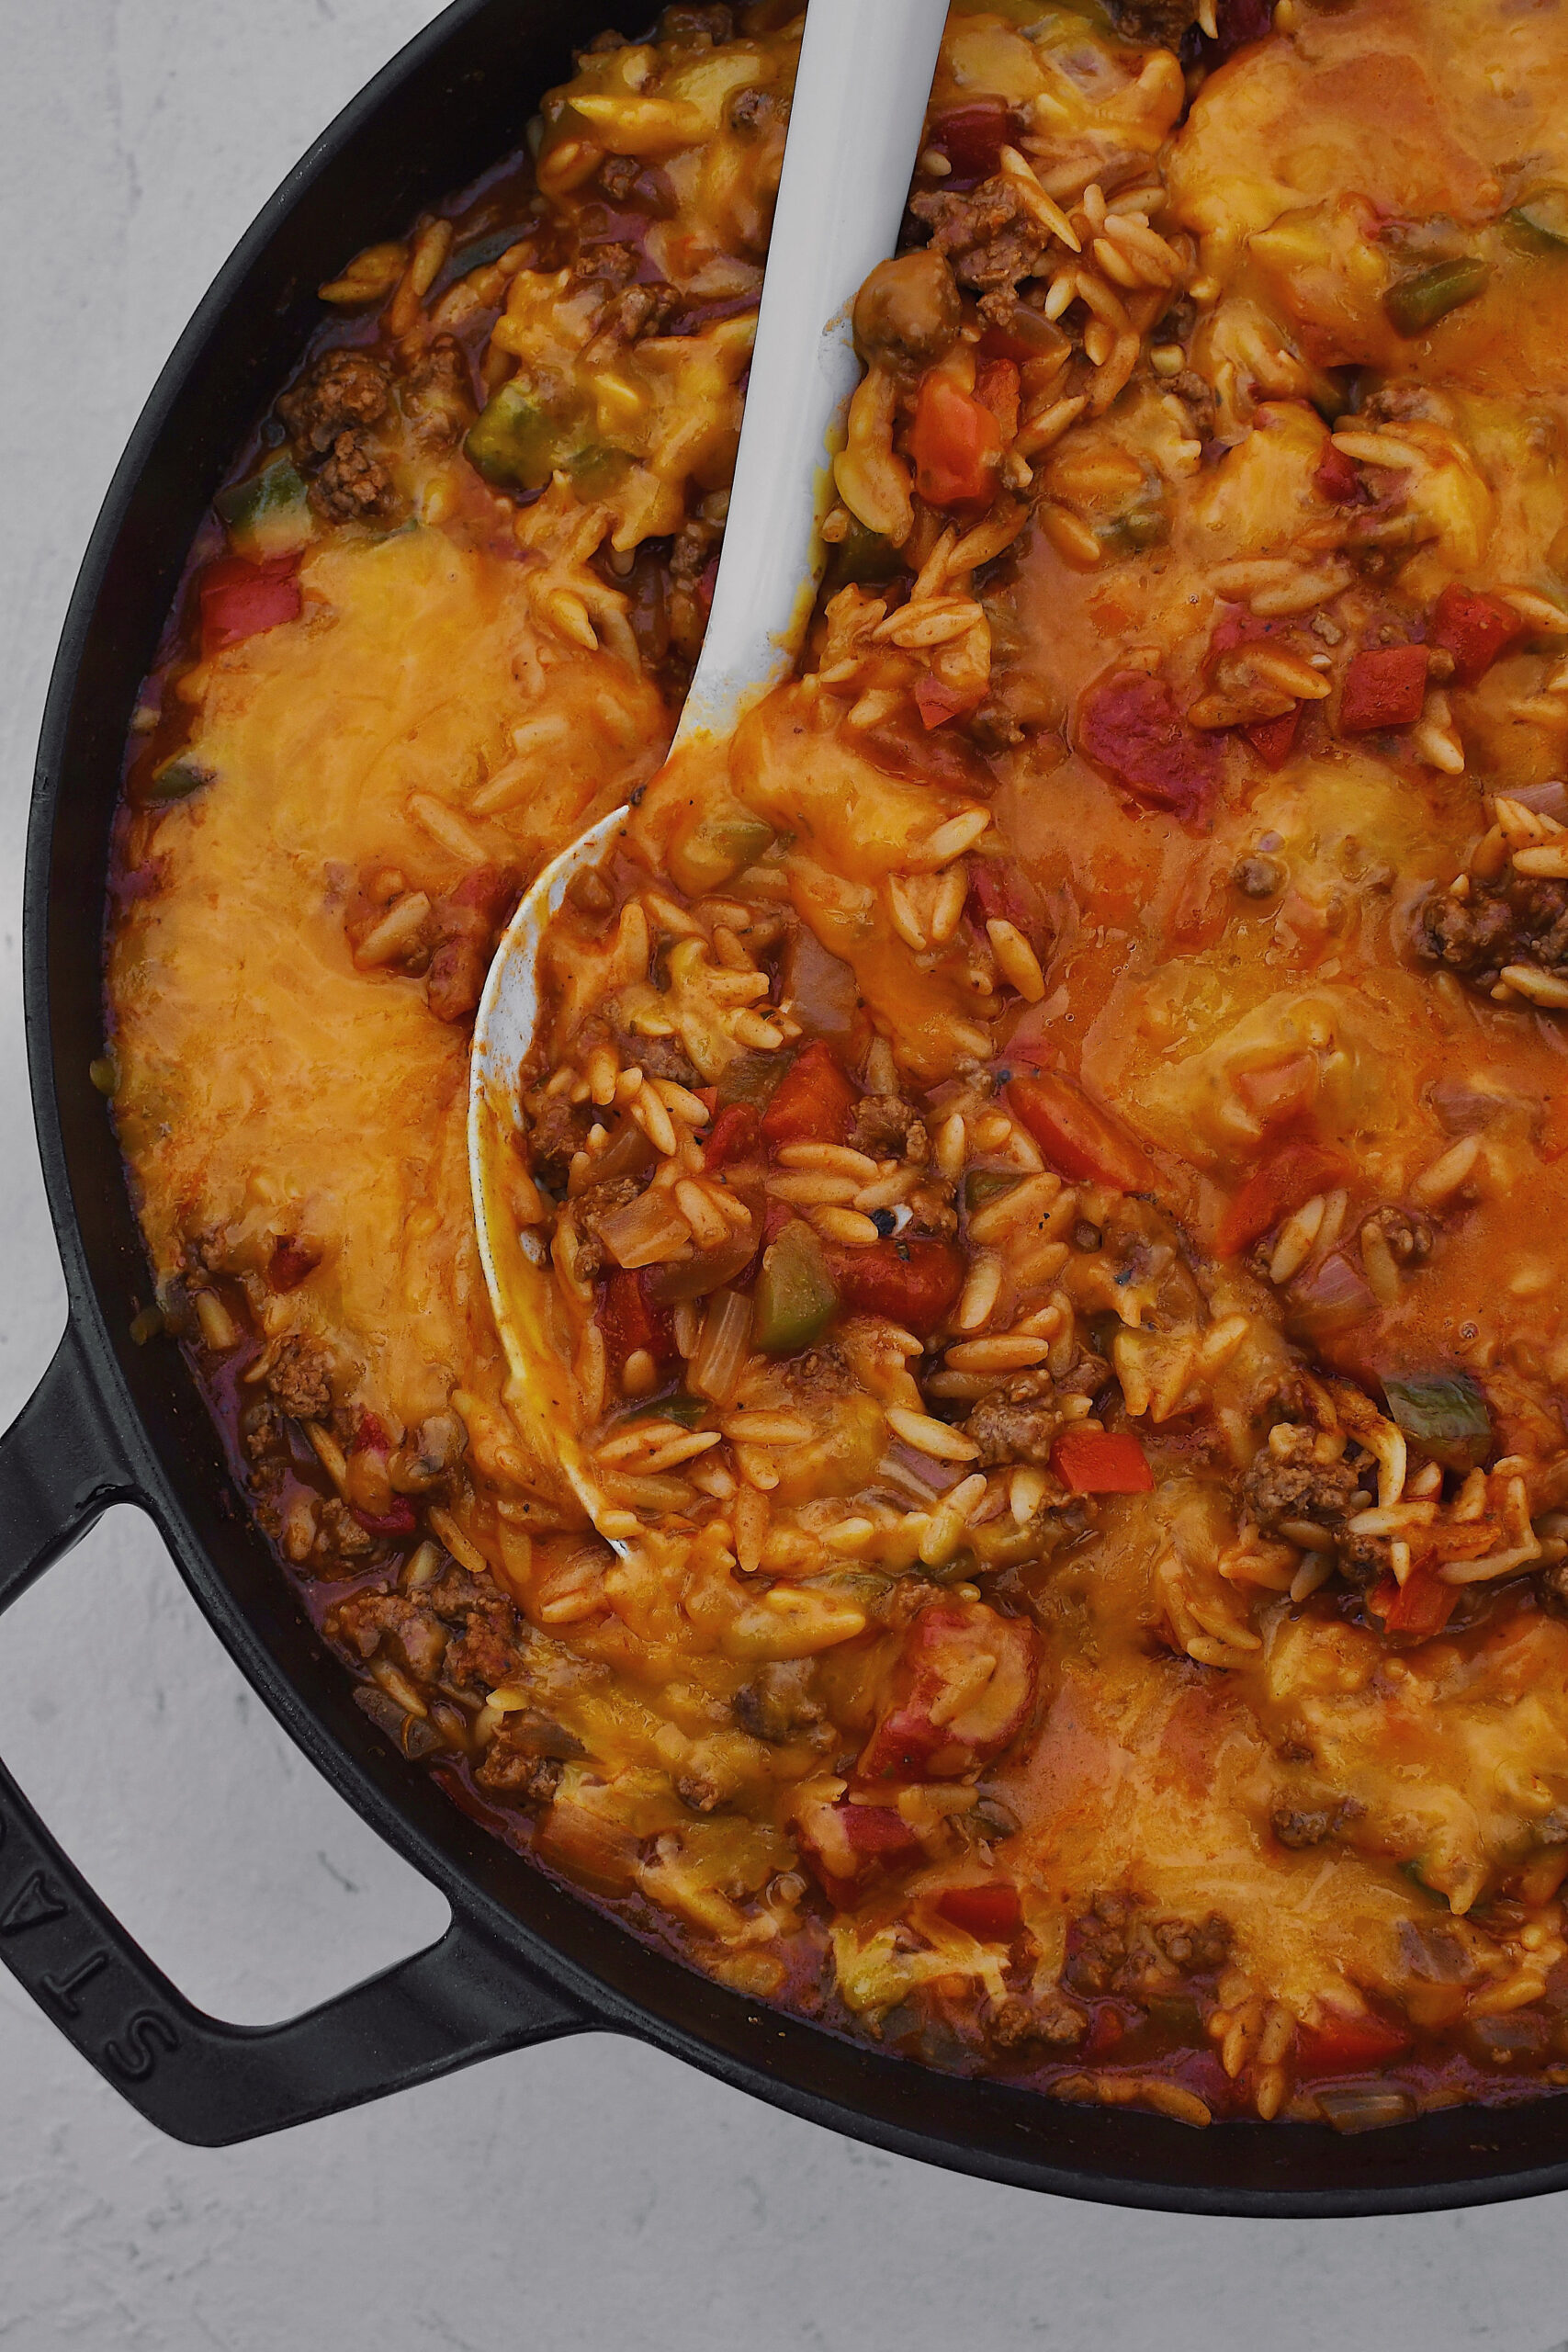
This stuffed pepper skillet with orzo is a one pan dinner that comes together in less than 30 minutes. It gives all the flavors of stuffed peppers in a family friendly form.
Anytime I can make anything into a skillet or casserole form I am going to do it. Not only does my family enjoy it more than a traditional stuffed pepper, but I also love the ease of making one pan meals!

Stuffed Pepper Casserole Ingredients
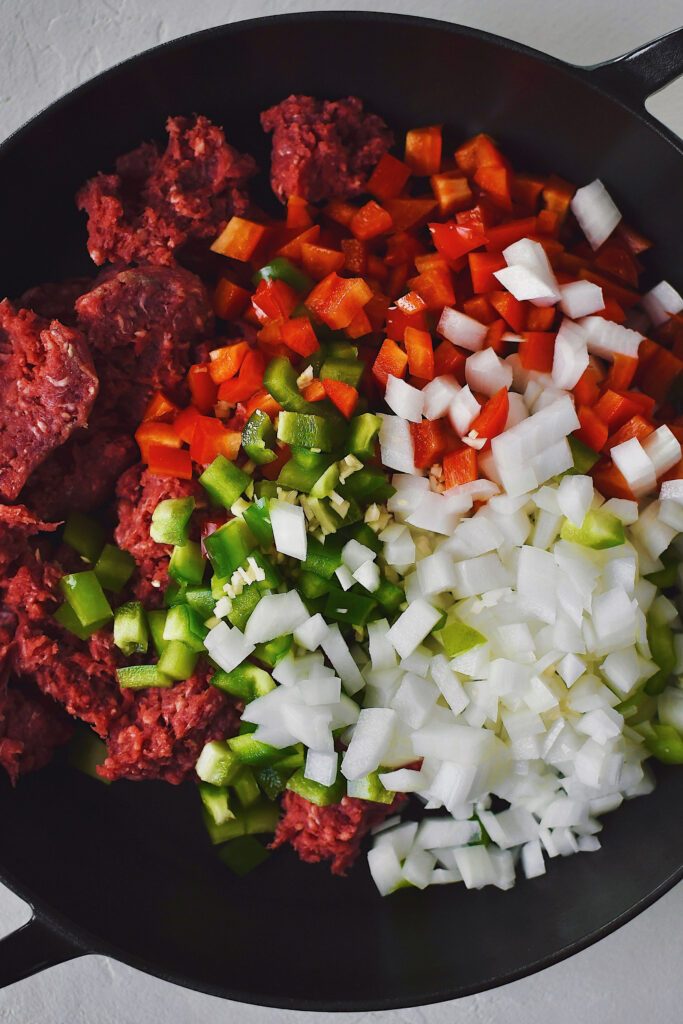
- Ground Beef - this would be delicious swapped with ground pork also.
- Bell Peppers - both red and green are used
- Onion - diced up for added flavor
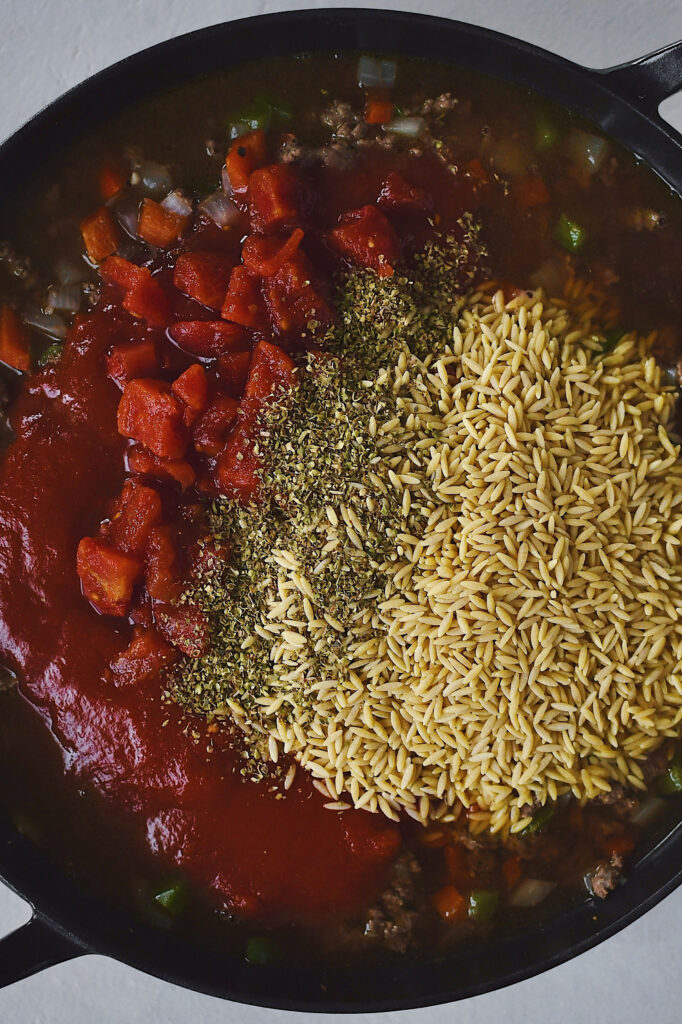
- Beef Broth - added to help cook the orzo
- Diced Tomatoes - one can or freshly diced
- Tomato Sauce - for the best tomato base
- Orzo - orzo is my favorite thing to swap in traditional rice recipes
- Cheese - cheddar is my favorite, but pepper jack would be so good also.
- Seasonings - oregano, garlic

How to Make Stuffed Pepper Casserole
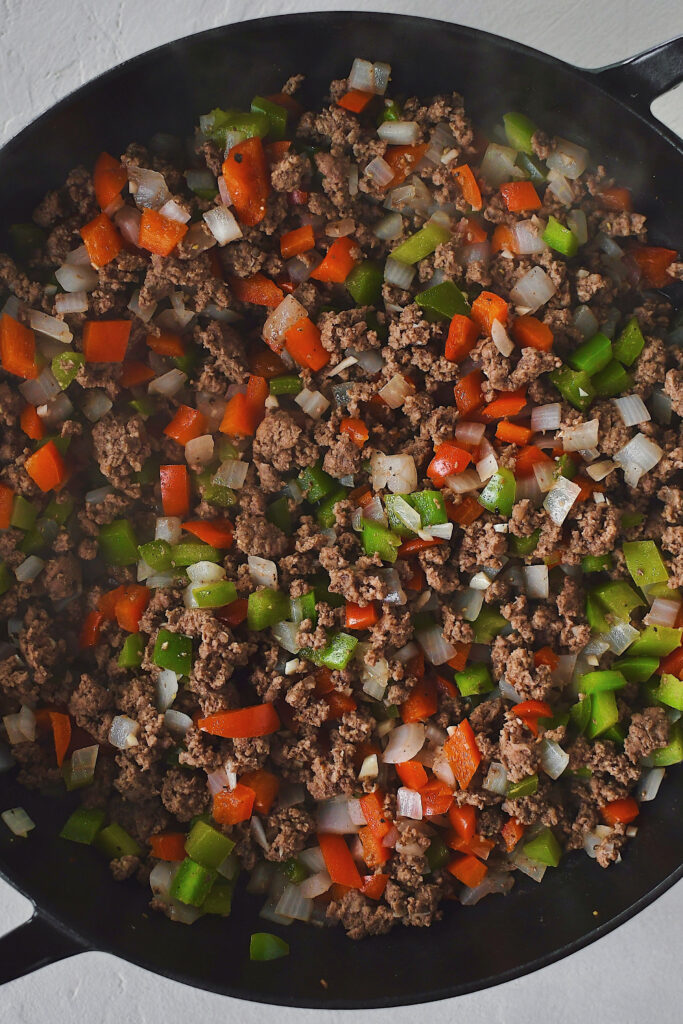
- In a pan add ground beef, peppers, onions, and garlic. Cook over medium heat until beef is no longer pink.
- In the pan add in beef broth, salt, pepper, oregano, orzo, diced tomatoes, and tomato sauce. Stir to combine and bring to a simmer.
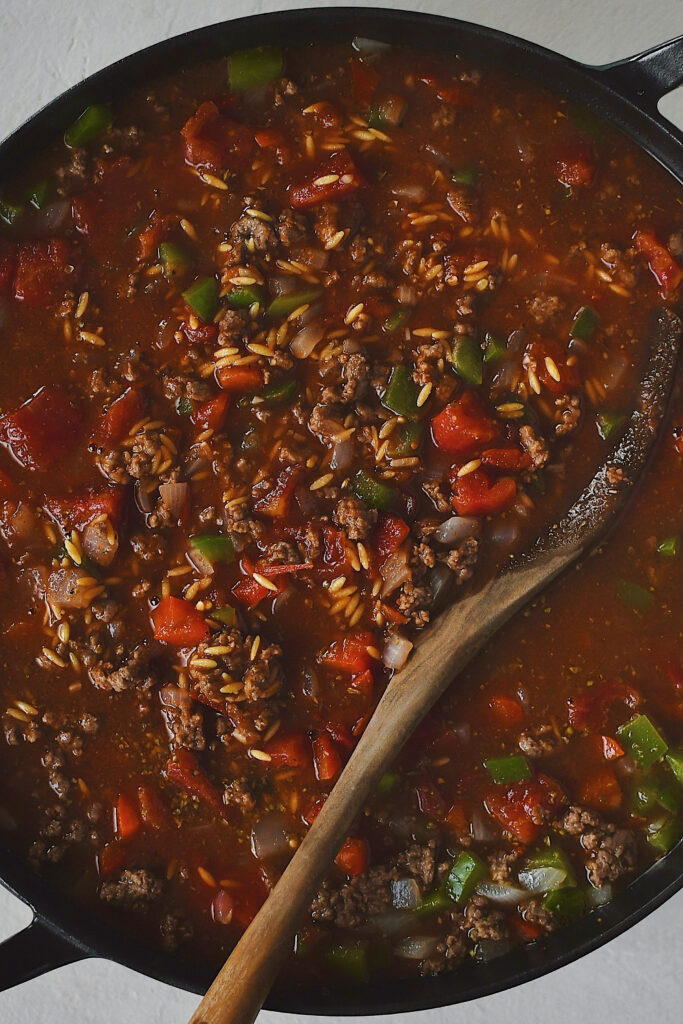
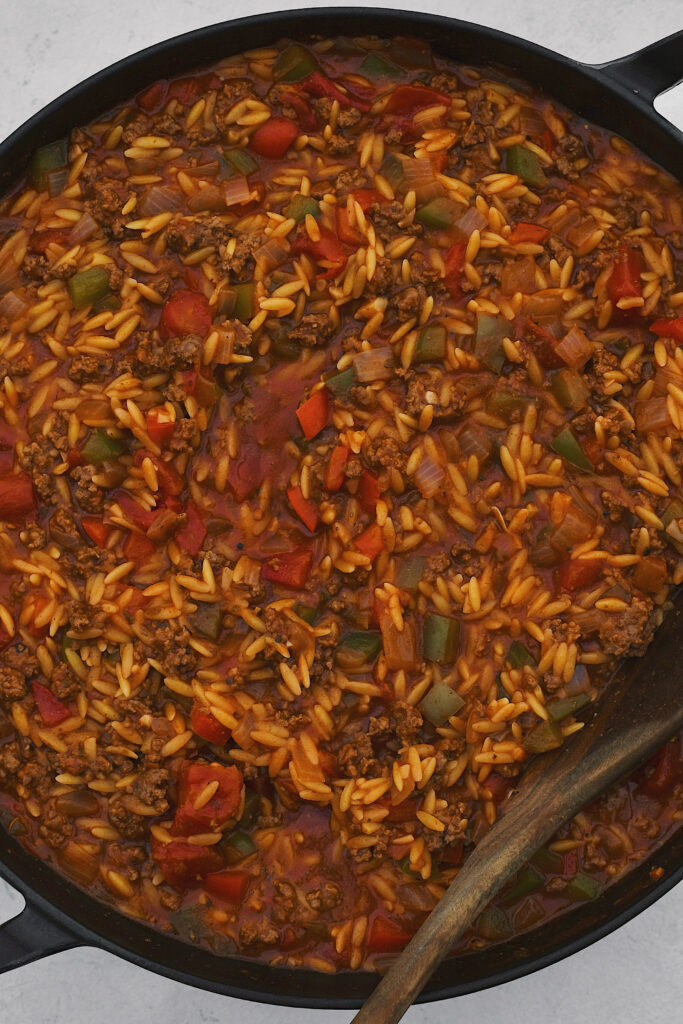
- Cover and allow to simmer for 15 minutes, until the orzo is tender.
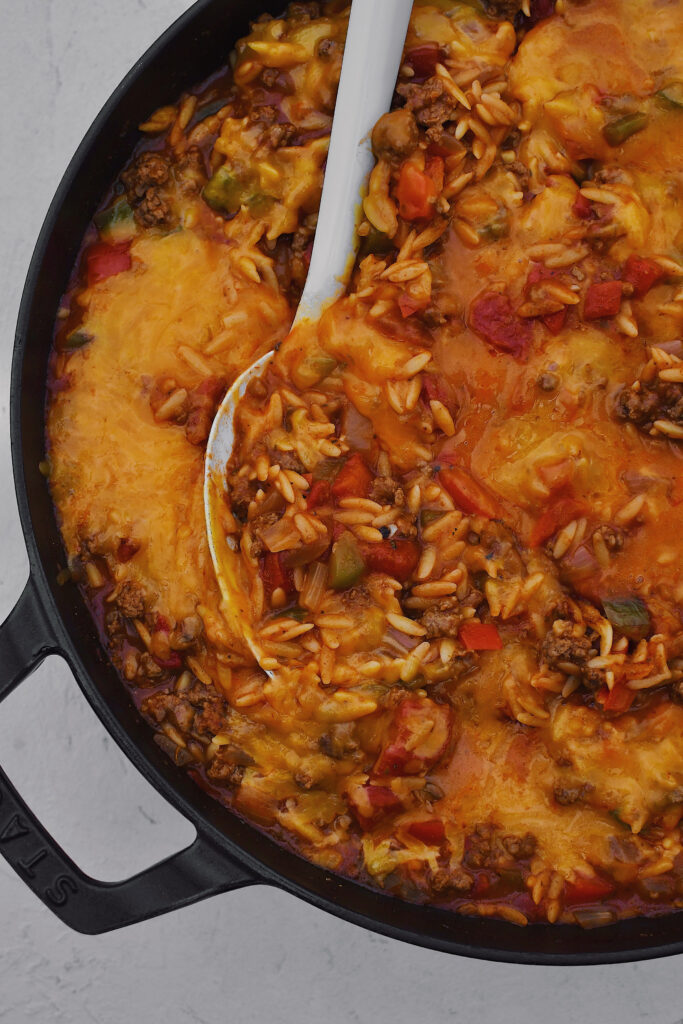
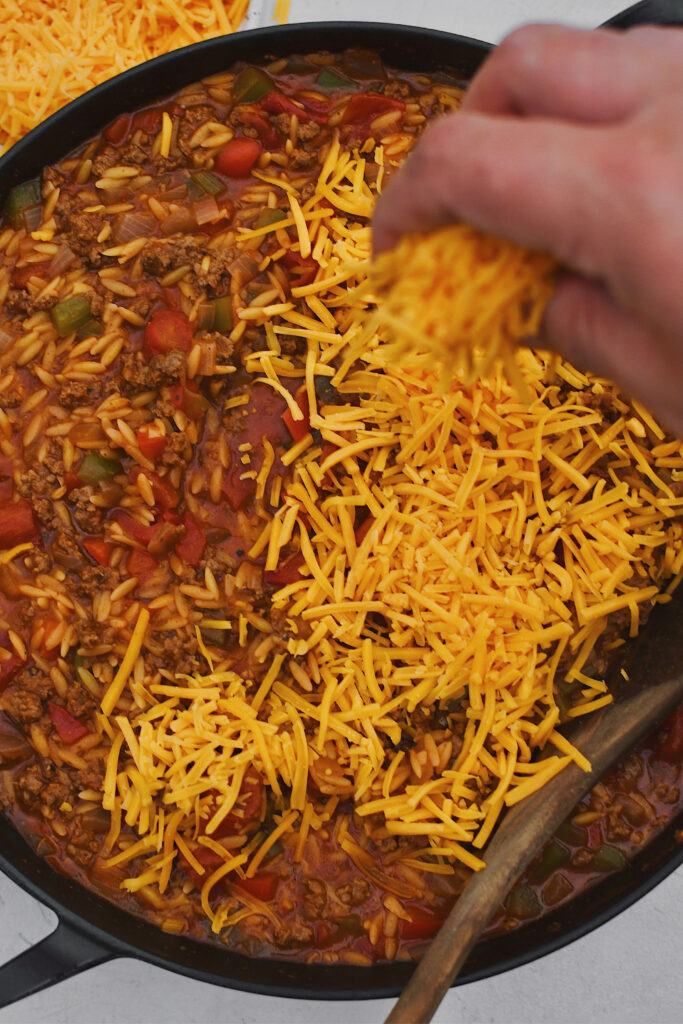
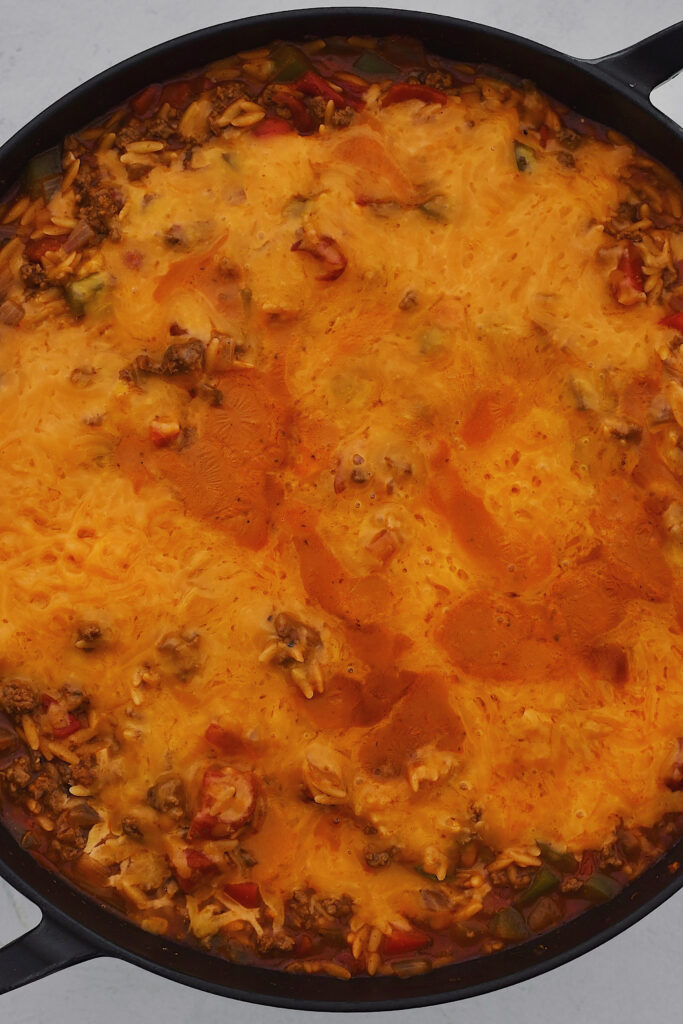
- Top with shredded cheese and cover until cheese has melted.
Want more recipes like this?
- One Pan Pizza Orzo
- Skillet Chicken Pot Pie
- French Onion Beef Skillet
- Creamy Chicken, Broccoli, and Orzo Skillet
Share Your Experience
I would love to hear about your experience making and enjoying my Stuffed Pepper Skillet with Orzo! Feel free to tag me on Instagram or leave a review below. Your feedback helps me improve our recipes and provides inspiration to fellow home cooks.
Save this recipe for later by simply using the pin button on the recipe card or any of the photos above. Happy cooking!
📖 Recipe
Stuffed Pepper Skillet with Orzo
This stuffed pepper orzo one pan dinner comes together in less than 30 minutes and gives you all the flavors of stuffed peppers in a family friendly form.
Ingredients
Instructions
- In a pan add ground beef, peppers, onions, and garlic. Cook over medium heat until beef is no longer pink.
- In the pan add in beef broth, salt, pepper, oregano, orzo, diced tomatoes, and tomato sauce. Stir to combine and bring to a simmer.
- Cover and allow to simmer for 15 minutes, until the orzo is tender.
- Top with shredded cheese and cover until cheese has melted.


This is a delicious casserole. I wanted stuffed peppers but a friend brought me green peppers that were long and narrow, so this casserole worked out great. One suggestion I do have is that after adding the orzo to simmer, stir it and few times. Otherwise it sticks to the bottom of the pan.
This is a delicious casserole. I wanted stuffed peppers but a friend brought me green peppers that were long and narrow, so this casserole worked out great. One suggestion I do have is that after adding the orzo to simmer, stir it and few times. Otherwise it sticks to the bottom of the pan.
I'm so happy that you enjoyed this recipe and thank you for that tip!